

Newport kitchen, part 2
Though the Newport was sold eventually, I’ve compiled some of the posts I made when I first started building it.
—-
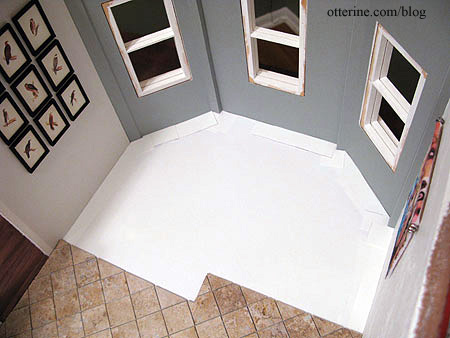
Continuing recap of the kitchen posts. I liked the look of the dark wood flooring by Handley House I used during the planning phase and it is super easy to install, but I wanted to give something else a try before going ahead with the wood floor. I think travertine tile floors look beautiful in real life, so I attempted to recreate the look with Greenleaf vinyl tiles in tan.
For the layout, I printed out grids with 1″ squares. The floor will be removable since the tiles will be glued to this paper template and not the base floor itself.
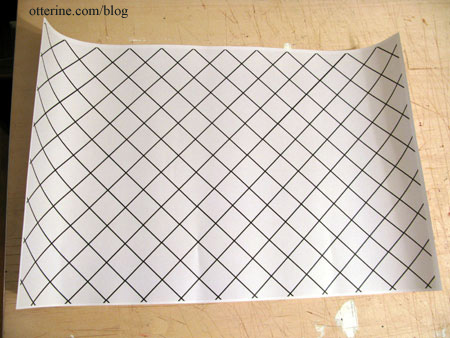
Even with the grid set on the diagonal, I quickly realized my floor and wall pieces were not completely straight – or my grid was slightly off. Either way, I tried to get it as close as possible, piecing my paper and cutting a template along the border.
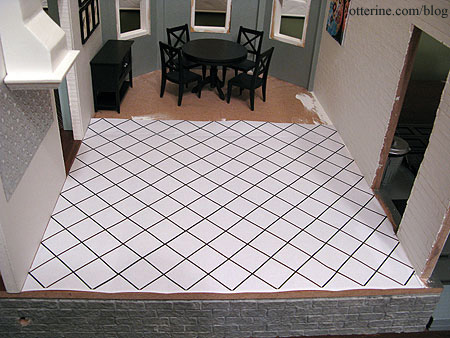
Since not all of the tiles were the same color and pattern, I traced where my kitchen cabinetry would be onto the grid. I glued the pieces that were either darker or more patterned than what I wanted in these areas since they wouldn’t be seen.
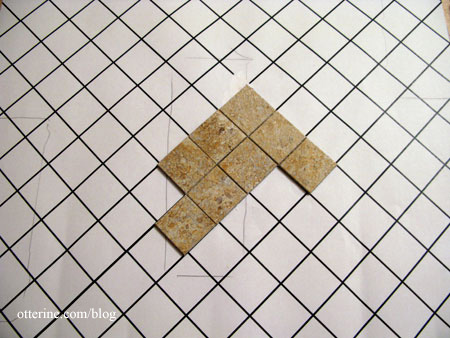
A lot of the real life floors I’ve seen have very little space between the tiles, so I tried to keep my tiles close together. I kept checking the fit along each edge, but baseboards would cover any minor gaps. As you can see, I got off the grid pretty quickly, but the tiles themselves are mostly in line and the grid won’t be seen in the end.
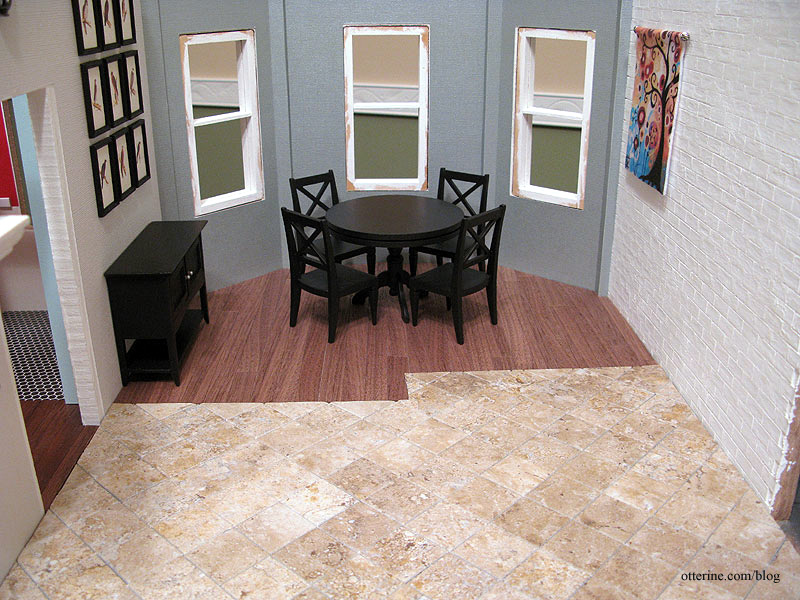
The tiles continue under the sink and corner cabinet, but I cut it closer to the door on the living room side. I plan to have the wood floor under the dining area, and I didn’t want the black cabinet to be half on the tile and half on the wood floor.
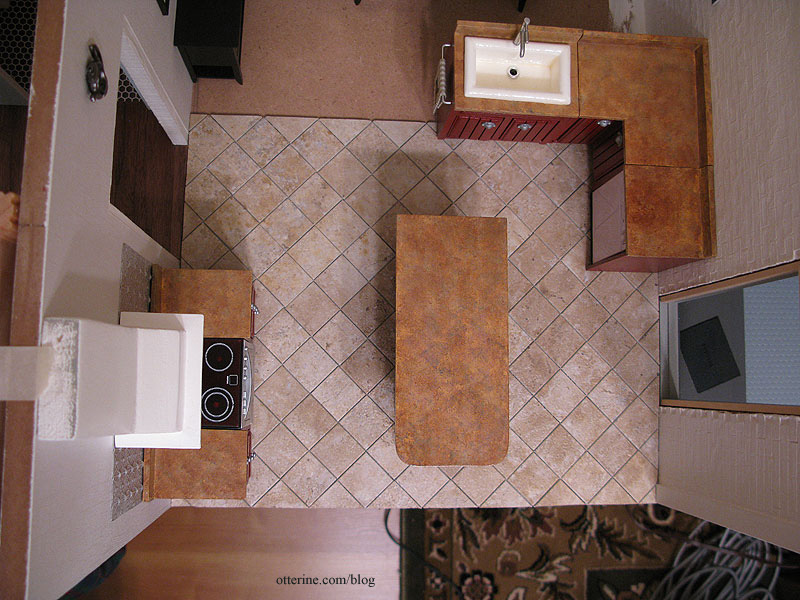
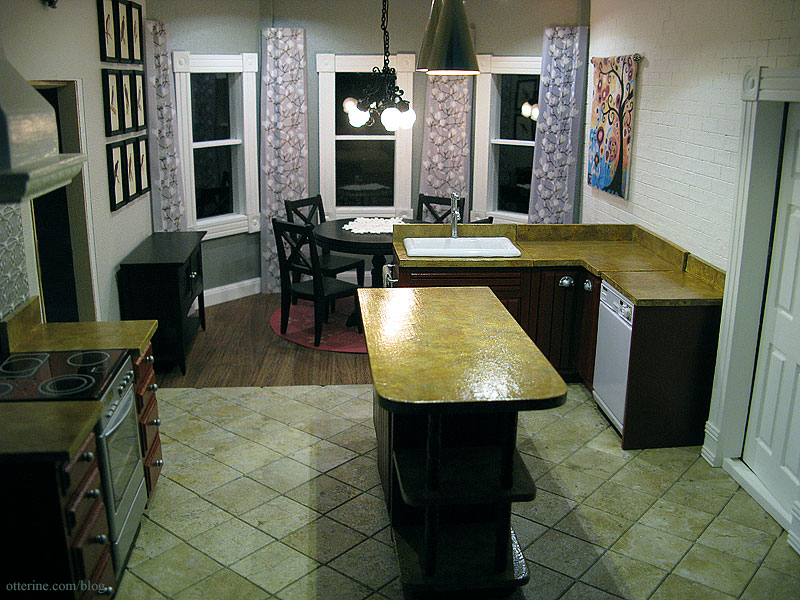
The tiles were very easy to use, and I am very happy with the way it turned out.

Since the Greenleaf tiles I used in the kitchen area were thicker than the Handley House wood flooring I planned to use for the dining room, I had to start with a cardboard template to even out the difference. To get the proper outline, I used paper to create an exact template of the room.
I then cut cardboard pieces to fit the area under the wood.
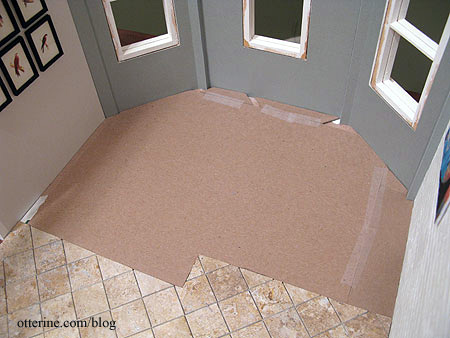
The wood is not yet glued in place since I need to seal it first.
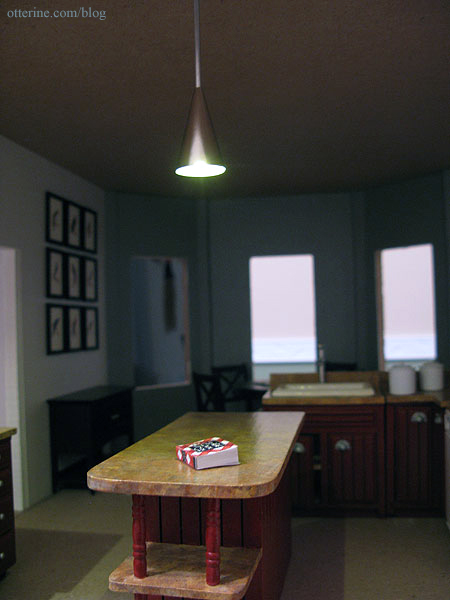
I had previously installed range hood lighting…
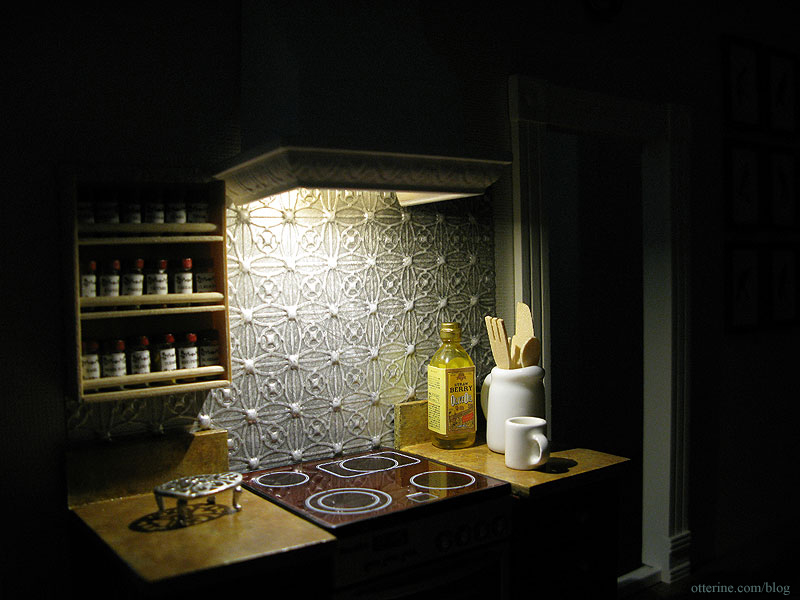
…and made pendant lamps for the kitchen.
I bought a black chandelier for the dining area, but since the room is so deep it remained dark even with all the lamps lit. Here I’ve taped Novalyte can LEDs to the ceiling to supplement the existing lights.
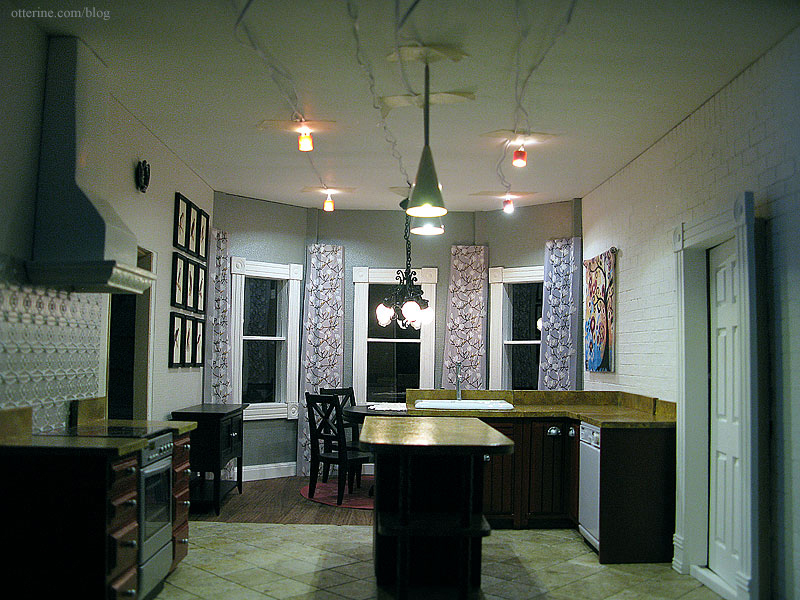
It really brightens the room and will make for a very modern look once installed flush with the ceiling.
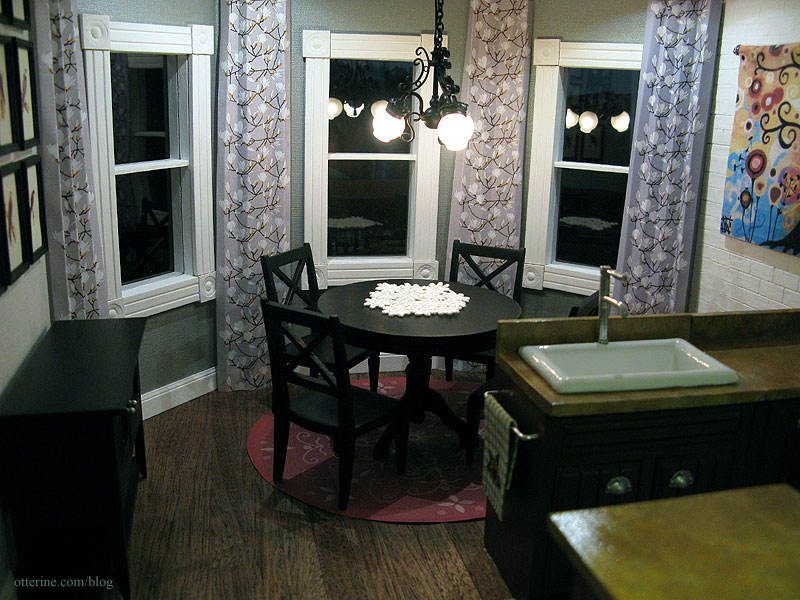
The rug under the dining table is a paper printout of the red Piazza rug by Dynamic Rugs. The draperies are paper mockups; the pattern is Keisarinna by Marimekko. I made the tapestry from June Tree by Natasha Westcoat.
For the post on installing the can lights, click here. Kitchen sink post is here. Bird prints post is here.
Categories: The Newport
March 14, 2010 | 0 commentsPlant stand and mannequin
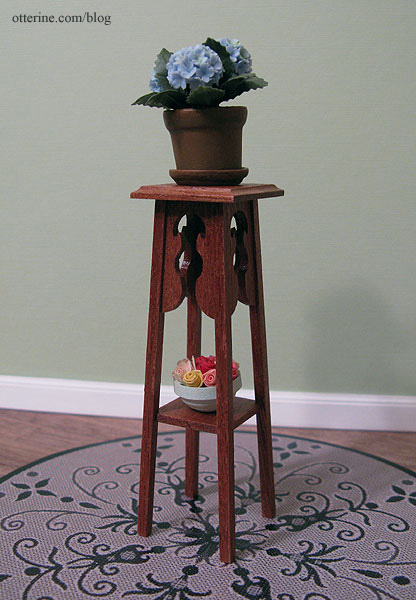
While buying supplies from a shop in the UK, I added a plant stand kit by McQueenie Miniatures to my order. It’s a beautiful kit made from mahogany that was very easy to put together. I sealed the wood with satin varnish by Delta Ceramcoat to bring out the grain of the wood.
The hydrangea plant is by Falcon Miniatures. I made the roses and bowl from quilling paper many years ago. The rug is a paper printout of the Piazza rug by Dynamic Rugs.
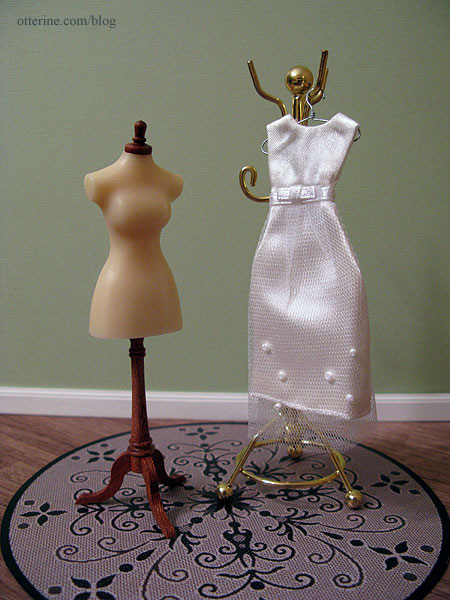
The other kit came from Hazel Dowd, a different supplier in the UK. The mannequins are sold premade as well, but I bought it unassembled at a lower cost. It was a very easy kit, again with a wood base and cap beautiful enough to varnish without modification.
The wire hanger is by Handley House and the dress is a scrapbooking item by Jolee’s by You. I plan to make some clothing myself but couldn’t pass up this beautiful dress in perfect scale. :D The brass coat rack came from a furniture lot a friend gave to me.
Categories: Furniture, Miniatures
March 13, 2010 | 0 commentsLlama rug
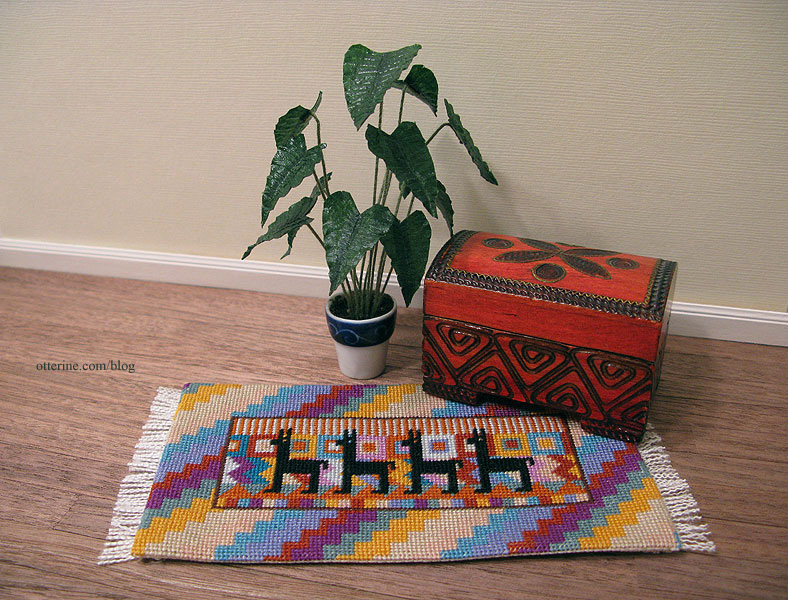
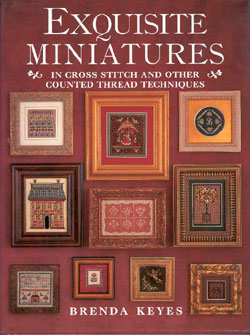
I stitched a pattern from Exquisite Miniatures in Cross Stitch and Other Counted Thread Techniques by Brenda Keyes. I went to a local needlework shop and asked for 22 count needlepoint canvas the project called for, but once I started stitching I realized she had sold me 24 count canvas. Not a big deal for this project, but I was glad I noticed before I used the canvas for anything that required an exact count.
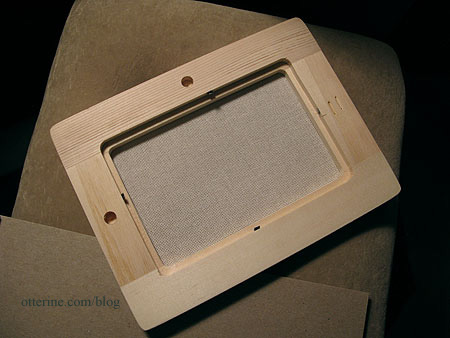
Since this was my first project using canvas, I had to get something besides an embroidery hoop. I tried to find a smaller needlepoint frame, but the local stores didn’t carry the smaller sizes. I could order online, but then again I wanted to be able to see what I was getting beforehand. On a trip to Michael’s, I found a 4″ x 6″ unfinished wood frame for less than two dollars. t was perfect for miniature needlework and less expensive than the frame components. Sold!

I stapled the canvas in place but have since acquired flat tacks that I plan to use in the future.
I substituted some of the colors listed in the pattern book for what I had on hand, using only embroidery floss not wool as indicated. I also moved some colors around on the pattern to make the llamas stand out more against the background. The rug measures approximately 3″ x 5″ (not including the fringe) and took about 24 hours of work time.

Though I am not planning a southwest-inspired room, I really liked the pattern of the rug. It reminds me of a souvenir my mini inhabitants might have brought back from traveling. The miniature trunk is carved wood and opens; it was a gift from a relative many years ago. It’s marked Made in Poland. I made the plant from floral tape and wire.
Categories: Needlework - French knot rugs
March 12, 2010 | 0 commentsOrange Tree tapestry
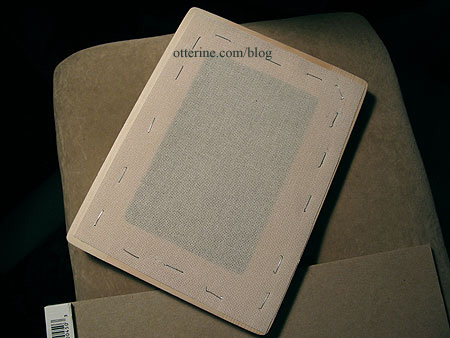
I checked out a bunch of books from the library and lined up a number of projects. The first one I completed was from Exquisite Miniatures in Cross Stitch and Other Counted Thread Techniques by Brenda Keyes. This book is not specifically for dollhouses but has smaller real life size projects that can be used in miniature settings both with and without minor modifications.
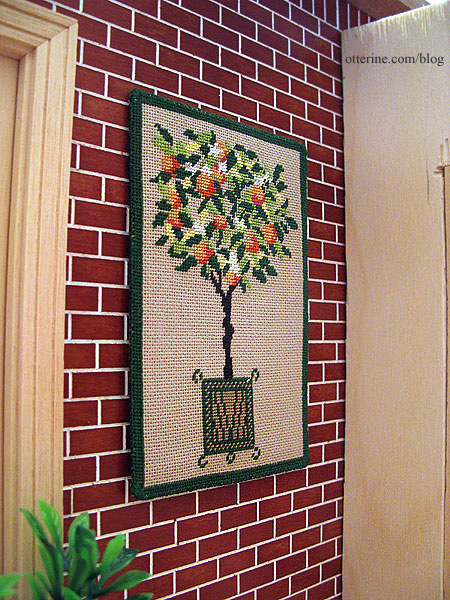
The art is called Orange Tree, so I thought it would look nice in a conservatory.
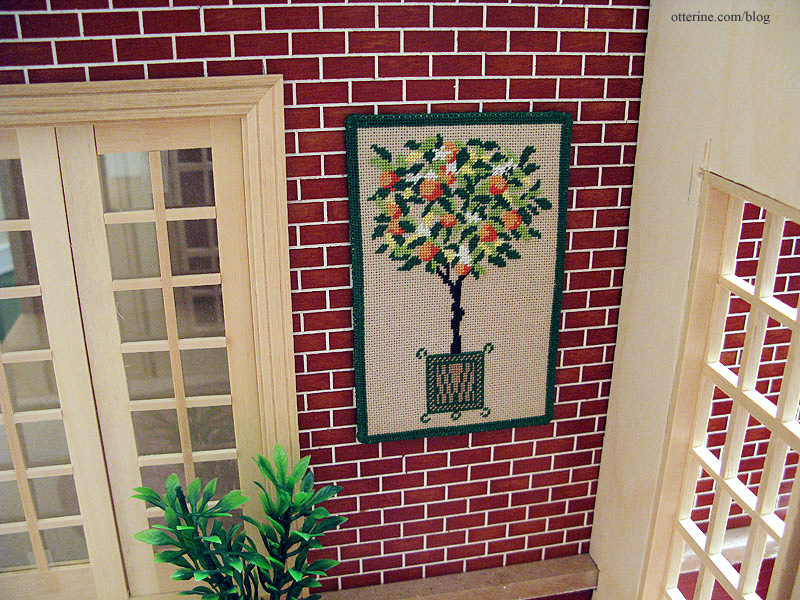
I stitched it on 28 count evenweave fabric in mushroom color. The book had called for it to be stitched on 22 count needlepoint canvas. The color of the fabric saved my having to stitch the background, and the higher count made the project smaller in size. The needlework is mounted on stiff felt on the back.
Categories: Needlework - French knot rugs
March 7, 2010 | 0 commentsNewport – Conservatory
Though the Newport was sold eventually, I’ve compiled some of the posts I made when I first started building it.
—-
The conservatory sits above the garage and is accessible from the master bedroom. The double French doors came from the Foxhall Conservatory kit used to create the garage.
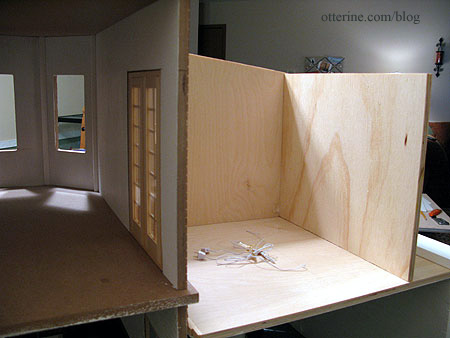
The stairs from the master bedroom are the original front door steps for the Newport kit. I will leave the brick wall exposed, but I haven’t decided on an exterior or interior finish for the conservatory walls. The windows will obviously take up most of the surface area.
Before cutting the French door and window openings in the new conservatory walls, I did a little planning to figure out how the furniture would fit best. The plaid sofa and chair shown below now reside in the study, but they’re about the same size as what I have planned for this space.
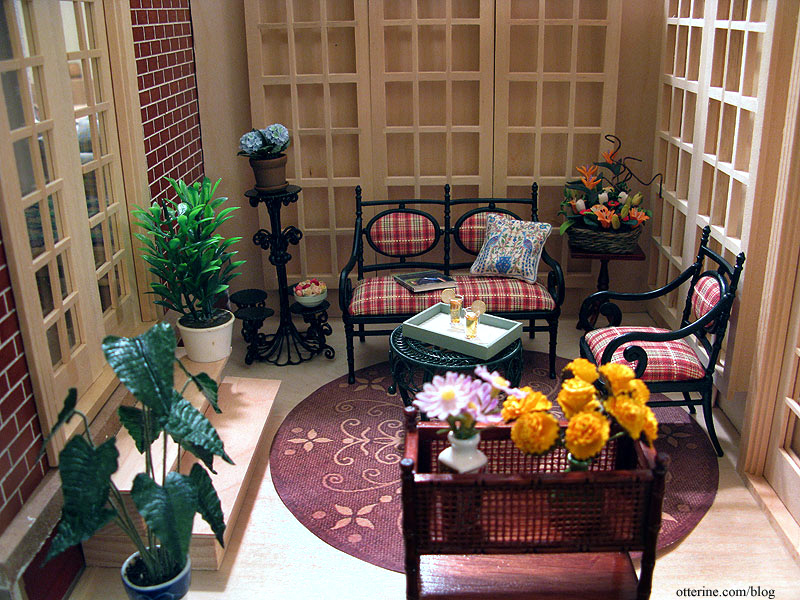
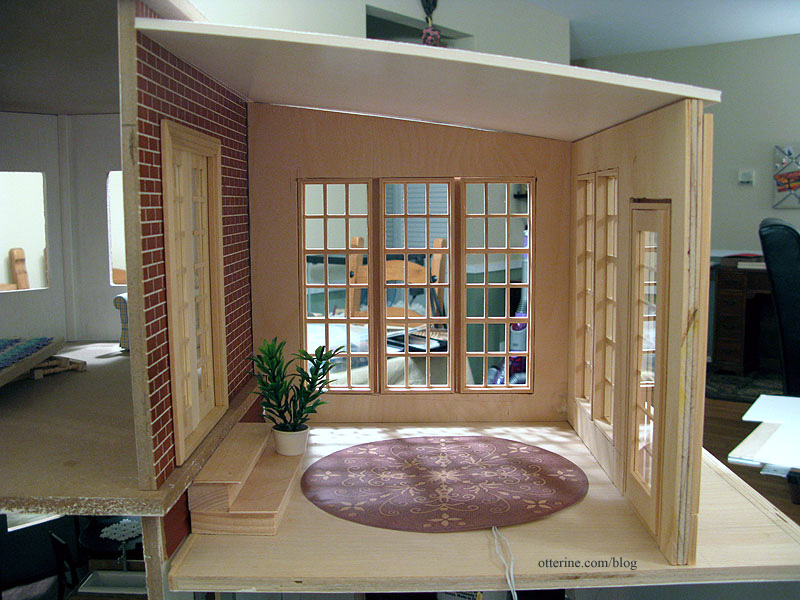
I made the elephant ear plant from floral tape and wire. The rattan planter is by Concord Miniatures. I’ll have more plants, most of which I plan to make myself, including some hanging plants. It looks a bit crowded from the perspective shown in the photo above, but the room is actually spacious. The rug is a paper printout of the Piazza rug in brown by Dynamic Rugs, but I plan to recreate it in another material besides paper, such as punchneedle or needlepoint.

I cut the window and door openings in the new 3/8″ plywood walls. The foam core rooftop is just for planning purposes. I haven’t decided on whether I want a glass (i.e., acrylic sheet) roof or a solid one. The single French door opens to allow access to the outside of the conservatory where there will be a narrow walkway and room for outdoor plants.

I’m rather excited about this room, mainly because it is turning out as I had hoped just like the garage. Both the conservatory and the garage are partial scratch built rooms using the Foxhall Conservatory kit as the basis.
Categories: The Newport
March 2, 2010 | 0 comments


NOTE: All content on otterine.com is copyrighted and may not be reproduced in part or in whole. It takes a lot of time and effort to write and photograph for my blog. Please ask permission before reproducing any of my content. Please click for copyright notice and Pinterest use.


