
new otterine’s miniatures blog
Most of the content has been moved over from the old miniatures blog, more each day. You can still access the old blog for now by clicking the link at the top. If you run across broken links, it might be I have moved some but not all related posts. Or, it might be an oversight on my part.
Feel free to contact me using the form at the top if you see something wrong or can’t find what you are seeking. To leave a comment, you’ll need to click on an individual post title; the form will be at the bottom of the post.
Categories: Miniatures
January 24, 2024 | 0 commentsTrain Cabin book nook – part 3
Continuing work on the train cabin book nook. Affiliate discount link at the bottom of this post.
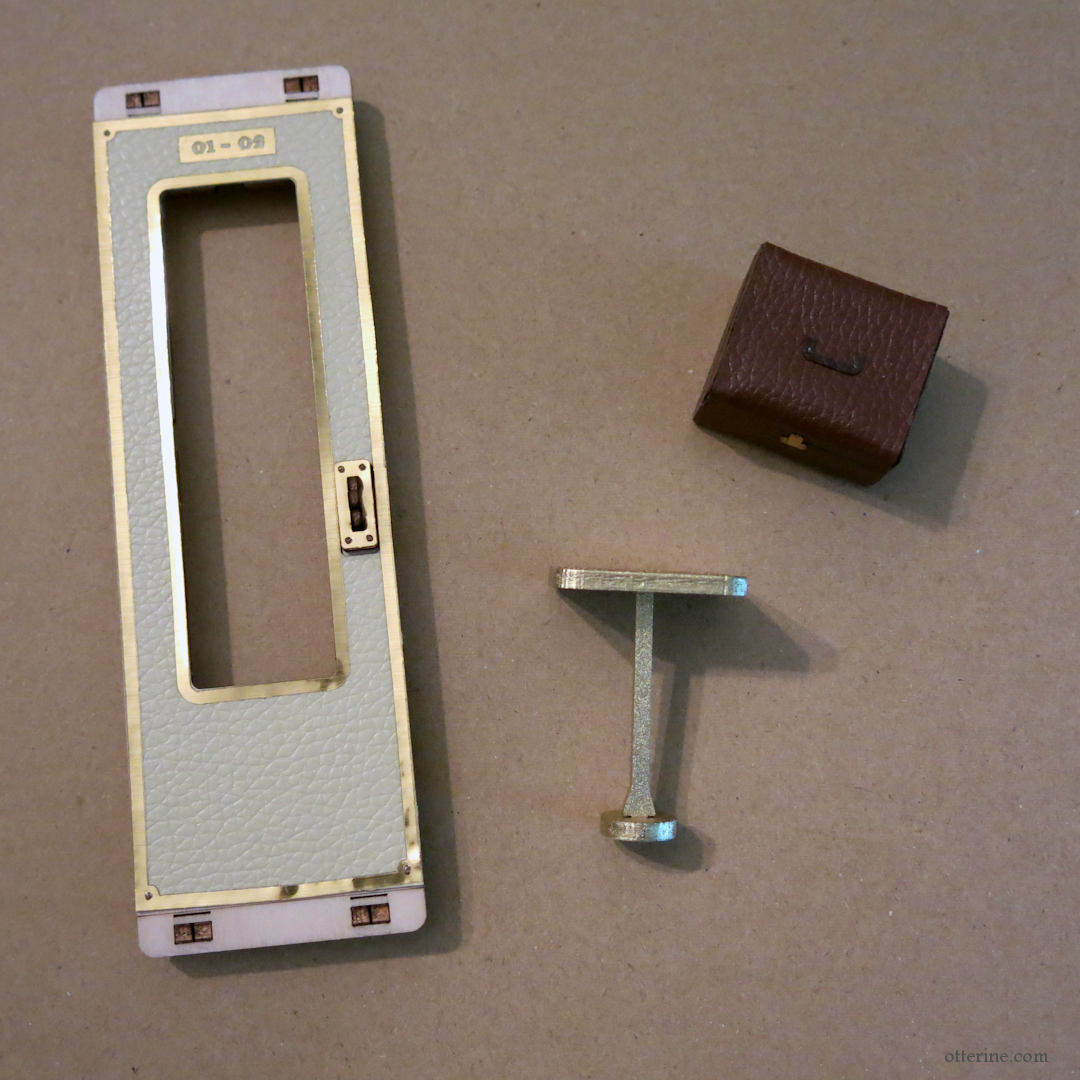
After taking a break from the train cabin to work on The Wishing Fountain for Halloween, I’m back to it. I started assembling some more of the cabin’s finished parts. If I’m feeling distracted or not sure about what I want to work on, I tend to jump around a lot in a project. The way the instruction booklet is presented, it’s very easy to do different parts and put them all together later. You do need to make sure you aren’t enclosing an area you need to access later, but assembling parts and accessories still makes progress on the project.
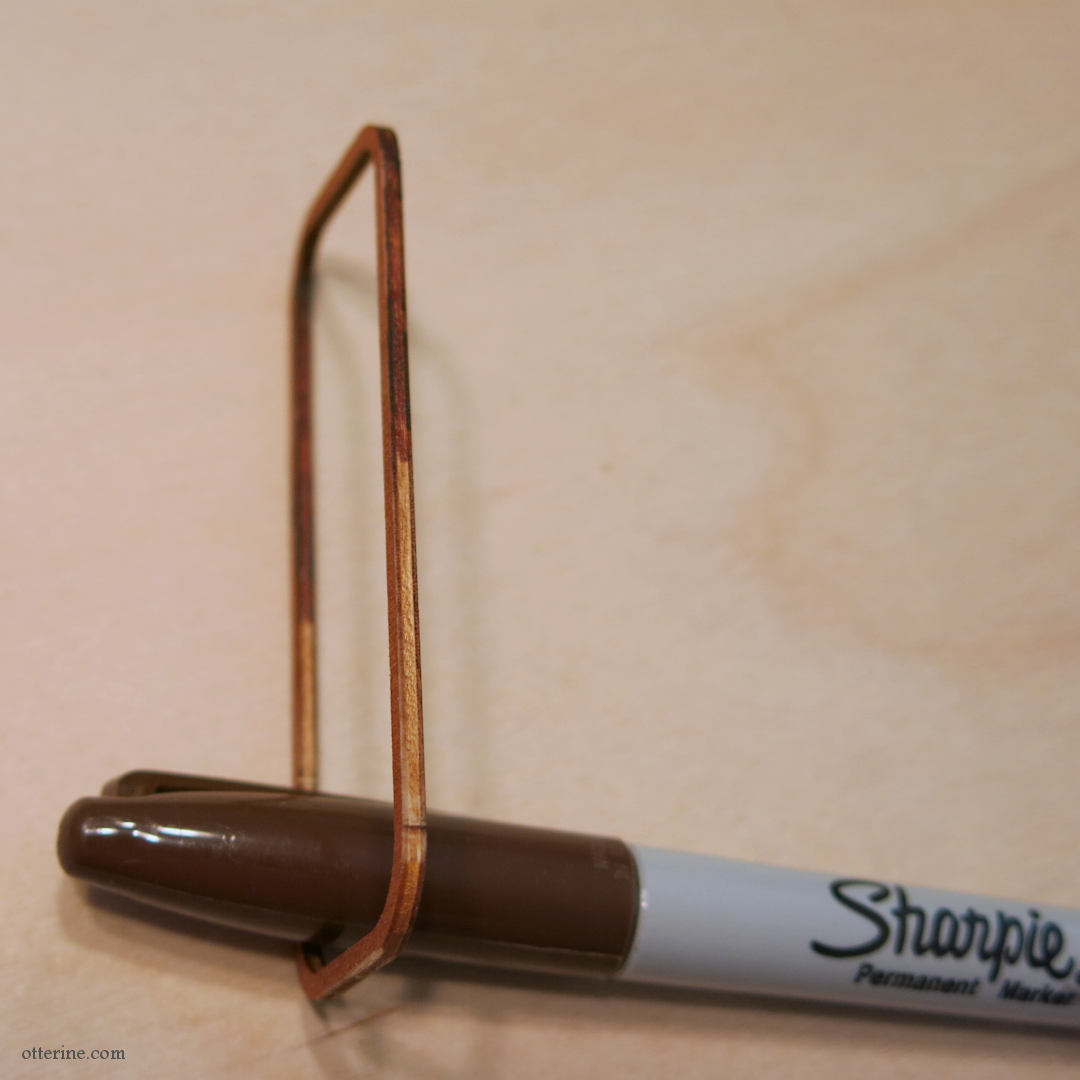
Some of the trim parts come stained for you, but when they are separated from the sheet, you have to sand the nubs left from the laser cutting process. That can leave lighter parts that can show from certain angles. I used a brown Sharpie to darken all the edges for a more uniform look.
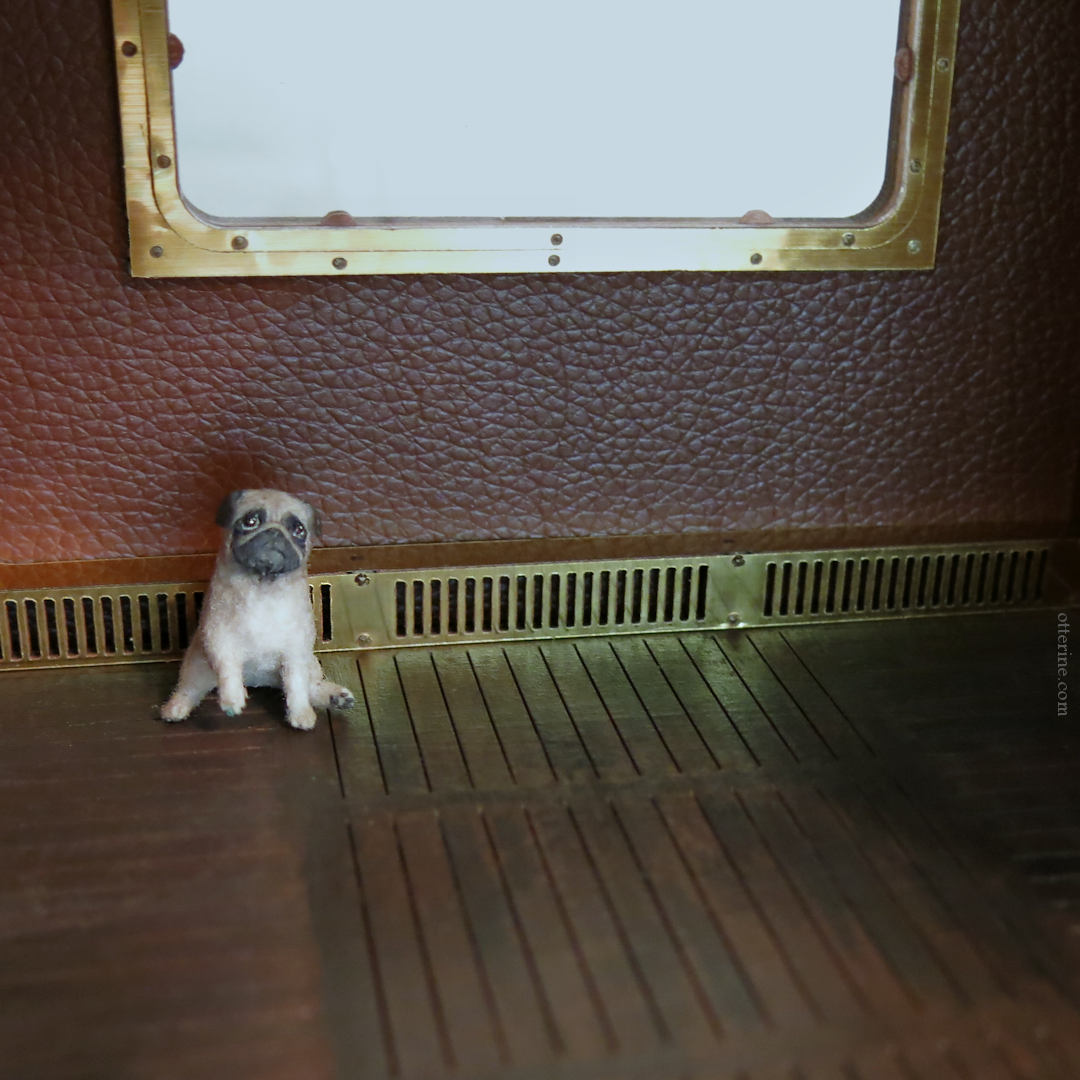
I like that you can pick and choose what to include and what to customize. My favorite detail is the floor heater. :D It’s such a simple detail that brings the cabin to life!
I encountered a stubborn buckling of the leather that developed in the curve above the window.
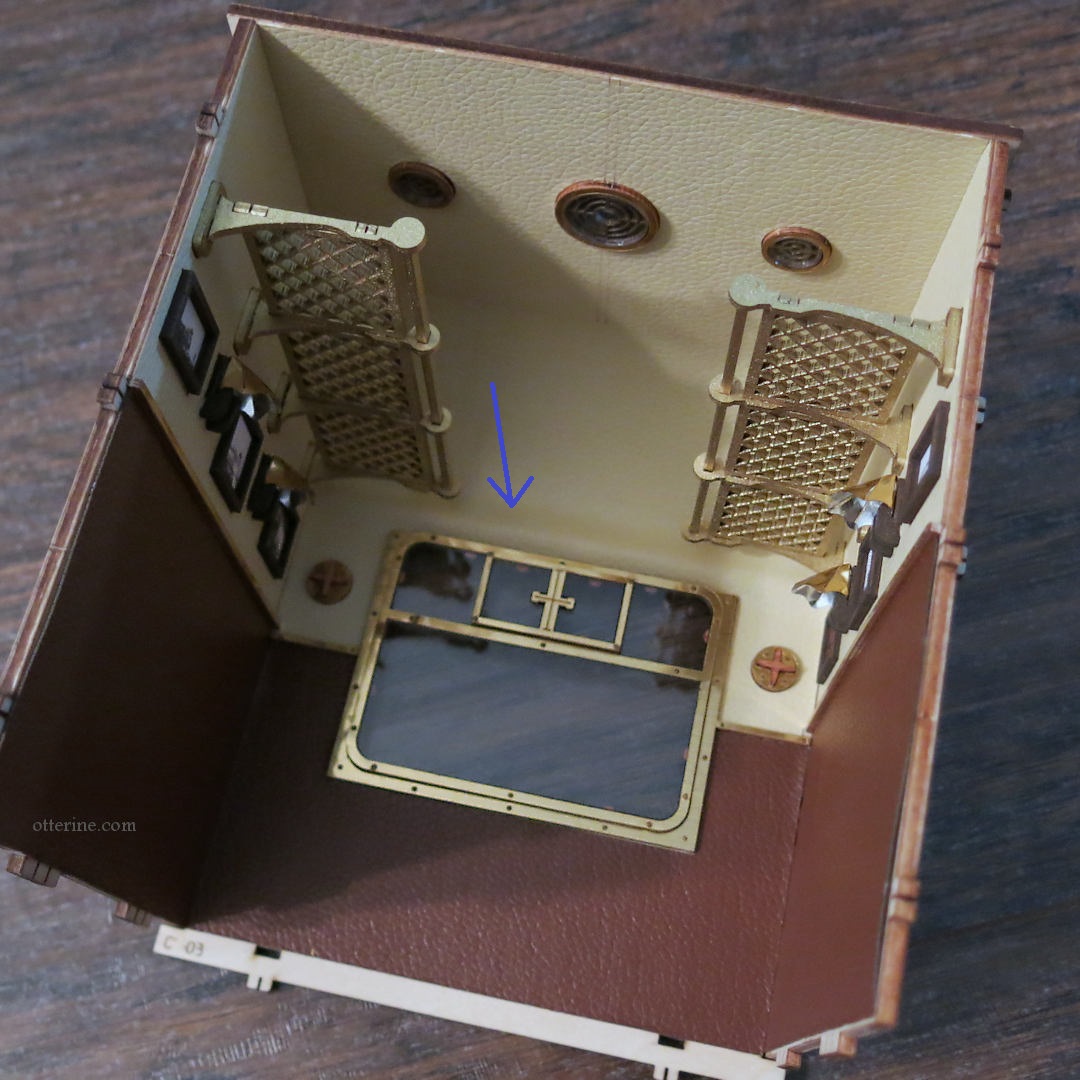
To fix this issue, I took the cabin apart and cut a thin strip out of the leather to smooth out the bubble that formed when the ceiling board is bent into shape.
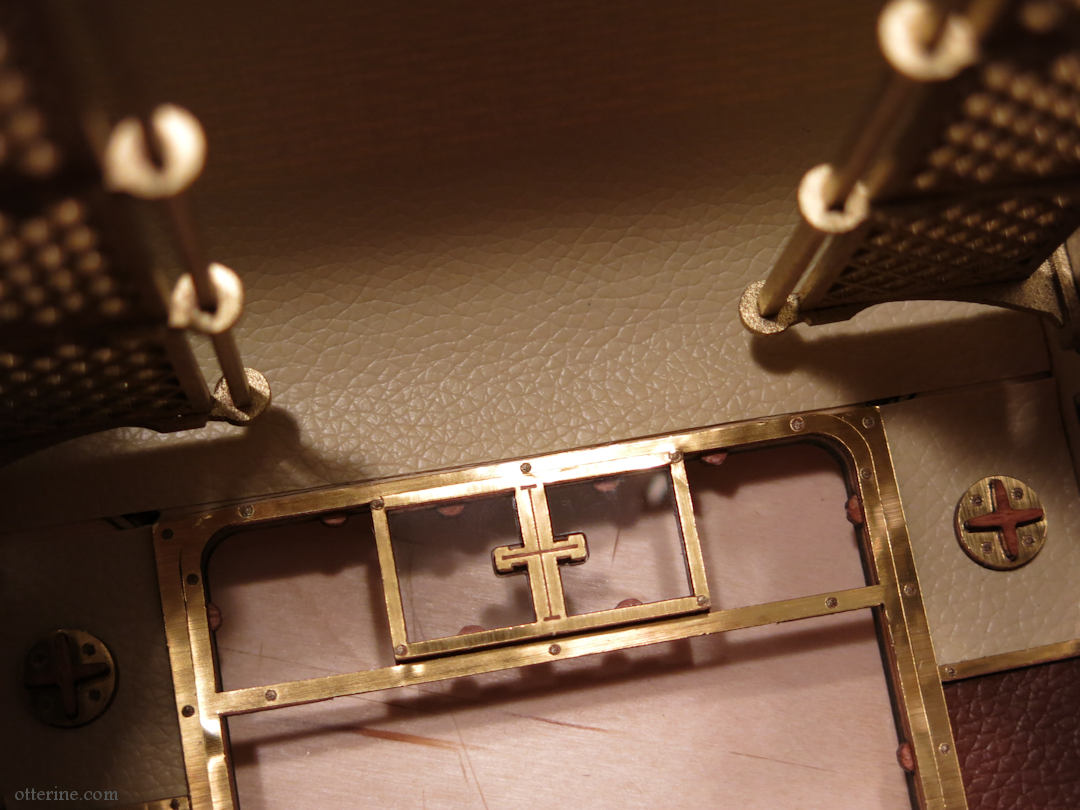
To disguise the cut and subsequent gap, I stained a piece of strip wood and glued it in place. Looks a bit like a structural element.
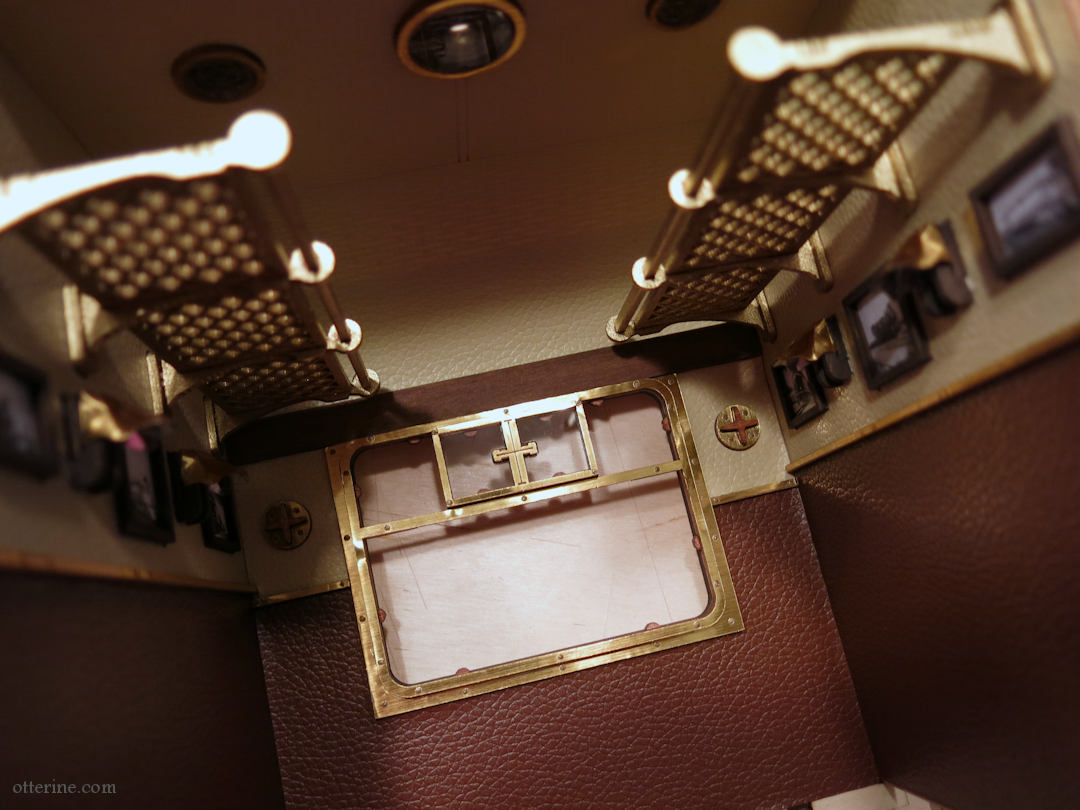
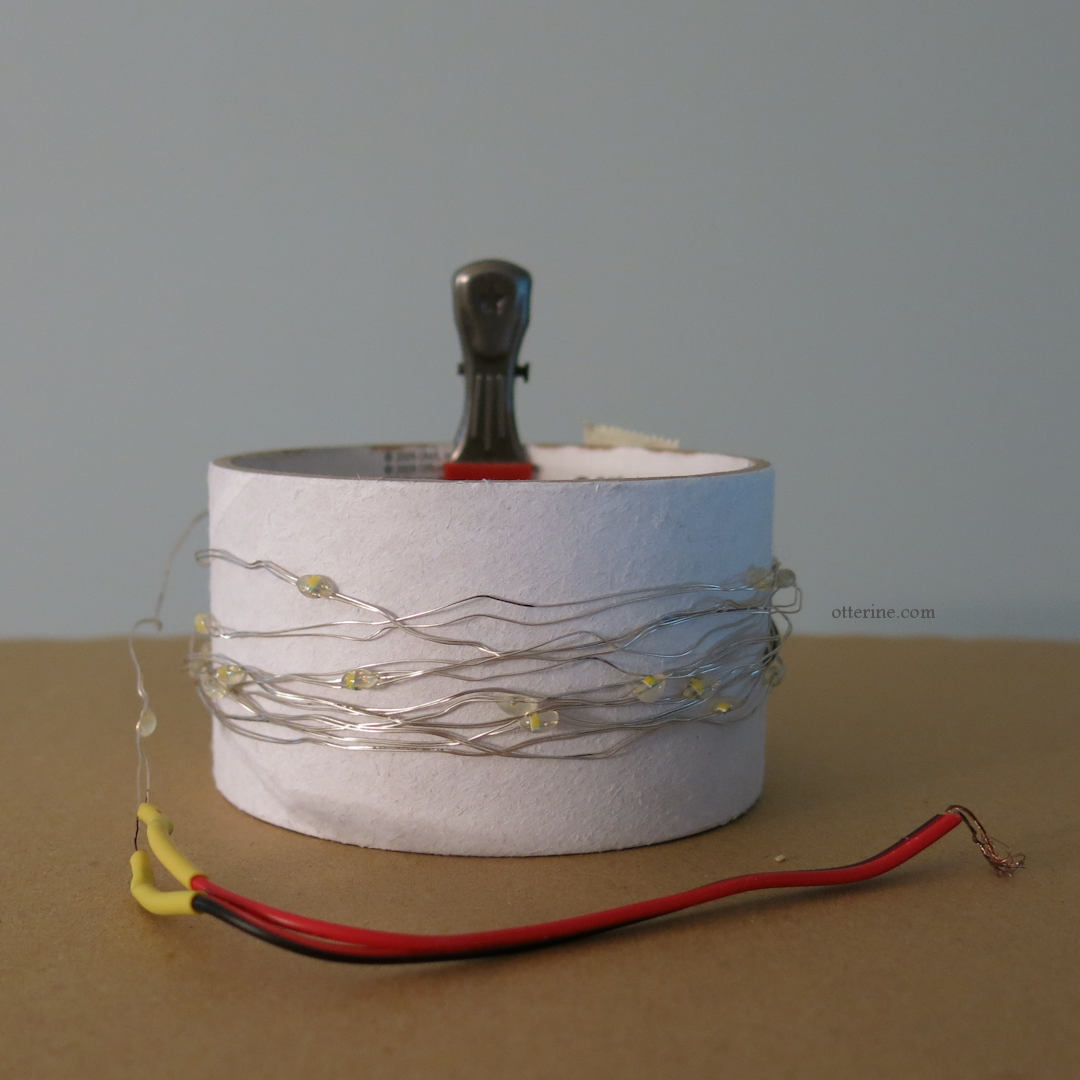
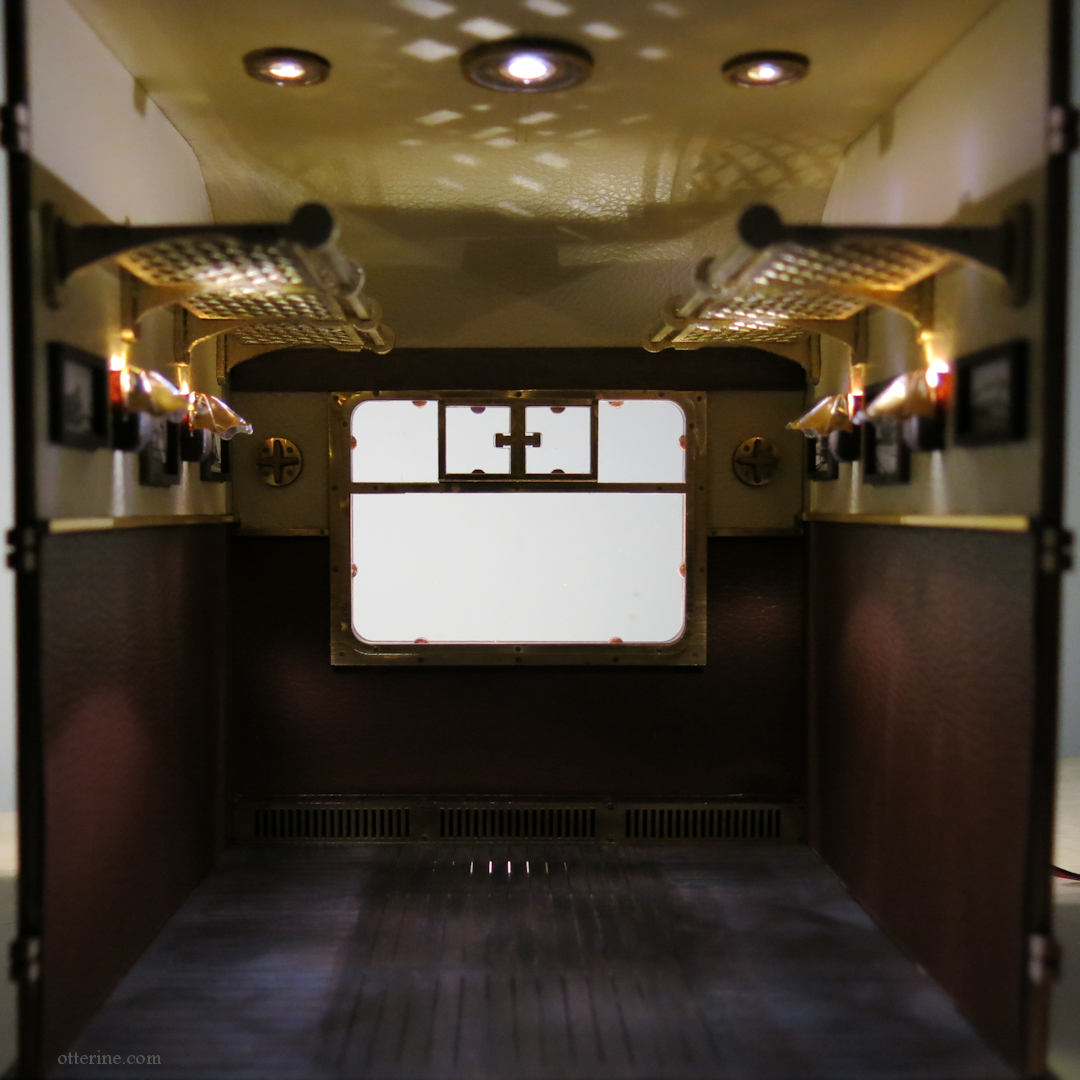
I love the ceiling light finishes and know this is going to look magical once the LED lighting is installed. Speaking of, be sure to take your time when unwinding the LED strand. The wire can get fiddly, and you don’t want to damage the lines. I used an empty tape insert to wind the wire around for easier handling while installing.
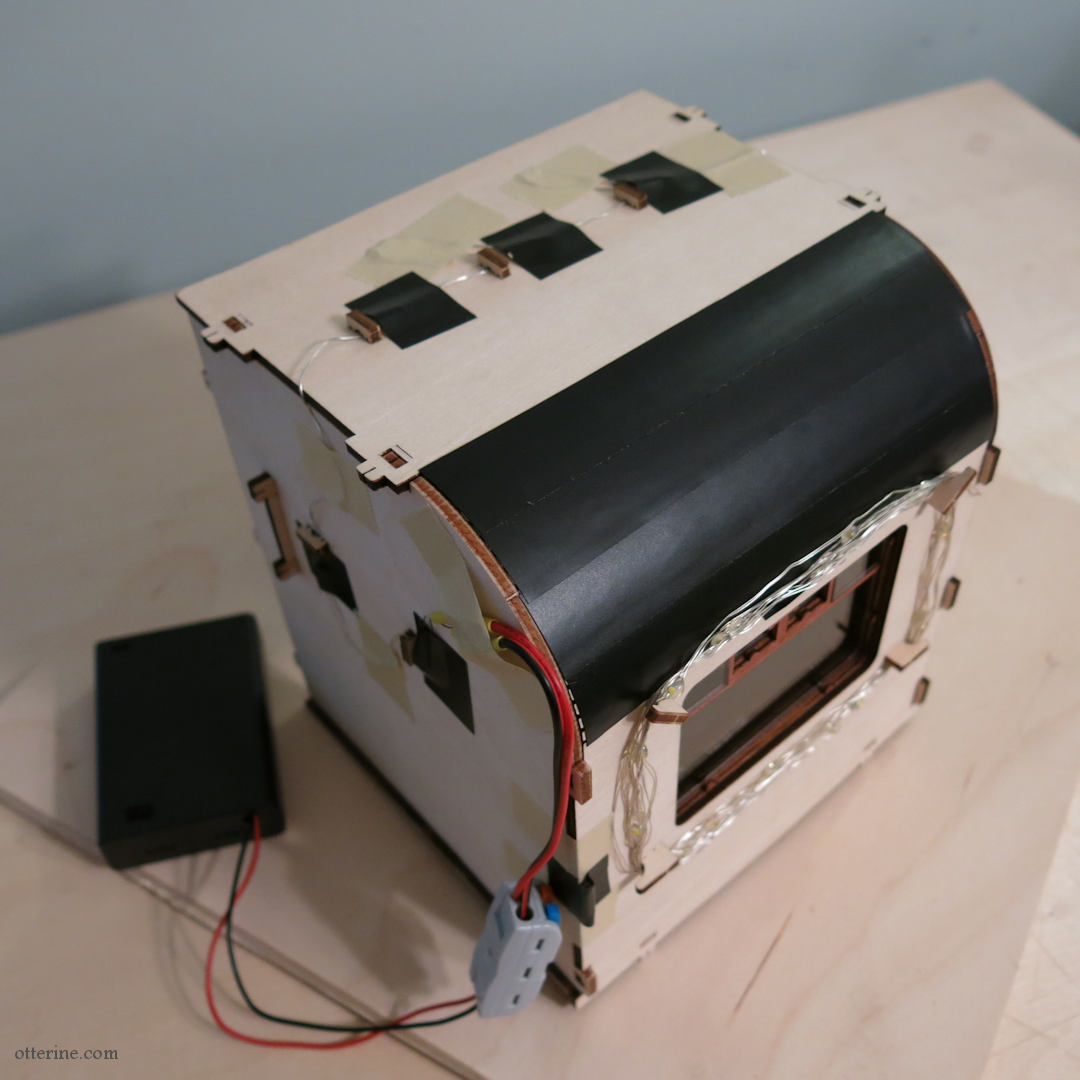
I used electrical tape to block some stray light and masking tape to secure the wires.
While I love the overall aesthetic, I don’t like the way the wall lights have gaps at the top. This is partially due to operator error since I found the shades difficult to manage. I have some ideas brewing…more to come.
——-
I have a discount code for 10% off your purchase at Anavrin (I will receive an affiliate commission when you use my link. This link should give you the discount, but the actual code is OTTERINE1224)
Categories: Train Cabin
November 10, 2024 | 1 commentThe Wishing Fountain – Halloween 2024
Seamus is awaiting your presence (and treat offerings) at The Wishing Fountain.
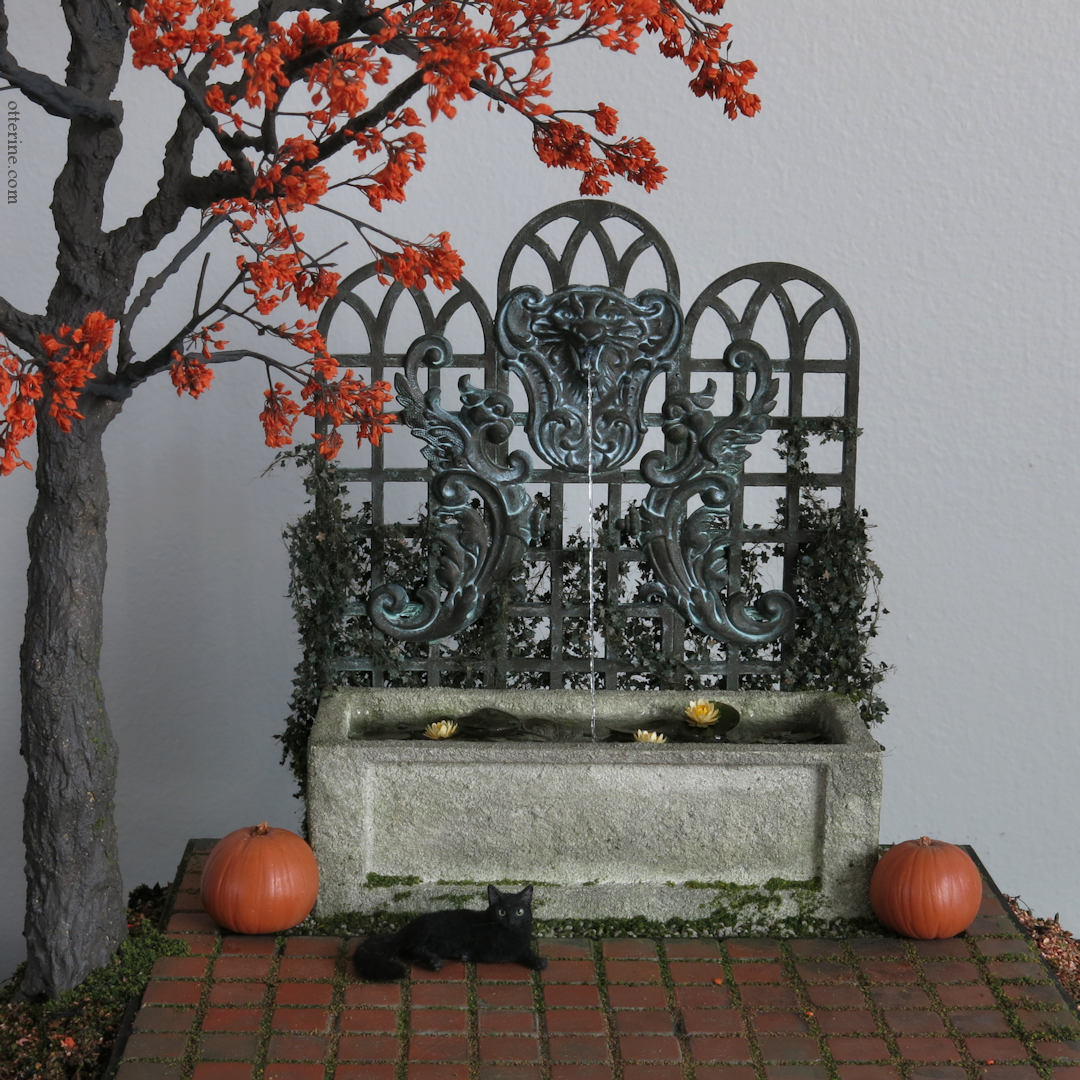
The Wishing Fountain was inspired by my various autumn trips to the East Coast. I’ve visited many historical estates, and these often have lavish gardens with fountains from a bygone era. I envisioned a fountain garden in the middle of a forest, perhaps a remnant of a once vast estate.
I started with the Garden Planter Corner Kit from miniatures.com and used it pretty much to spec.
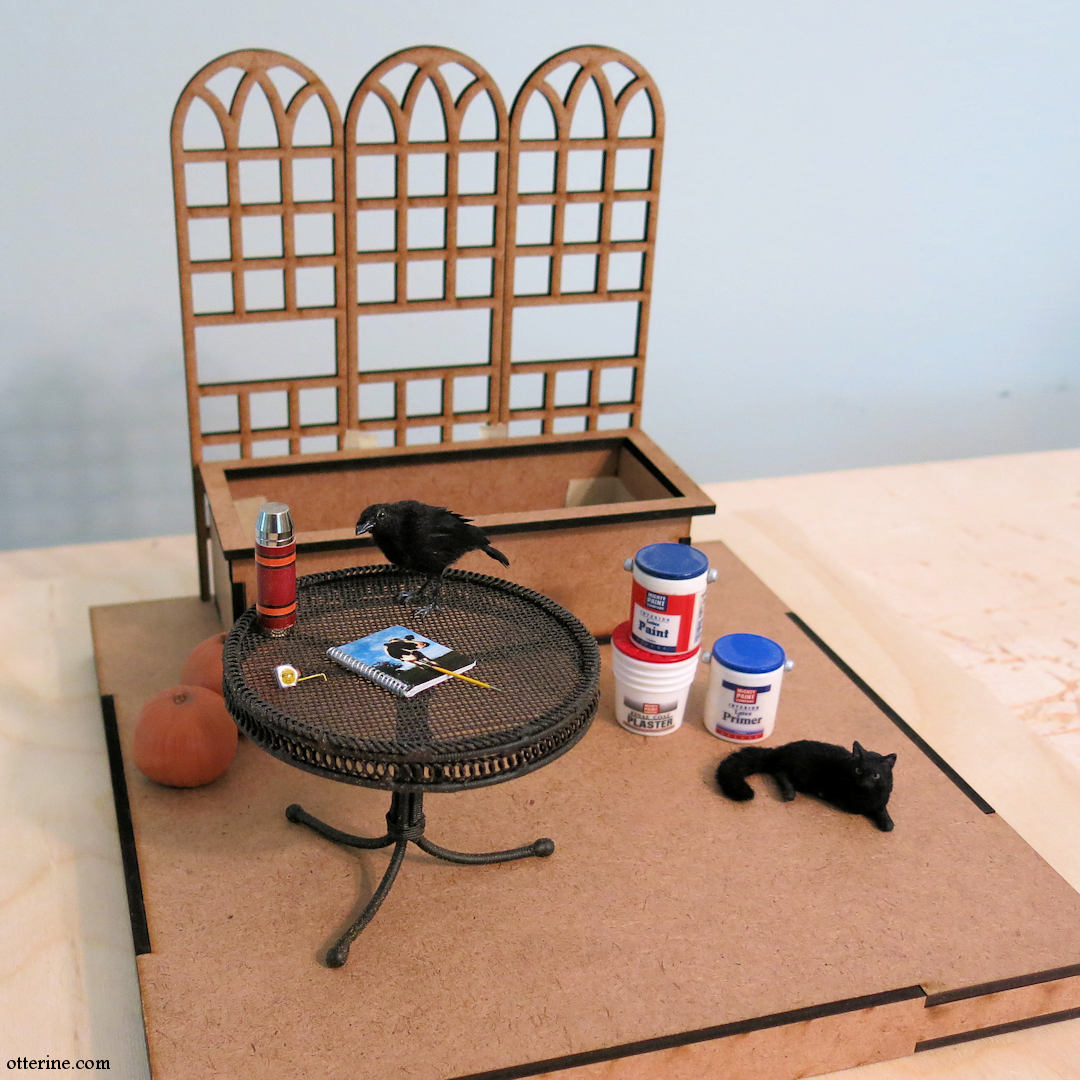
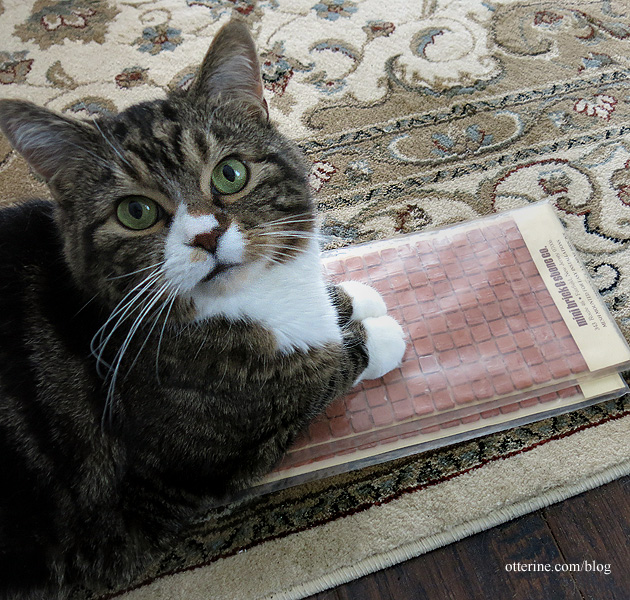
I covered the forward portion and the back sides of the kit base with square patio bricks. These come on mesh backing, so no having to place tiles one at a time; just cut the mesh to size and glue in place. I later added a thin strip wood border around the tiles to finish the edges.
To add visual interest to the trellis, I glued the arches together with the middle section raised slightly. I aligned the grid lines so it would look planned and added strip wood to fill in the “holes” so it would look uniform overall. For the planter, I added additional wood strips around the base to add visual weight to the bottom.
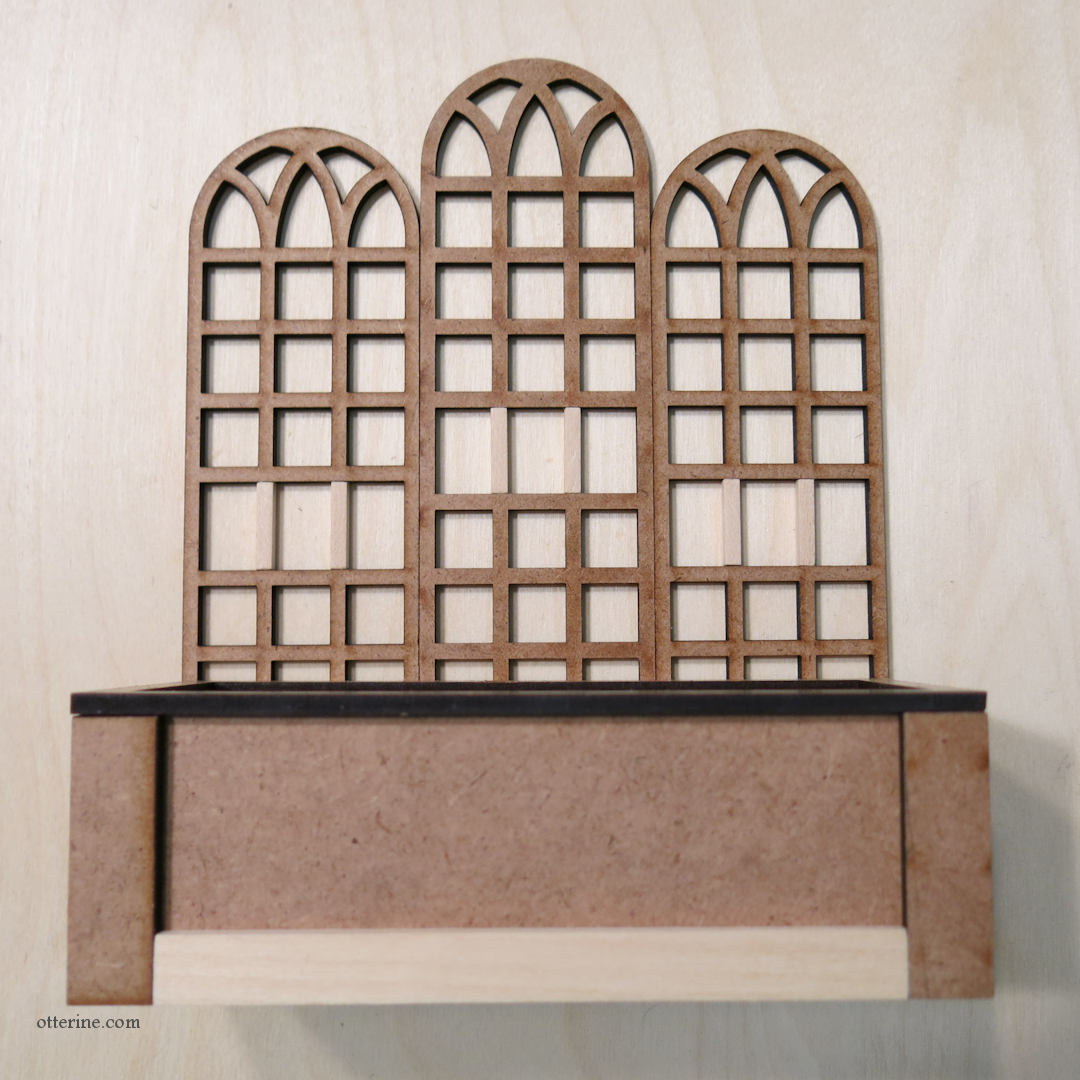
Since I planned to turn the planter into a basin, I covered the inside and outside with stucco patch. I left the back uncovered and just painted it to match the coloration of the front and inside. I needed the back flat to glue securely to the trellis. I glued aquarium gravel at the bottom since many real life examples I found had this detailing.
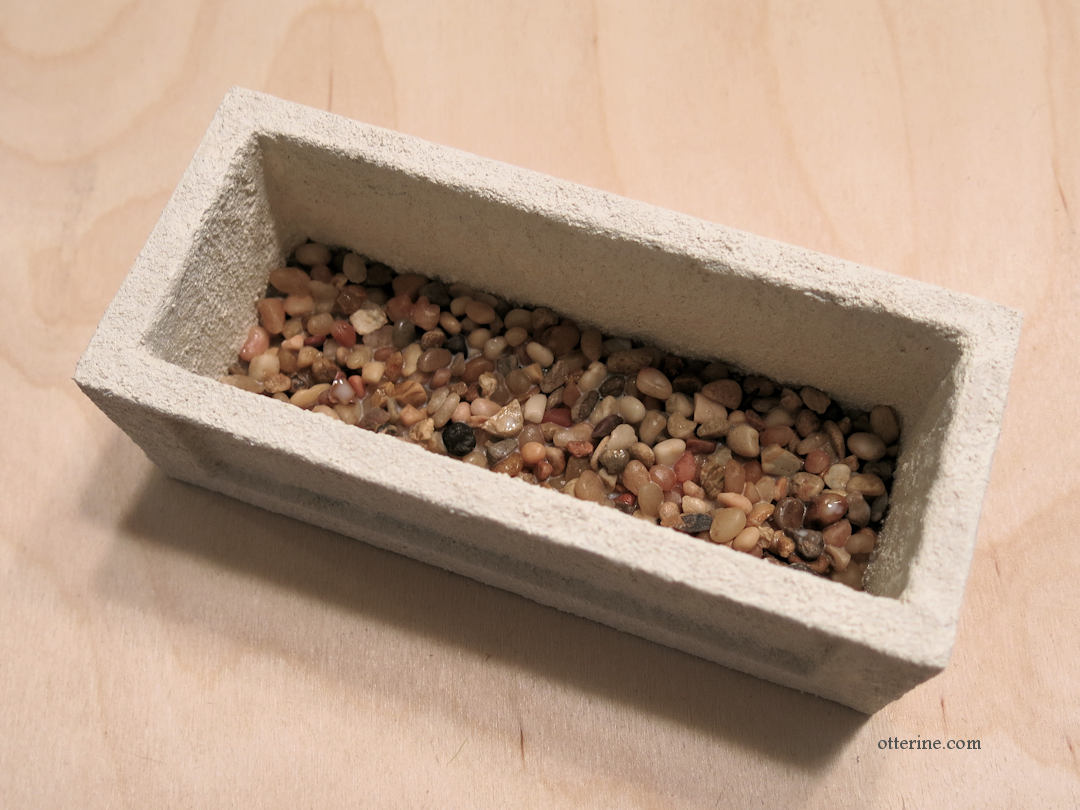
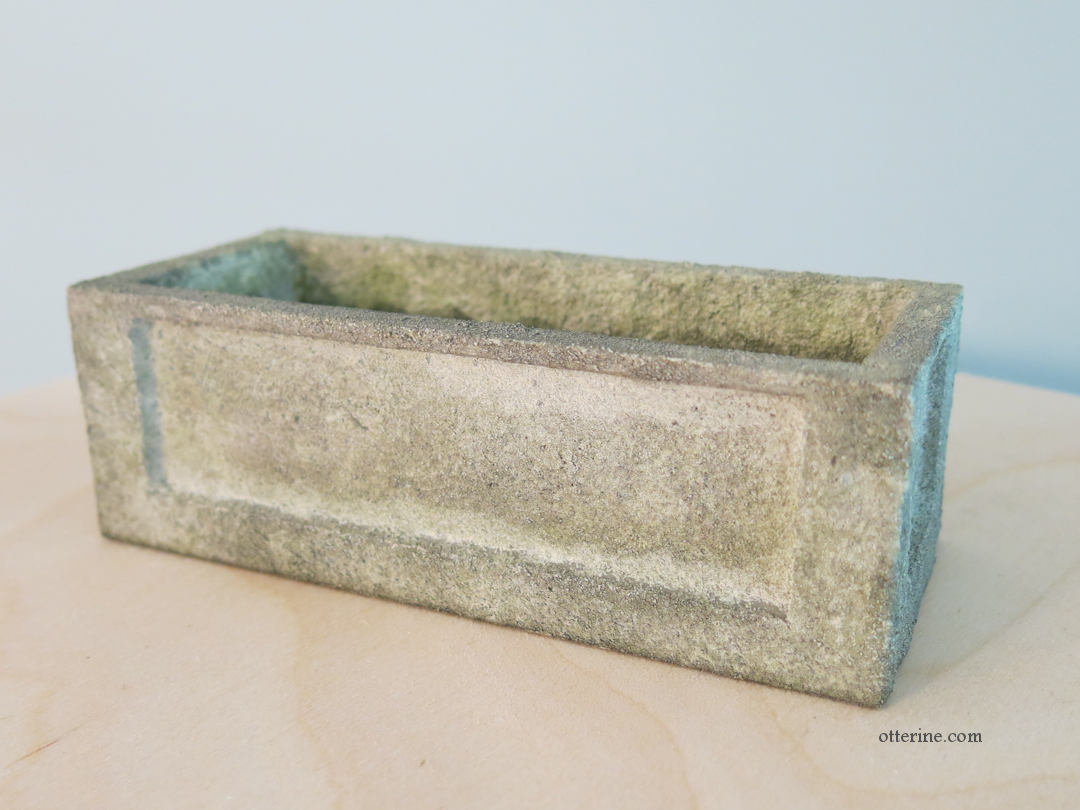
I applied several paint washes in brown and green to create the look of algae, then sealed the interior with a thin layer of white glue once the paint was dry.
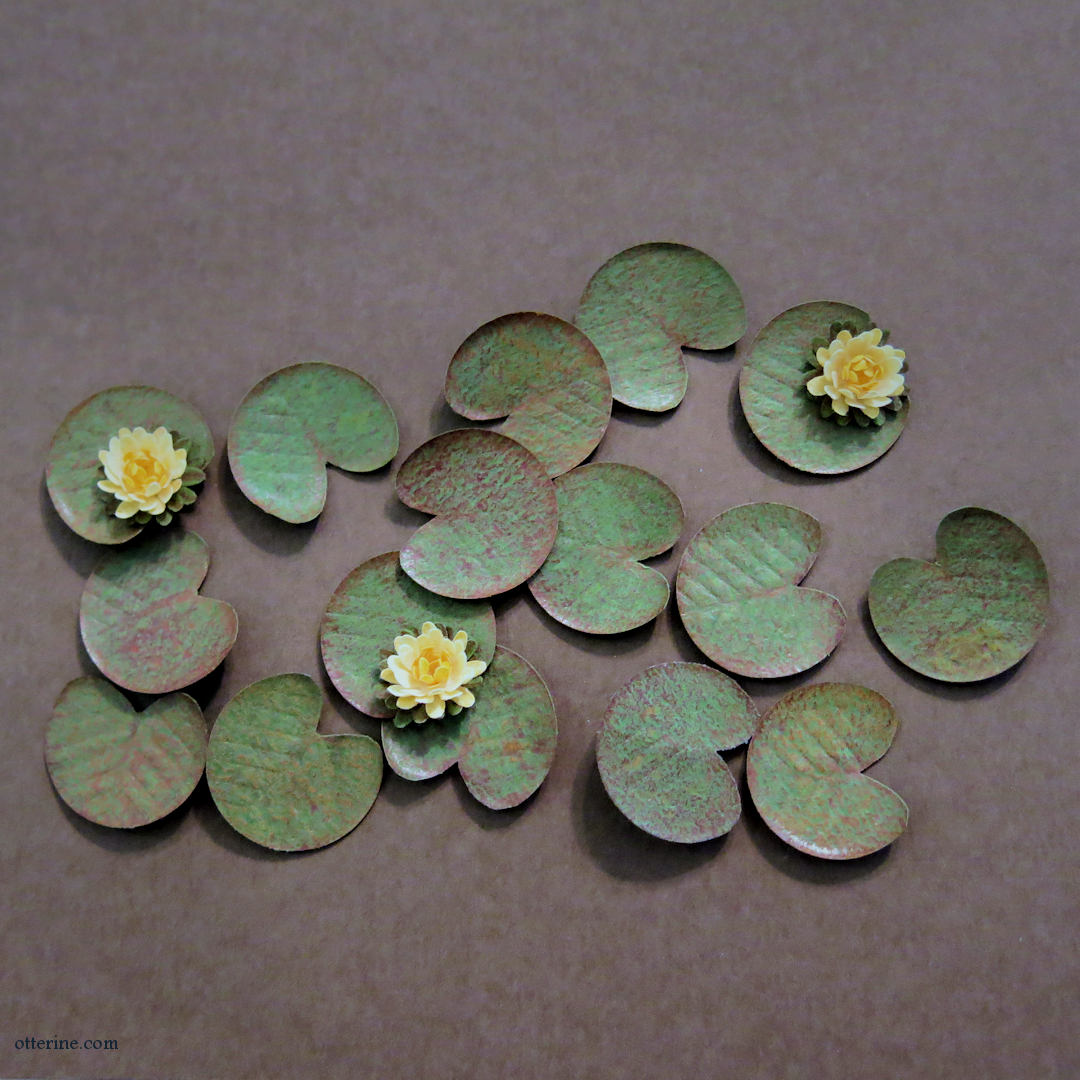
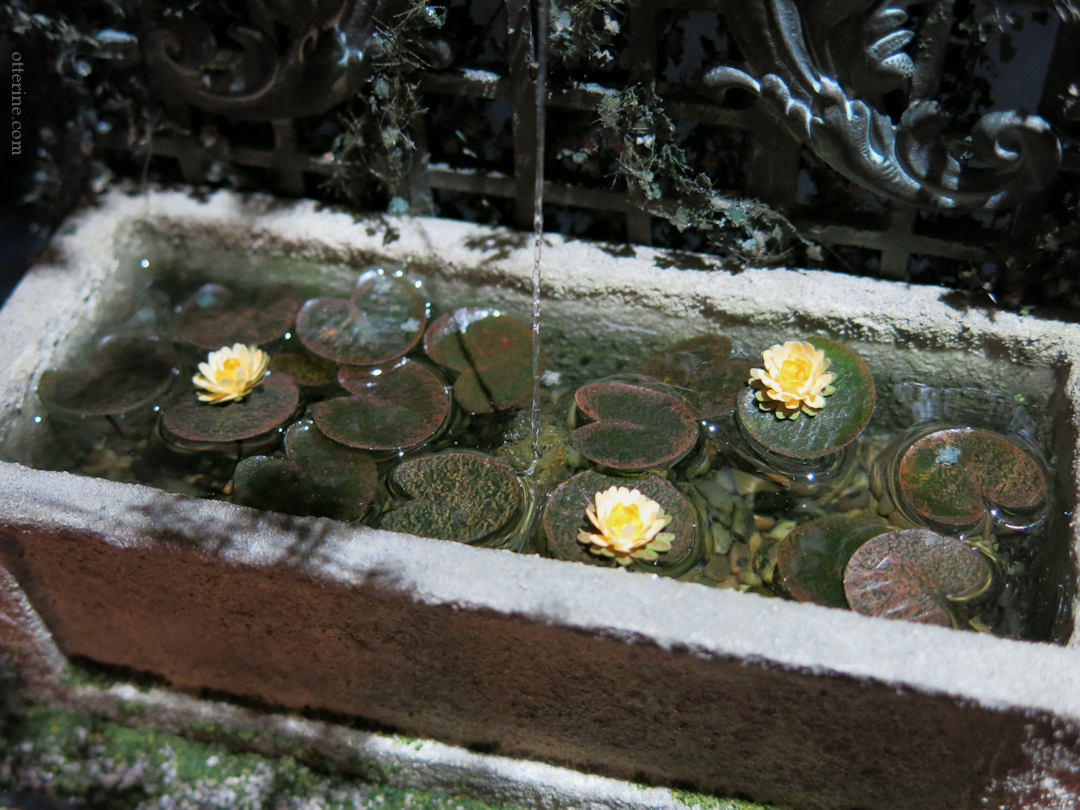
The waterlilies were made from origami paper, paper punches, and colored pencils.
Autumn trees are great on a tight deadline since they take fewer branches to get the point across. I used my standard method of floral wire, Durham’s Water Putty, and candytuft. The tree was planted in stucco patch that I used to build up an uneven surface to serve as the surrounding landscape, and I propped it up with a chopstick while the stucco set. The landscape base is a round wood plaque. Its routed edge surrounded a circular top that was a perfect fit for the square kit base.
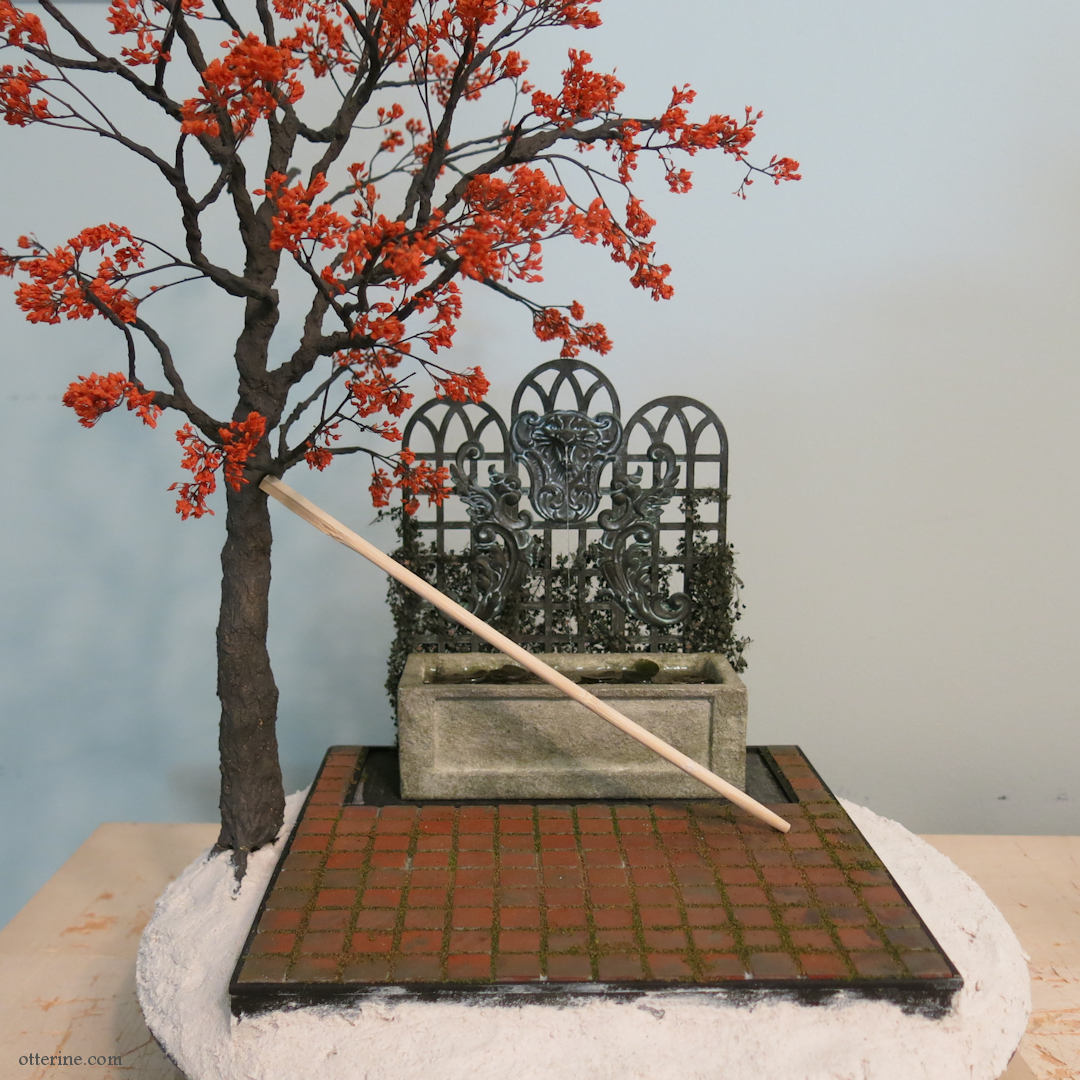
The fountain detail was made from brass findings from Birdy’s Design Gallery — a spooky cat and two flourishes — glued to the trellis using epoxy. The assembly was spray painted dark copper then aged with acrylics to achieve a subtle patina.
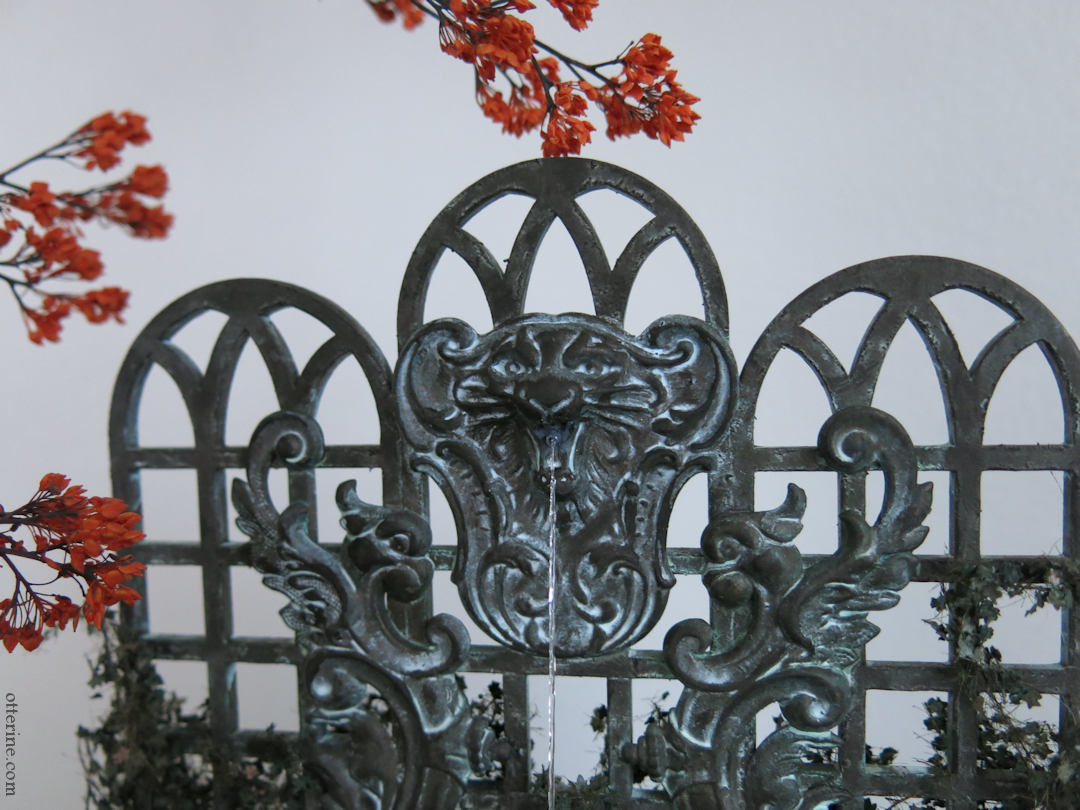
I used Woodland Scenics Deep Pour Water to fill the basin. You can pour up to half an inch in depth, so I needed to do this in two layers. You can add pigments, but the acrylic paint washes I had applied were enough.
Once the first layer cured “enough” at four hours, I planted the waterlily leaves. I probably should have done this a bit sooner than the four hours because it was not easy to pierce the thick resin with a pin to plant the stems. Too soon, and the stems would have fallen over. It’s something to watch more closely next time.
At this point, I also glued a thin transparent thread to serve as the base for the water stream from the cat face to the basin. This was a trial and error process, and I would do things differently next time. More on that below.
Once the leaves were planted, I poured the upper layer of Deep Pour Water. The resin transformed the paper into dark, translucent leaves. As much as I loved the green paper with the subtle aging, this reaction with the resin made them more like the real deal. I then let the resin cure overnight. (The below photo was taken after the water stream was completed.)
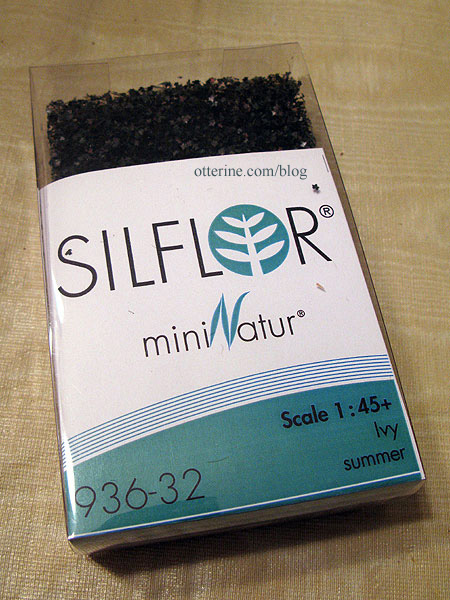
Before finishing the water stream, I added ivy to the back of the trellis. This is O-Scale (1:45) English Ivy from Scenic Express (Silflor Summer Ivy by Mininatur), but it works well in 1:12 scale.
I didn’t want to completely obscure the cat face or flourishes, but it does add a finishing touch. I wrapped some of the strands around the sides and slipped a few through the trellis onto the front surface.
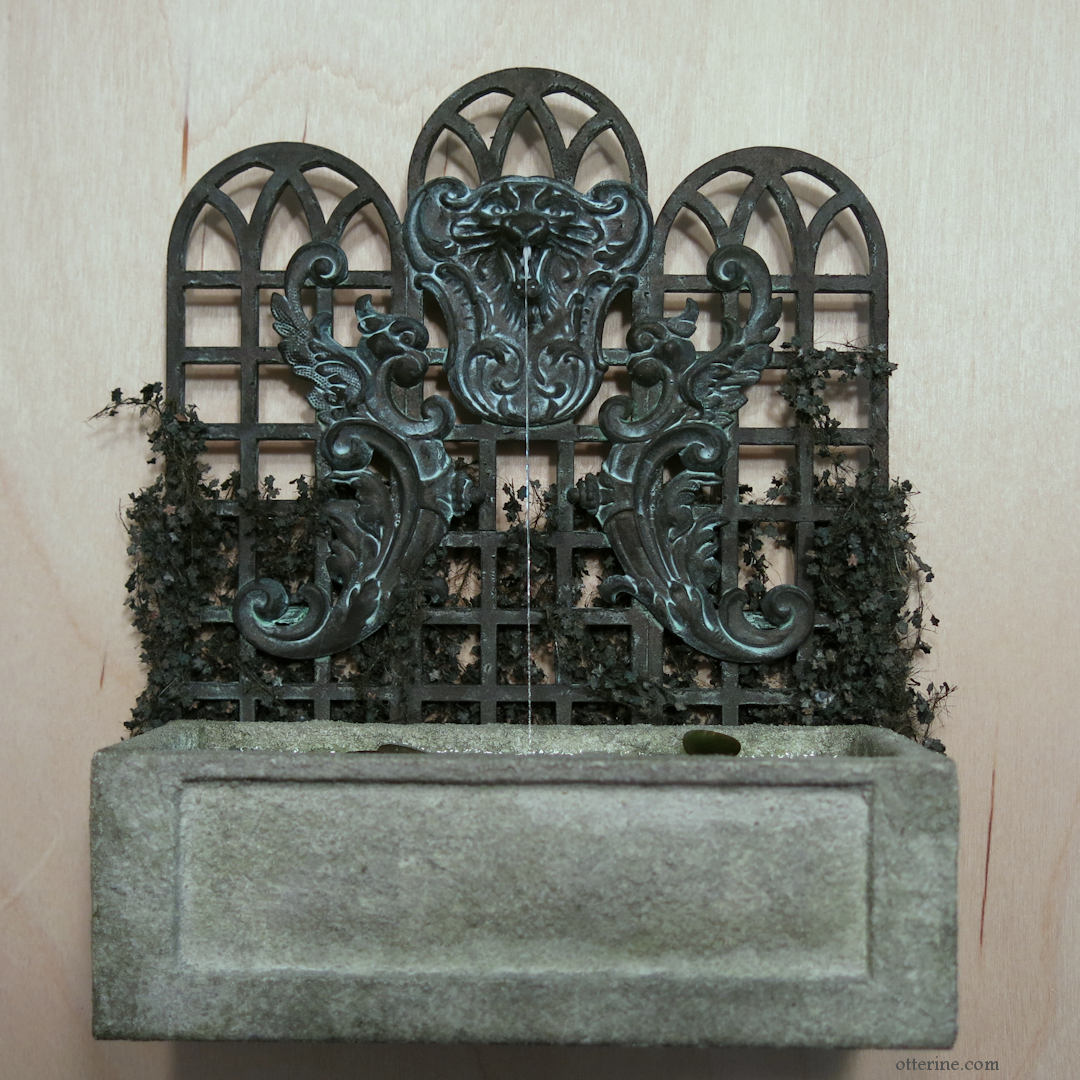
The water stream wasn’t easy, and it’s not terribly durable as it stands. As long as I watch my fingers when handling the build, it should stay intact.
How I did it:
I started with transparent thread (this is way too thin). I originally glued one end to the cat mouth with super glue gel and then glued the other end to the top of the first resin water layer. The super glue clouded the resin surface, though it didn’t mater in the end since it was covered by the upper layer of resin (and the waterlilies blocked the view a bit in the end).
Once I added the Woodland Scenics Water Ripples, the thread began to sag. Since the Water Ripples material stays flexible, it didn’t help with the sag, so I disconnected the thread from the cat mouth to fix the issue. I drilled a hole in the mouth, fitted a bit of aluminum tubing, then glued the thread into the aluminum tube. Once secure, I inserted the tube into the mouth and adjusted the thread for proper tension. No more sag.
I painted the aluminum to match the cat face patina and added more Water Ripples to finish the water stream. It’s as good as it gets from here, and I think it’s pretty convincing.
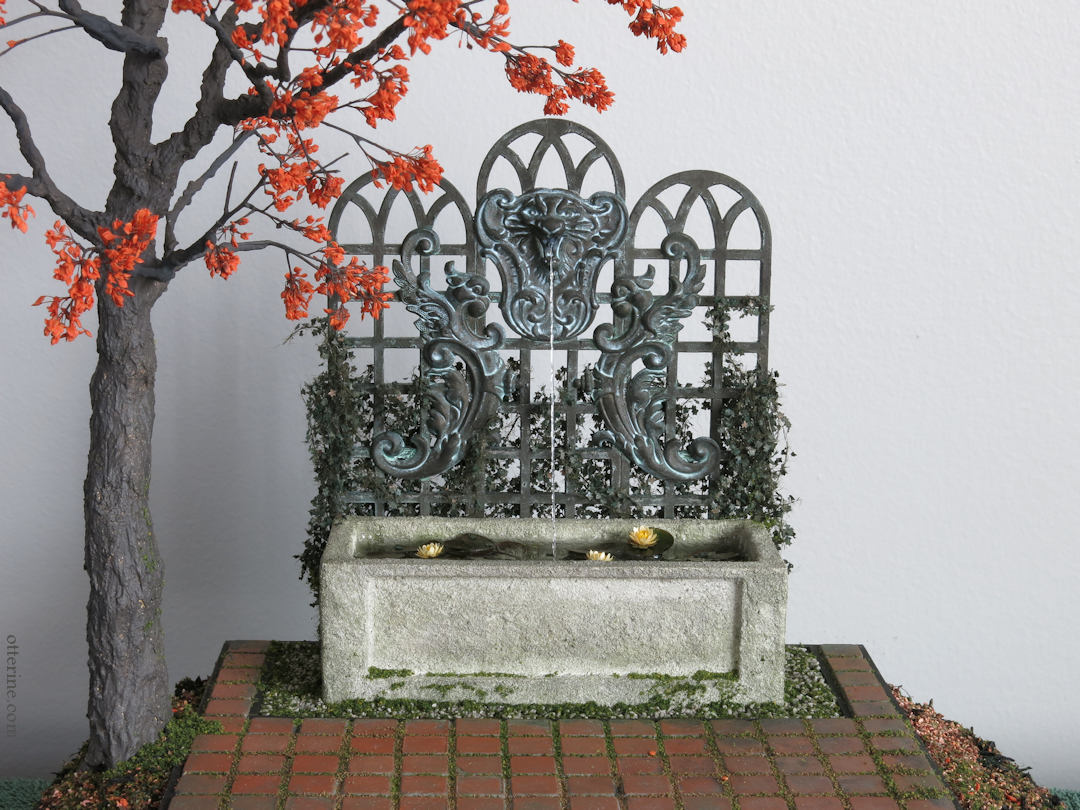
How I would do it from the start:
Instead of transparent thread, I would use 50lb fishing line. It’s more substantial and easier to control. I would also drill the hole and use tubing from the start, leaving the final adjustments and gluing in place to the end as I did in my fix above. All else would remain the same — gluing it into the basin, pouring the Deep Pour Water to bury the bottom of the fishing line and adding Water Ripples to make the stream.
Once the fountain assembly was complete, I glued it to the kit base and added the waterlily flowers. Since the resin was cured, the flowers stayed intact and bright. I filled the ground area around the basin with Woodland Scenics gravel sprinkled with Woodland Scenics foliage. I painted the landscape black brown and then added various Woodland Scenics loose ground cover to mimic a forest floor. All landscaping materials were secured with Scenic Cement.
My entry in the miniatures.com Halloween Challenge features a whimsical ghost dog with a bone from M for Miniatures. I painted the bone instead of leaving it white. The pumpkins were made from polymer clay and borrowed from The Haunted Heritage.
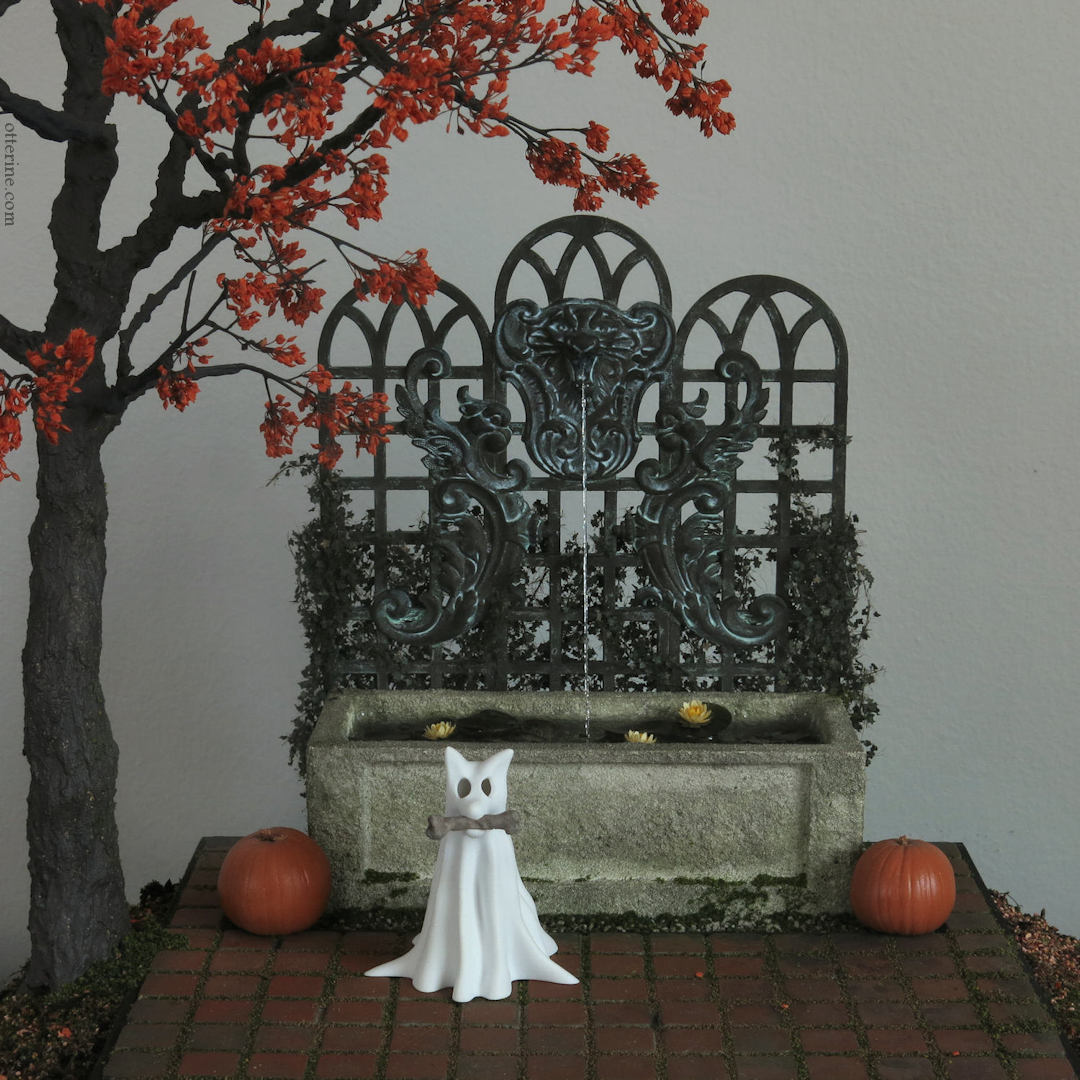
The ghost dog comes with a light, but I rather like it without.
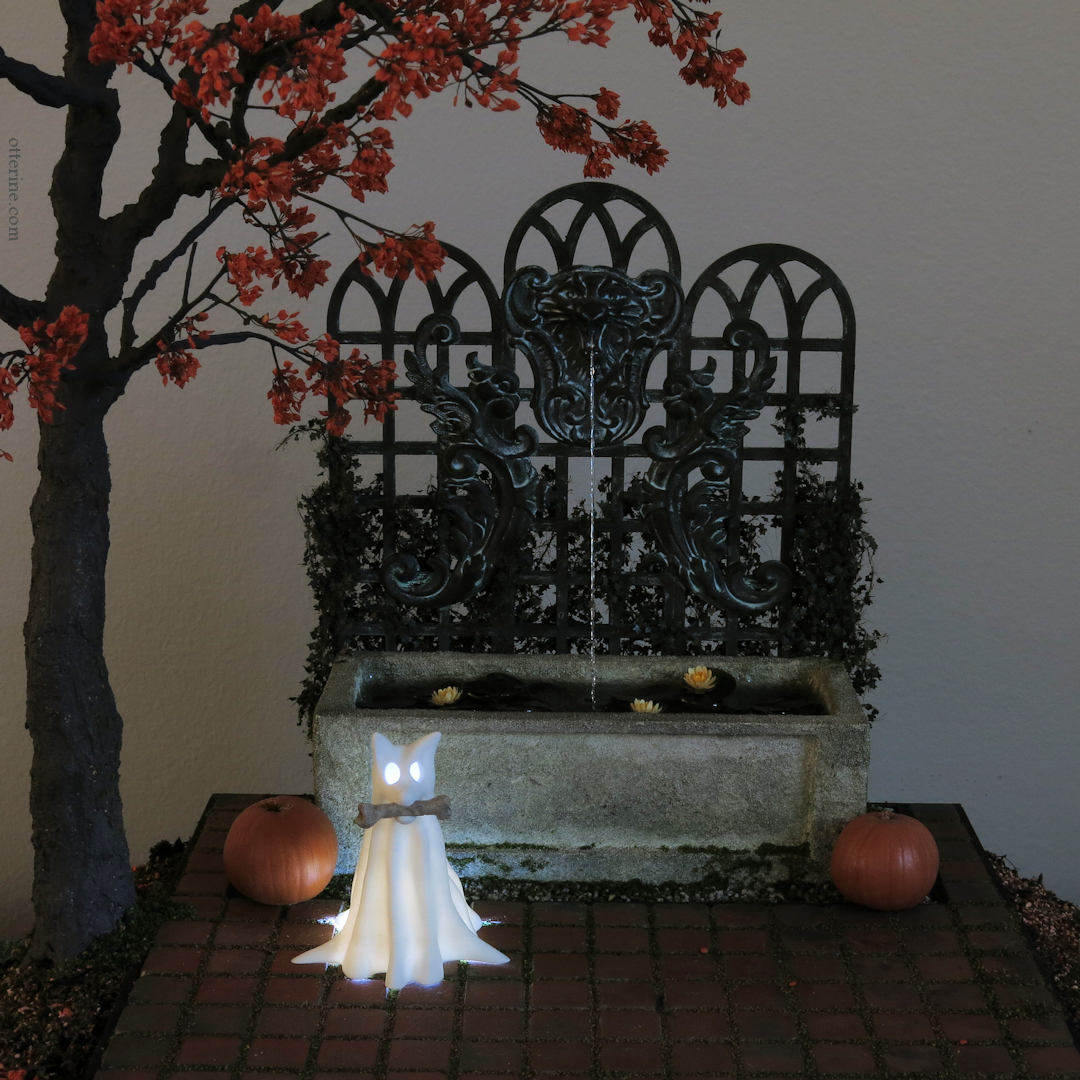
There’s also a cat ghost. :D
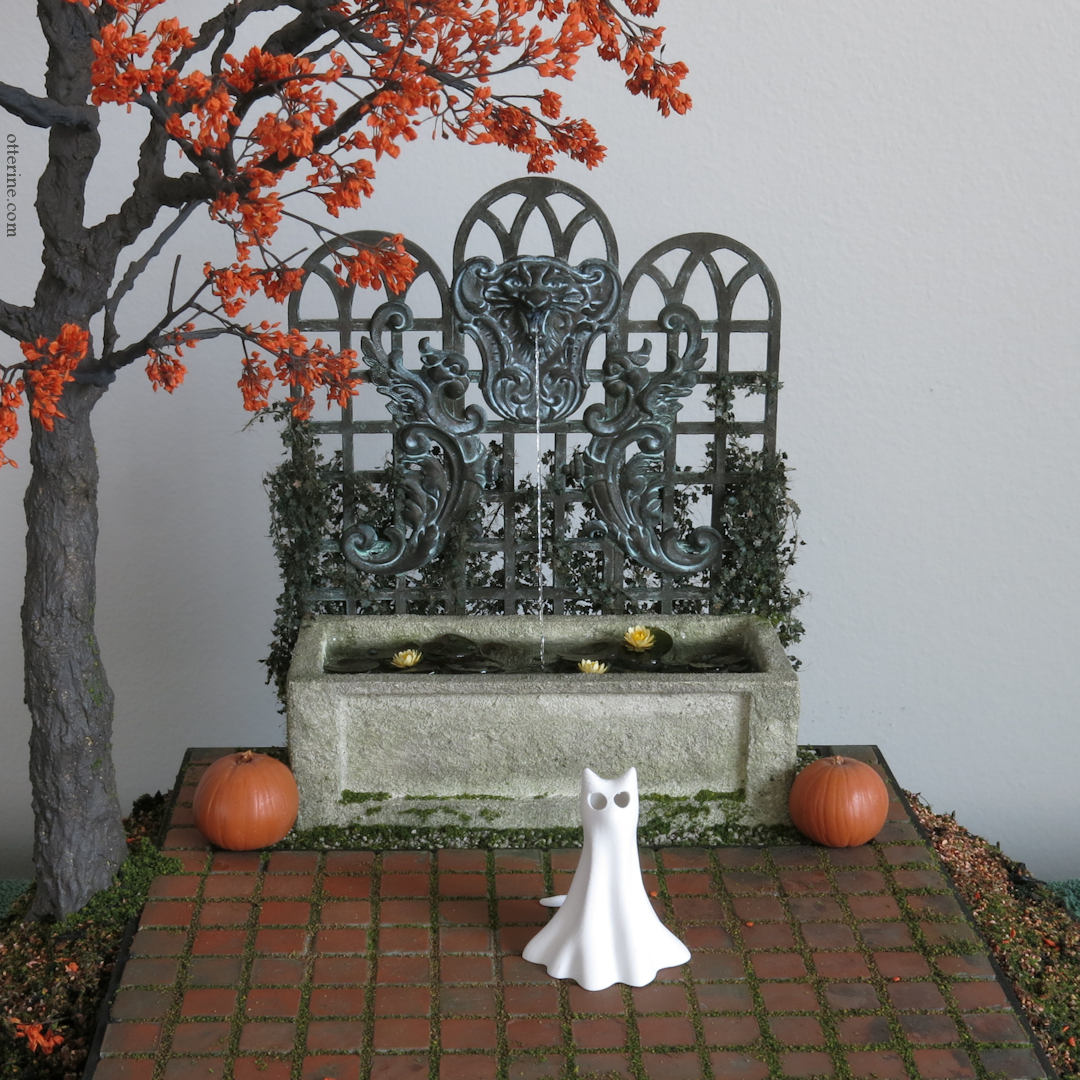
Wishing you all a Happy Halloween!
———-
Note: As an Amazon Associate, I earn from qualifying purchases from the Amazon product links in this post.Categories: Roomboxes and Mini Scenes
October 31, 2024 | 3 commentsTrain Cabin book nook – part 2
Continuing work on the train cabin book nook. Affiliate discount link at the bottom of this post.
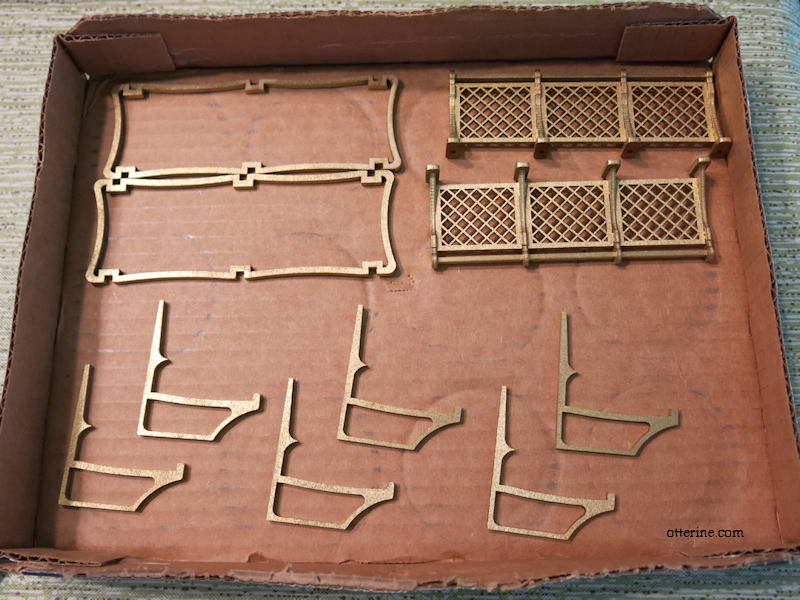
I spray painted the seat supports and the assembled luggage racks in a soft gold. The kit comes with gold colored metal sheets to finish the pieces in shiny brass, but I opted to leave those off during the process. Just a personal preference. I will be using the metal sheet in other places in the kit.
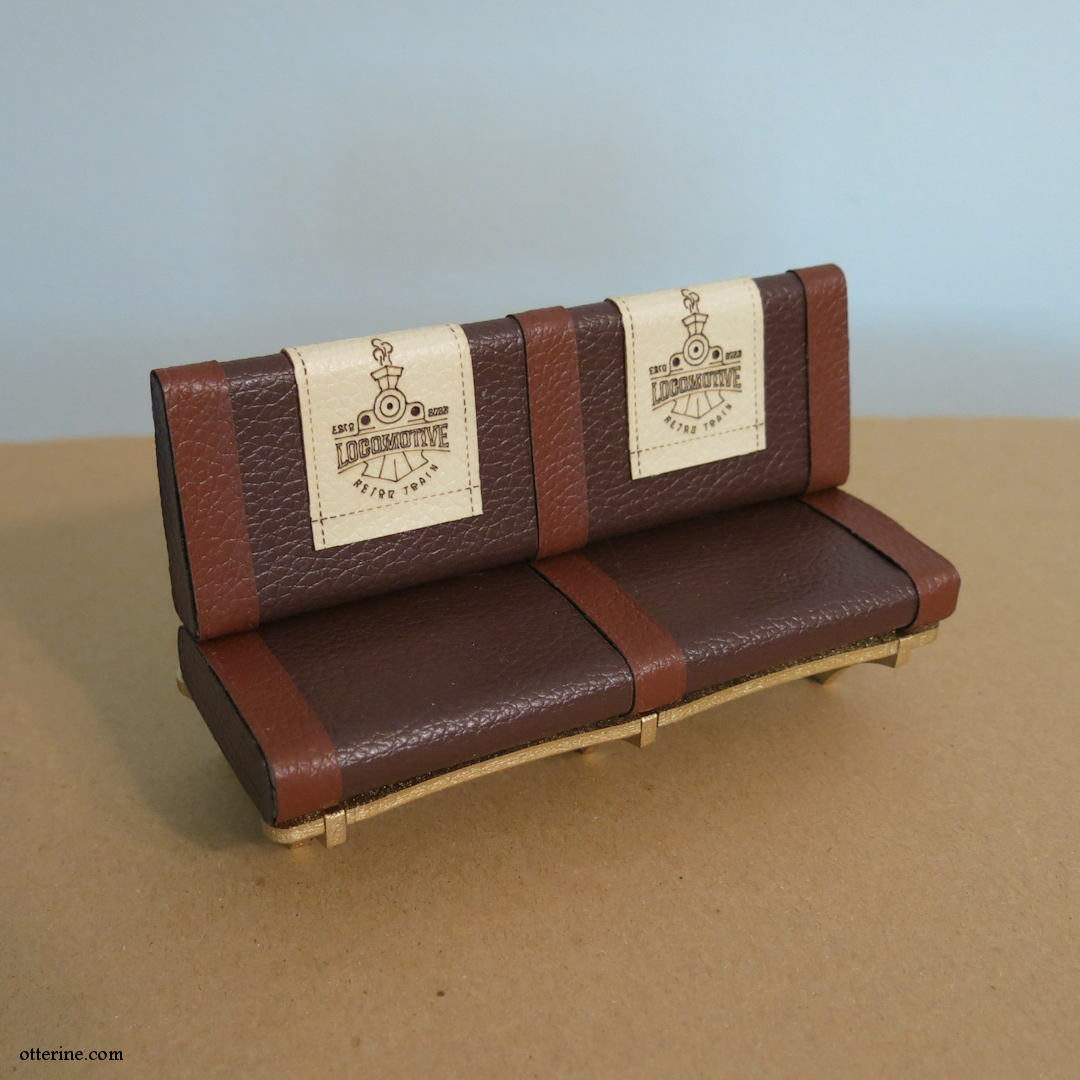
I then added the pre-cut leather to the seats I built previously. The quality is nice, and the pieces are self-adhesive. I did add a little supplemental glue where needed. (One note about the leather, though. Since the kit is laser cut, there will be some soot from the process. Be sure to wash your hands when handling the lighter color leather pieces during assembly.)
The kit includes artwork on regular printer paper for the wall frames. I used Wallpaper Mucilage to affix the black and white photos to white card stock to make them easier to handle.
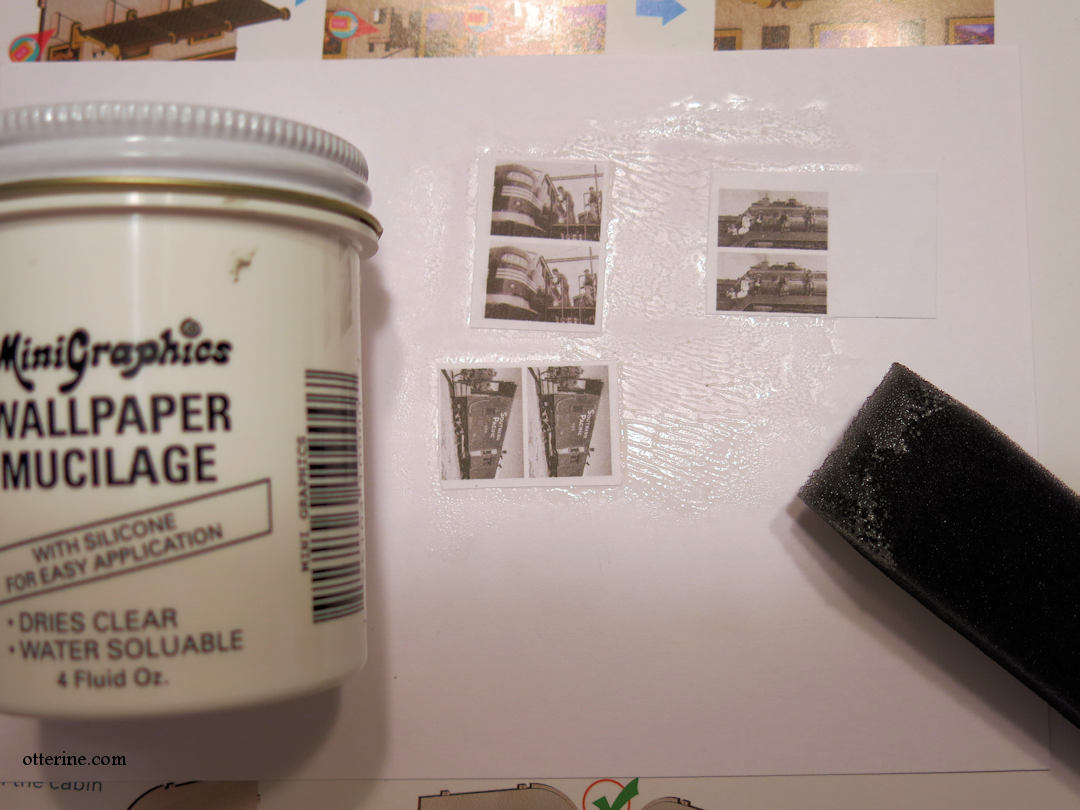
After cutting them, I realized there wasn’t a black and white photo for the larger size frame, so I googled suitable images to fill in since I wanted all black and white photos for consistency. I painted the frames dark brown and left off the kit’s gold accents. With the leather installed on the side walls, I started putting it all together.
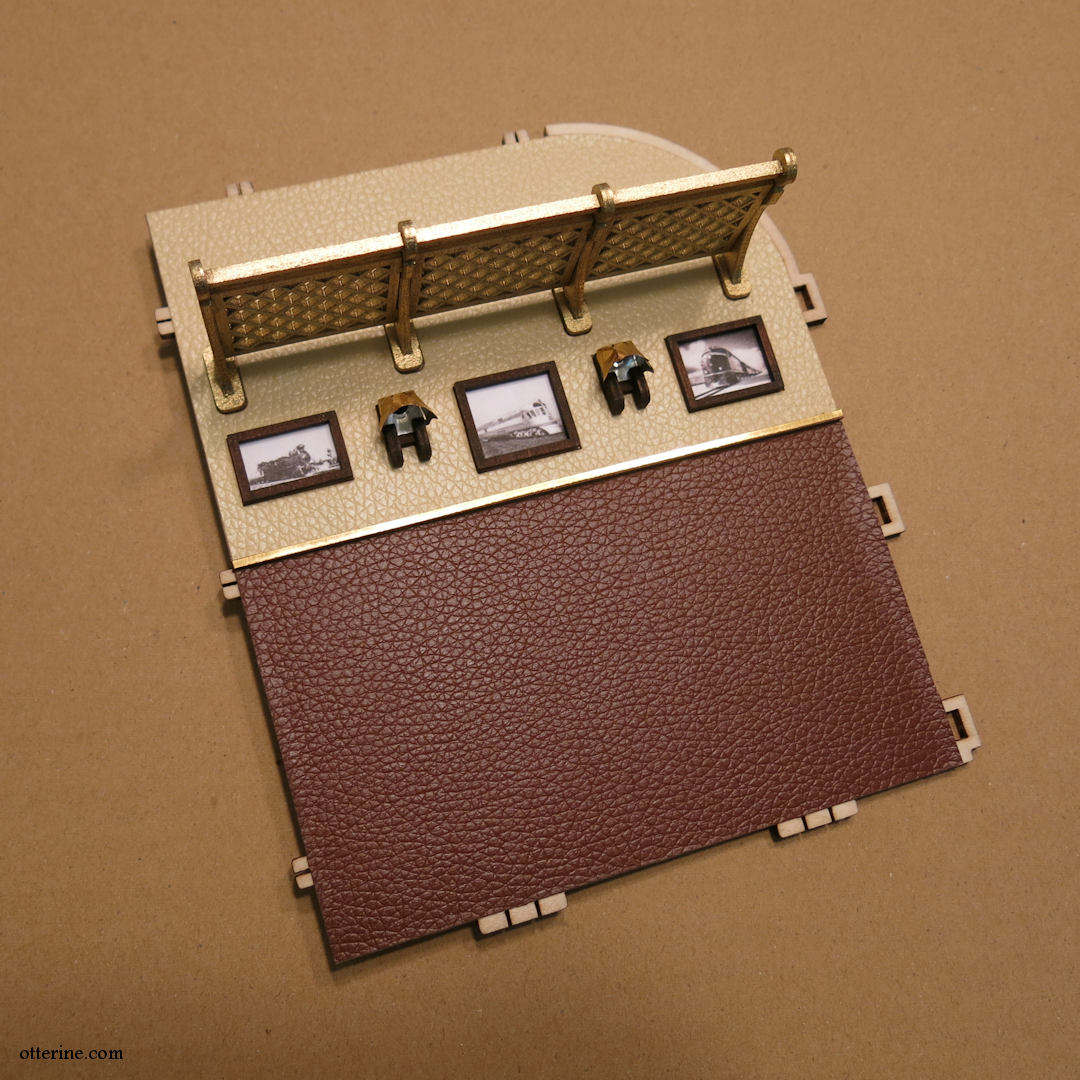
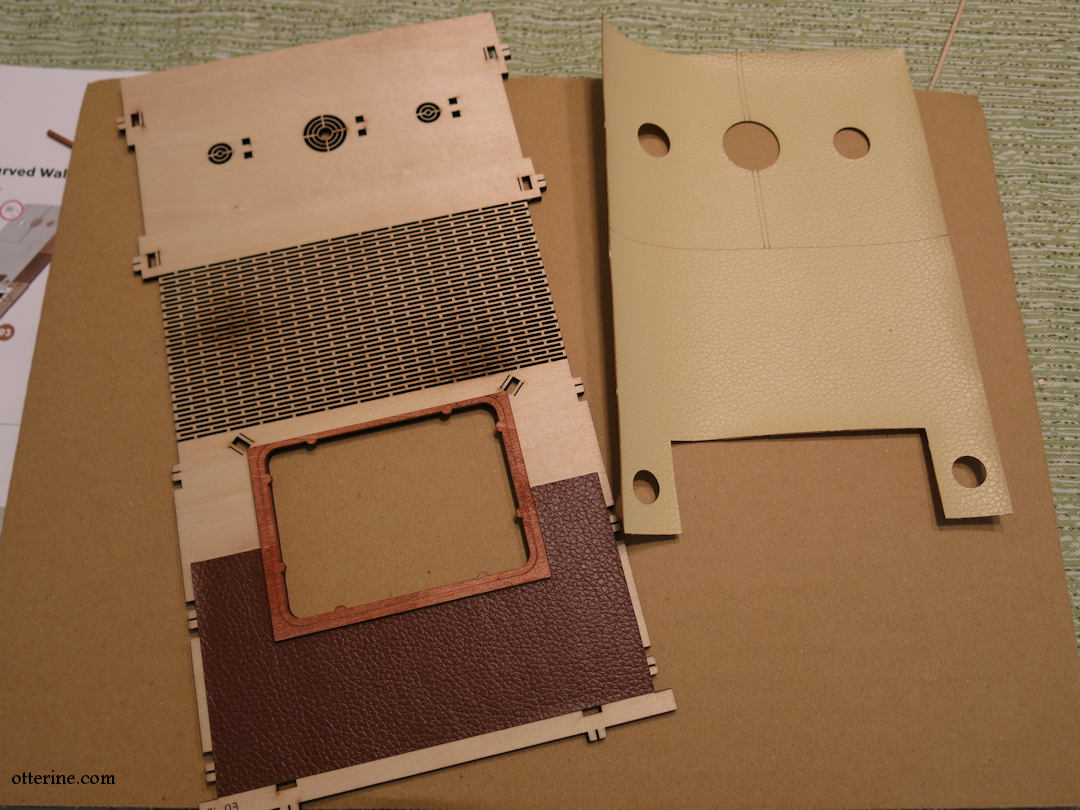
For the curved back wall assembly, I departed from the instructions slightly since I found it easier to glue the window frame piece 98 in place first, then add the leather pieces. This ensured a good fit and proper placement of the leather on the wall/ceiling and around the window.
——-
I have a discount code for 10% off your purchase at Anavrin (I will receive an affiliate commission when you use my link. This link should give you the discount, but the actual code is OTTERINE1224)
Categories: Train Cabin
August 16, 2024 | 1 commentTrain Cabin book nook – part 1
Starting work on the train cabin book nook. Affiliate discount link at the bottom of this post.
There are a lot of parts to this kit, but the instructions seem clear and thorough.
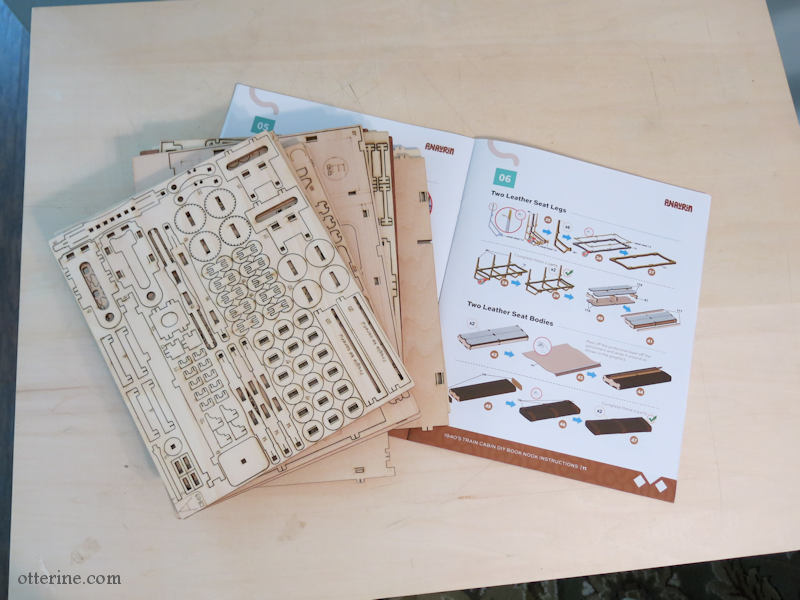
The the first half of the instructions involve the working mechanism to create the moving landscape seen through the window. Since I don’t need the landscape portion finished to work on the interior, I skipped ahead. I have some ideas on changing the interior, so I wanted to do some dry fitting to see what was what.
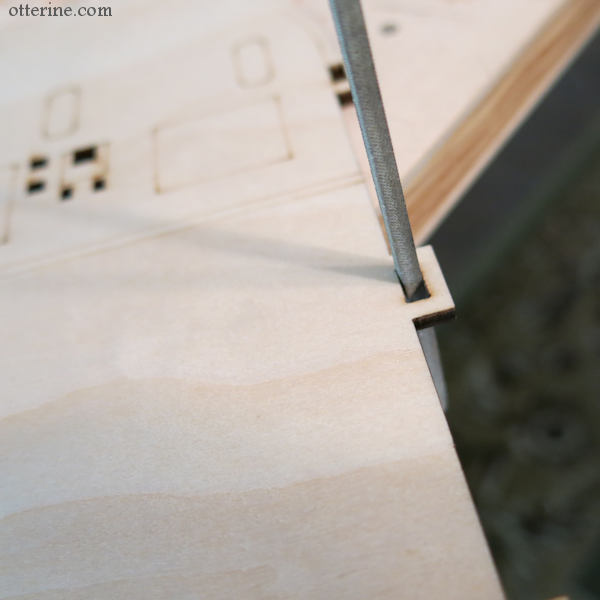
The kit pieces are precise so far, and I needed to use needle files and sandpaper to get the tabs and slots to fit without forcing connections and risking breakage.
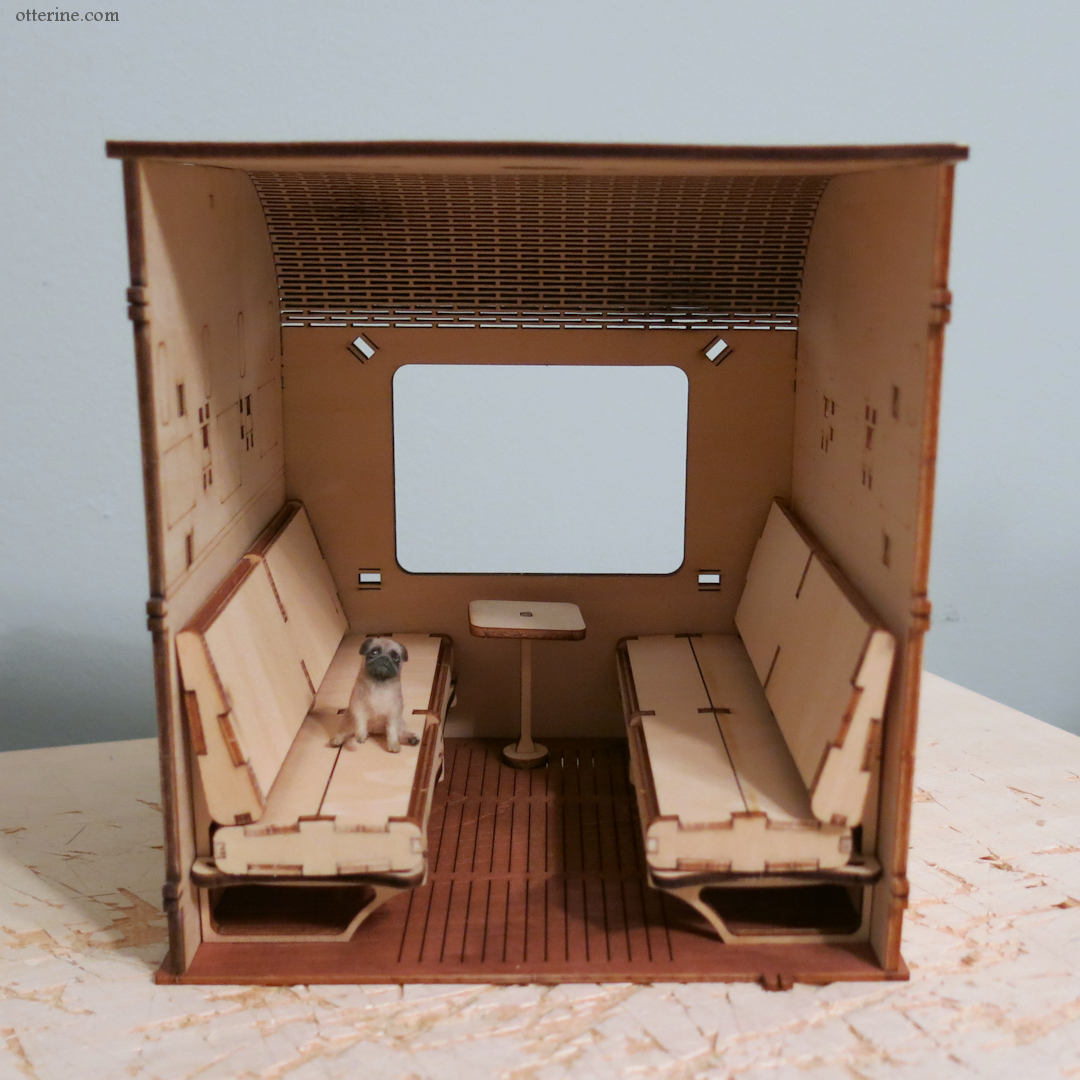
The project is roughly 1:24 scale, and I have very little experience beyond plastic model cars in this scale. But, I do have a tiny pug named Pierre from Marina. Since there’s a pet carrier included in the kit, I think Pierre will have to do a fair amount of modeling along the way.
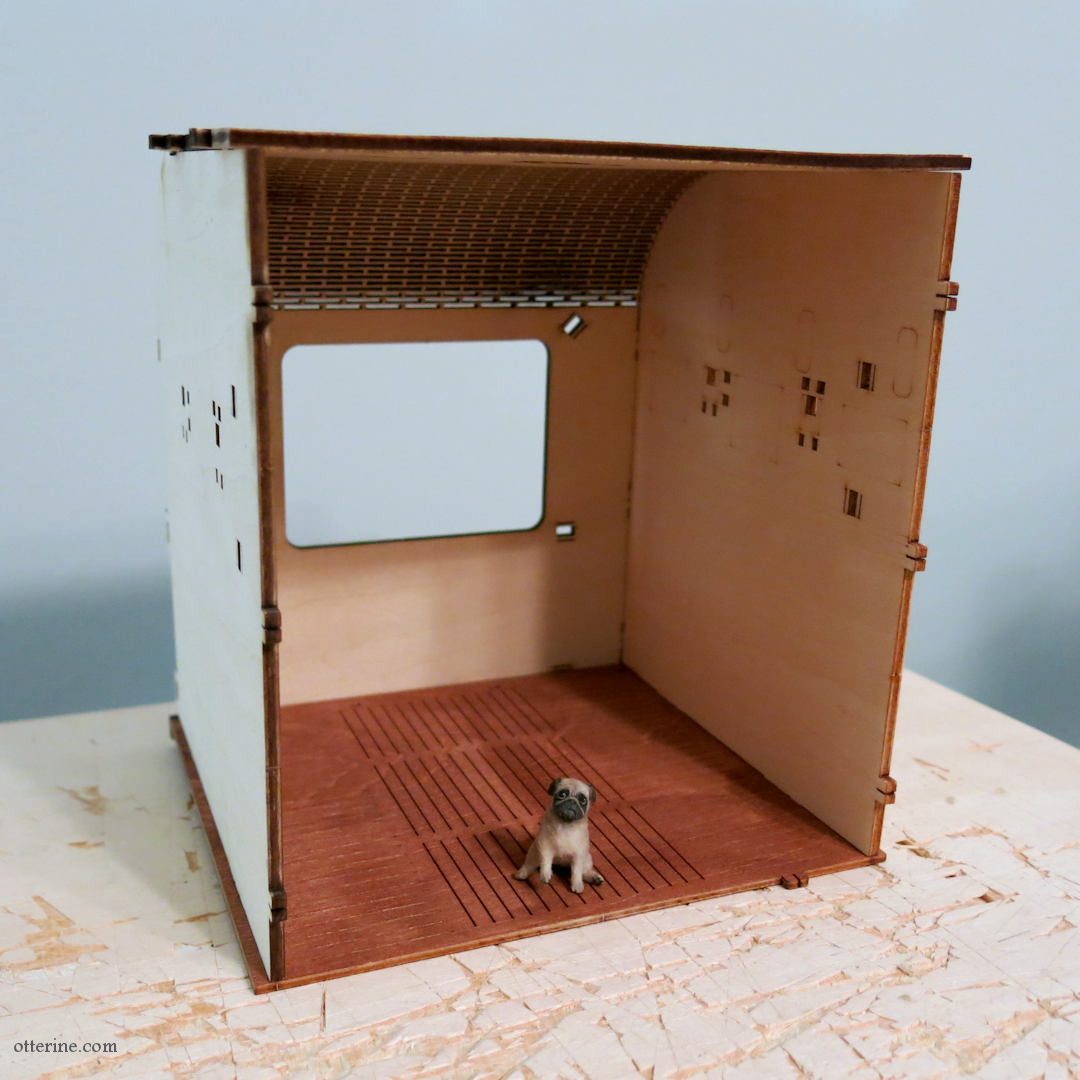
After dry-fitting the seats and table, I think my alterations are going to be minimal. If I were to scratch build, I would have room to change things more. I’m not at all disappointed, since I was fairly certain making alterations would be limited by the precision of the kit itself.
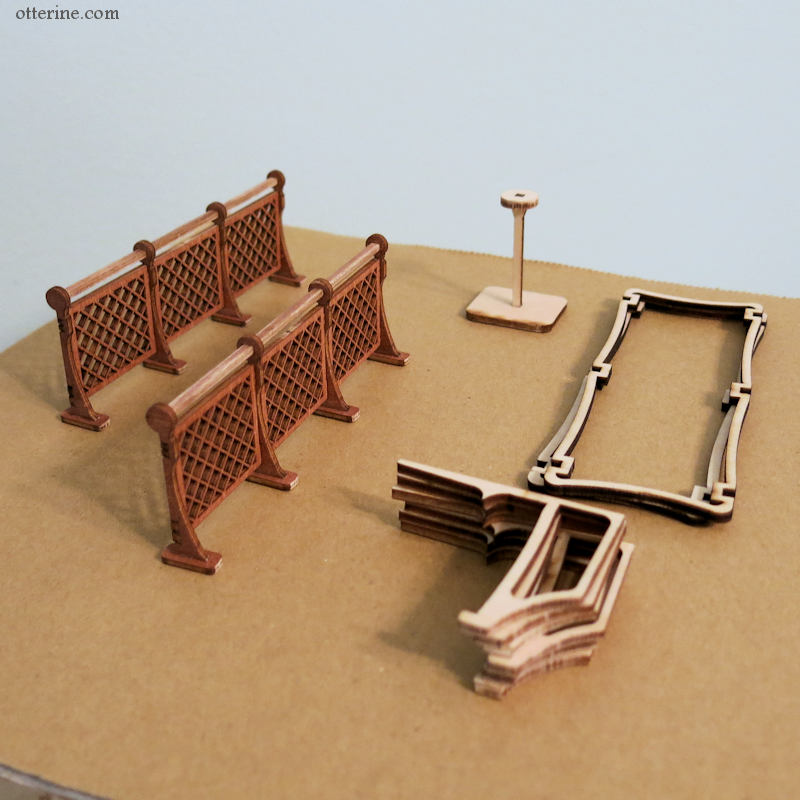
I put together some assemblies to set aside for spray painting. Note: I’m not using some of the brass metal sheet detailing as I go. I will use some but not all.
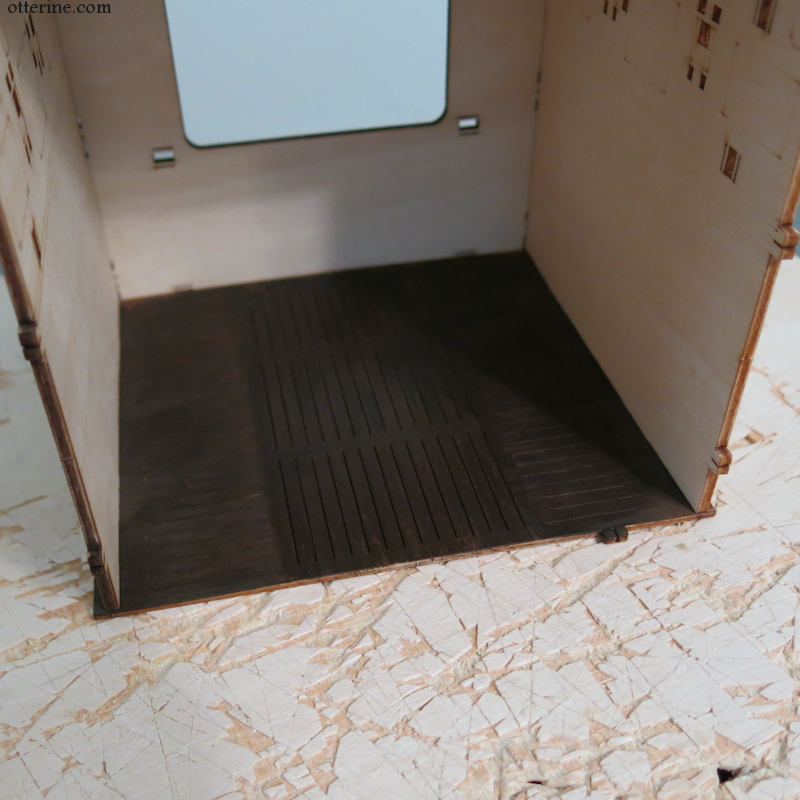
The flooring comes stained, but I wanted to make it a deeper brown. It also had some large, obvious grain. I used Staining Medium mixed with Bittersweet Chocolate, both by Americana. For the larger grain streaks that still showed, I used undiluted paint.
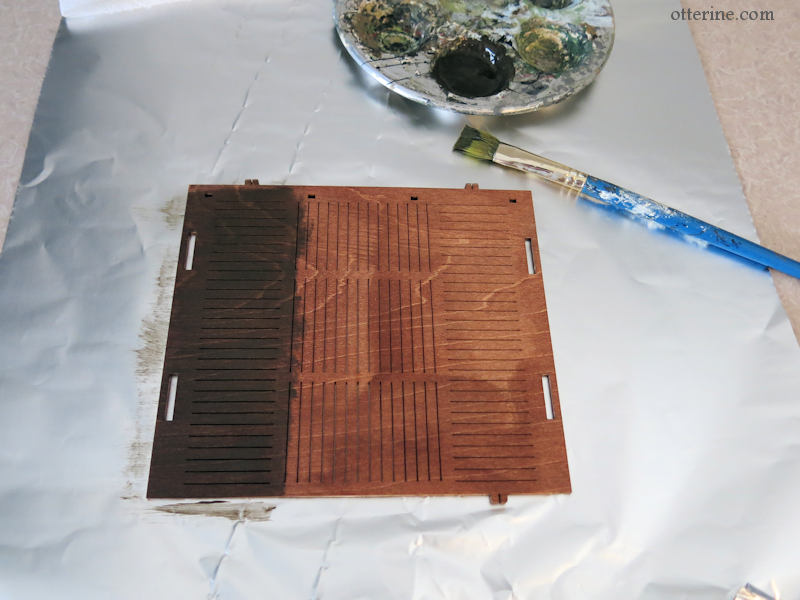
Once dry, I polished lightly by rubbing the surface with a bit of brown paper bag then sealed with satin varnish by Delta Ceramcoat. It’s now a deeper color with the obvious grain hidden.
——-
I have a discount code for 10% off your purchase at Anavrin (I will receive an affiliate commission when you use my link. This link should give you the discount, but the actual code is BRAE63636)
Categories: Train Cabin
May 27, 2024 | 1 commentTrain Cabin book nook – introduction
I was gifted this lovely 1940’s Train Cabin kit by Anavrin. I have loved this book nook since I first saw it, but other projects have taken center stage. When Anavrin contacted me about doing a build for my blog in exchange for the kit, I was overjoyed.
As part of the deal, I have a discount code for 10% off your purchase at Anavrin (I will receive an affiliate commission when you use my link. This link should give you the discount, but the actual code is OTTERINE1224) They have this and many other book nook kits.
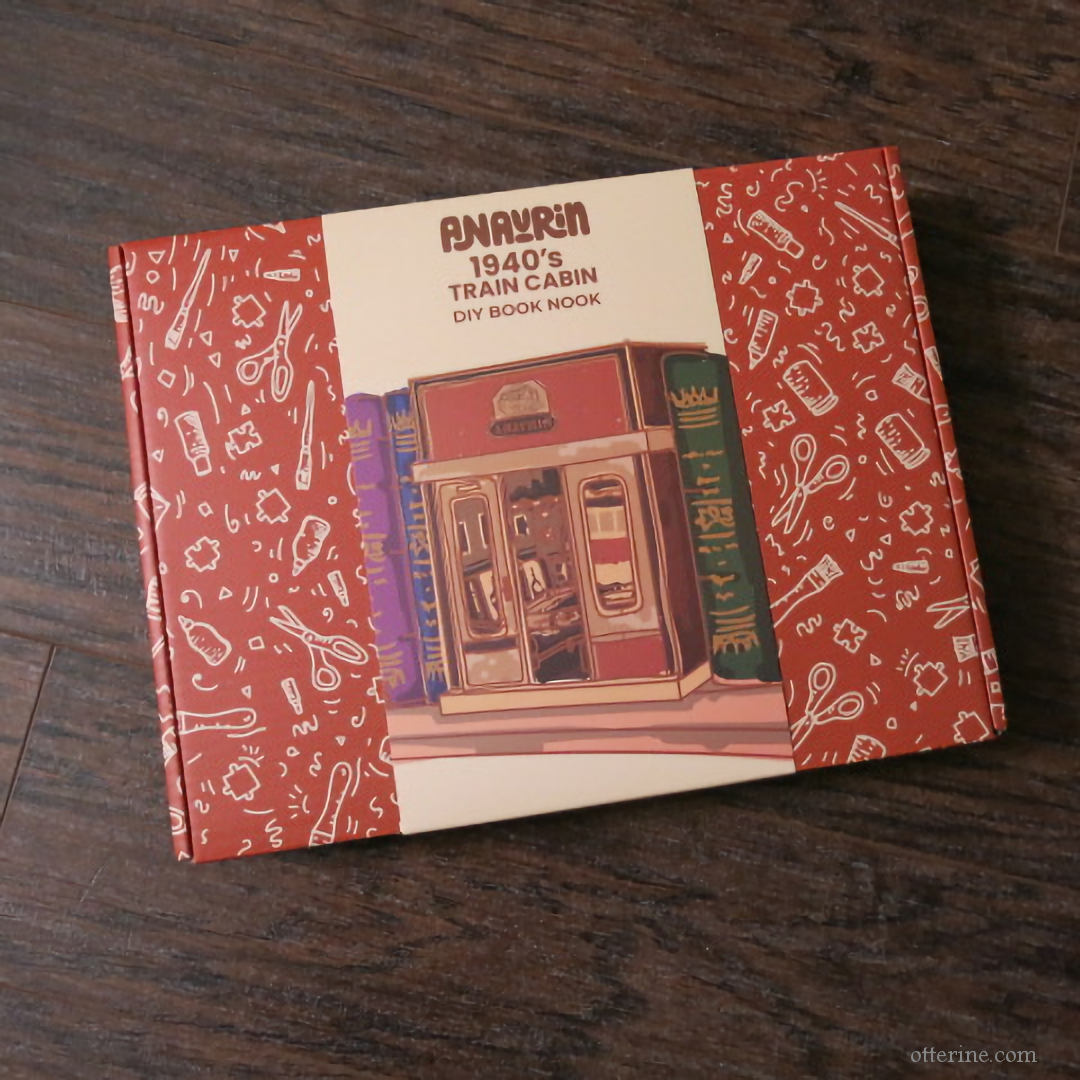
I asked if I had to build it to spec, and they told me I could do what I liked. Music to my ears! I have a few ideas on how to change it up to make it my own, so it will take me a bit longer than just building it right out of the box.
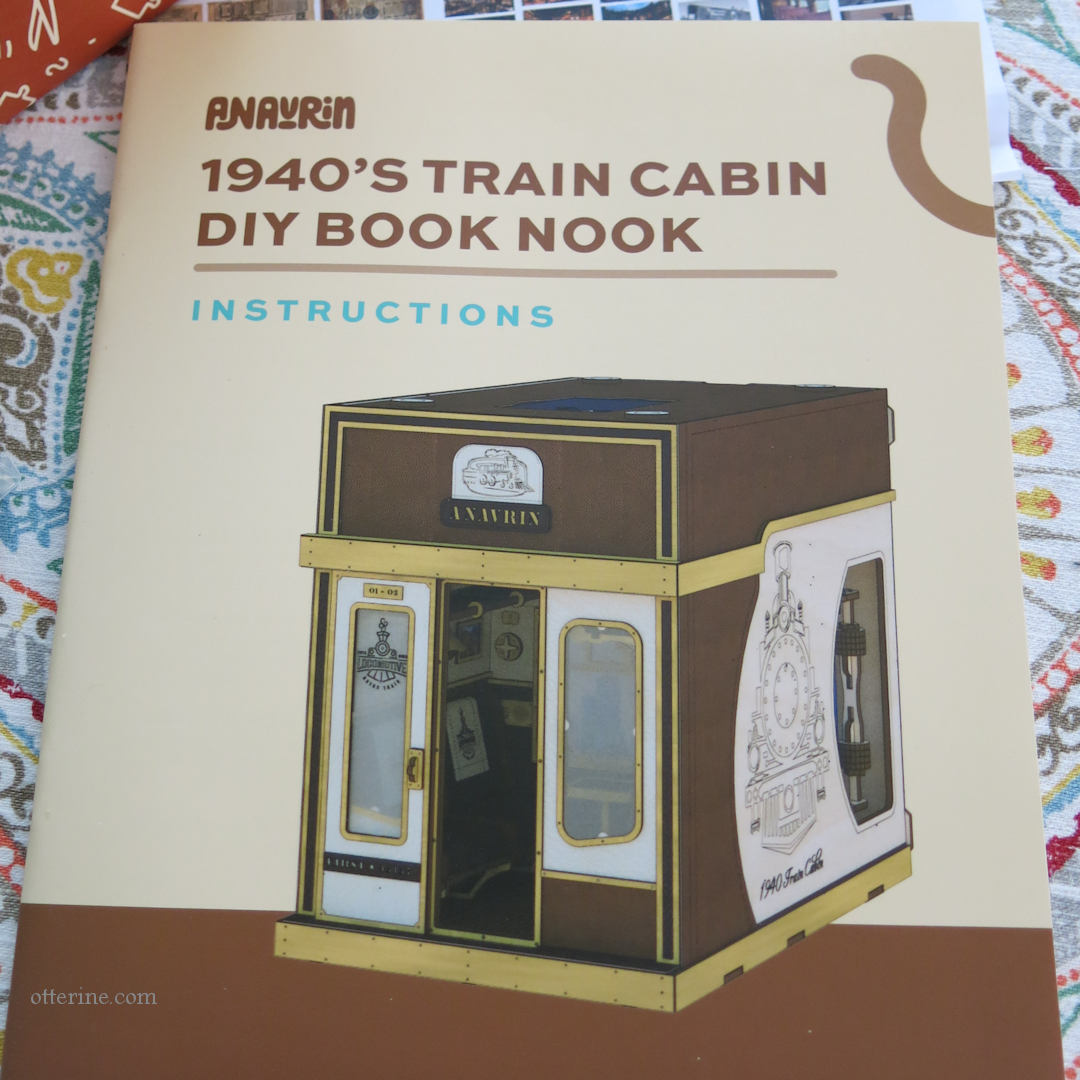
Everything you need is included, but I am sure to reinvent and reuse and add.
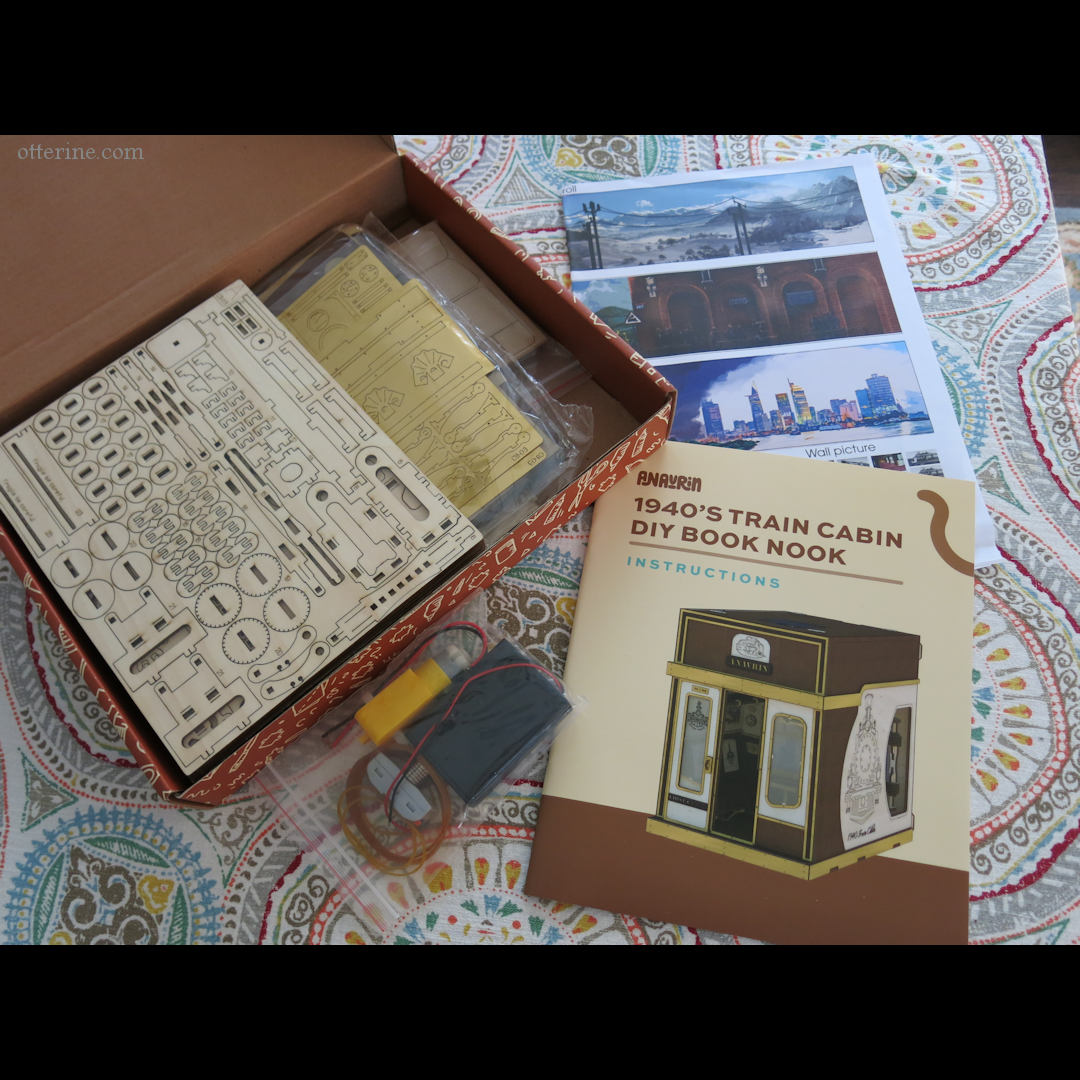
I have a few more things in the hopper, but I hope to start on this build next month.
Categories: Train Cabin
April 24, 2024 | 4 comments
NOTE: All content on otterine.com is copyrighted and may not be reproduced in part or in whole. It takes a lot of time and effort to write and photograph for my blog. Please ask permission before reproducing any of my content. Please click for copyright notice and Pinterest use.


