

Newport – guest bed, part 1
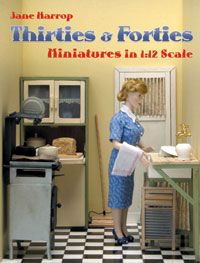
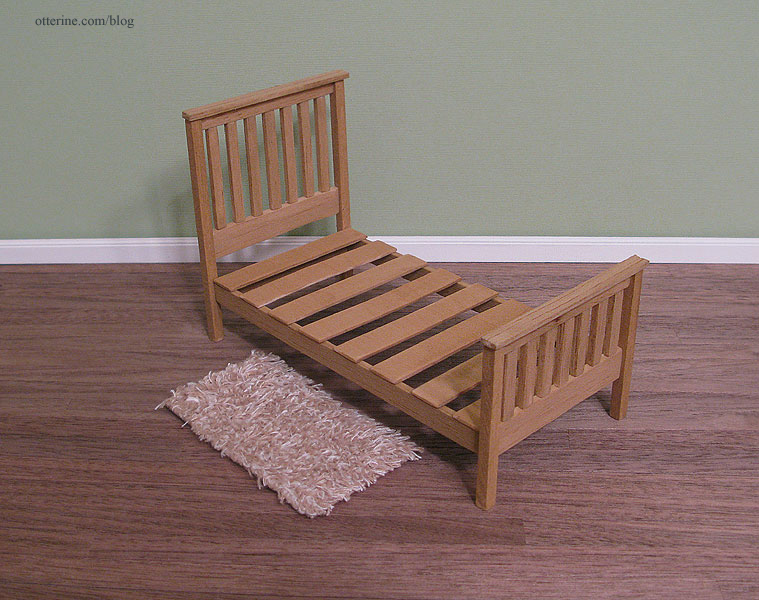
One of my favorite dollhouse furniture books is Thirties & Forties Miniatures in 1:12 Scale by Jane Harrop. There are a lot of great projects in this book that are both classic in design and usable in a more modern setting. I plan to make several of the items, but I decided to start with one of the more straightforward designs listed as “beginner” level: the single bed.
I used balsa wood for the build since I am not sure where I would find the obechi wood the book indicates. Balsa can damage easily, but I love the way it looks once stained. It’s also very easy to cut. (Note from the future – I would no longer use balsa to build, and this bed has suffered damage over the years.)
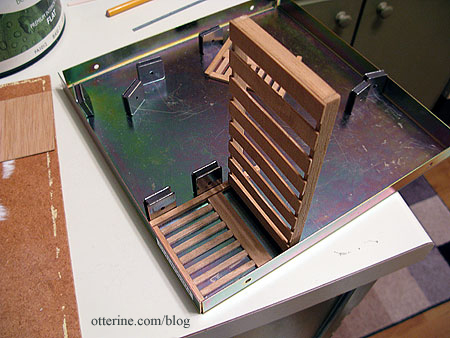
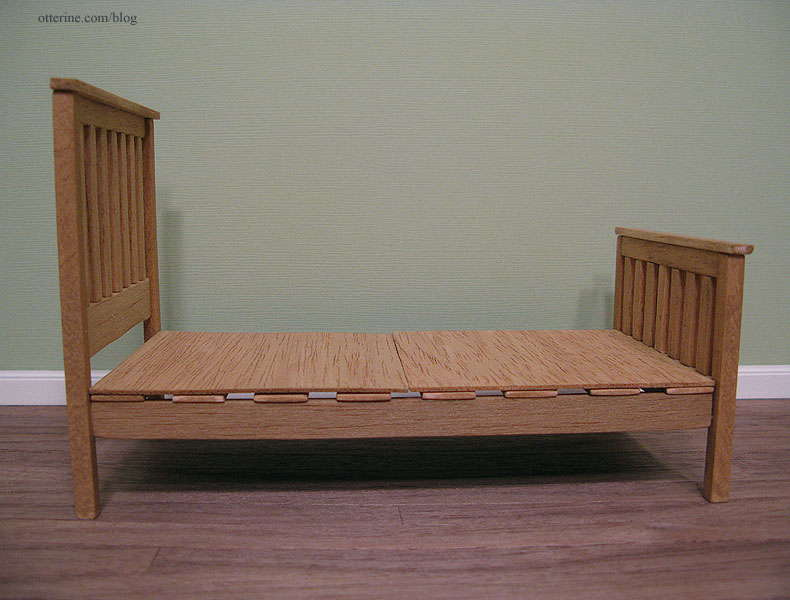
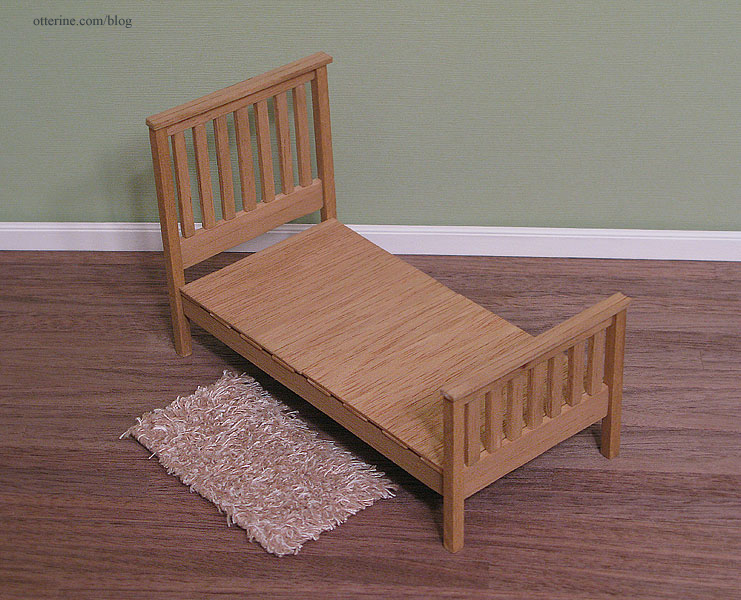
I love the look of the bed with the high headboard. I used antique pine stain from IKEA.
The most difficult part of the whole process was making sure the slats on the headboard and footboard were measured exactly.
The bed has two flat boards (shown above) that I left unattached. Once I figure out the bedding, I’ll decide if I need them or not.
Categories: Furniture, The Newport
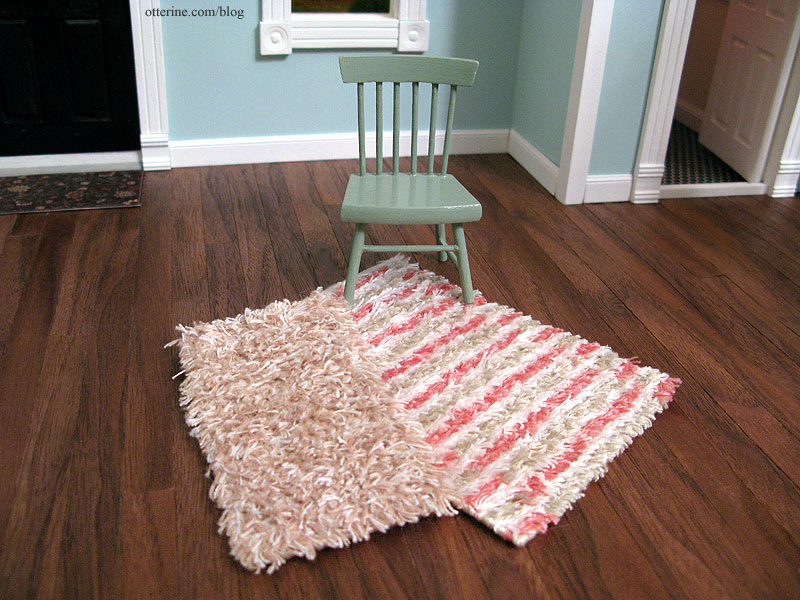
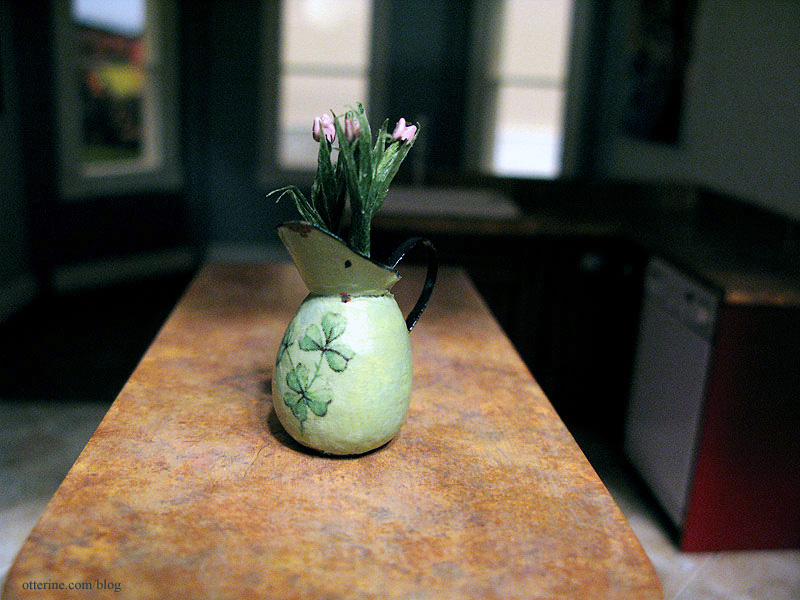
April 10, 2010 | 0 commentsRya rugs and clover pitcher
I’ve received a few minis from a two international miniaturists. First, two rya rugs made by the talented Glenda at Peppercorn Minis in New Zealand. They’re so soft and pretty I wish I were mini so I could run my toes through the pile! 😀
The second is a tiny pitcher with flowers from the gifted Sylvia at lotjesdollshouse in The Netherlands. I love the color and the clovers!
Categories: Miniatures
April 5, 2010 | 0 commentsFlipping the opening direction of a door
Houseworks has some of the best dollhouse components on the market, and their doors are fabulous in that they are premade and hung in frames. All you have to do is slide them into place. But, sometimes you want the door to open the other direction. As they are currently made, if the premade door is facing you, the door opens in to the right.

Here’s how I flipped one to open in to the left. First, I used masking tape to indicate the “up” direction and sides 1 and 2.

Since you are always keeping the “up” side in the right direction, this will work with other paneled doors where there is an obvious up direction. It’s less important with this type of door where the style is uniform up and down.

I removed the hinge pin on the bottom but left the pin at the top in the door.

I then measured where the original holes were and marked that same measurement on the opposite side. These need to be precise. I then used a pinvise to make the new holes. I slid my drill bit into the original hole to make sure I had the right size before drilling on the opposite side.

top of door frame 
bottom of door frame I installed the original door with side 2 facing me. The door now opens in to the left. The original holes can be filled or left in case you change your mind again.

Categories: Baslow Ranch, Miniatures
April 2, 2010 | 0 commentsNewport garage, part 2
Though the Newport was sold eventually, I’ve compiled some of the posts I made when I first started building it.
—-
Continuing work on the garage. I cut grooves for the front lighting wires and put up the wallpaper (scrapbook paper by Martha Stewart in a color called swan, a very pale green). I left the ceiling plain wood painted white since the surface was fairly smooth.
Next came installing the Timberbrook garage door. I first cut some holes in the wallpaper so the glue would adhere to the wood and not just the paper. I figured this would add to the stability of the door moving up and down.
After following the easy instructions of the kit, I decided lifting the door was still a little unstable. I added a thin strip of wood connecting the ends of the ceiling track, and the door moved much more freely in the track.
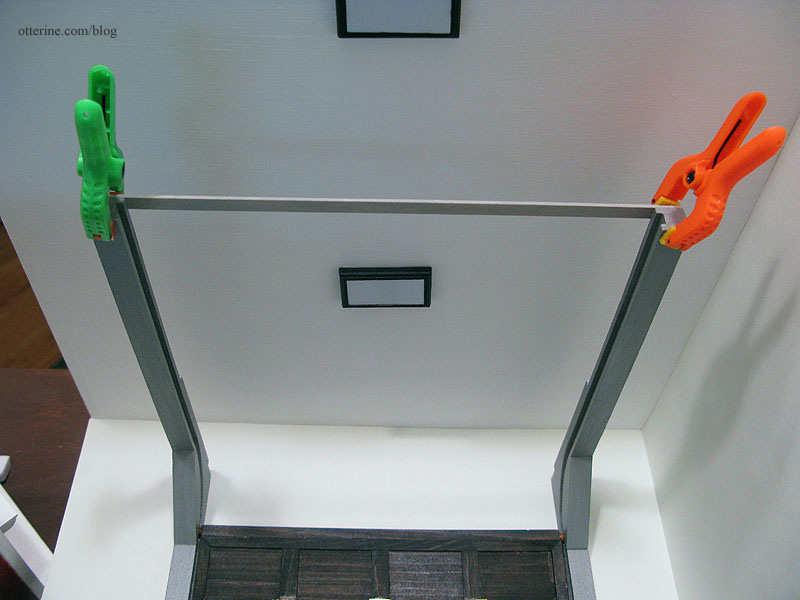
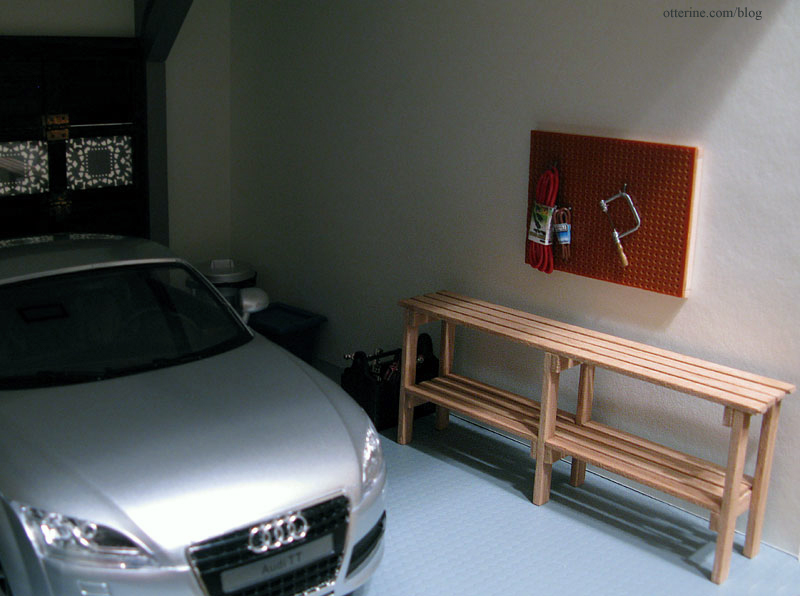
The garage is technically removable from the main house, though the wires need to be disconnected before doing so. I left it detachable in case I need to move the build sometime in the future.
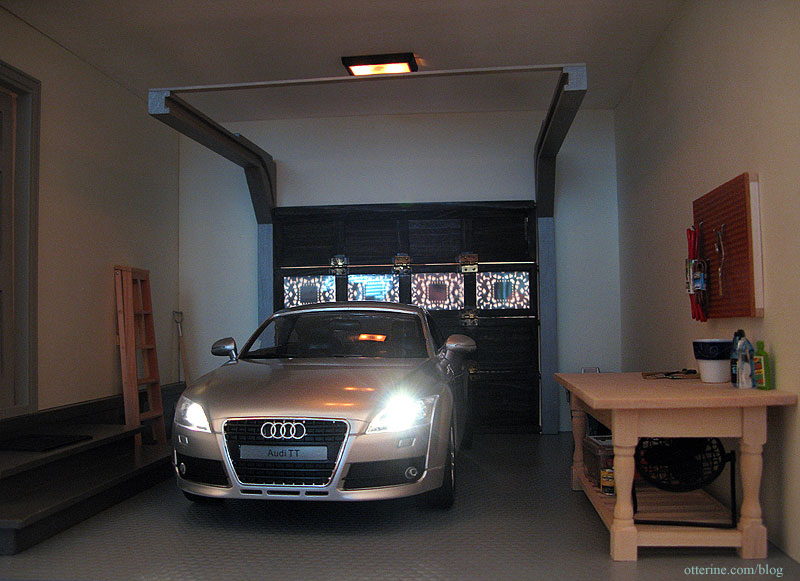
I set up a few things I’ve acquired to put in the garage, though I have more planned for this space.
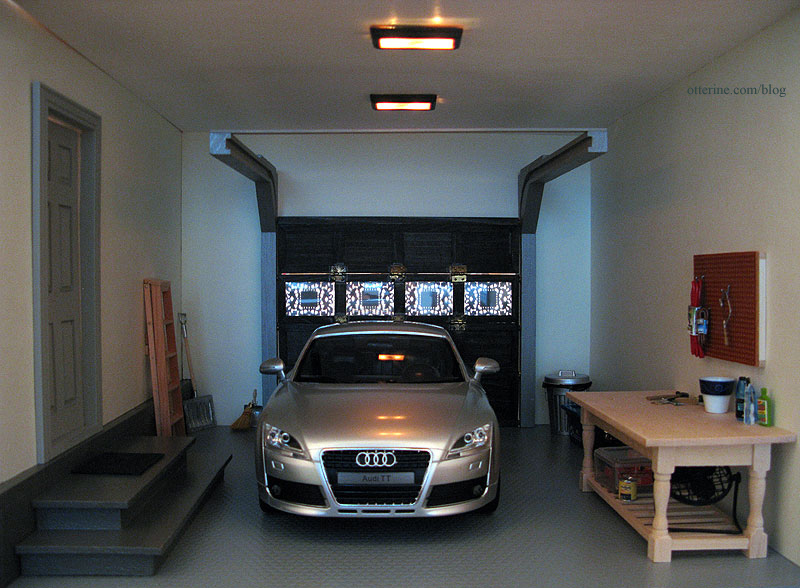
The car is a 1:14 scale remote control Audi TT. The lights come on only when the car is in motion, so I had to prop up the back wheels to prevent movement as I photographed the car with the lights on.
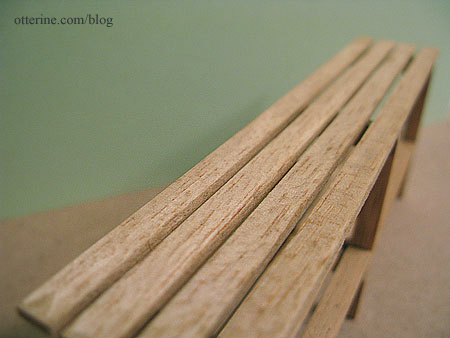
I built a new set of shelves for the garage. The table I had used for the above setup was too large and actually meant for a different room in the house. I made the new shelves from balsa wood following the instructions in Making Miniature Gardens by Freida Gray.
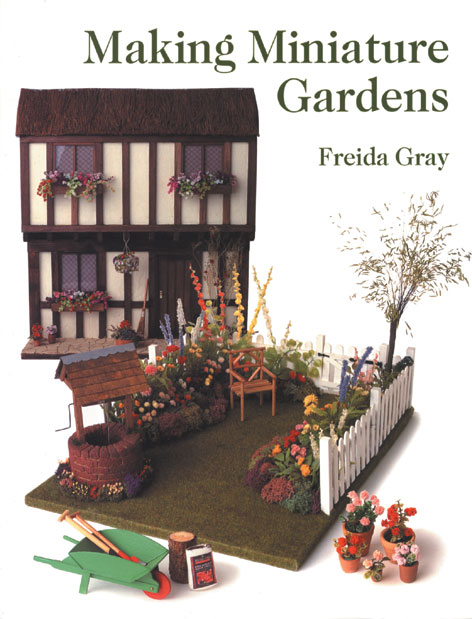
This book has a lot of great ideas for gardens including plants and flowers as well as structures, furniture and accessories. These shelves were very simple to put together.
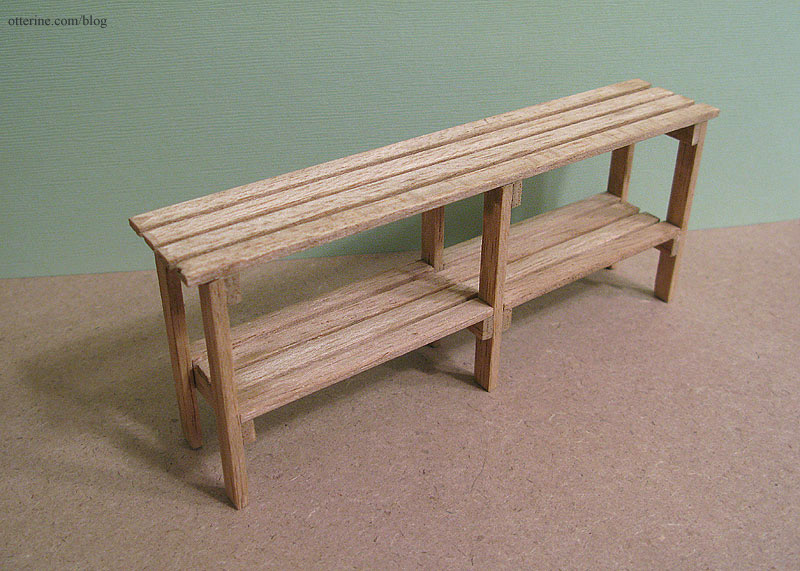
I used antique pine stain from IKEA – one of my favorite colors of stain. It brought out the grain of the balsa and really warmed the overall look.
I think this works better for scale and for showing off the various minis I’ll display here. Nothing on it right now – waiting for the stain to cure.
Categories: The Newport
April 1, 2010 | 0 commentsNewport kitchen, part 2
Though the Newport was sold eventually, I’ve compiled some of the posts I made when I first started building it.
—-
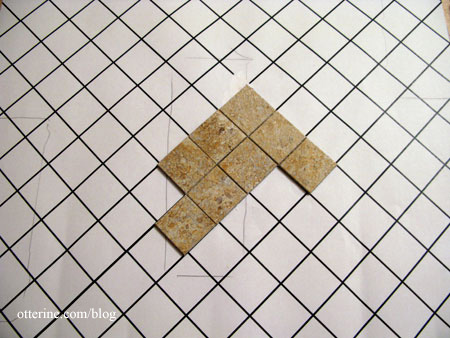
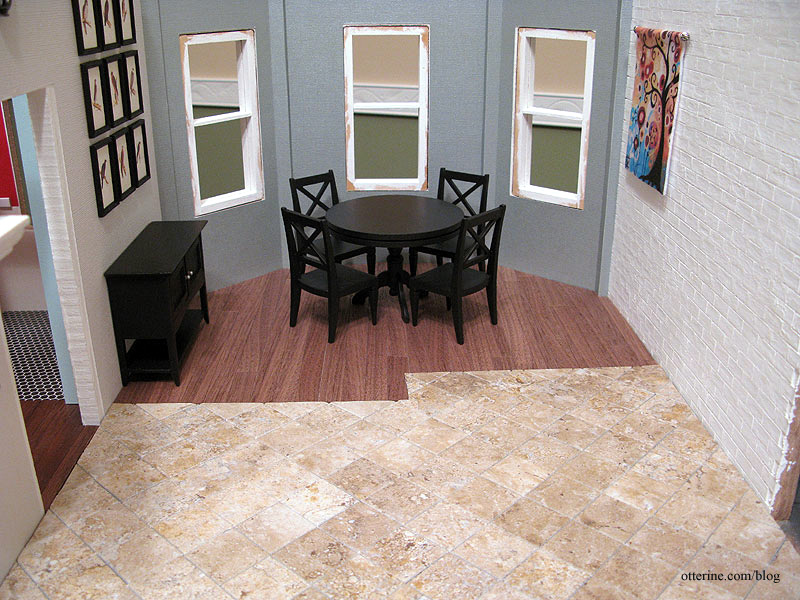
Continuing recap of the kitchen posts. I liked the look of the dark wood flooring by Handley House I used during the planning phase and it is super easy to install, but I wanted to give something else a try before going ahead with the wood floor. I think travertine tile floors look beautiful in real life, so I attempted to recreate the look with Greenleaf vinyl tiles in tan.
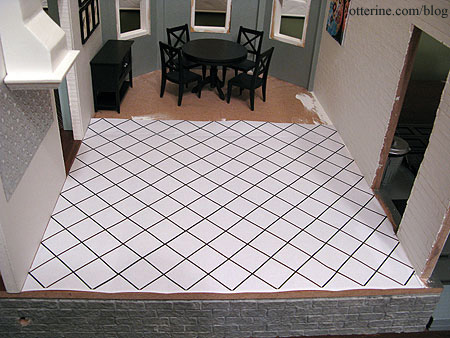
For the layout, I printed out grids with 1″ squares. The floor will be removable since the tiles will be glued to this paper template and not the base floor itself.
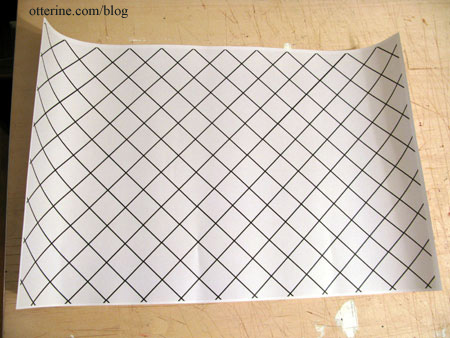
Even with the grid set on the diagonal, I quickly realized my floor and wall pieces were not completely straight – or my grid was slightly off. Either way, I tried to get it as close as possible, piecing my paper and cutting a template along the border.
Since not all of the tiles were the same color and pattern, I traced where my kitchen cabinetry would be onto the grid. I glued the pieces that were either darker or more patterned than what I wanted in these areas since they wouldn’t be seen.
A lot of the real life floors I’ve seen have very little space between the tiles, so I tried to keep my tiles close together. I kept checking the fit along each edge, but baseboards would cover any minor gaps. As you can see, I got off the grid pretty quickly, but the tiles themselves are mostly in line and the grid won’t be seen in the end.
The tiles continue under the sink and corner cabinet, but I cut it closer to the door on the living room side. I plan to have the wood floor under the dining area, and I didn’t want the black cabinet to be half on the tile and half on the wood floor.
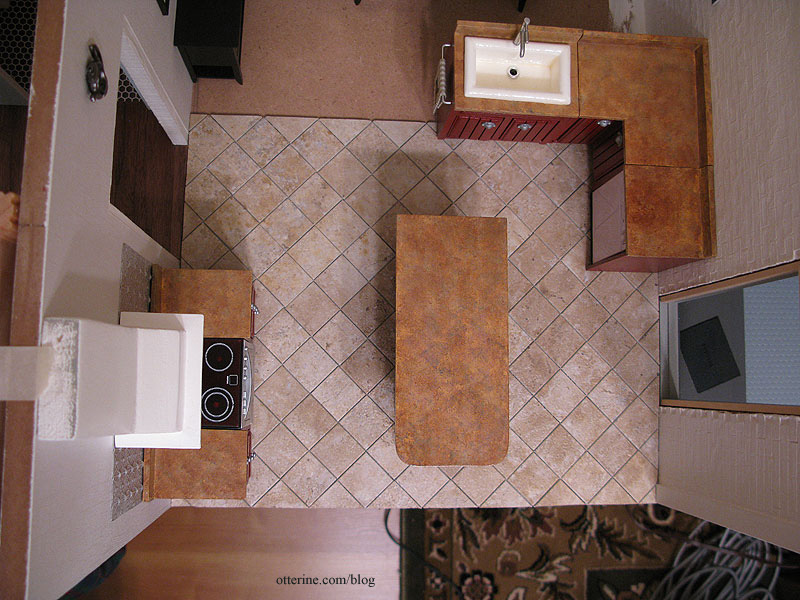
The tiles were very easy to use, and I am very happy with the way it turned out.

Since the Greenleaf tiles I used in the kitchen area were thicker than the Handley House wood flooring I planned to use for the dining room, I had to start with a cardboard template to even out the difference. To get the proper outline, I used paper to create an exact template of the room.
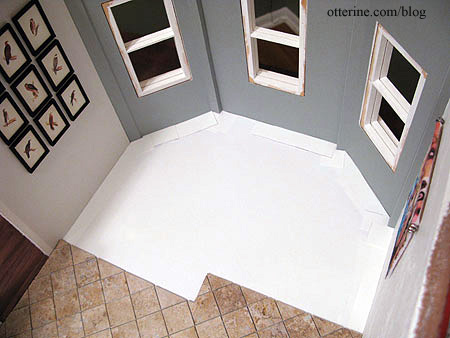
I then cut cardboard pieces to fit the area under the wood.
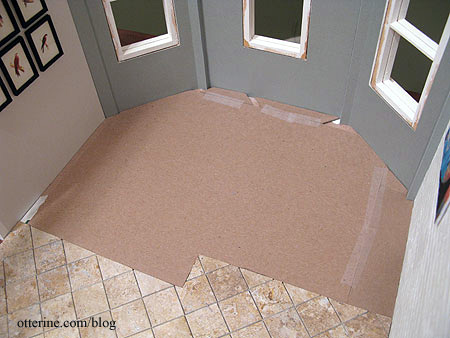
The wood is not yet glued in place since I need to seal it first.
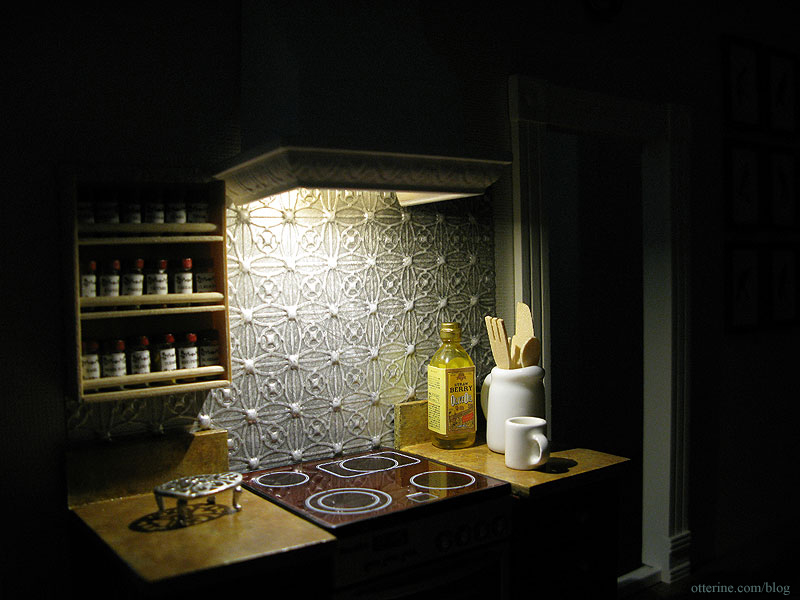
I had previously installed range hood lighting…
…and made pendant lamps for the kitchen.
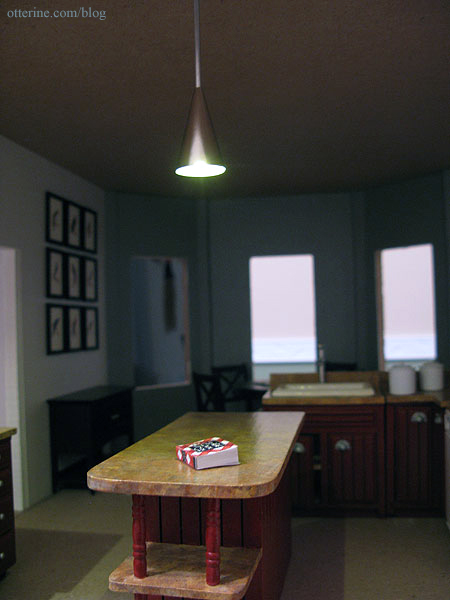
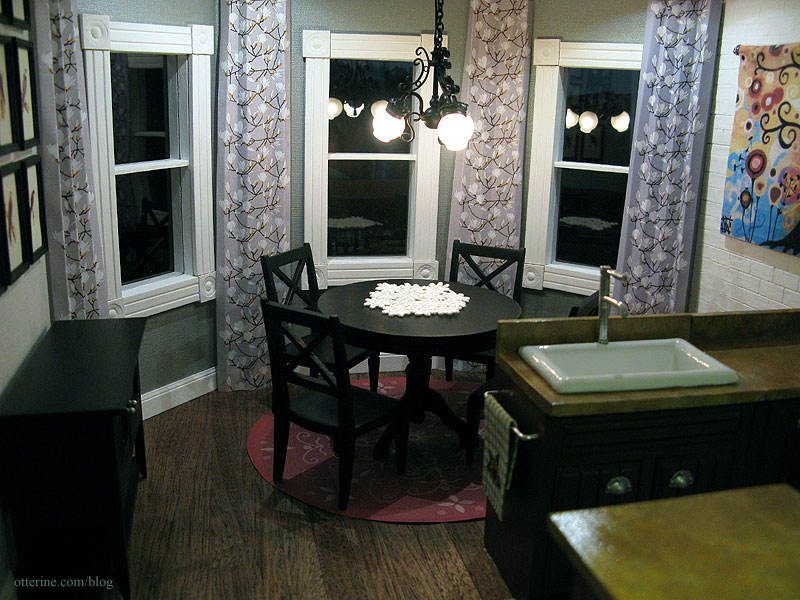
I bought a black chandelier for the dining area, but since the room is so deep it remained dark even with all the lamps lit. Here I’ve taped Novalyte can LEDs to the ceiling to supplement the existing lights.
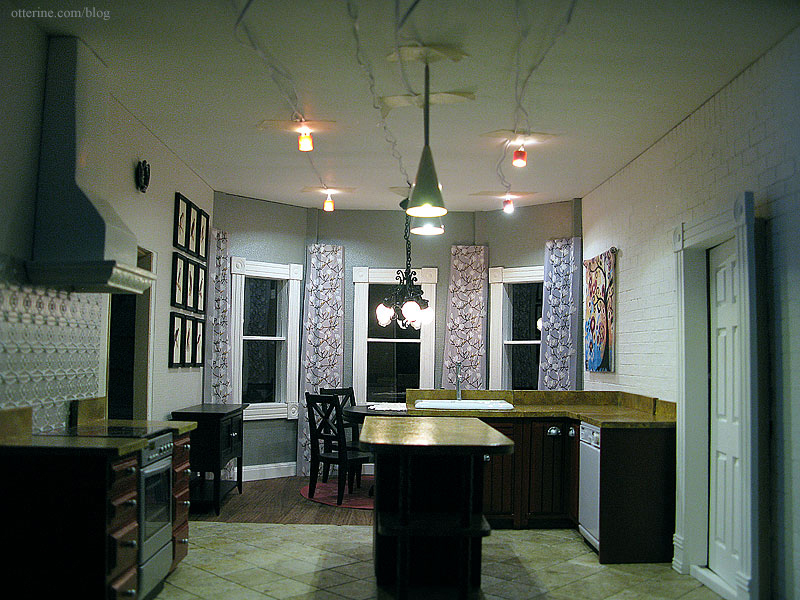
It really brightens the room and will make for a very modern look once installed flush with the ceiling.
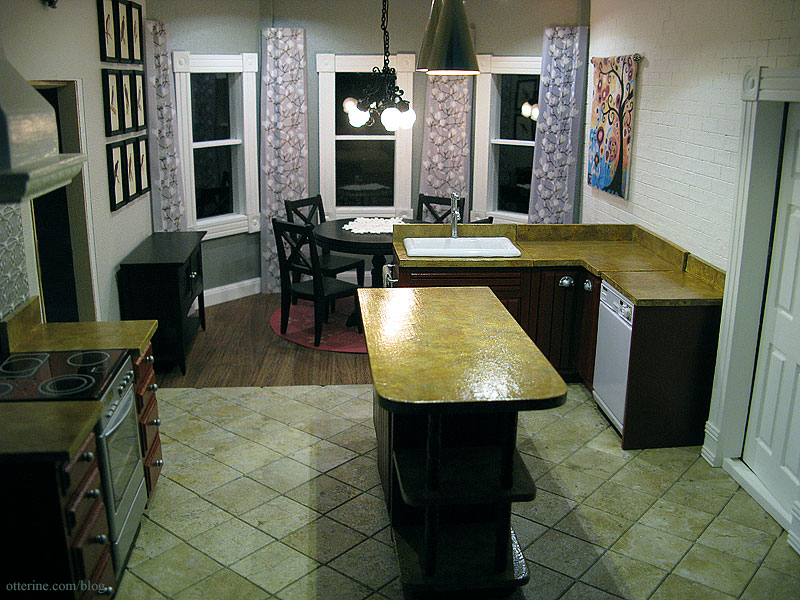
The rug under the dining table is a paper printout of the red Piazza rug by Dynamic Rugs. The draperies are paper mockups; the pattern is Keisarinna by Marimekko. I made the tapestry from June Tree by Natasha Westcoat.
For the post on installing the can lights, click here. Kitchen sink post is here. Bird prints post is here.
Categories: The Newport
March 14, 2010 | 0 comments


NOTE: All content on otterine.com is copyrighted and may not be reproduced in part or in whole. It takes a lot of time and effort to write and photograph for my blog. Please ask permission before reproducing any of my content. Please click for copyright notice and Pinterest use.


