

Heritage – The Tree, part 1
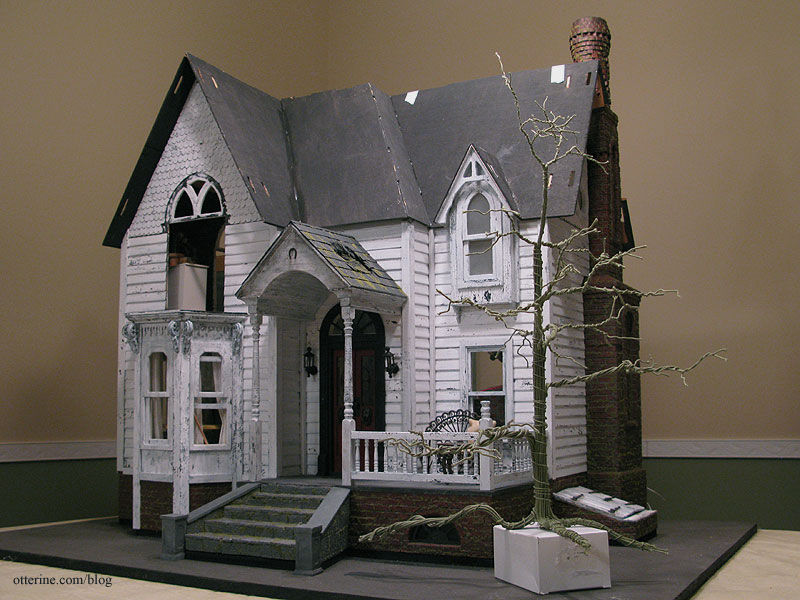
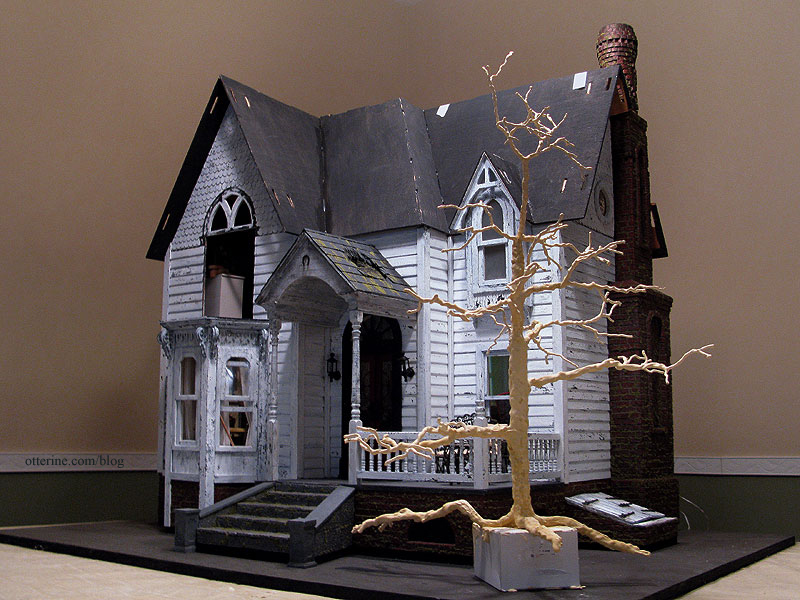
What’s a haunted farmhouse without a big ol’ creepy tree in the yard? :O
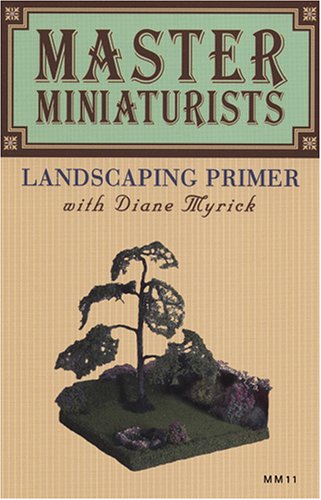
To build my tree, I used the tutorial from the DVD Master Miniaturists: Landscaping Primer with Diane Myrick. This whole series is just awesome!
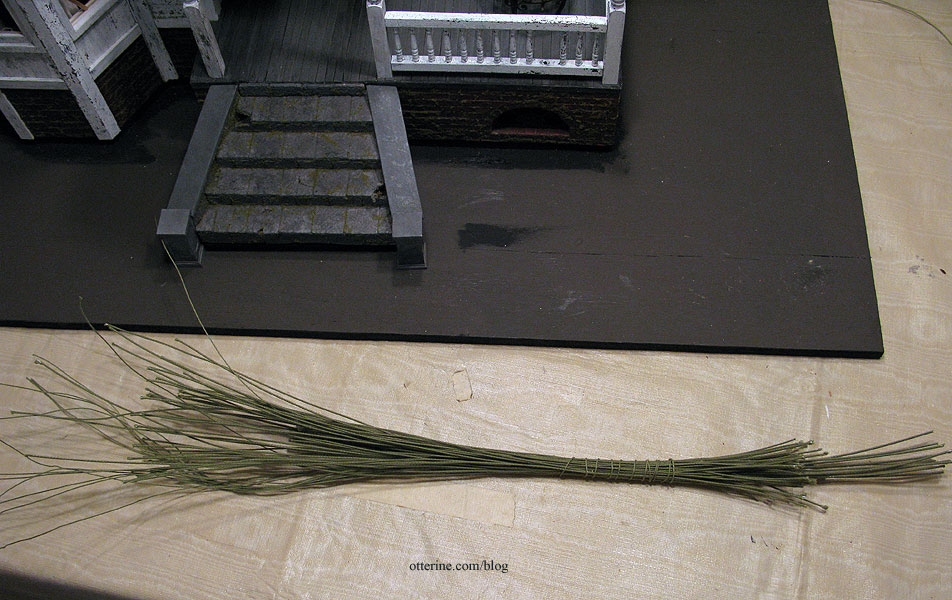
Diane made her tree from 40 pieces of floral wire, but I used 66 pieces: a mixture of 18″ pre-cut floral wire in 18 and 22 gauge. I supplemented the height with 14 pieces of 32 gauge floral wire purchased on a spool that I cut into 20″ lengths.
I wanted roots on mine, so I staggered the wires so that the thinnest wires were loose at the top and the thickest wires stuck out at the bottom. I wanted one long root, so I made sure I had a bundle for that as well.
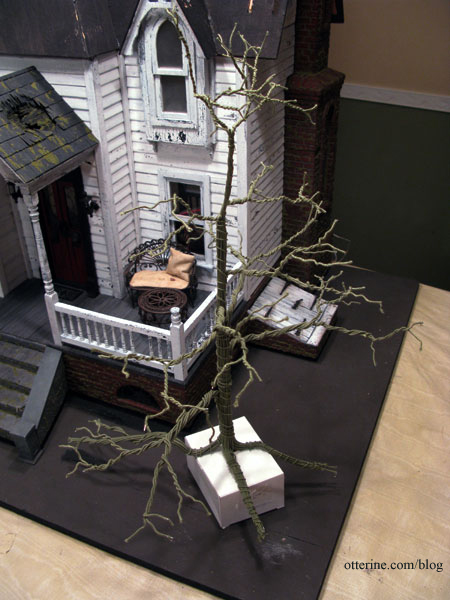
Diane’s tutorial shows a tree with foliage. Since the Heritage is set in the autumn, my tree will be mostly bare (I think). Ha ha. To that end, I spent a lot of time shaping the branches. I also left the house side minus a branch, which might have hit the portico at some point. ;]
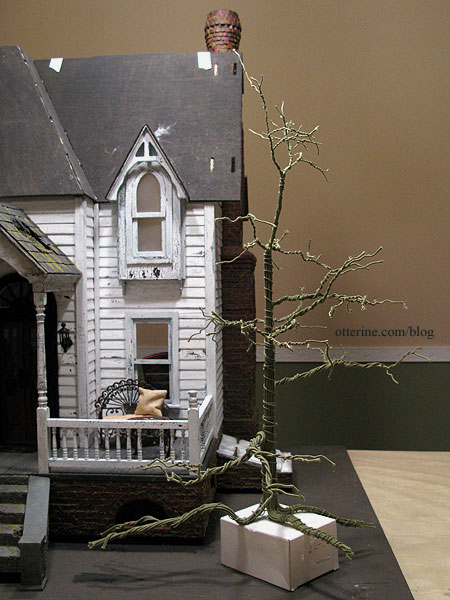
Here’s a nice aerial view of the tree, which stands 18″ tall. The tree has a spindle on the bottom that’s inserted into a box for right now. I will be adding a foam base when I get to the yard portion of landscaping for the tree to sit on, and the root tips will disappear into the ground.
In the tutorial, Diane used Durham’s Water Putty. I ended up with a 4-pound container of it from Home Depot. Did I need four pounds of water putty powder? Uh, no, but it was what was available locally (no shipping) and I had a Home Depot giftcard with enough on it to cover the modest $7.98 price tag. :D
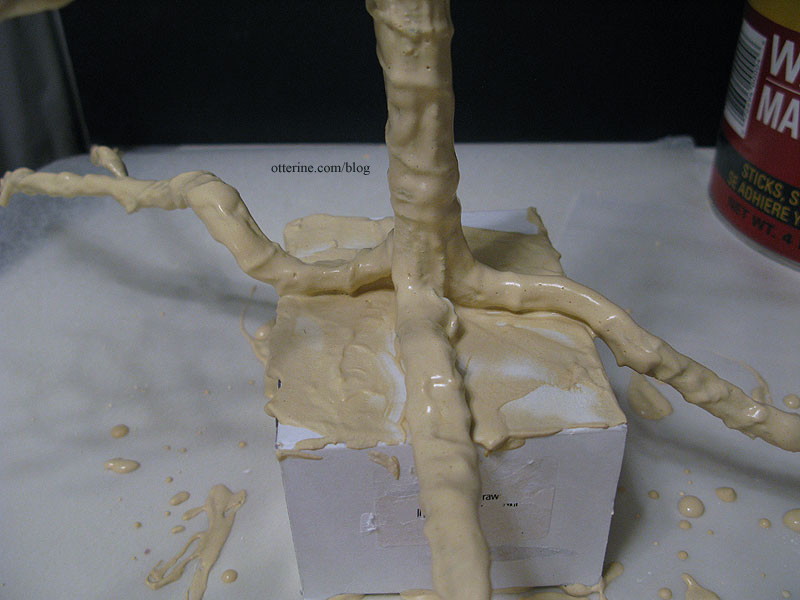
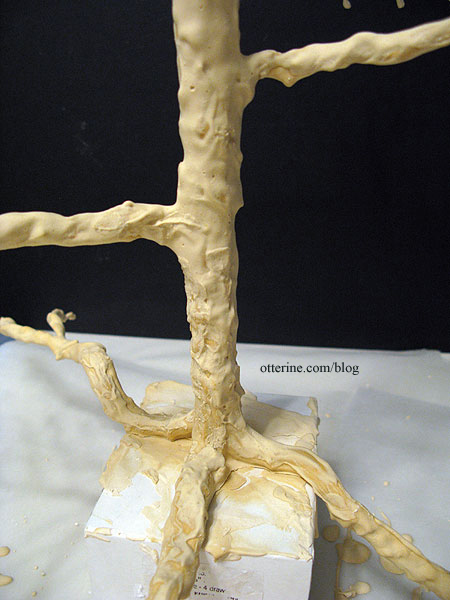
Here it is just after the application.
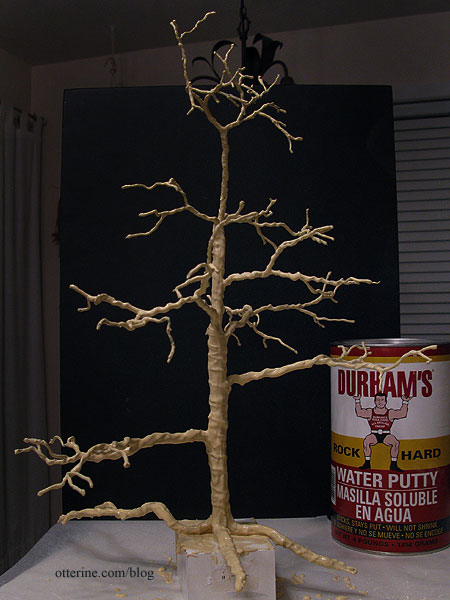
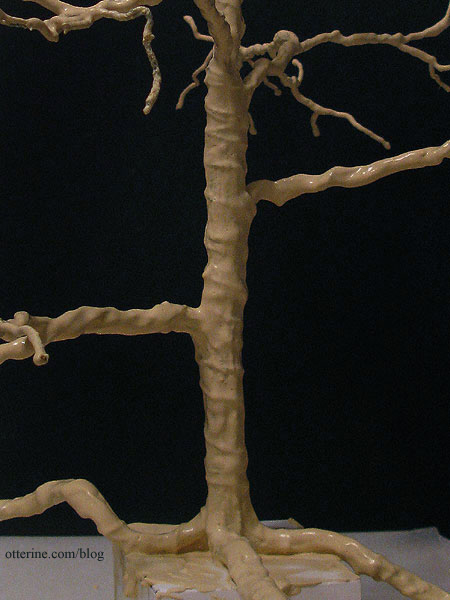
This was the first time I had worked with the putty and I found it to be a great material. The binding wires around the tree still show under the putty more than I think I want them to, so I might add another thin layer once this one sets. I do like the texture overall, though.
I scraped the excess putty from around the roots to keep them rounded and separate as the putty dried.
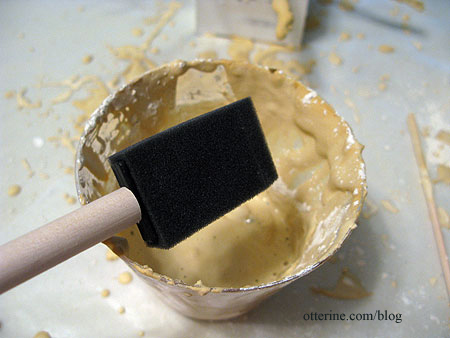
I left it overnight, and it dried hard and treelike! :D Some of the binding wires had softened in appearance but others still looked unnatural. I added another layer of putty over the areas that needed blending.
I had kept the cup from the night before, so I just mixed more putty in there. I used a fresh foam brush, though, because the other had hardened. You can’t put this stuff down the drain, so the cups and brushes you use must be thrown away in the trash.
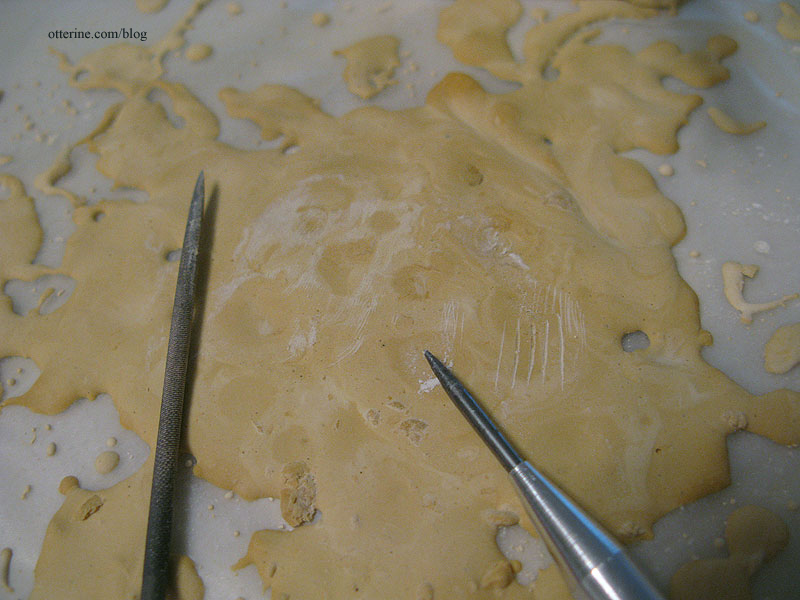
Mike had recently used this material for making river rocks, so I asked him about the properties of it, namely whether you could carve it. He sent me to the Durham’s Water Putty site, and apparently you can do all sorts of things with it.
I used an awl and a file on the dried puddle from last night to see what it was like. It took the carved texturing very easily.
Even with the yellow coloration, it already looks like a real tree.
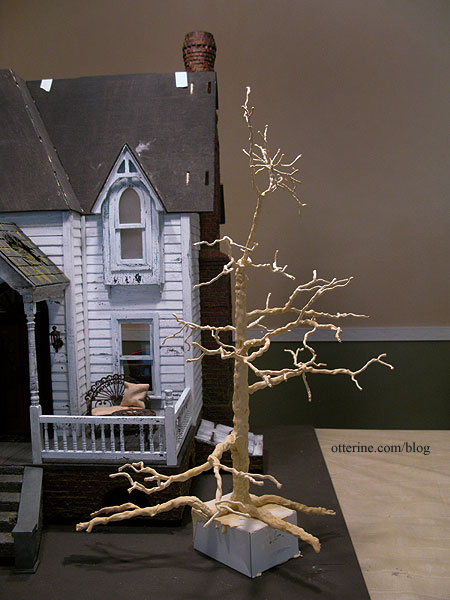
Next up will be painting once the second layer of putty dries.
Part 2 here.
Categories: Flowers, plants, and trees, The Haunted Heritage
June 30, 2012 | 0 commentsHeritage – copper claw foot tub
Stepping further into creative license here. I know that a tall tank loo isn’t exactly 1920s, but I really like the Chrysnbon Victorian set for a vintage bathroom and I don’t know when I’ll next build a house where it would be even remotely appropriate. So, the Chrysnbon bathroom kit has found a home in the Haunted Heritage.
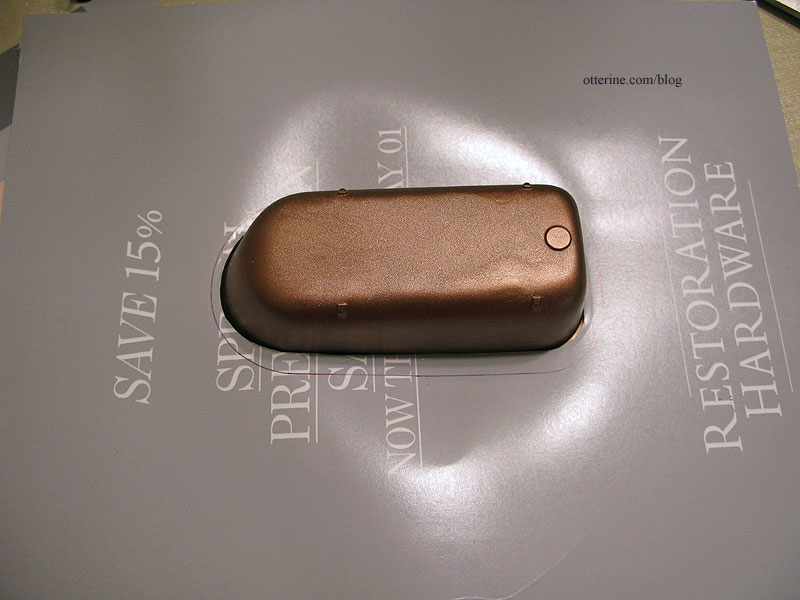
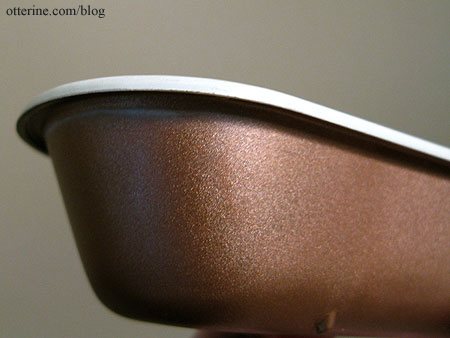
For the bathtub, I first masked off the top and sprayed the bottom with Burnished Copper Metal by Rust-Oleum. I let that set for well over a week, not for any particular reason other than life kept moving along after I sprayed it.
To make the inner portion a different color, I traced the tub onto a piece of heavy paper and cut an opening just wide enough to have the tub sit inside to cover the copper painted portion. Quite fitting that this is an ad for Restoration Hardware, no?
I used masking tape on the opposite side and pressed the tub onto the surface.
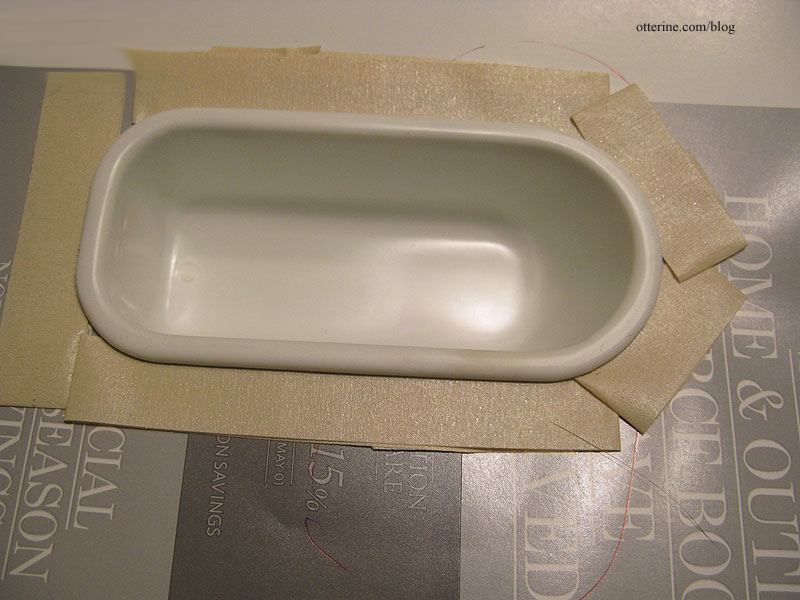
I sprayed the inner portion of the tub and the sides with Krylon Gloss Ivory. After the first coat, I noticed the inside of the tub wasn’t as glossy as the overhang. I thought that would work well for an old tub, so I didn’t add too much more paint to the bottom of the tub.
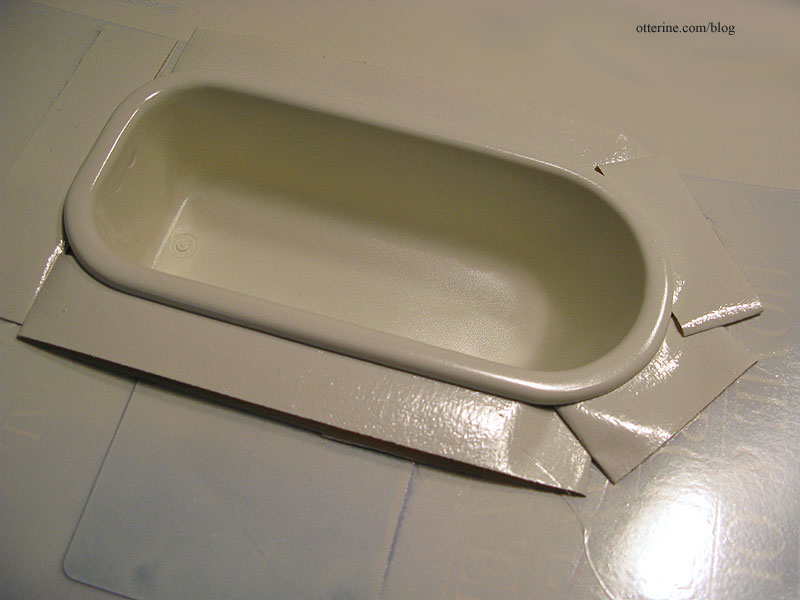
I sanded the edge to remove any excess paint and roughed up the surface in a few areas. It’s an old tub, after all. I had a little bit of overspray even with my precautions, but that didn’t matter in the end.
I used acrylic paint washes to darken and age the copper.
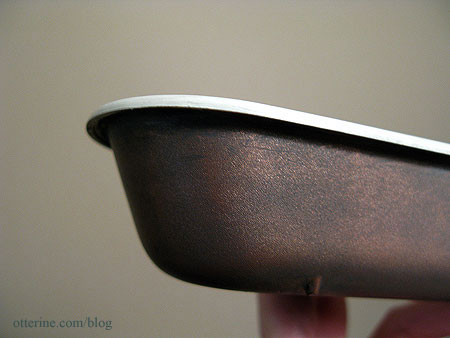
The feet were sprayed with flat black, but I added a black acrylic wash to them to tone down a little bit of the shine. I’ll age the inside of tub later when I install the faucets but so far, I love it!

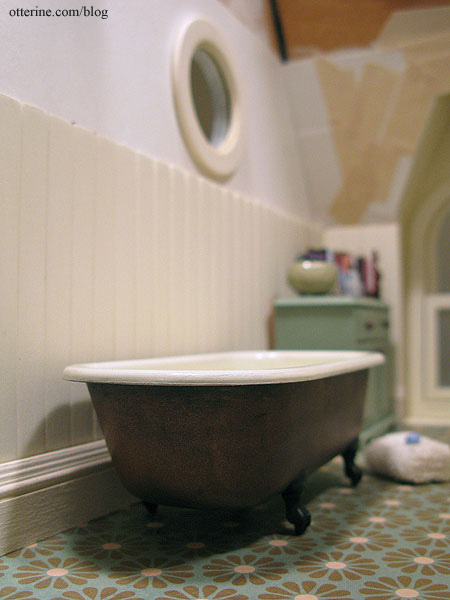
The copper color of the tub brings out the copper color in the flooring. I love how this little plastic tub looks like real metal. :D
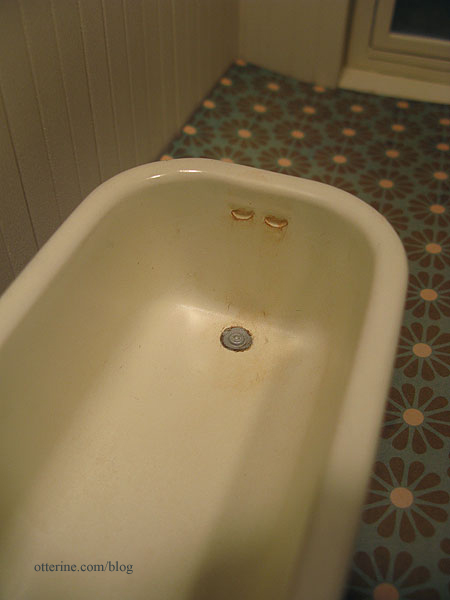
I painted the inner drain of the tub with Testors Aluminum and then added aging washes to the bathtub once the paint was dry. I watered down Terra Cotta acrylic paint by Folk Art and used it to simulate the residue of well water stains. It was a little bright, so I added a wash of dark brown. I wiped most of the pigment away going for subtle staining from years of luxurious baths.
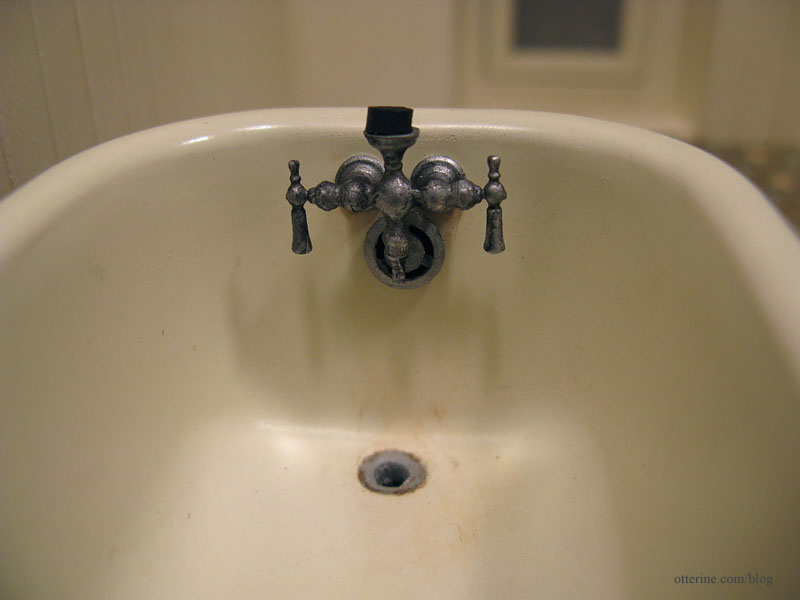
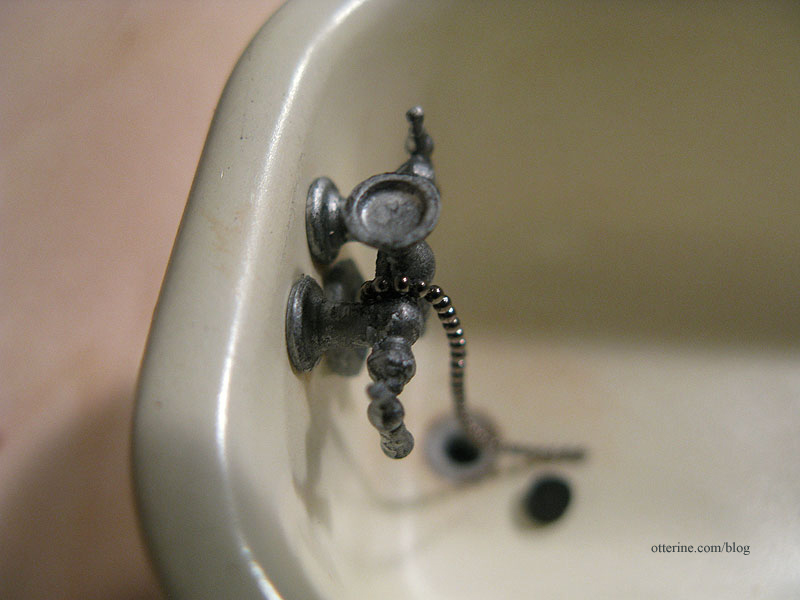
I assembled the tub faucets and painted them Testors Aluminum. I added a light wash of black to bring out the details before installing them in the tub. I also decided to add a stopper on a chain, so I drilled out the bottom of the tub to make an open drain.
If you have an open drain, you need a pipe…made from excess sprue (the frame around plastic molded parts) and a washer. The pipe is glued to the tub, but the washer will remain loose so it can sit flush with the floor while disguising the end of the pipe.

I added an overflow made from a pen cap.
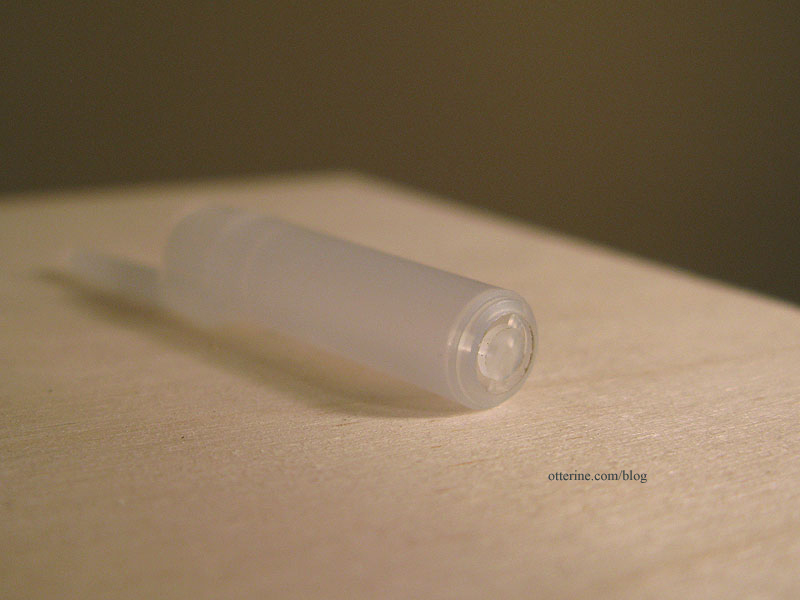
Where’s the drain pipe for the overflow? Never you mind that! I have to draw the line somewhere. It’s not like the thing has actual running water. ;D
The stopper is made from a spare piece of sprue and is currently sitting in the stopper holder. How appropriate.
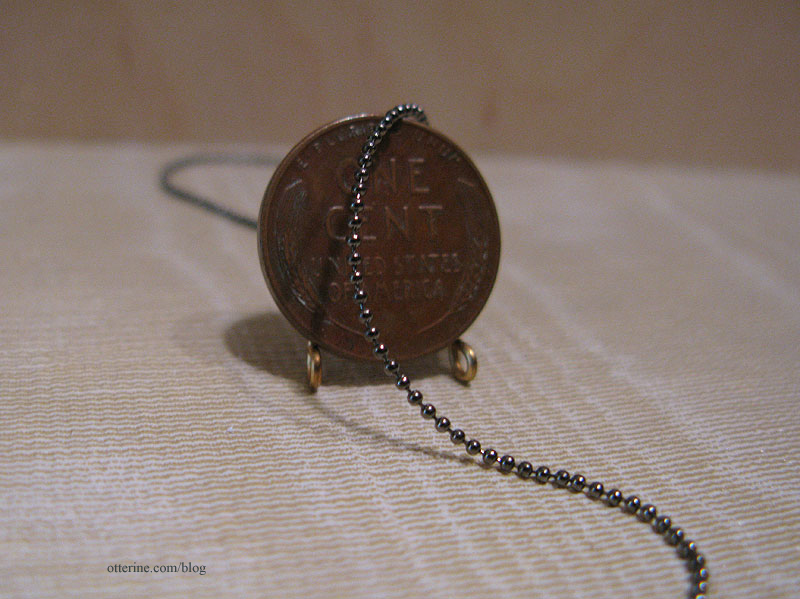
The finest chain I had on hand looked too bulky, and it was brass though I could have painted it if it had worked otherwise.
I went on the search for fine ball chain, but you can’t find it in the local stores around here. The smallest they have is 2mm, which is too large for scale. I bought a 5′ length of 1mm gunmetal ball chain from Cindy Chan since that was the lowest price I could find. I need to come up with some uses for the other 4′ 10″ of chain!
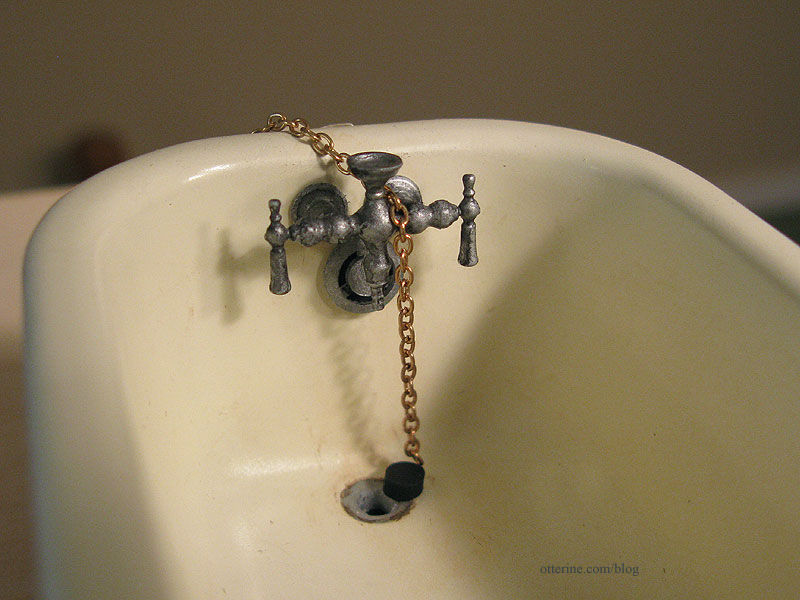
I cut a bit of chain longer than I needed and used super glue gel to attach it over the faucet. I bent it into a small curve with my fingernail to make sure it was a snug fit over the top.
I placed the chain by the stopper I made from a spare piece of sprue to determine the final length of chain.
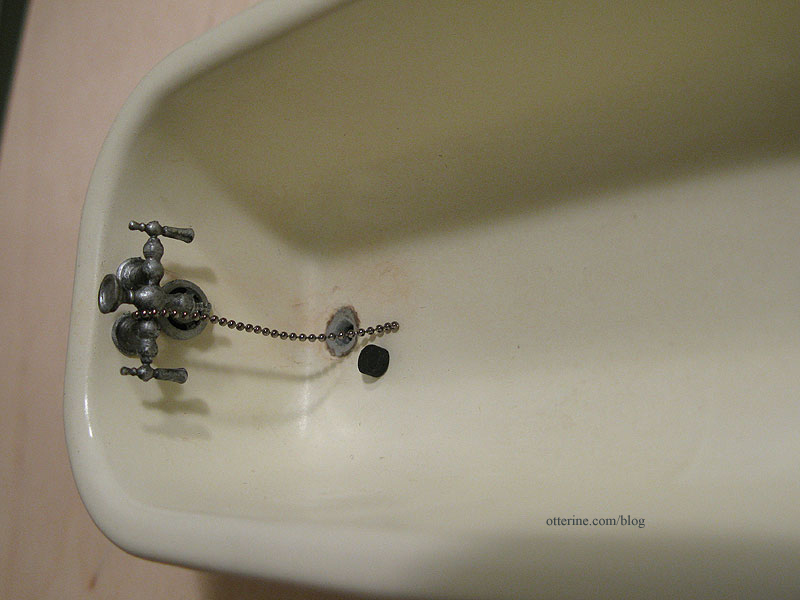
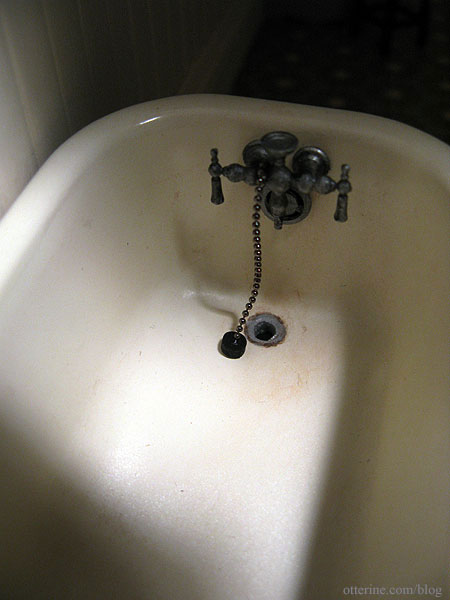
Since this is still large for exact scale, it doesn’t drape the way it would if it were real life chain. So, I made it just long enough to have some slack but look as though it has sufficient length to plug the drain. I attached the end of the ball chain to the stopper with super glue gel.
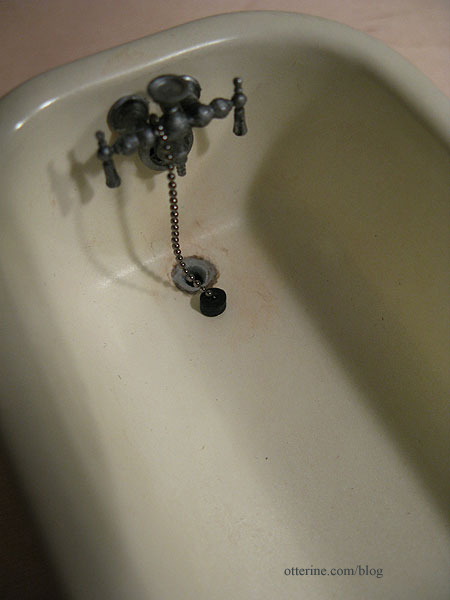
I might be able to manipulate the drape once the glue sets, but I think it looks pretty convincing as is. :D
Categories: The Haunted Heritage
June 19, 2012 | 0 commentsDu-Bro Tubing Bender
I love the rush of giddy excitement when I find a new tool and it works just like it is suppose to do! :D If you’ve ever worked with brass or aluminum tubing, you know bending it without a proper tool is pretty much a game of frustration.
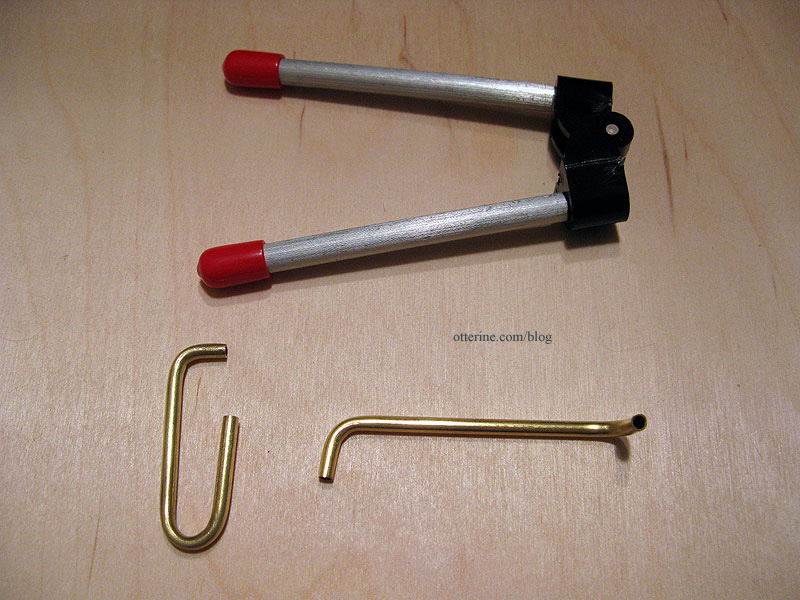
Enter the Du-Bro Tubing Bender! =hooray and flourish=
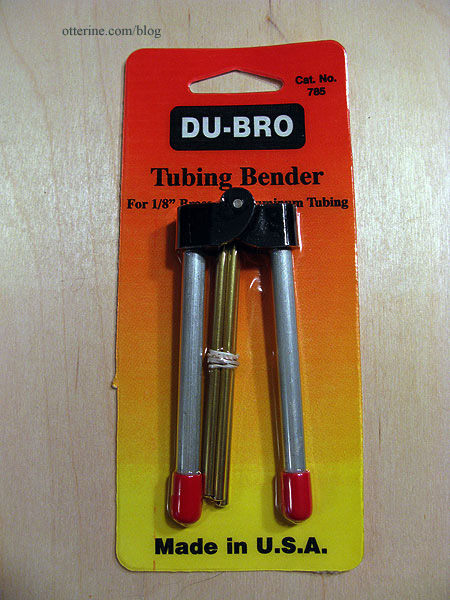
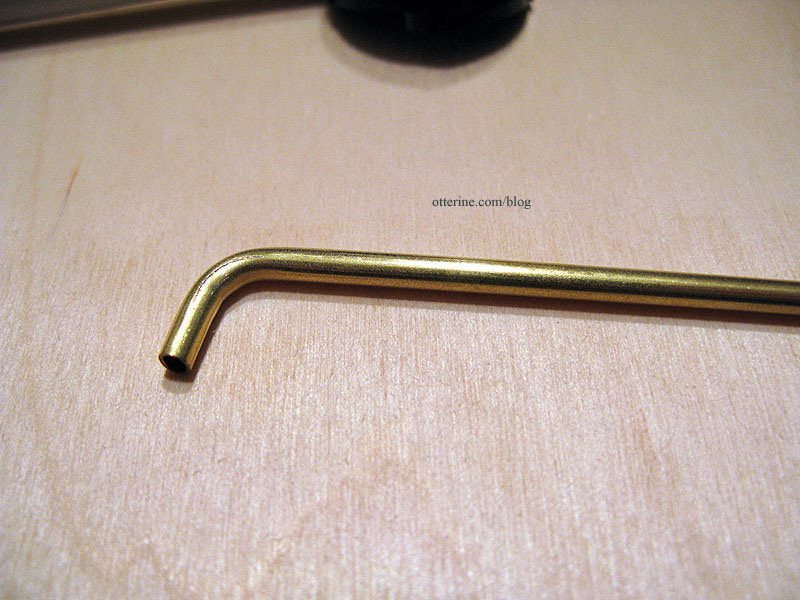
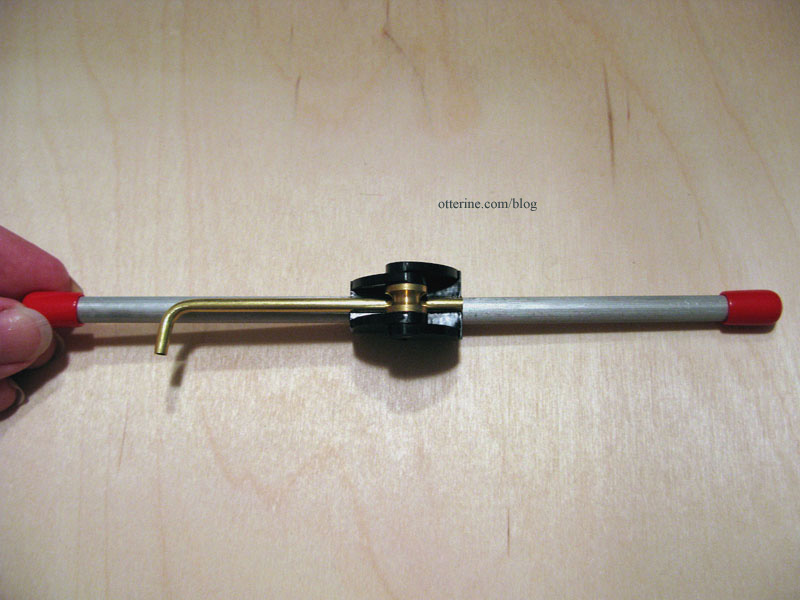
I purchased mine at a local hobby shop called Ad-Venture Hobbies. There are two sizes and this is the smaller of the two — for 1/8″ brass and aluminum tubing. It comes with a few pieces of brass so you can get the hang of it. You insert the tubing into the tool.
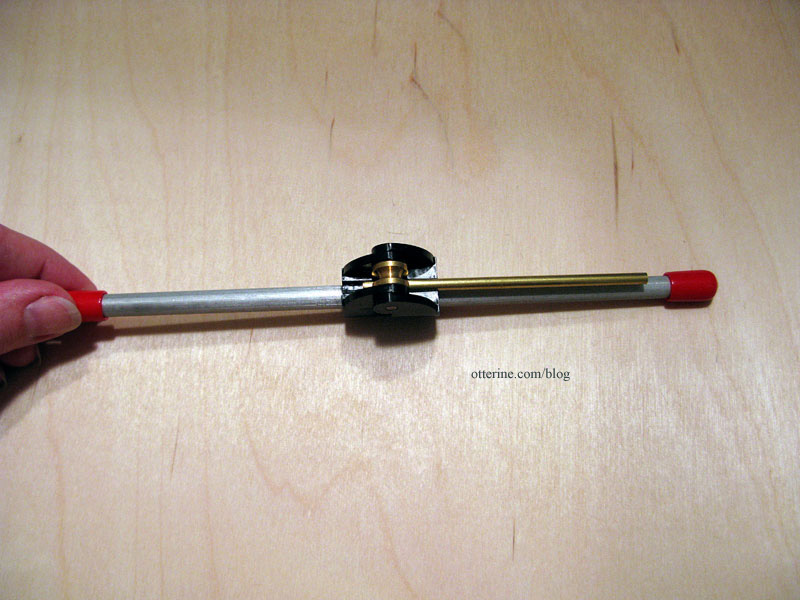
Then bend the tool – love the easy work of leverage!
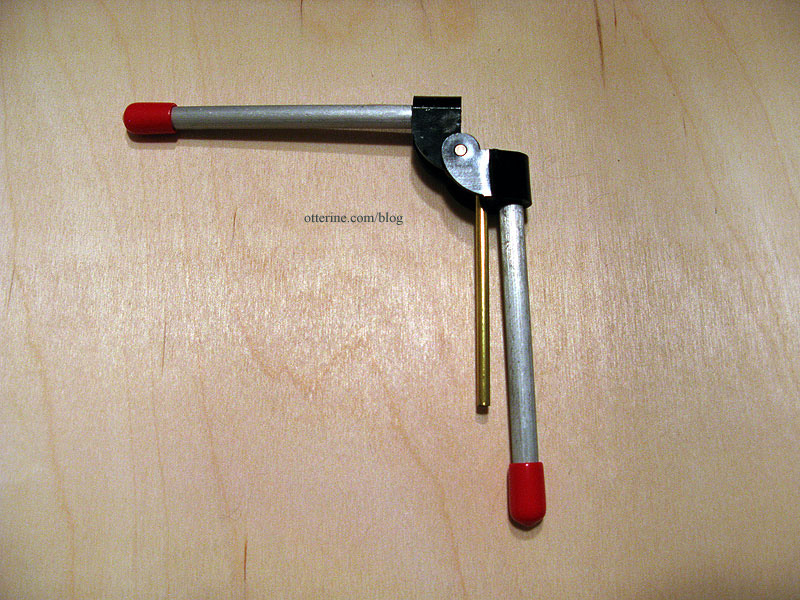
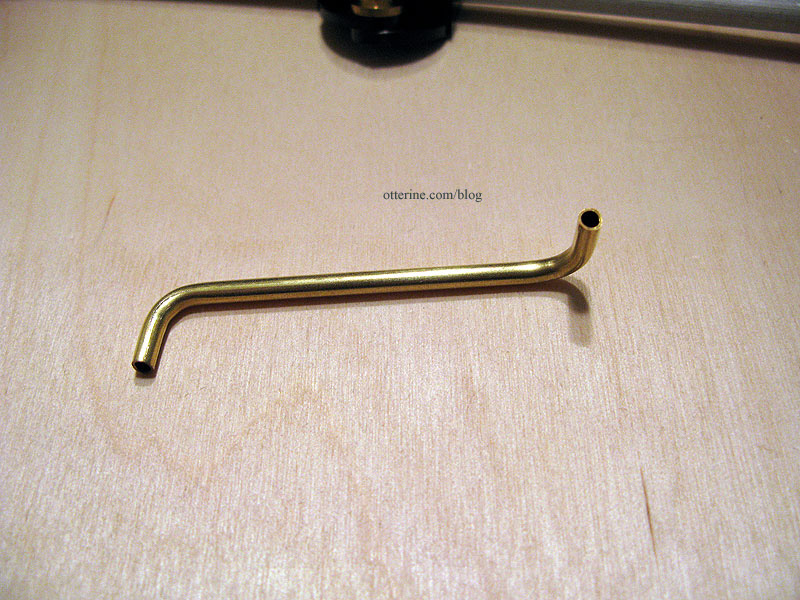
You are left with a nice bend.
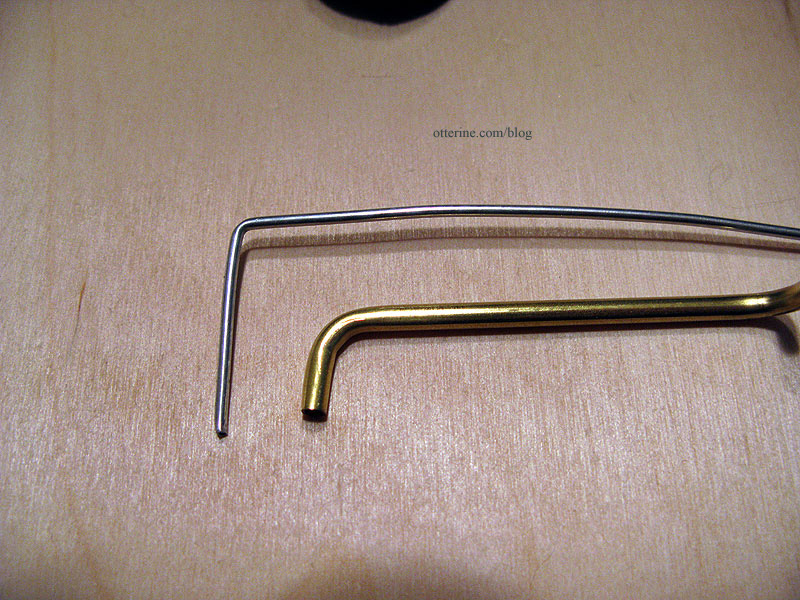
No kinks in the tubing. I did try to bend a piece closer to the end, but it pulled and didn’t work as well. So, there is some limitation to it, but I think it’s a wonderful tool.
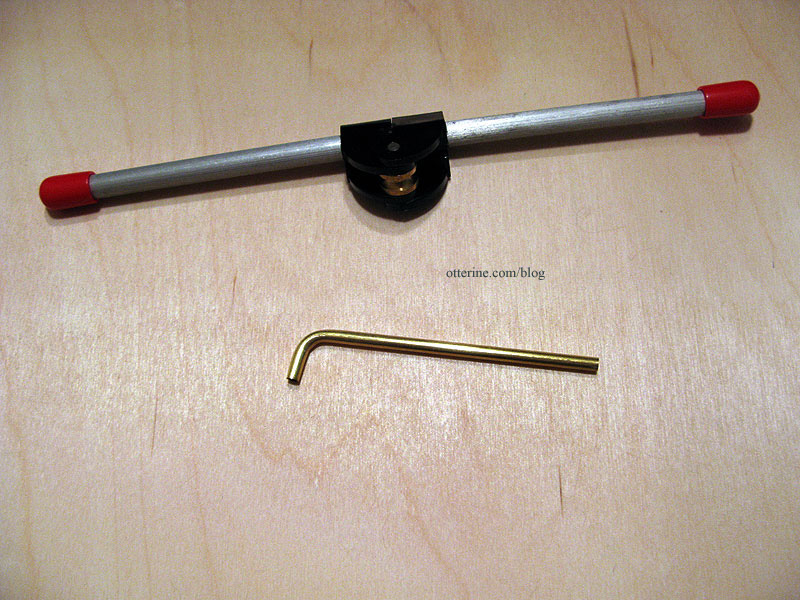
You can bend it again in another direction.
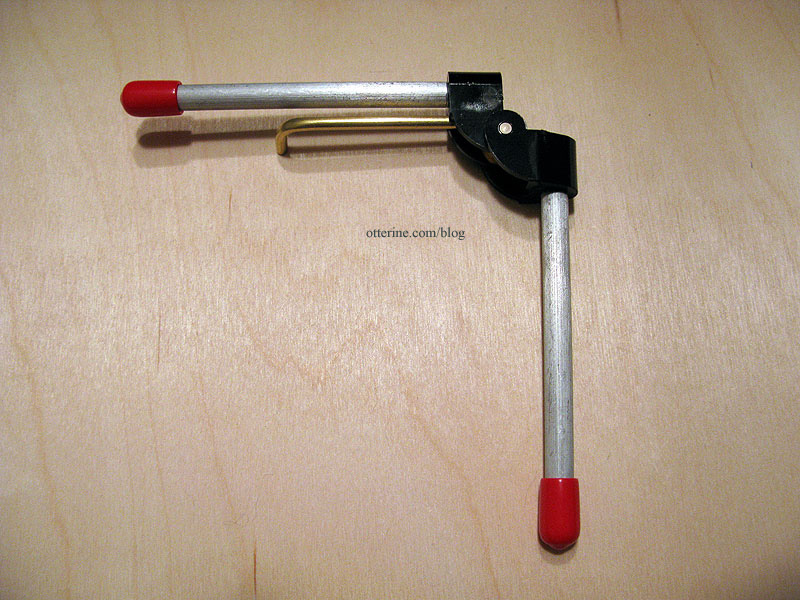
You can bend it more than 90°, too.
I tried it on a scrap piece of 1/16″ aluminum, and it worked well for the 90° angle. It was a little unruly since it’s not a tight fit in the tool but works well enough with some finagling. There is a small amount of flattening in the bend, but it looks much better than trying to do it by hand.
Update: I’ve tried it now with aluminum tubing, and you have to be a little more careful since the metal is softer and easier to tear. It takes some practice, but you can get it to work on aluminum. I ended up making 3-4 small bends right next to one another to stretch it out a little before doing the final bend. It’s not as clean as the brass, but it does work.
Categories: Tools
June 18, 2012 | 0 commentsHeritage – bathroom finishing, part 4
Continuing work on the bathroom. I finished the beadboard trim I started over the weekend.
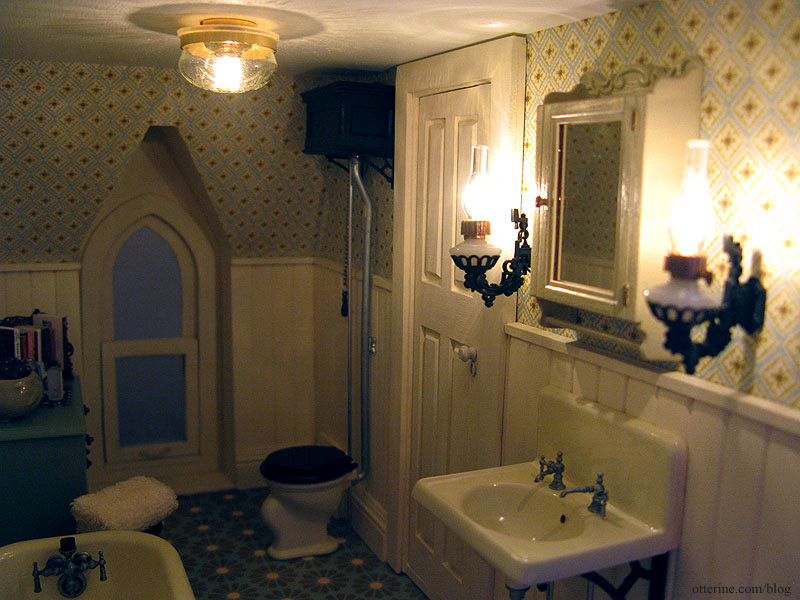
I cut a notch to accommodate the pipe running from the high tank to the loo.
I also added a water line with a shutoff valve to the tank just as I had done for the wall sink, though I didn’t think to take a better picture of it before I had the loo in place. Because the beadboard wall treatment adds some thickness, I had to glue the loo to the floor and the tank to the wall.
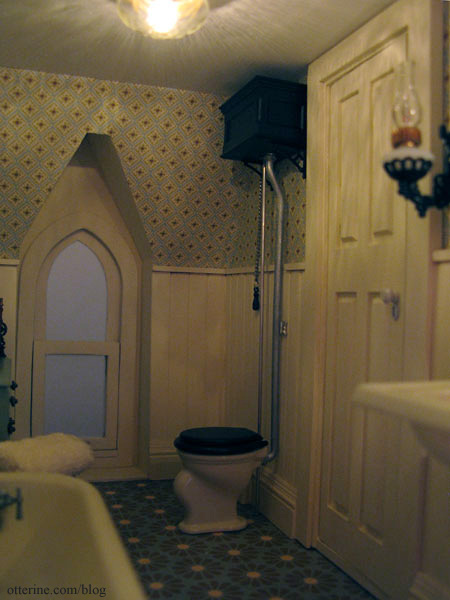
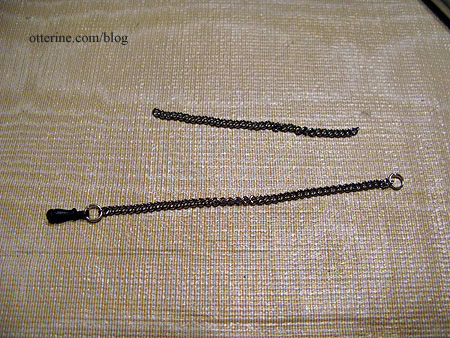
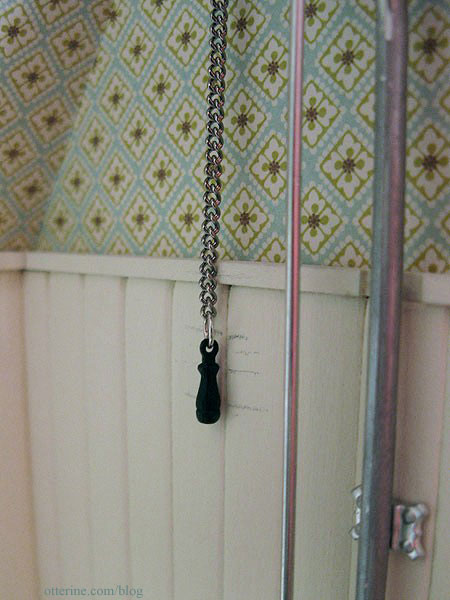
I shortened the chain that came with the kit, because it was nearly hitting the floor.
I figured the handle has been hitting the wall for years, so I dragged it across the beadboard to transfer some of the paint. :D
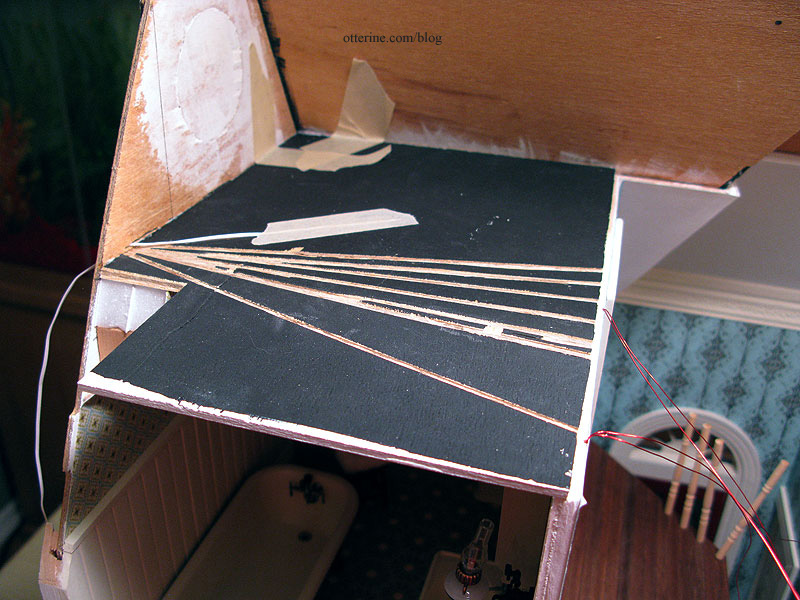
The new ceiling board for the bathroom has the required electrical channels already cut so it was ready to install.
Love this room!
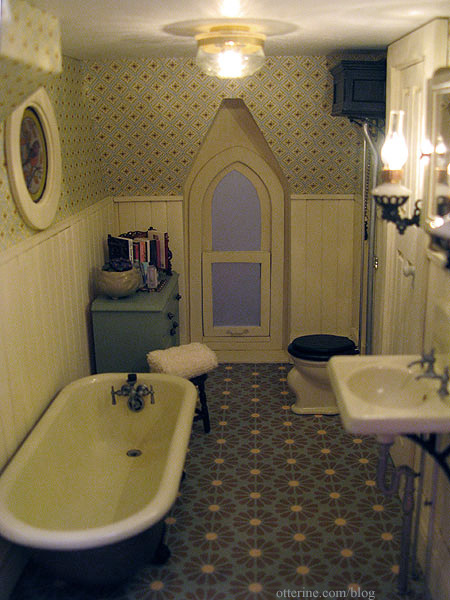
I need only a few more accessories, and this room will be complete! :]
Update: After working on the back roof, I was able to finish up the bathroom wallpaper. I added one small strip of trim on the outer wall to disguise the tab and slot that had been showing in that area. I also added ceiling trim along the front wall to hide the slight gap there. I plan to add more trim around the outer wall here, but the height of the bathroom door makes it impossible to add the same trim to the inner wall. More on that to come.
Categories: The Haunted Heritage
June 11, 2012 | 0 commentsHeritage – bathroom finishing, part 3
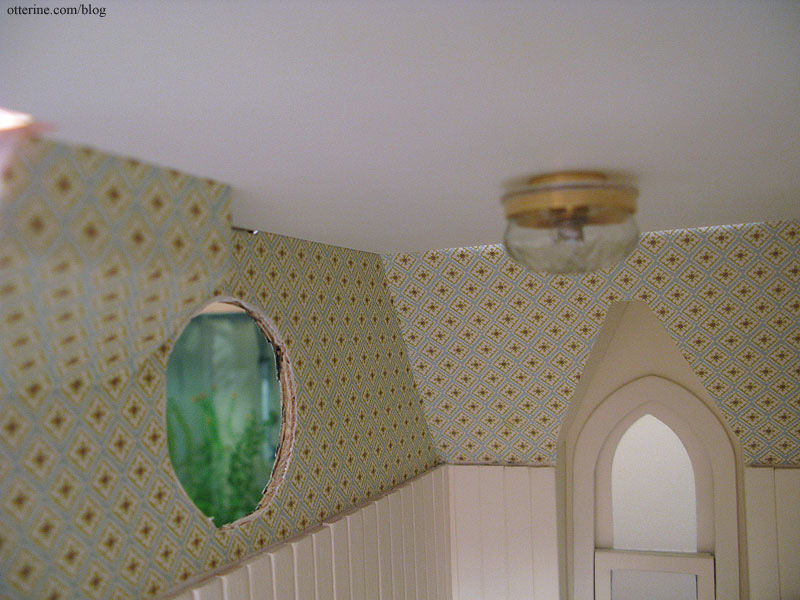
Continuing work on the bathroom. I had applied the wallpaper on the interior wall quite awhile ago, and I fully admit to procrastinating on the other two walls. I had never wallpapered around off angles like the one created by the interior chimney extension.
I had cut plain paper templates previously, so I used those to work on a new template to fit around the chimney extension.
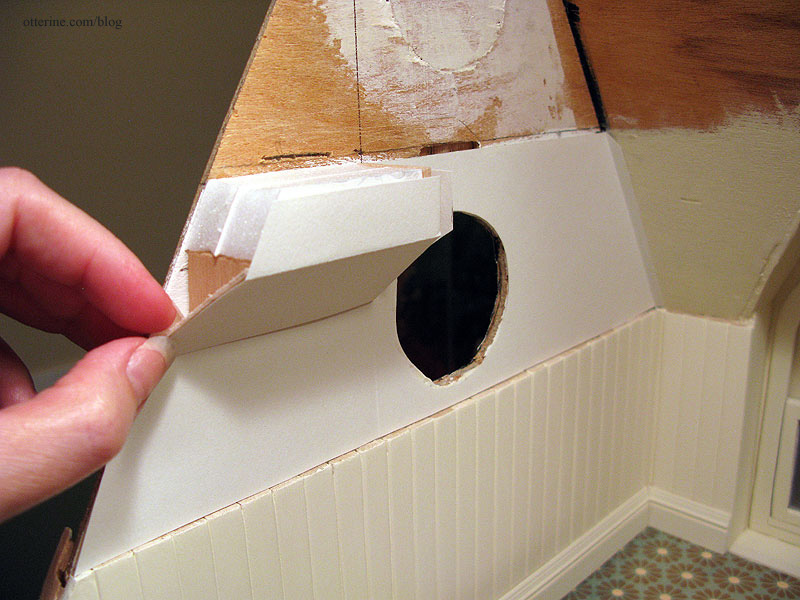
I had one long piece for the wall and one smaller piece for the chimney.
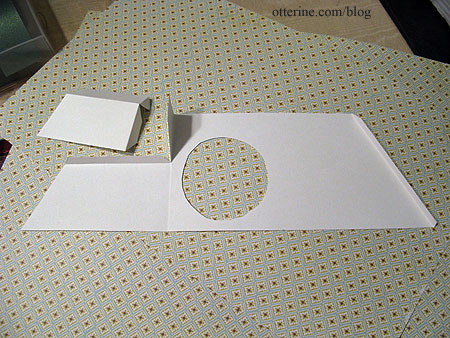
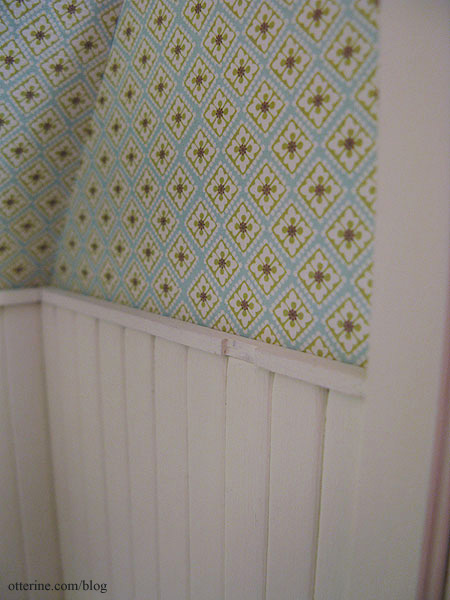
I first cut the long piece from the scrapbook paper – Cute Little Diamonds by The Paper Company – and applied it to the wall with Yes paste, leaving the small piece on the inner side of the chimney loose. (Note: I no longer recommend Yes paste – I use Wallpaper Mucilage instead. Yes paste has problems with longevity.)
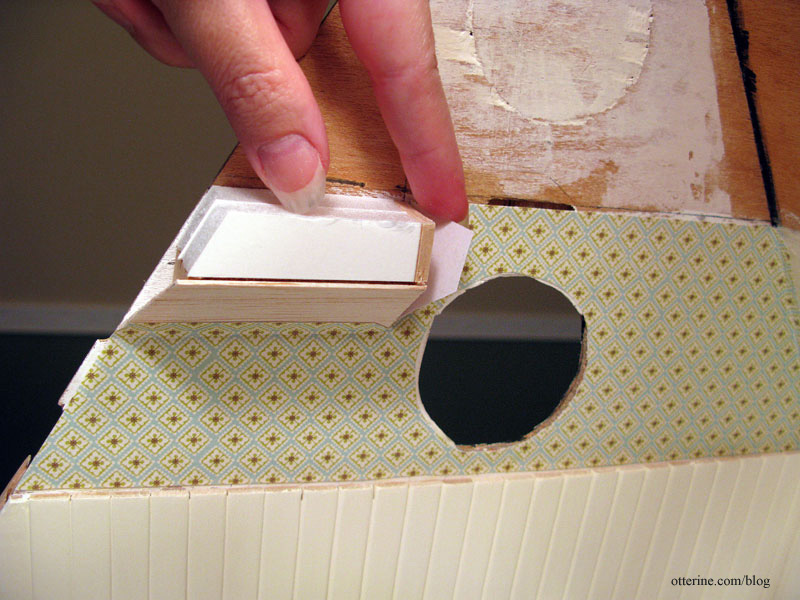
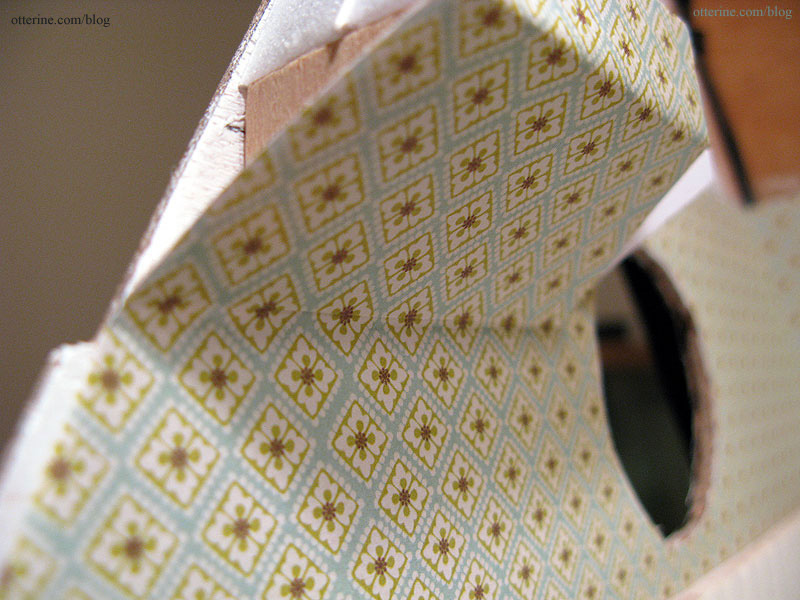
I pasted the wallpaper onto the front wall and then glued the smaller piece to the chimney. Now, that’s a nice seam, don’t you think? :D I’m rather proud of it! I guess all those years of sewing come in handy for pattern matching.
I glued the small flap from the main wallpaper piece in place. It’s not a perfect fit there, but the entire wall is covered and this side won’t be seen.
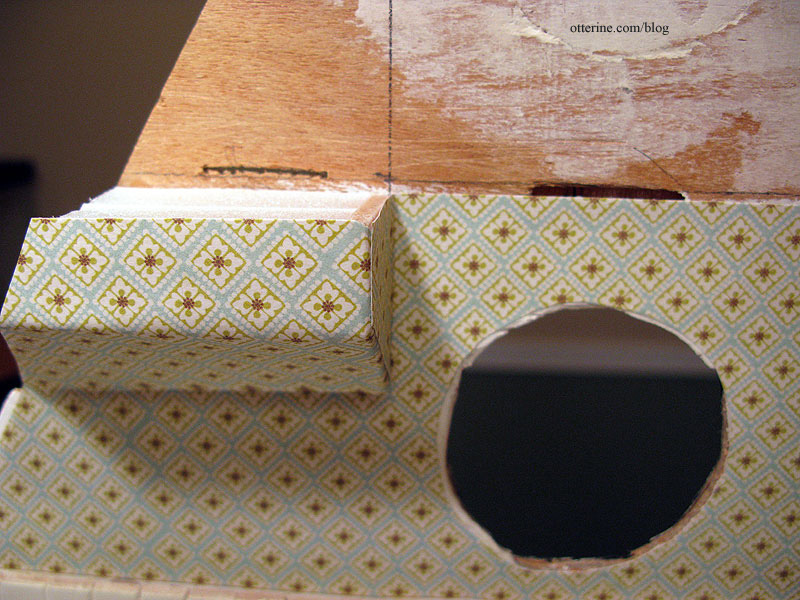
I already knew there would be sizing issues around the ceiling tab and on the front wall, but I plan to add some trim around the ceiling to hide these gaps.
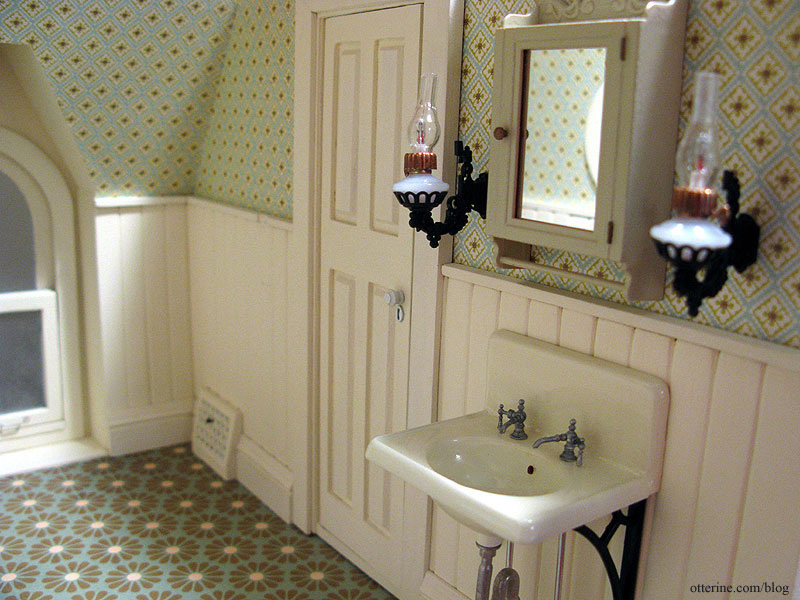
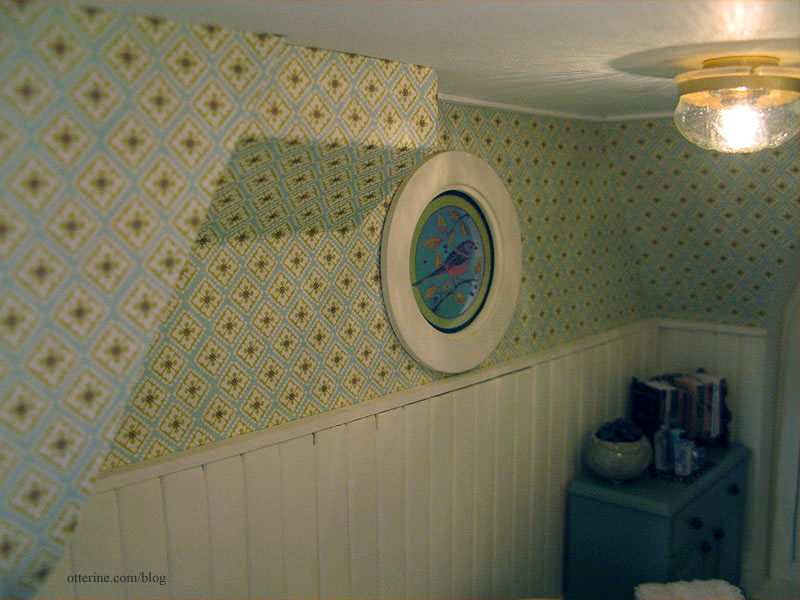
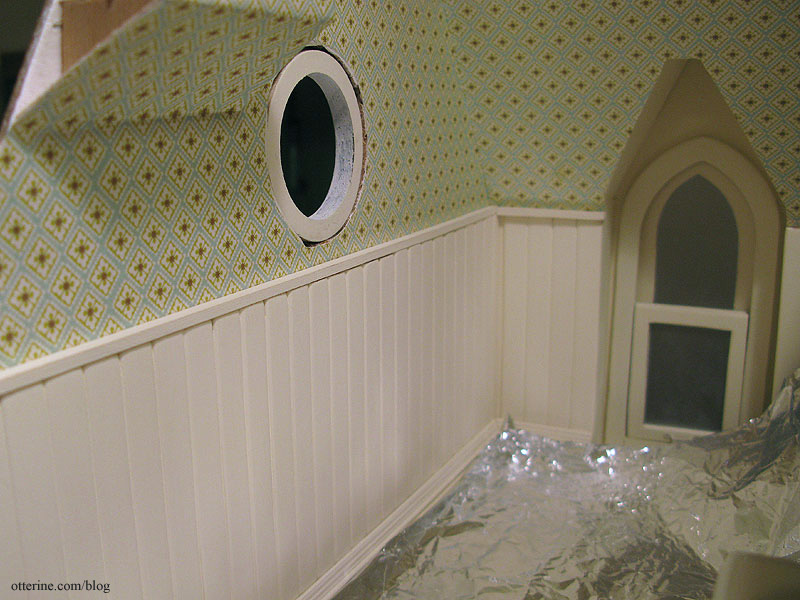
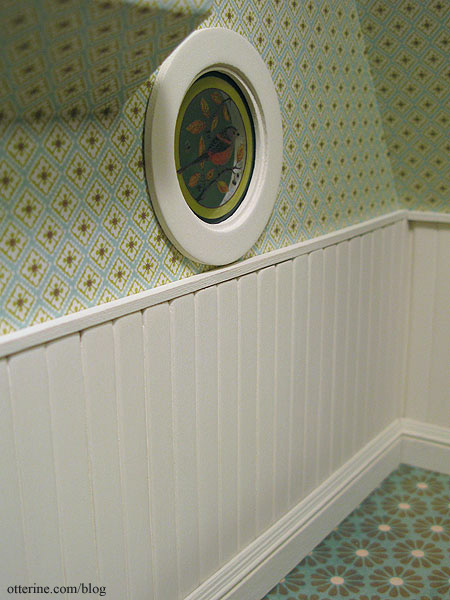
Once the wall treatments were complete, I installed the outer window. I added a thin strip of wood to finish the beadboard, painted to match.
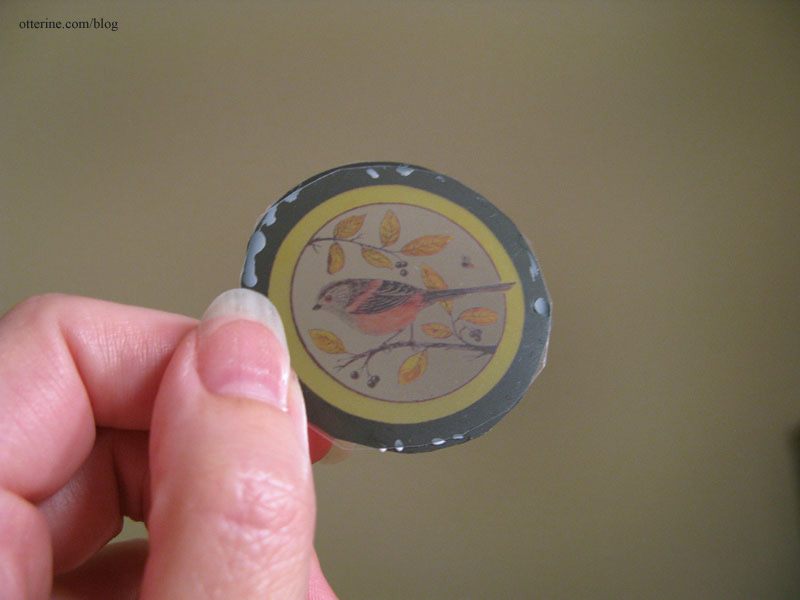
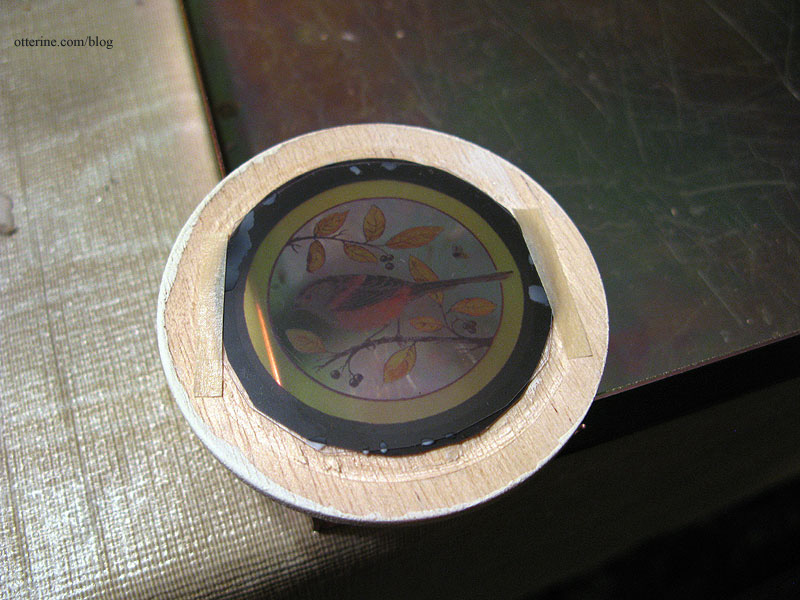
Since the back of the bird and bee window transparency print is dull, I cut a piece of clear acetate to act as the outside surface. I dabbed Aleene’s Quick Dry glue around the edges just to hold the two pieces together. (Bird and bee image by Flora used with permission.)
I dabbed glue around the edge of the assembled films and centered the interior trim over the image.

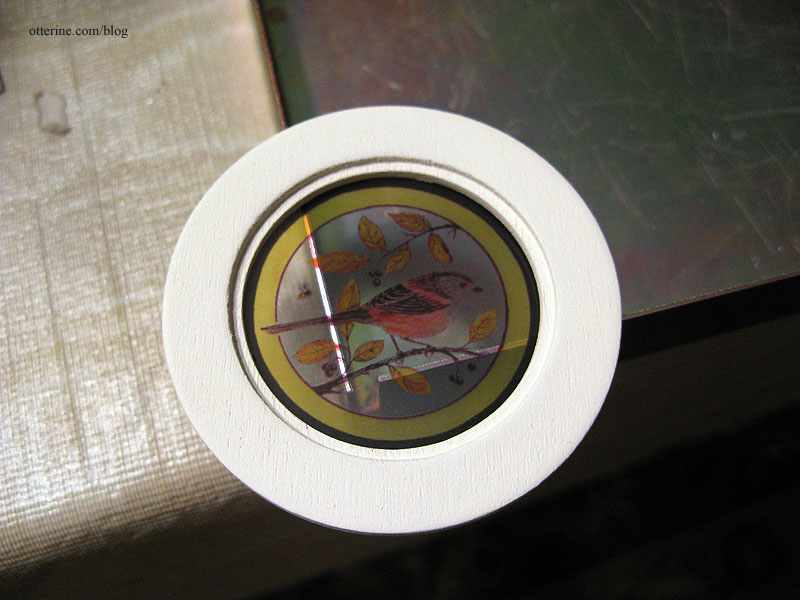
To keep the window from shifting in case the glue fails, I added two thin strips of masking tape.
I then glued the window to the wall. Lovely. :D
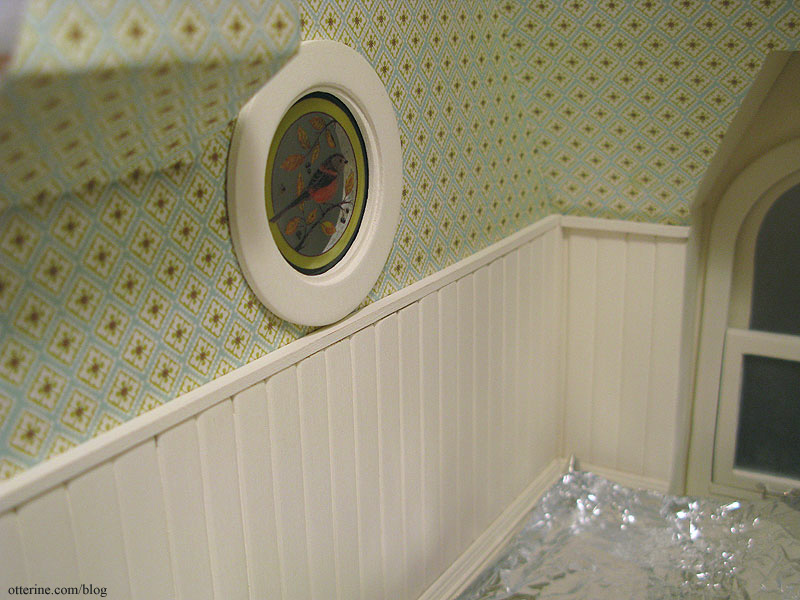
This room is just about complete.
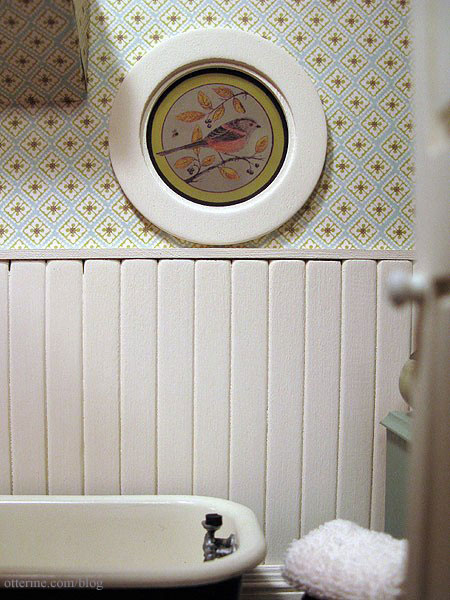
Here’s the window with the furniture and bathtub in place. :D
Categories: The Haunted Heritage
June 11, 2012 | 0 comments


NOTE: All content on otterine.com is copyrighted and may not be reproduced in part or in whole. It takes a lot of time and effort to write and photograph for my blog. Please ask permission before reproducing any of my content. Please click for copyright notice and Pinterest use.


