

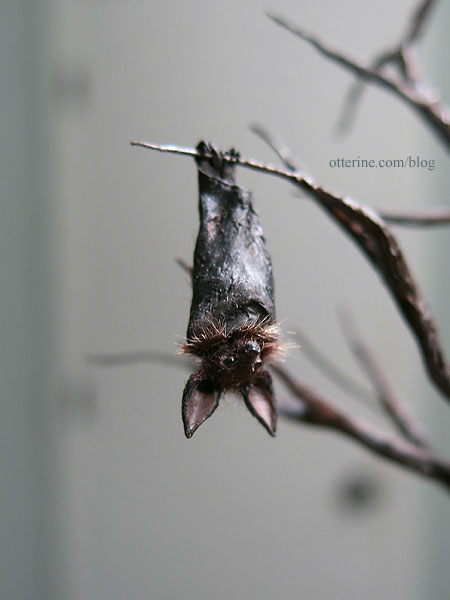
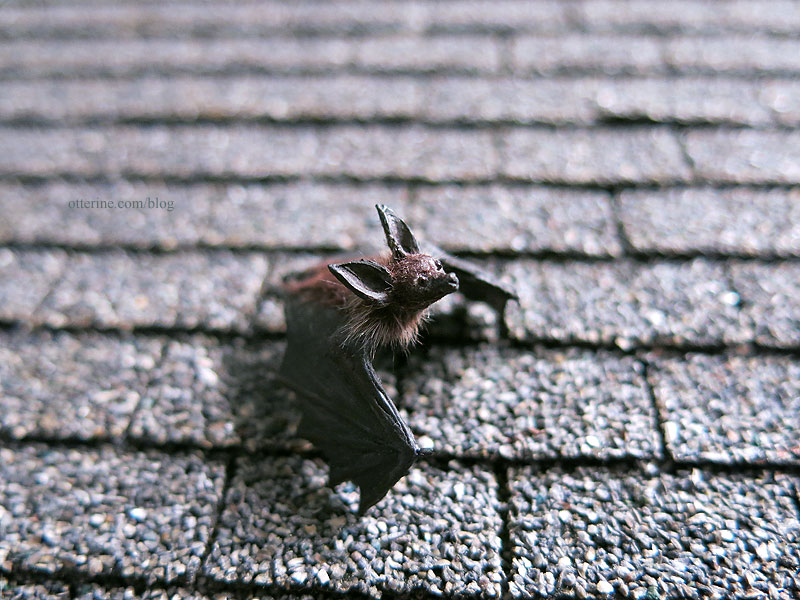
Animals – my collection
Just a few highlights of my miniature animal collection.
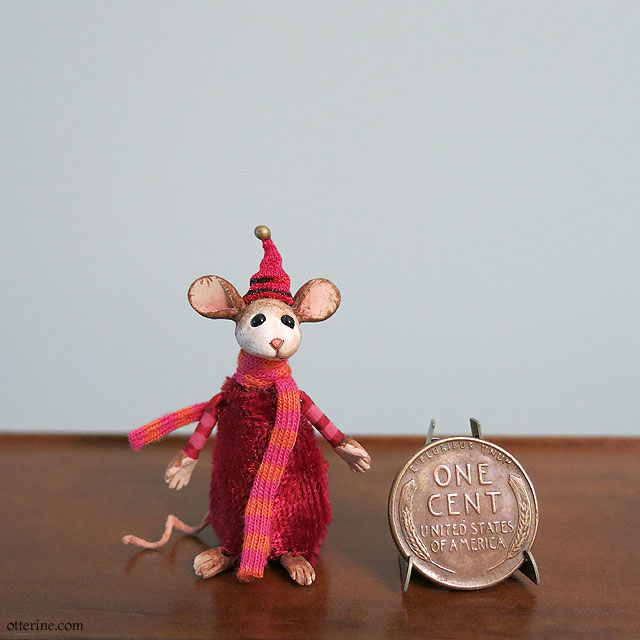
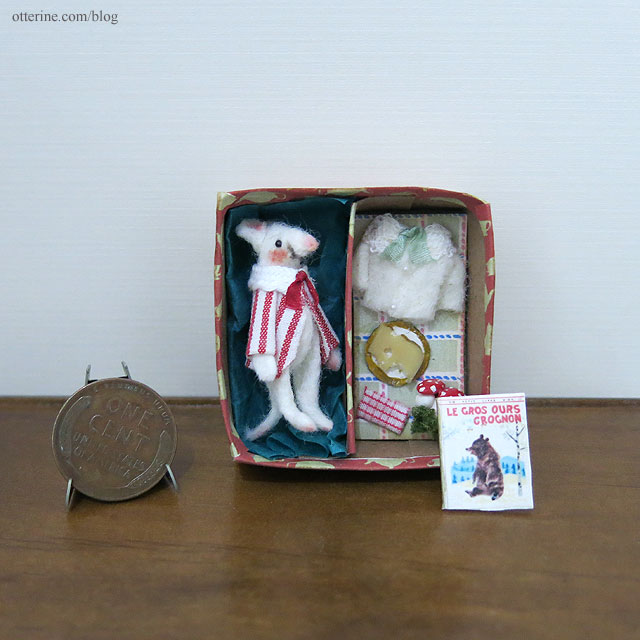
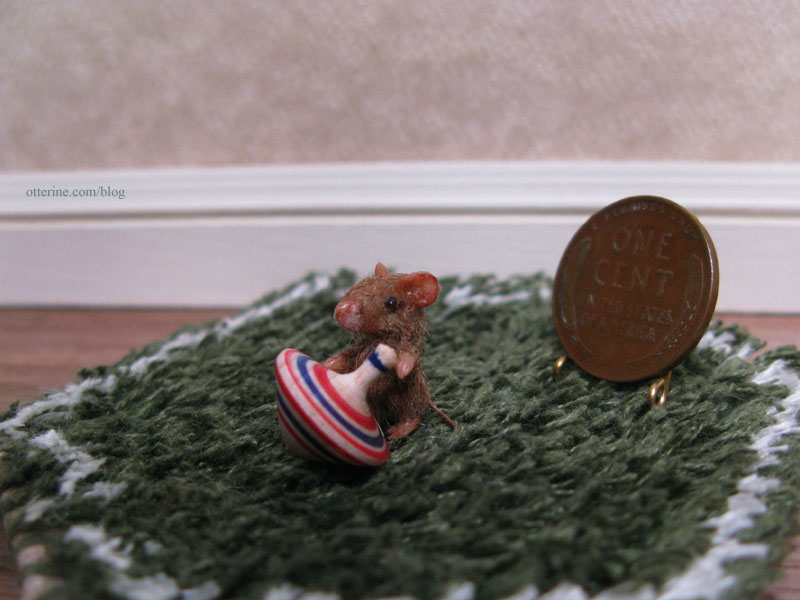
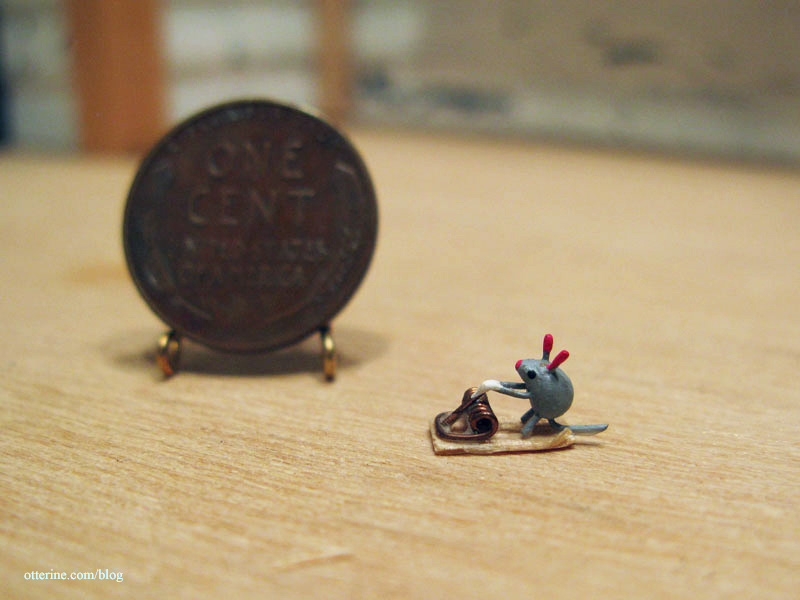
————–Mr. Mouse – from K. Kuti Designs
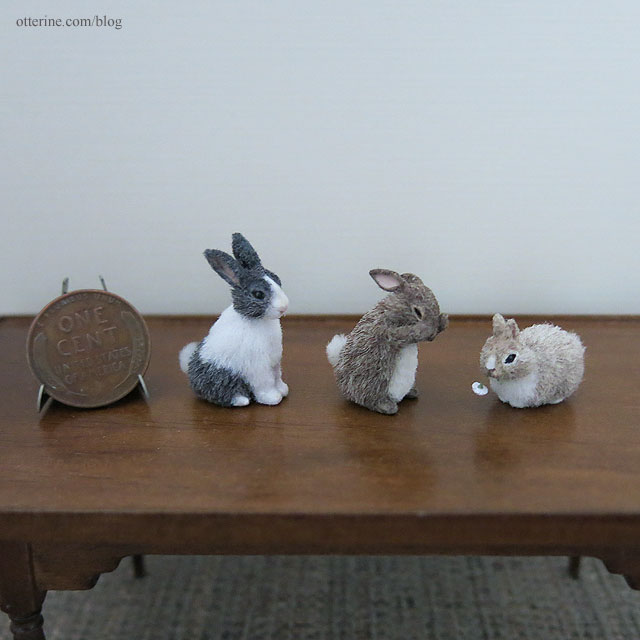
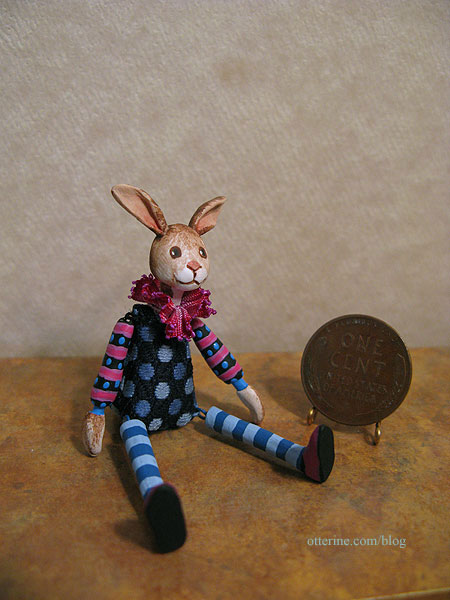
Wild rabbits – by Lamis Minis
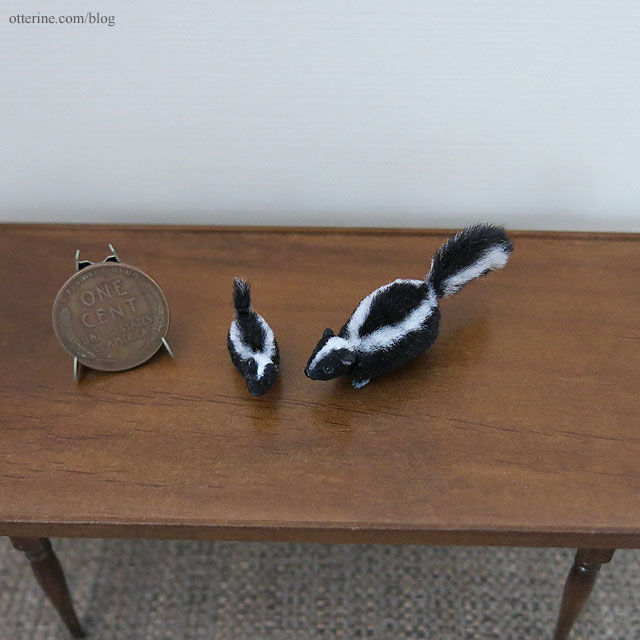
Skunk with baby – by Lamis Minis
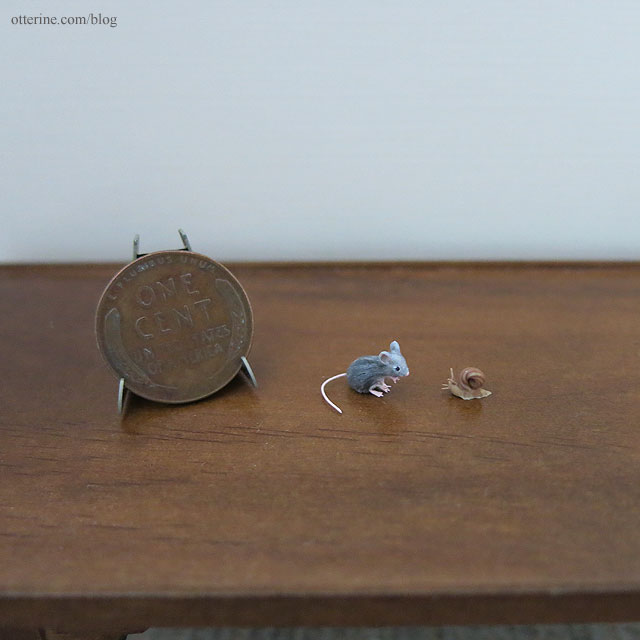
Mouse and snail – by Lamis Minis
Henri the white rat – by Véronique Lux
Fern – by Rebecca at The Old Thread House
Gus – by Michal Gvir
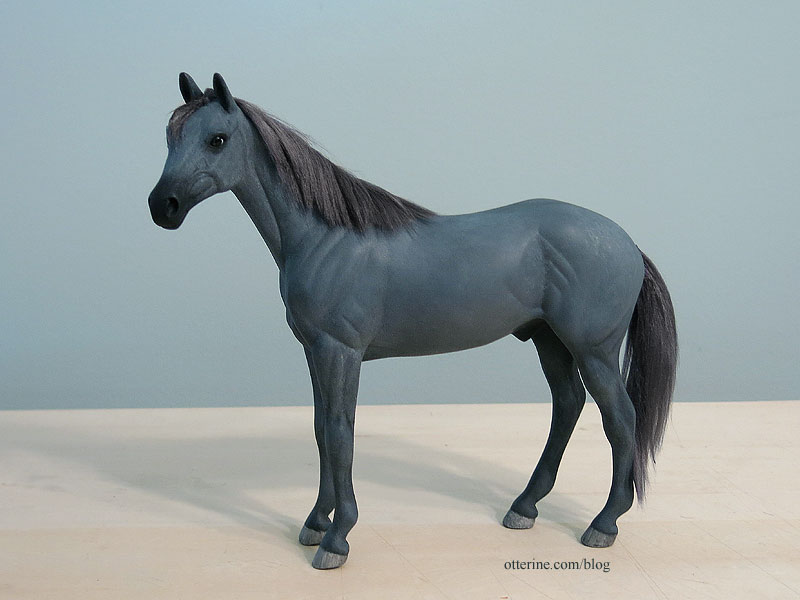
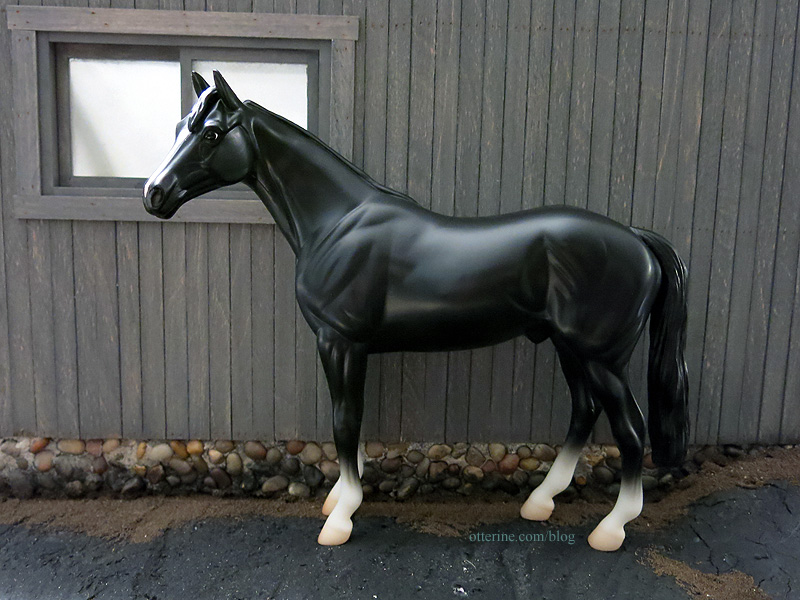
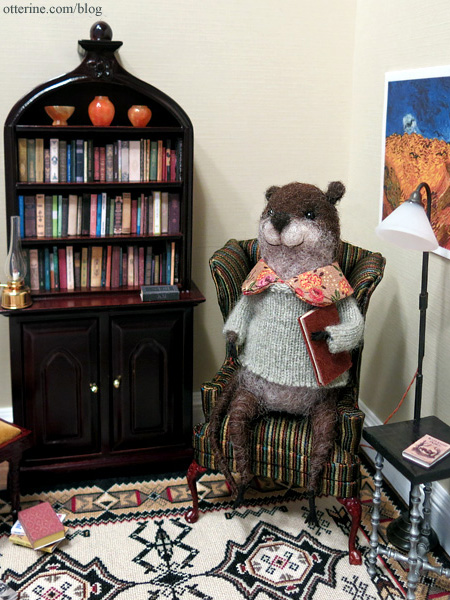
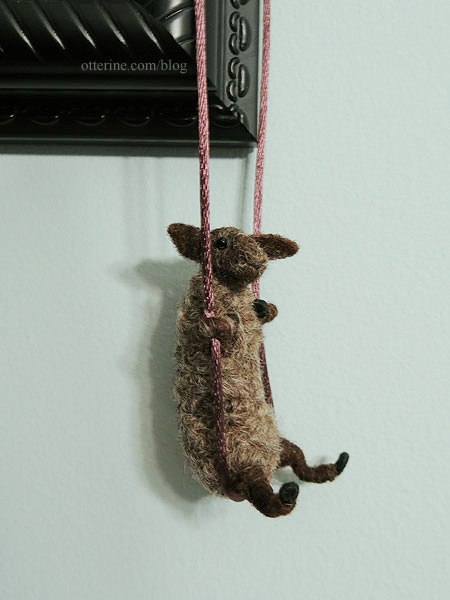
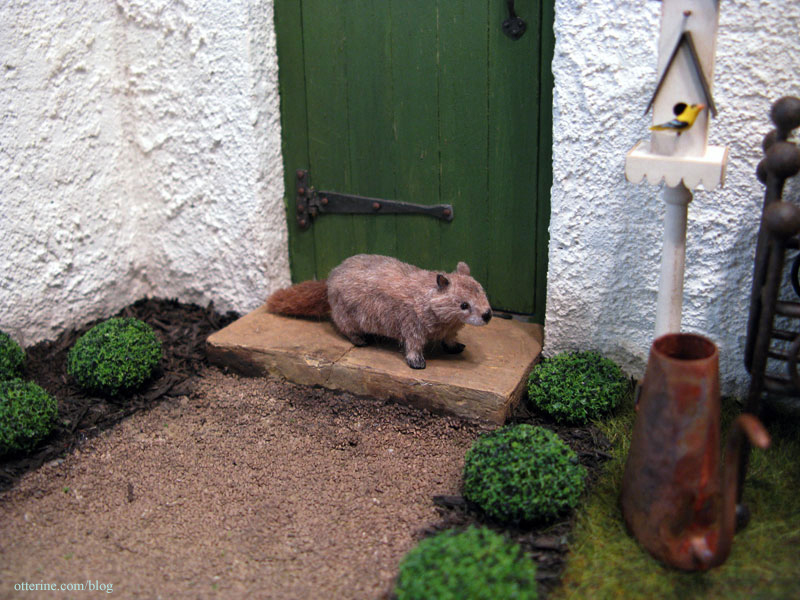
Jebediah McCants – Breyer modification – an otterine original
Daisy – by JMDS
Halo – by Maya Schippl
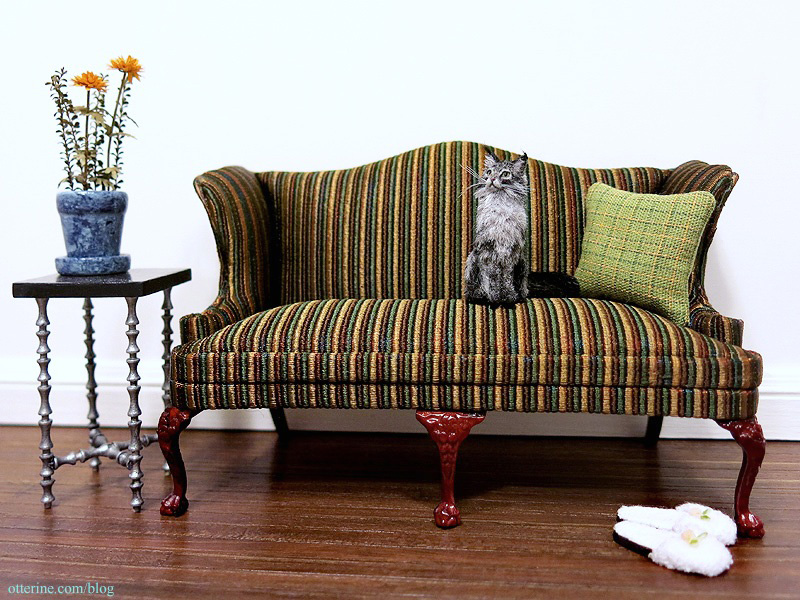
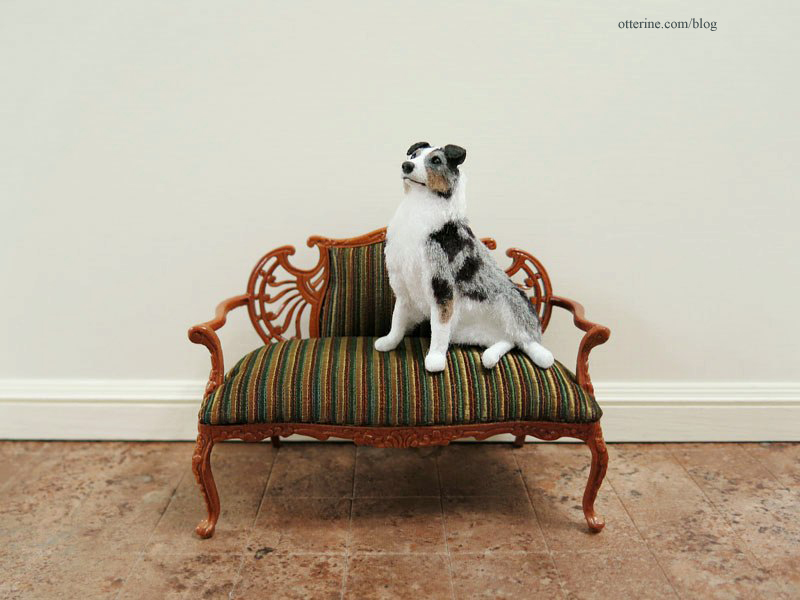
Chester (left) and Roux (rear) – by 2014erok
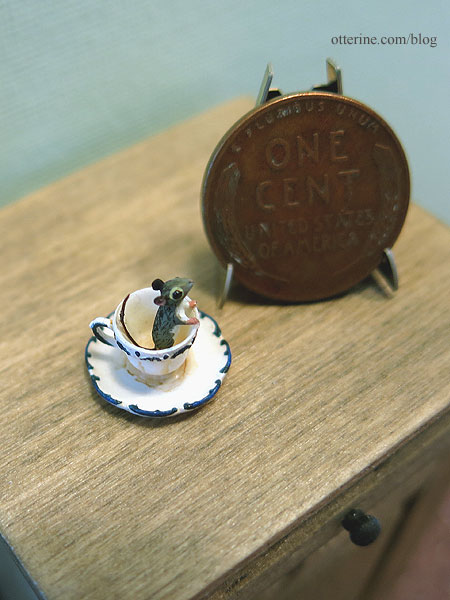
Mouse in teacup – by Beth Freeman-Kane
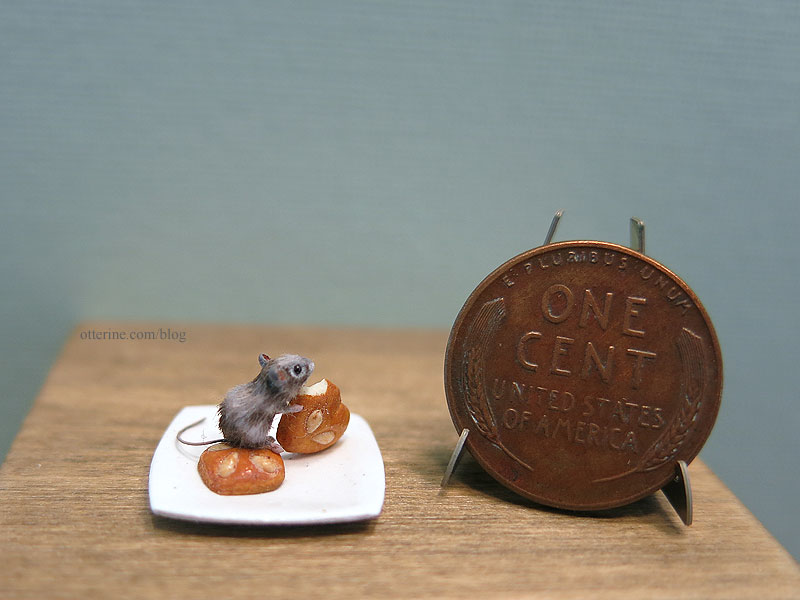
Mouse with sweetbread – by FannimiNiATURE
Auguste – by agzr*studios
Lucius – by Olga Proshina
Igraine – by Olga Proshina
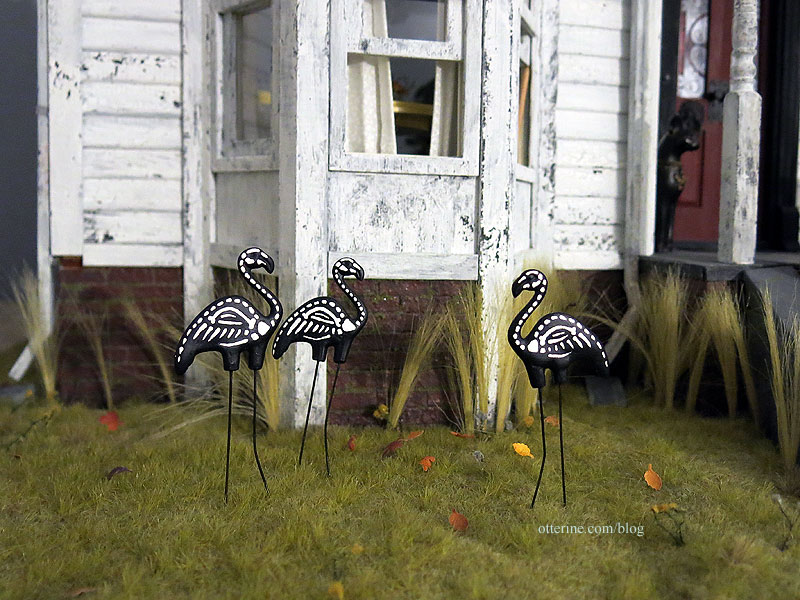
Skeleton flamingos – an otterine original – sold in my etsy shop
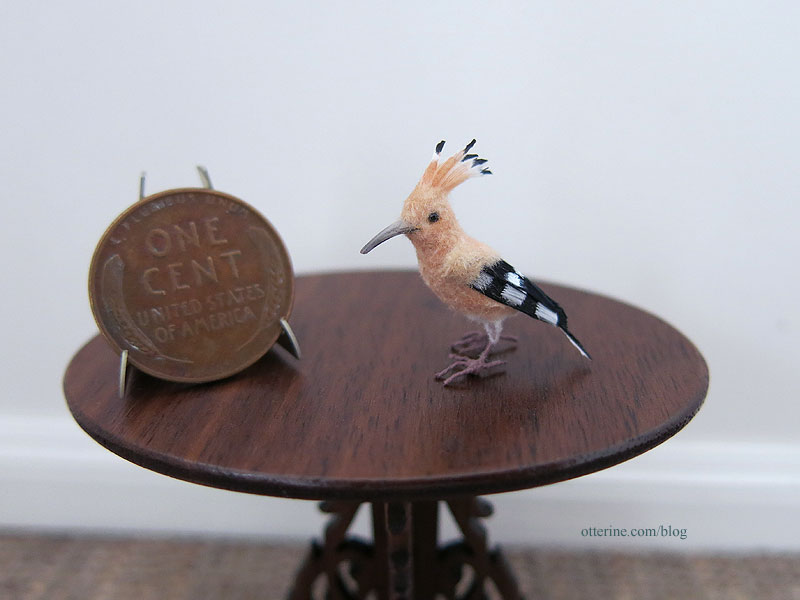
Clyde the Hoopoe bird – by Katie Doka of FairiesMiniatures.
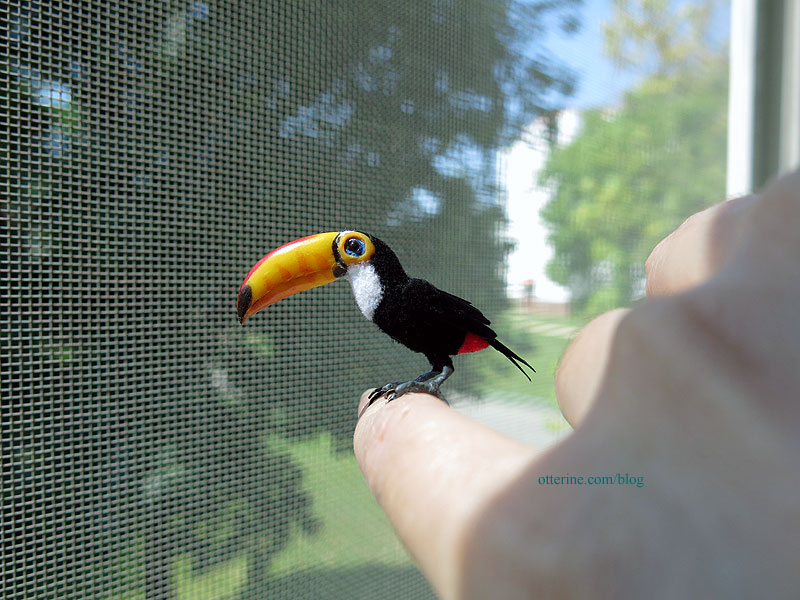
Sam the Toco Toucan – by Katie Doka of FairiesMiniatures
Isabeau – by Maya Schippl
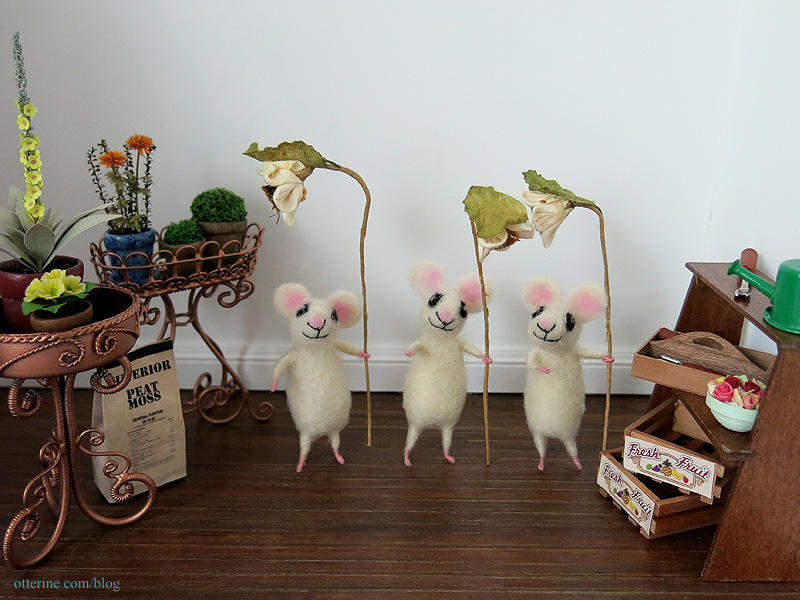
Poppy, Daisy and Fleur – by CozyMilArt
Gustav, the learned otter – by Rustles from the Meadow
Miles – by Cheryl Brown
Friedrich – by Michal Gvir
Endora – by agzr*studios
Isla – by Motley Mutton
Hugo B. Agerton – by Steve Panner

Sanford – by Steve Panner
Roland Sneakypants – by Steve Panner
Sherwood – by Michal Gvir
Seymour the sea otter – by Marion

Miss Charlotte – from PamelaJunkMinis
Mouse – by Kristy of Mini Menagerie
Mr. Rabbit – from K. Kuti Designs
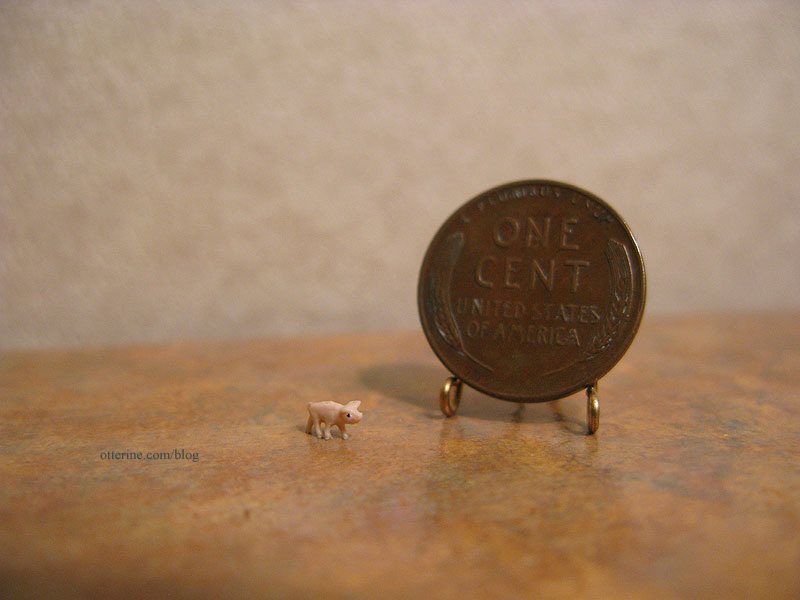
Smallest piggy I’ve ever seen – from The Kennedys
Birdfeeder – an otterine original
(bird feeders in various styles are available in my etsy shop)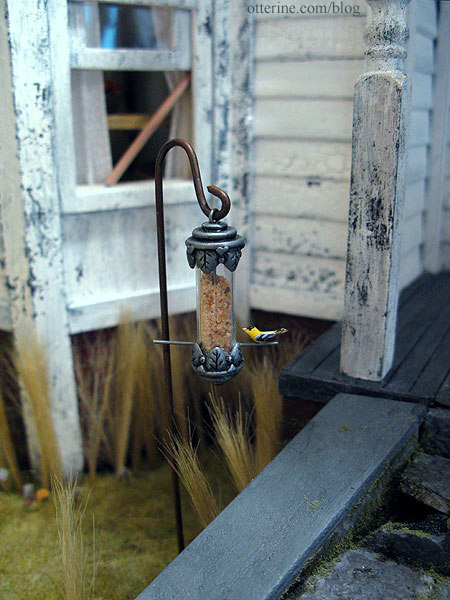
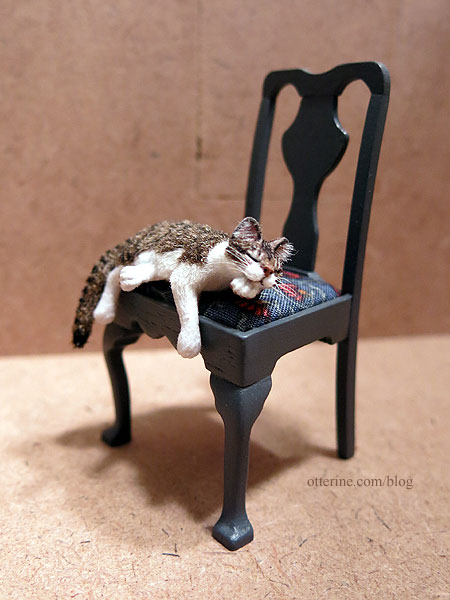
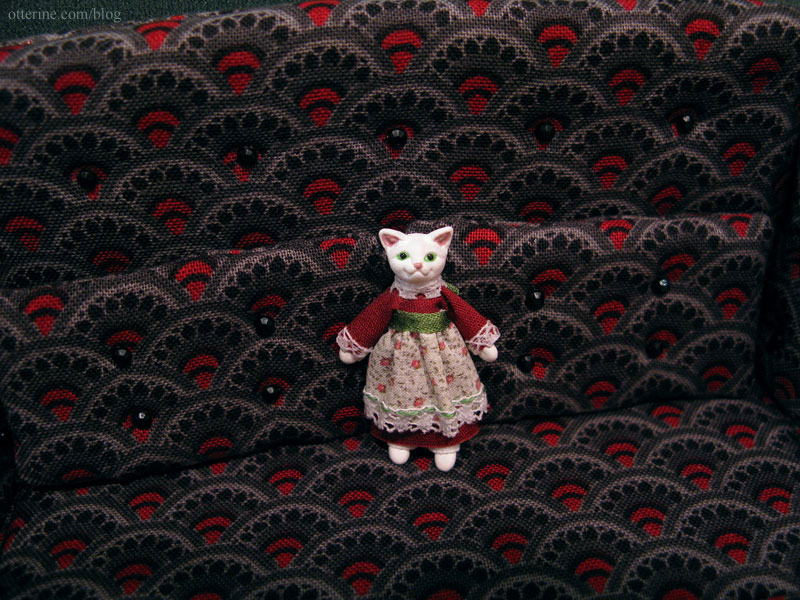
Miss Kitty – from PamelaJunkMinis
Mouse stealing the cheese – purchased, artist unknown
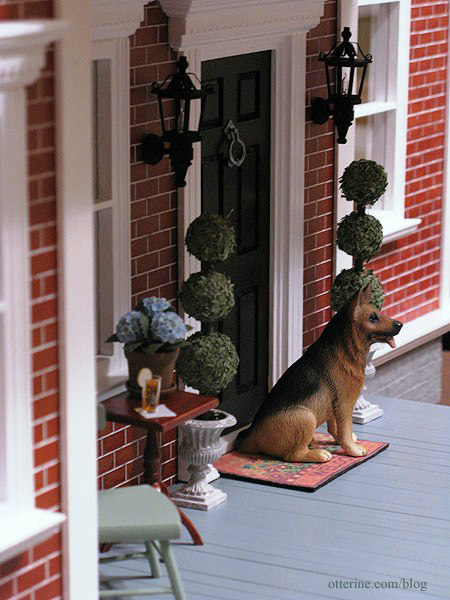
Sarge – Schleich toy, unaltered
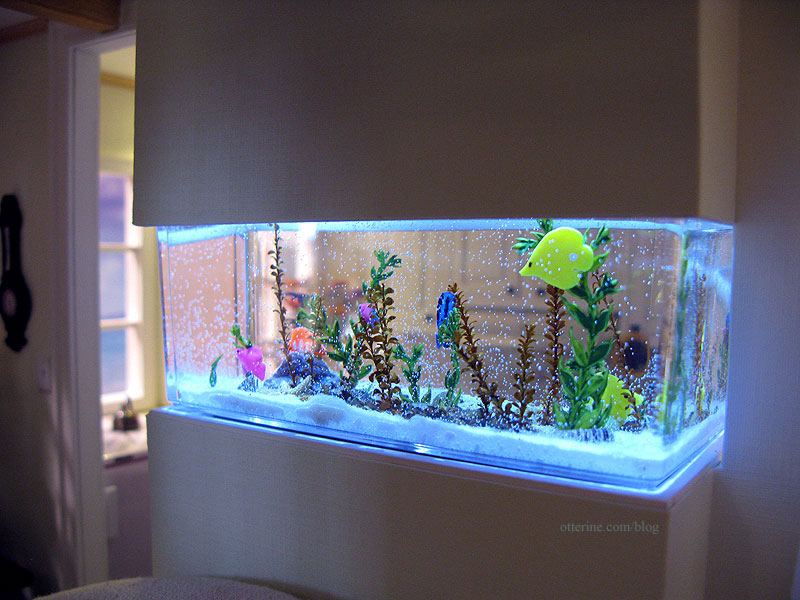
Saltwater Aquarium in 1:12 scale – an otterine original
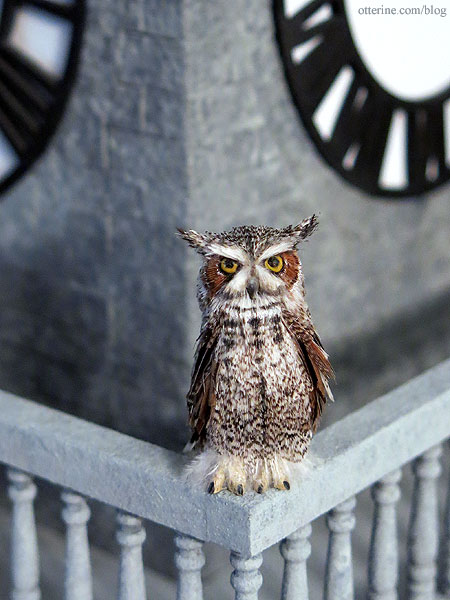
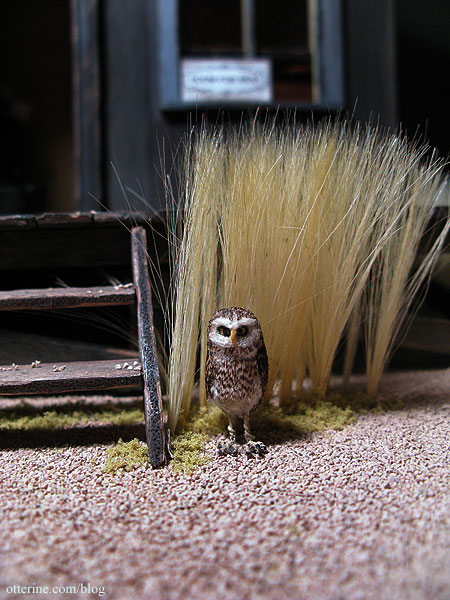
Burrowing Owl – an otterine original
Vintage kitty doll from my childhood – manufacturer unknown
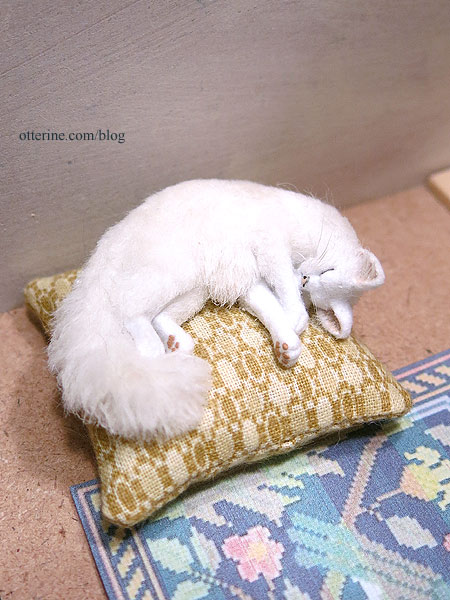
(pet bed available in my etsy shop)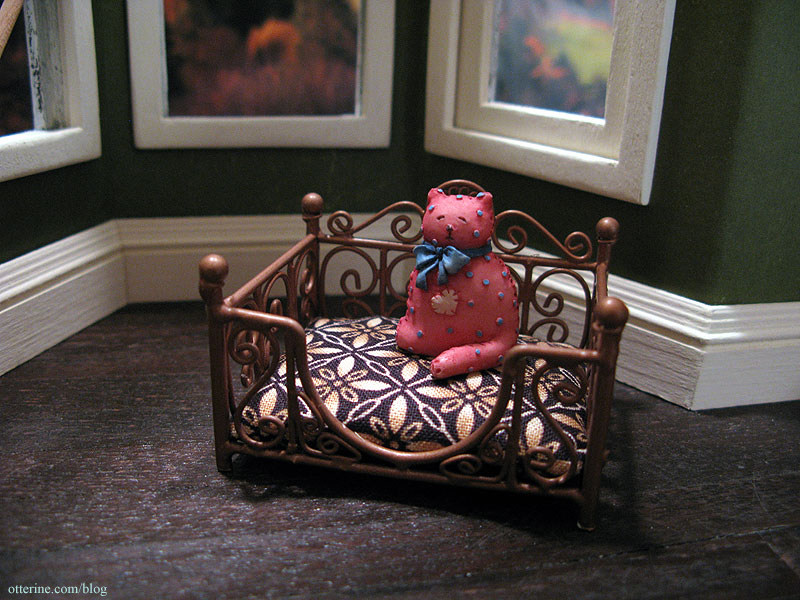
Categories: Animals and birds
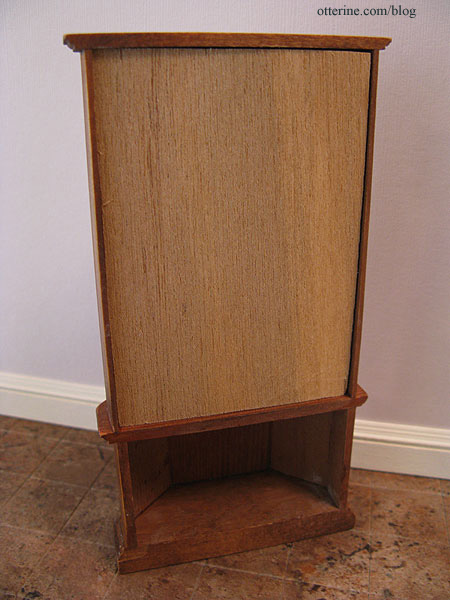
August 3, 2012 | 0 commentsVintage display cabinet
I was going to build a display cabinet, but with the projects still to be completed and the due date in just over a month, I started looking around for something ready-made. I stumbled across this vintage curio cabinet on etsy at Vintage Calico Garden. Perfect!
Here is it after a good cleaning. There are no maker or manufacturer markings as far as I can tell.
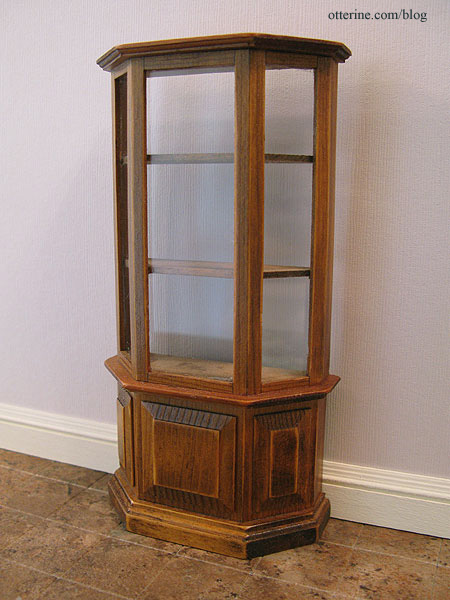
The piece is in excellent condition overall, though the shelves were a bit rough for what I needed.
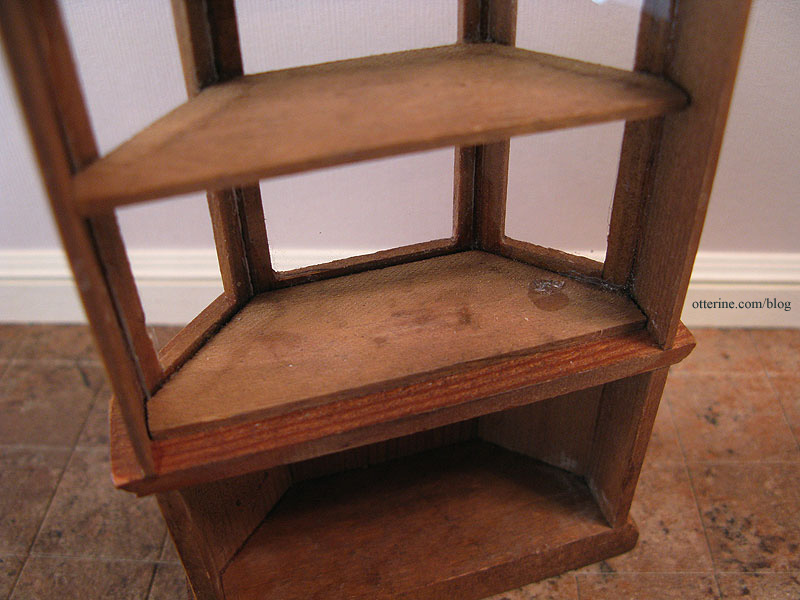
Heather helped me by sending some scraps of paper for the Heritage bedroom, and she included some coordinating dark striped paper in the package. I used this striped paper to make liners for the shelves. I colored the edges for the top two shelves with a marker (not seen here), because the white paper edges would have shown through the front and side glass panels.
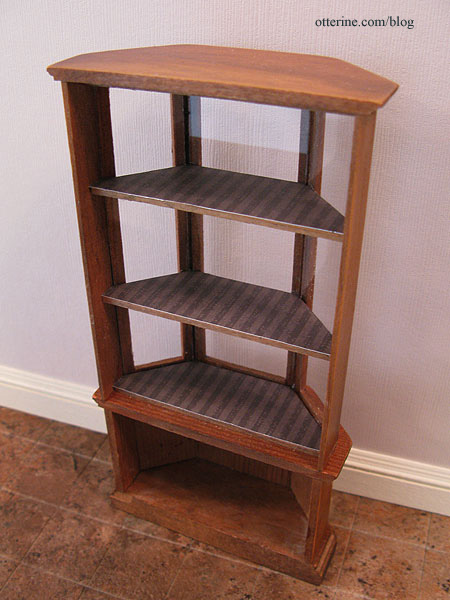
The cabinet needed a backer to complete it, so I cut a piece of spare Heritage plywood.
The wood backer just slides in place and is held straight by the shelves.
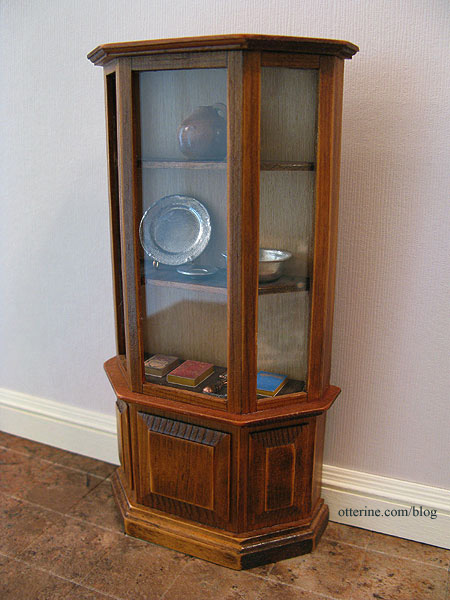
Knowing I would never be able to match the stain of the outside, I painted the backer Vintage White by Folk Art. The items I put in the cabinet will stand out nicely against the pale backdrop. Perhaps one or two of these things might stay in the cabinet, but I just filled it quickly with items I had around to take photos.

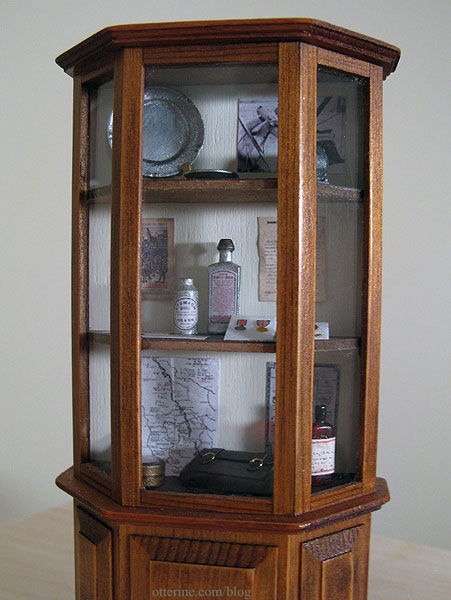
Update: Here it is after being filled with items appropriate for The Aero Squadron Lounge. It really is a lovely piece. :D
Categories: Furniture, The Aero Squadron Lounge
July 29, 2012 | 0 commentsDogwood Tree
I am following the same DVD tutorial as I did for the Heritage tree: Master Miniaturists:
Landscaping Primer with Diane Myrick. This tree, however, is fuller, shorter and much less
knobby. Here’s the tree after adding the water putty and paint washes. The tree stands just under 11″ tall.
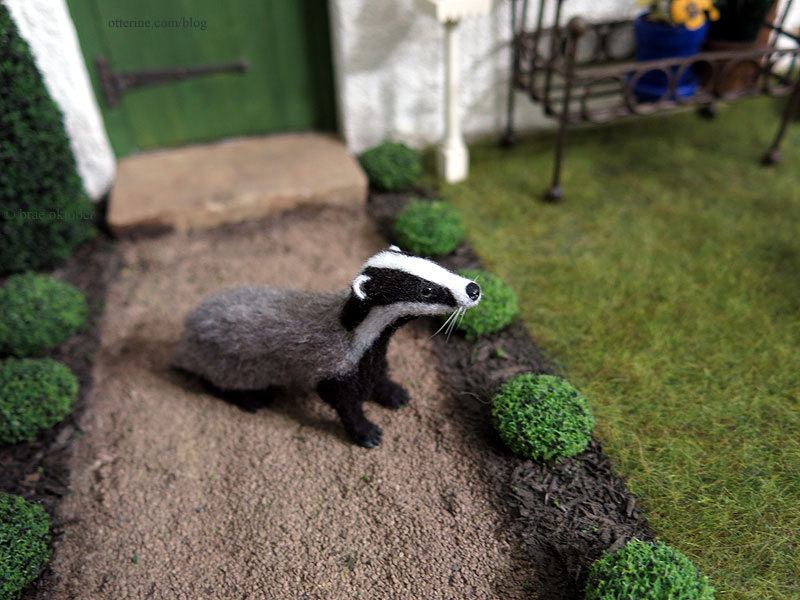
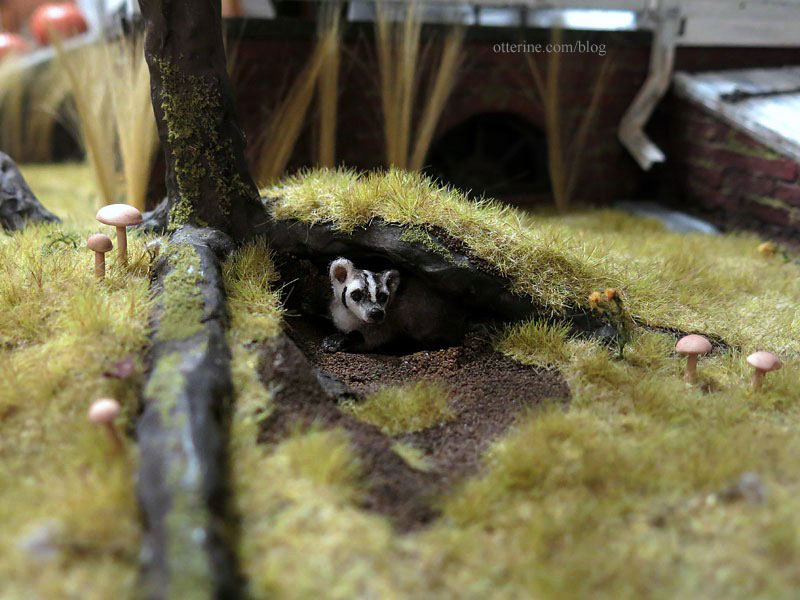
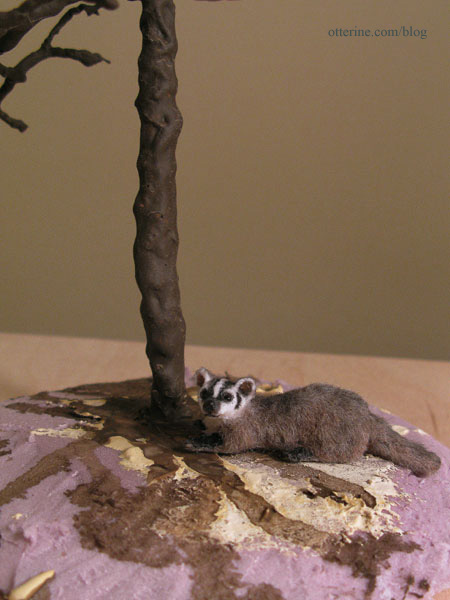
Who’s that there? Looks like Grahame the badger has wandered over. :D
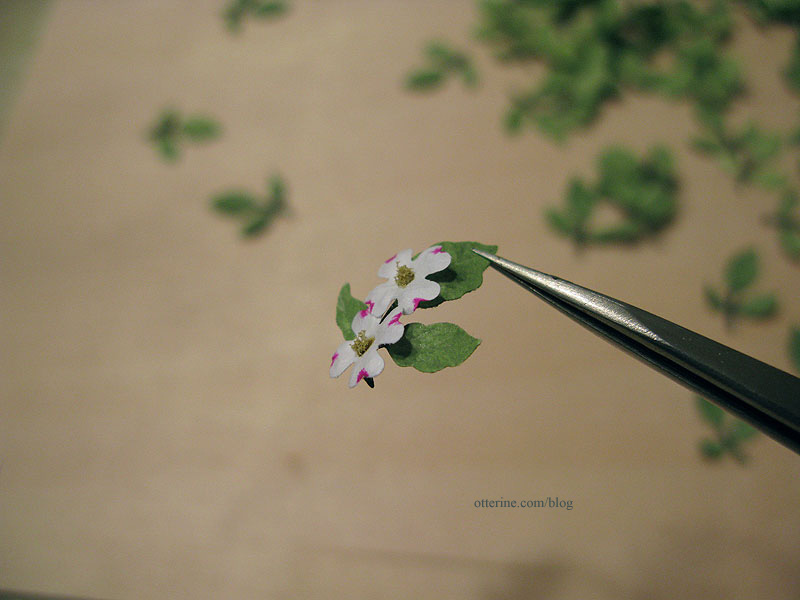
Instead of using the foliage techniques used in the DVD tutorial, I wanted to use a technique to make a dogwood tree that would allow for close-up photos. This is what the flowers look like on a real dogwood.
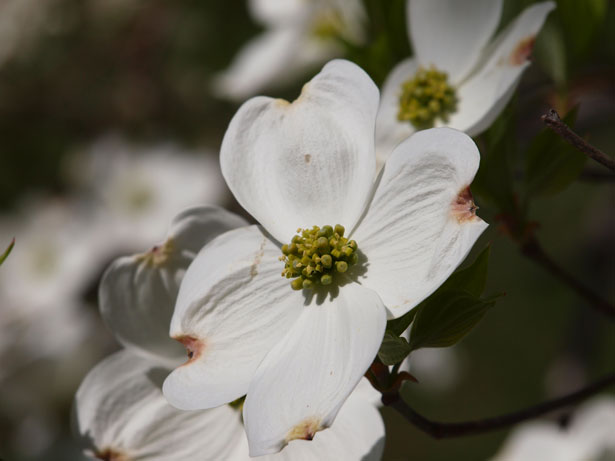
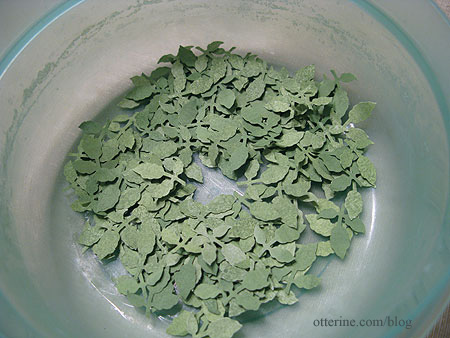
Image from James Hawkins I decided to use scrapbooking punches to make flowers and leaves. I have just under 100 branch tips on my tree, so I punched out 400 white flowers using the mini Hydrangea punch by Punch Bunch and colored each of them individually with markers. I ended up dumping about 20 or so for bad marker wielding. :D
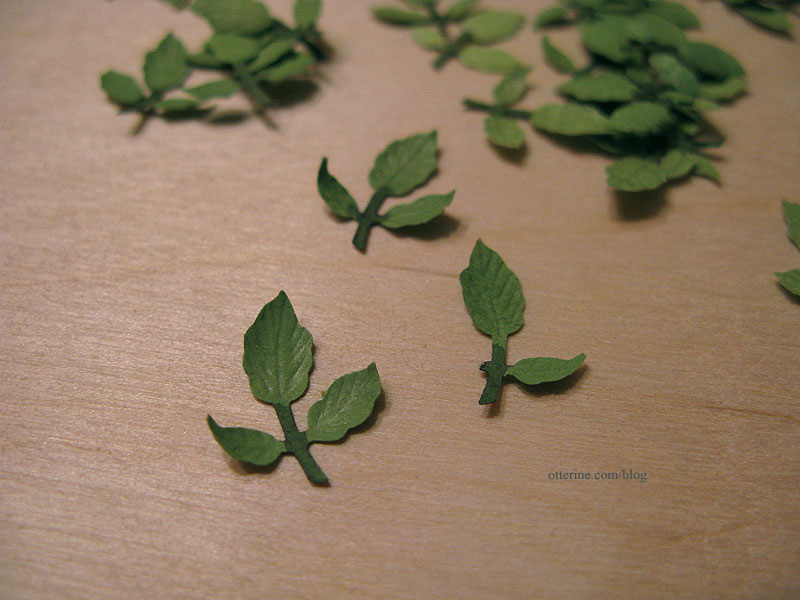
I had two leaf choices – both with multiple leaves from each punch. This is the small ash punch by Punch Bunch with flowers.
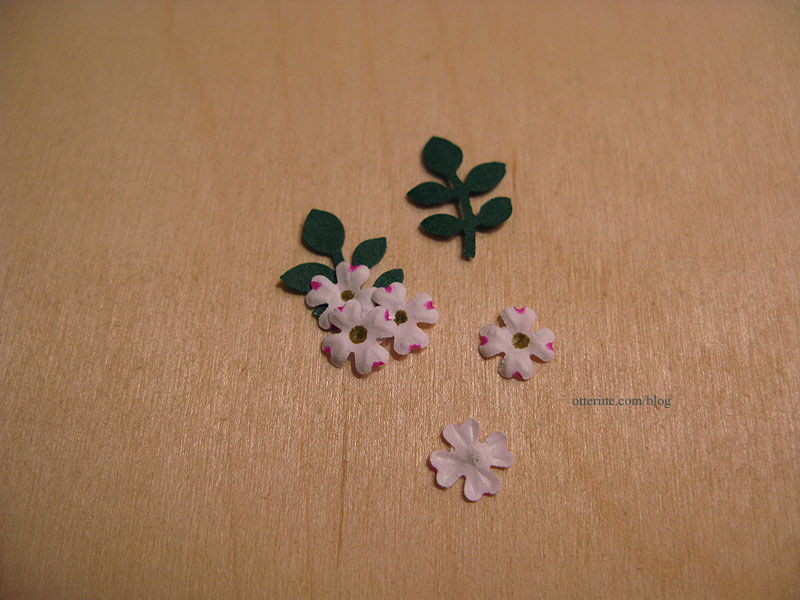
This is the small tri leaf punch by Punch Bunch with flowers.
Both leaf sprigs are 5/8″ high, but the tri leaf sprig seems to work better overall in scale and shape. I will shape these to add vein texture and then glue the flowers and leaf sprigs to the tree skeleton. I’m also planning to add some dimension to the flower centers.
I knew I needed lighter color leaves, but none of my markers were the right shade of green. I ended up painting the strips of paper which resulted in a slight variation of greens. I think that’s okay considering it might add to the dimensionality instead of having a uniform green as the backdrop for the flowers.
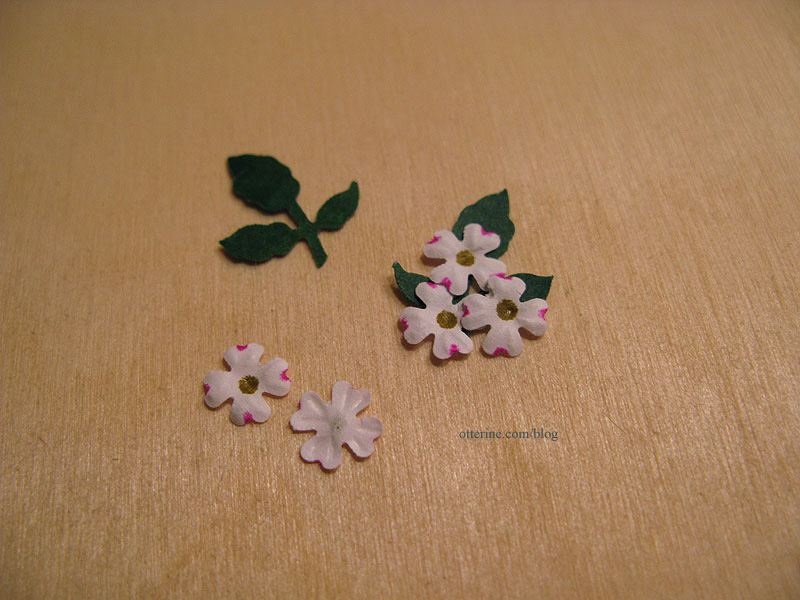
Here they are…165 leaf sprigs. I’m not sure if I will need more flowers and leaves, but it seemed a good place to start.
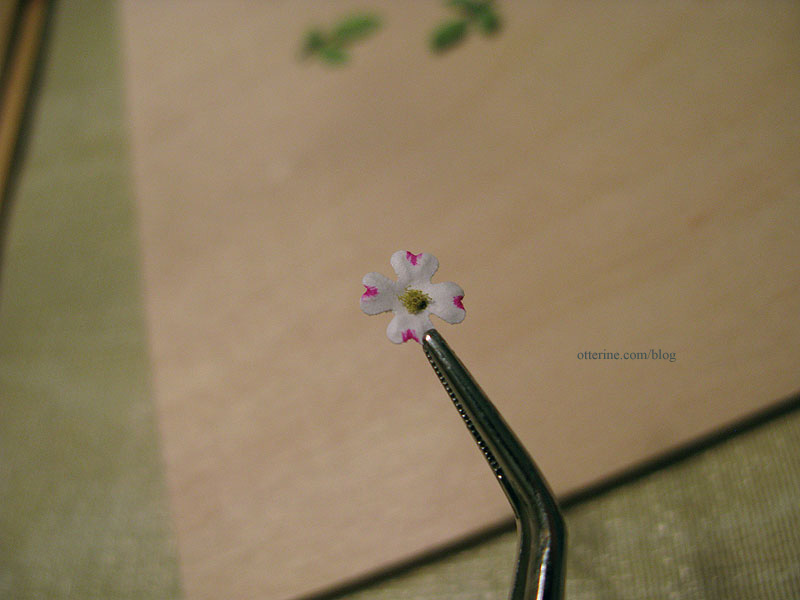
I colored each stem with a brown marker. With the green paint base color, it turned the stems greyish green…perfect for matching the trunk. I then added veins to each leaf on the sprigs with a ball stylus. I had a few leaf casualties, but I kept the sprigs and the loose leaves.
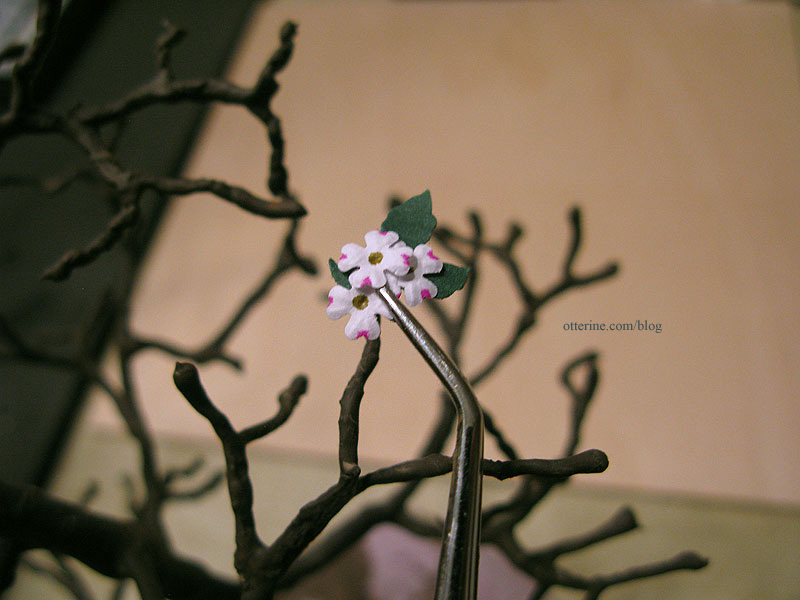
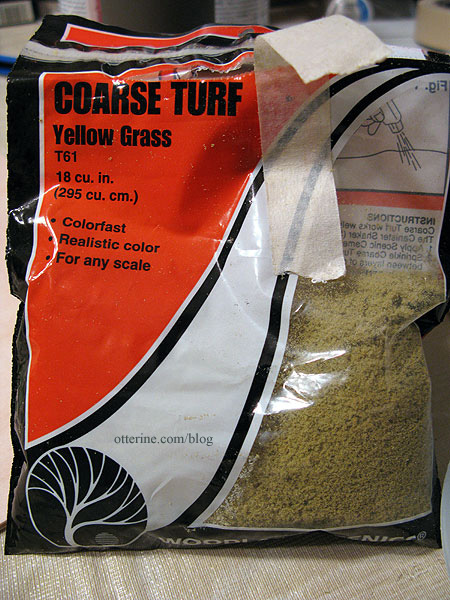
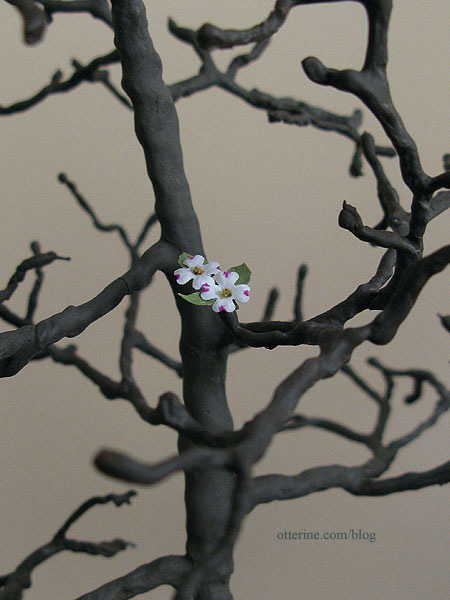
The middle of a dogwood flower is actually a cluster of smaller flowers. To add dimension to mimic these clusters, I glued landscaping material by Woodland Scenics to the centers of my shaped flowers.
I glued flowers to a leaf sprig and then glued that assembly to the tree branch using Aleene’s Fast Grab. I usually use Aleene’s Quick Dry for just about everything, but this is a thicker glue that does what it says…it grabs fast! :D
Okay…164 more to go!
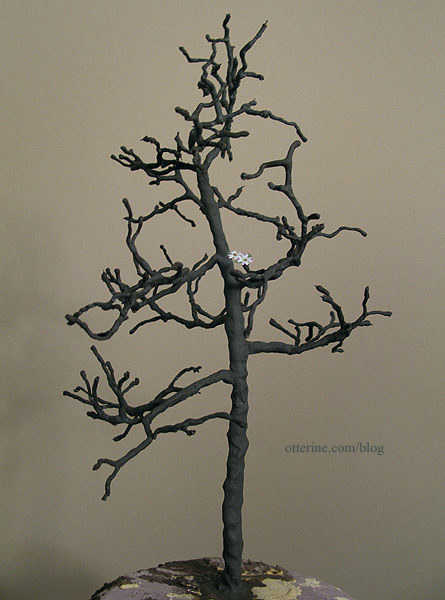
I finished putting on as many leaves and flowers on the dogwood tree as I thought looked good. I have a bunch left over, which is fine since this tree may need touching up from time to time and I won’t have to start the process of making new leaves and flowers from scratch.

The bench is by Phoenix Models. The “kit” comes with two white metal bench ends that you can paint, and you supply the wood in whatever length you wish. It’s a perfect solution when you need a completely custom size bench. It’s a sturdy little piece once you manage to wrangle all the wood ends into place.
I used some leftover Dura-Craft trim wood for the seat slats and skinny sticks for the back rest, stained with Minwax English Chestnut. I cut the boards 3.25″ in length, so the seat ended up at 3″ wide — a perfect loveseat under a pretty tree. :D

From the back, the tree looks a little fuller since there are more branches on this side. I had made it sparse on the front since I planned to have a bench there from the beginning.
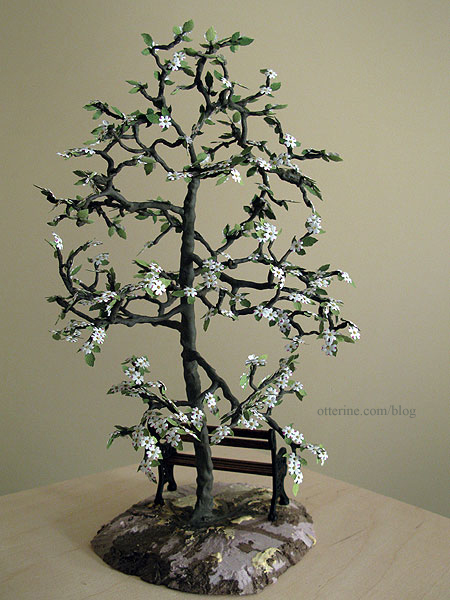
It looks fullest from an aerial view (and in person since you can walk around it at the right level).

Overall, I love the way it turned out. It’s full but still allows you to see the building behind it.
Categories: Flowers, plants, and trees, The Aero Squadron Lounge
July 19, 2012 | 0 commentsFarmhouse hutch reproduction, part 2
Continuing work on the farmhouse hutch I found on European Paint Finishes. With the hutch mostly built, I needed to stain the entire surface. I plan to paint all except the back and counter top, but I will sand that top layer down to show the stain color underneath. One of my favorite materials is Staining Antiquing Medium by Americana. It acts somewhat like a glaze, looks a little like an ointment, and makes acrylic paint behave like a liquid stain.
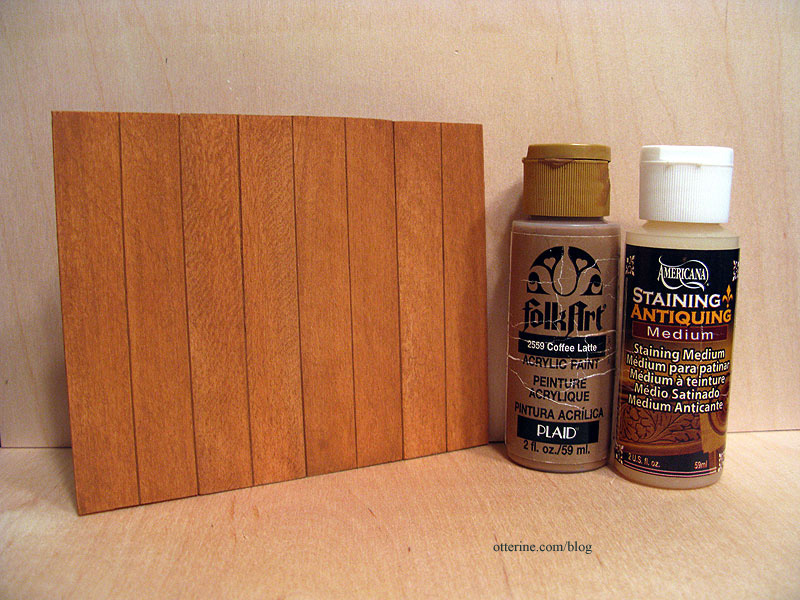
You can use any color you want and still have the wood grain show through. And, you don’t have to buy a whole can of stain every time you need just a little color. Here I’ve used Coffee Latte by Folk Art, which has a warm honey color.
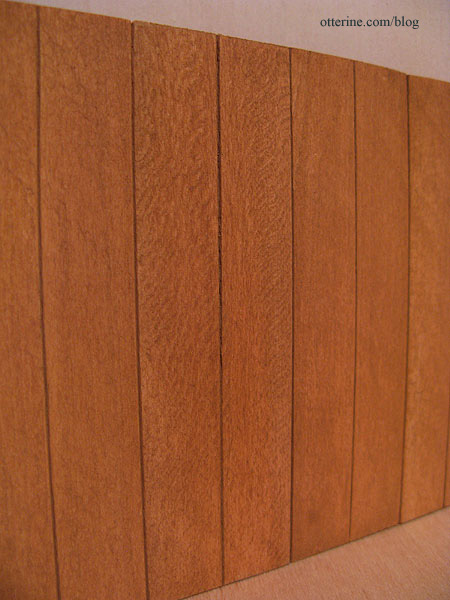
The hutch looks rather rustic, though I will neither confirm nor deny if that is my intention. :D
I let the stain/paint dry overnight then sanded all the pieces smooth and reapplied the stain as needed.
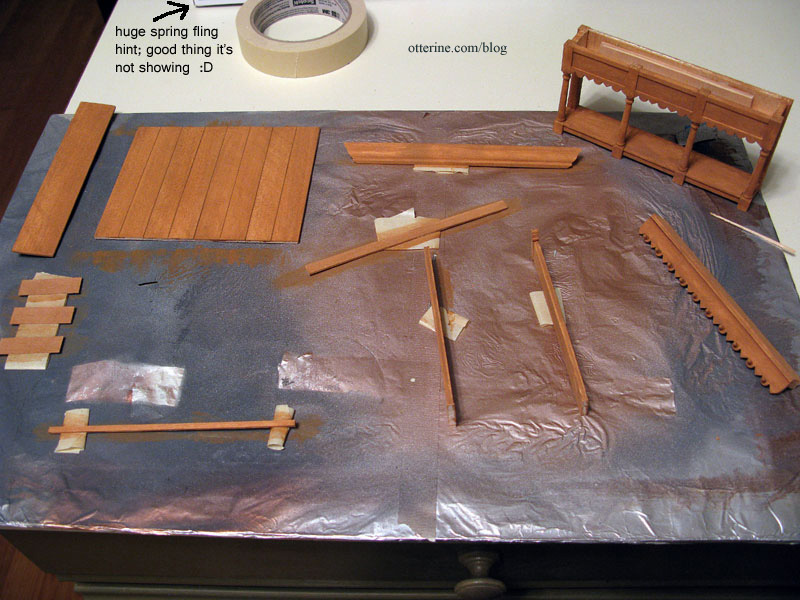
I painted all of the pieces except the counter top and the hutch back boards Slate Green by Americana.
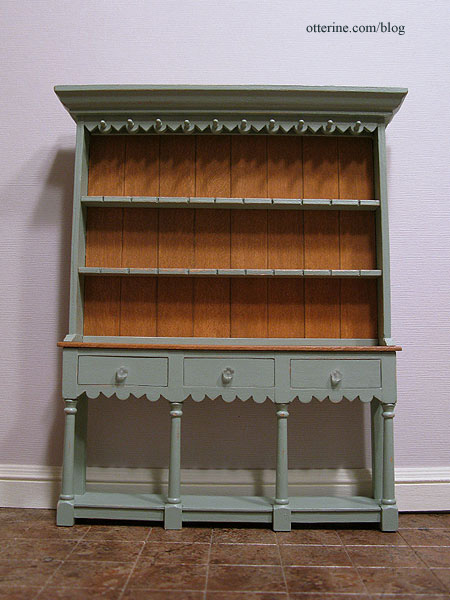
It’s close to the color used on the inspiration piece.
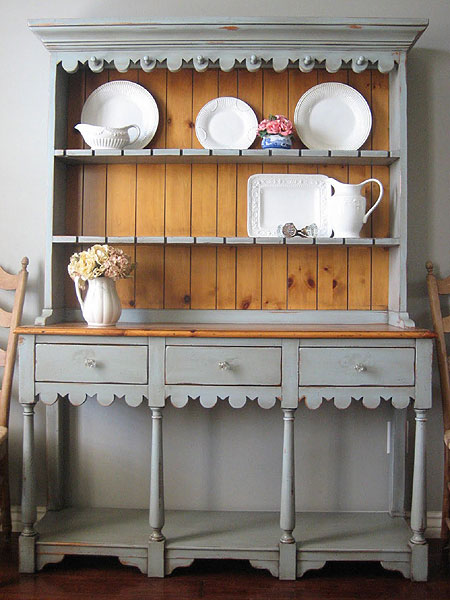
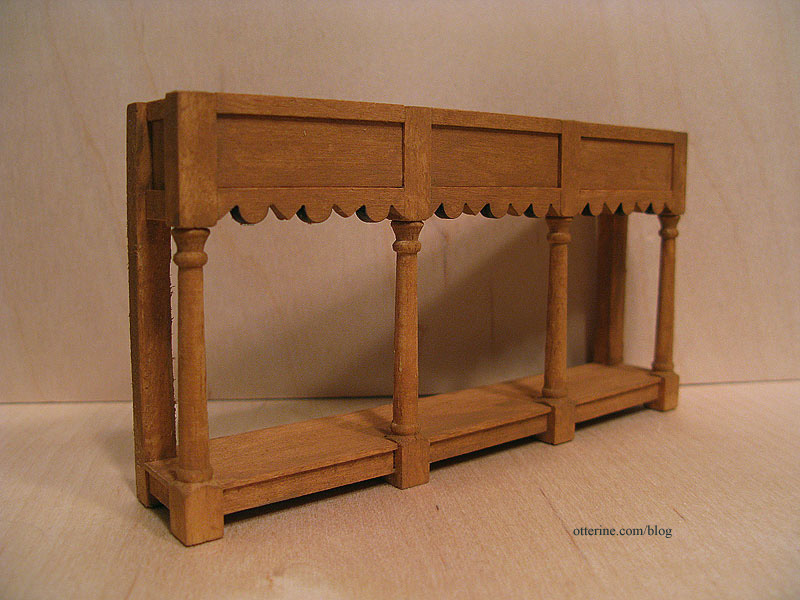
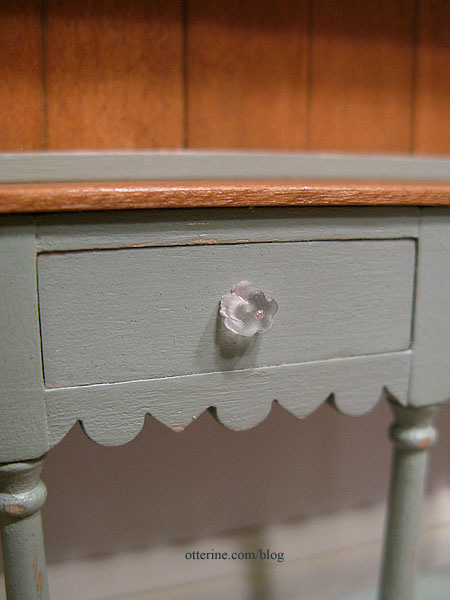
I sanded the pieces to reveal some of the stained wood underneath the top coat and then sealed with Delta Ceramcoat satin varnish. The knobs are clear flower-shaped beads held in place by silver pins. The faux drawer fronts look convincing, no?
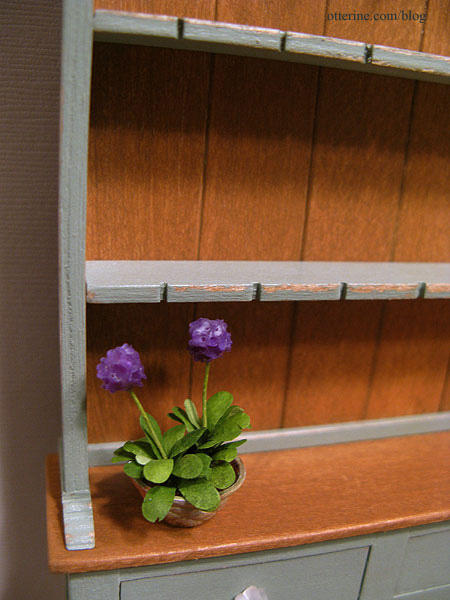
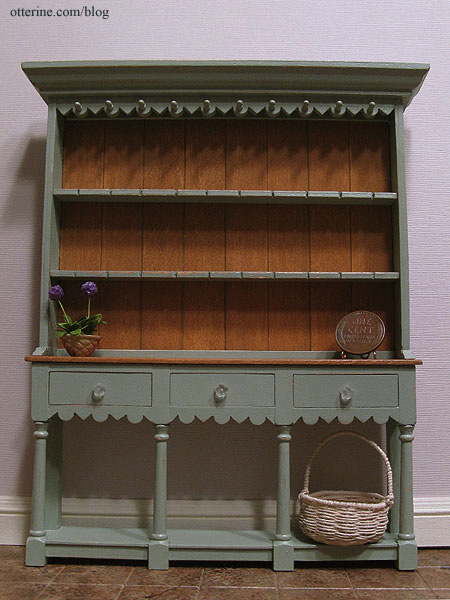
I added the notched detail on the shelves. Fran suggested this might be for displaying spoons, and even though I don’t intend to display mini spoons, I liked the detailing. The lovely flowers are by Michelle from Little Rabbit Miniatures.
I moved the crown molding up slightly during final finishing, so the entire unit measures 6 1/4″ W x 7 5/8″ H x 1 1/16″ D.
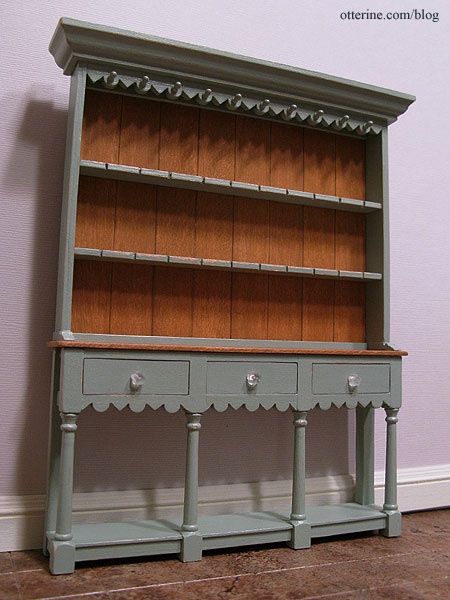
I think it turned out very close to the original. :D
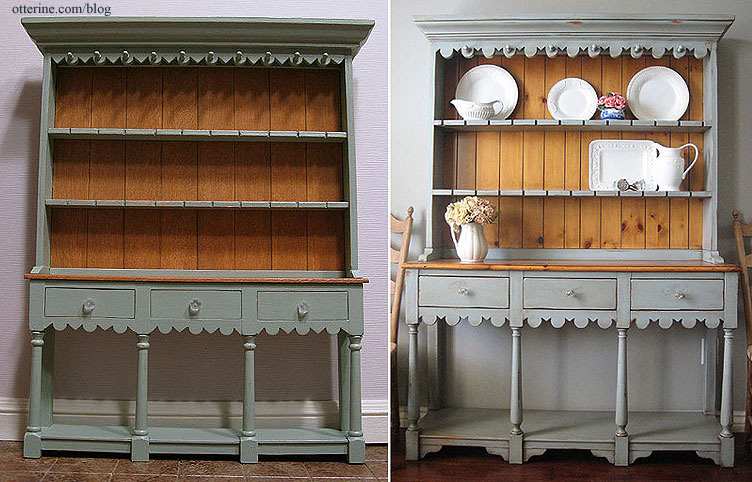
Now to fill it. I won’t be using these items with it, but I wanted to show the relative size with some minis.
Basket by Lyssa. :D
Categories: Furniture, The Aero Squadron Lounge
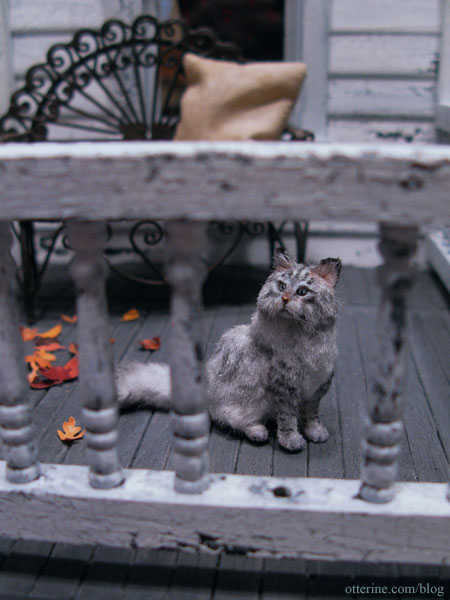
July 15, 2012 | 0 commentsOphelia
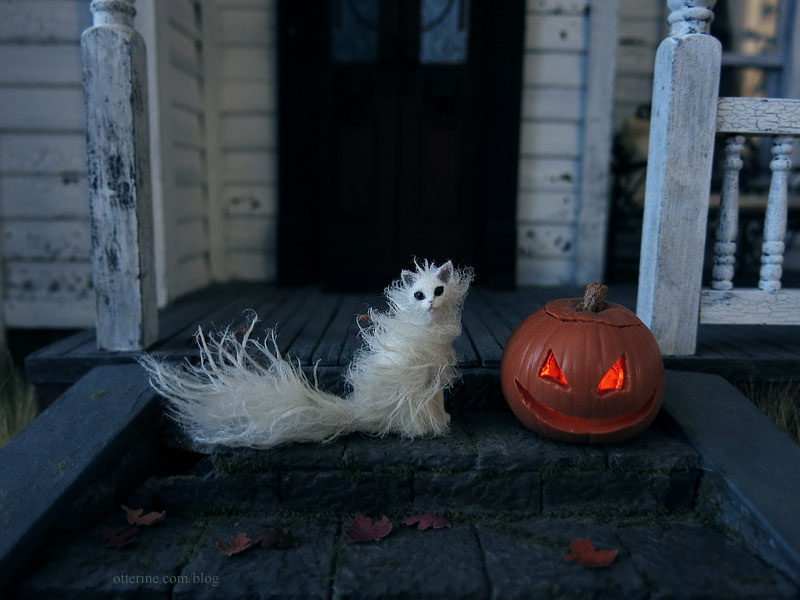
My relentless stalking has paid off! I now have a lovely kitty friend by *Reve*, the artist who made Grahame the badger.
This is Ophelia, a silver Maine Coon. Isn’t she a pretty kitty sitting on the porch on a fine autumn day? I love this photo!
Categories: Animals and birds
July 12, 2012 | 0 comments


NOTE: All content on otterine.com is copyrighted and may not be reproduced in part or in whole. It takes a lot of time and effort to write and photograph for my blog. Please ask permission before reproducing any of my content. Please click for copyright notice and Pinterest use.


