
Many people have asked how I get my bricks so uniform, and I can tell you they are close but not exact. The bricks I make are 1/4″ x 3/4″ for most projects. This is a little off from exact 1:12 scale, but they look spot on when finished. Whatever size you use, you do want consistency. Painting and grouting make up for any obvious flaws, and if a brick is too far off from the rest I just don’t use that one.

I first learned of egg carton brickwork from two great sites: Connie Sauve’s The China Doll and Victoria Miniland (both sites are now defunct as of 2024). I use the method from The China Doll.
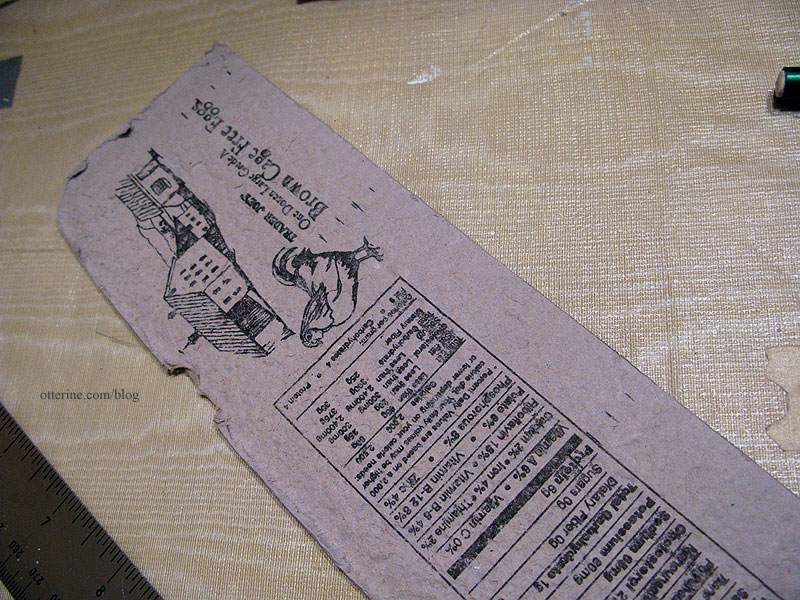
I obtain egg cartons from various sources: my own household, mom and a local freecycle group I belong to. You can post want ads or reply to offers on that site, and it’s free! I use the flat surfaces of the lid and recycle the bottoms with the egg cups. You could get bricks from the cups, but to me it isn’t worth the extra time and effort. I also use the interior surface as the brick face since it has a nice bumpy texture. Words and images won’t matter after painting.
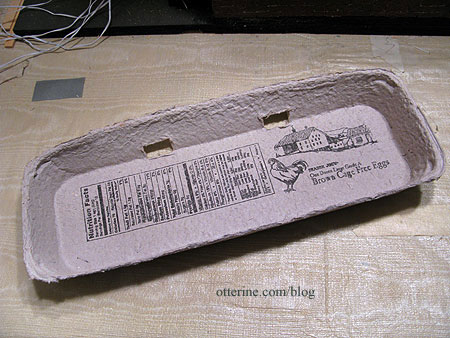
I cut the pieces into manageable flat sections. The large, flat top is obviously the best source of bricks, but the smaller pieces yield quite a few.

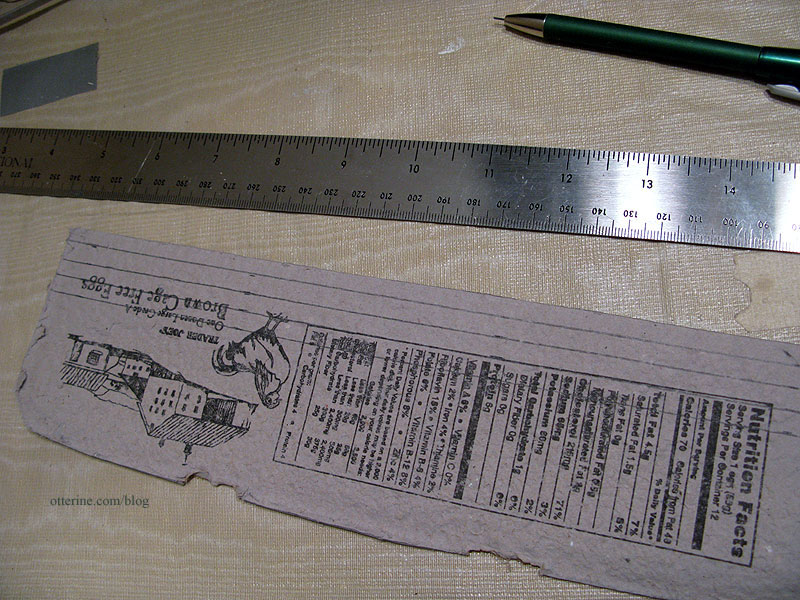
I mark one edge with a ruler and use scissors to cut along that line. If you aren’t good at keeping scissors on a straight line, you can use a sharp X-Acto knife.
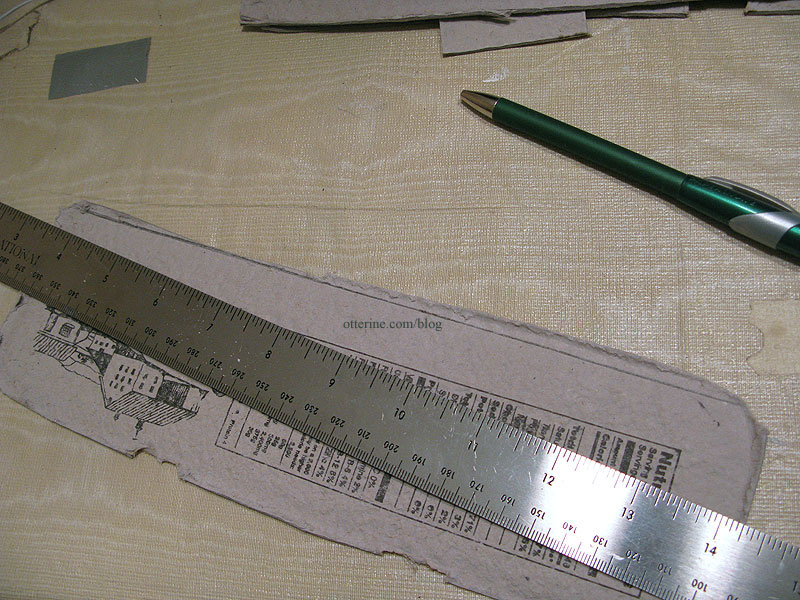
From that clean, straight edge, I mark four 1/4″ increments in several places along the edge.
I use my ruler to join those marks and make guidelines.
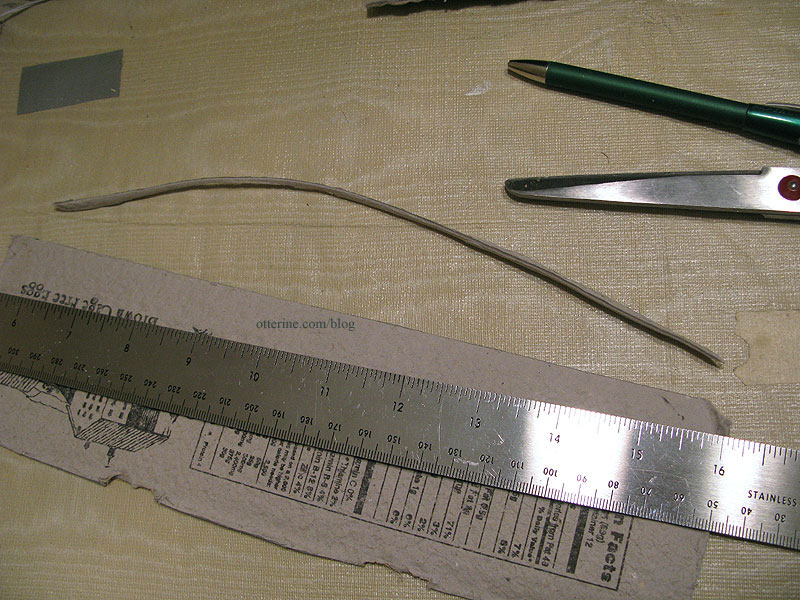
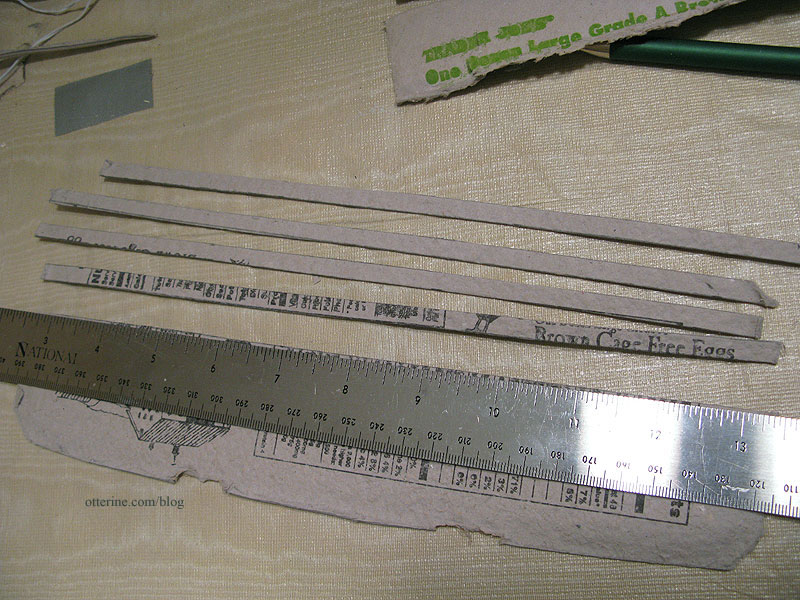
I cut along those guidelines. Again, I use scissors since my sewing experience gives me a steady hand at cutting straight lines with them. You can use an X-Acto blade, too.
After the fourth strip is cut, the edge is usually off a little. I draw a new line across and clean up the edge before repeating the 1/4″ increments until I run out of egg carton.
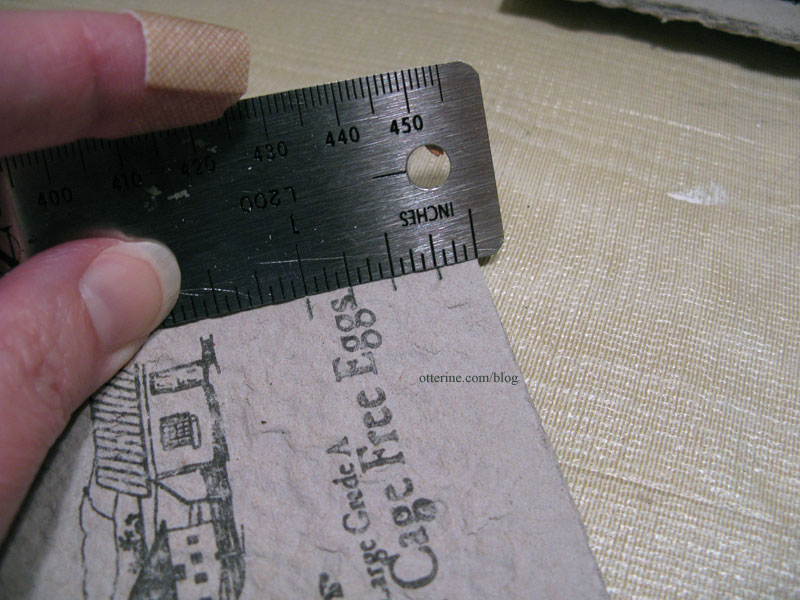
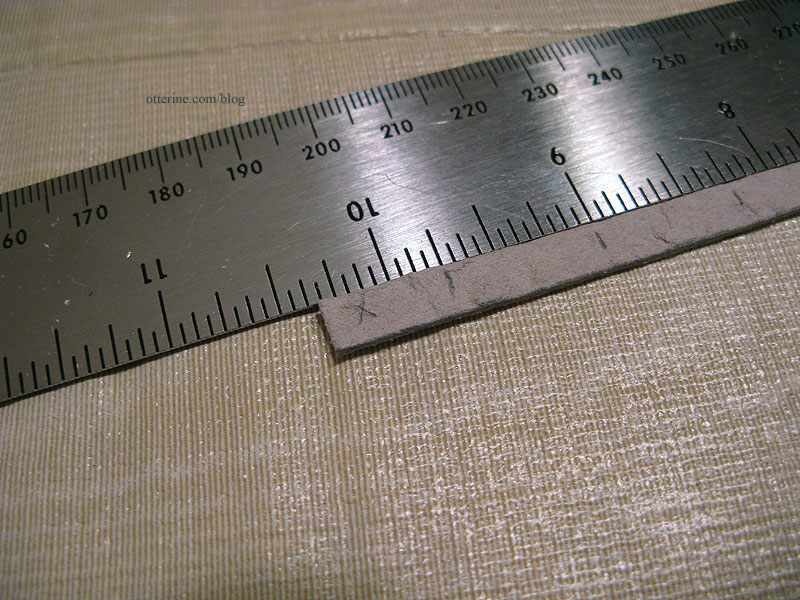
I square up the ends of each strip with scissors and then mark 3/4″ increments along the strip.

If I am bricking around any corners, I cut them to fit. These will have approximately 3/4″ showing on one side and approximately 1/4″ around the bend, but they do vary depending on how well you place the regular bricks.
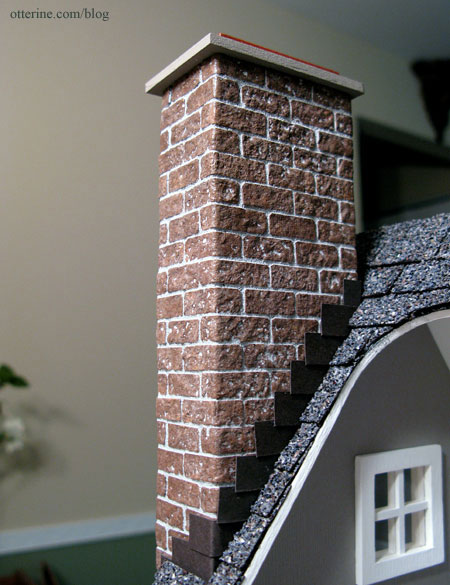
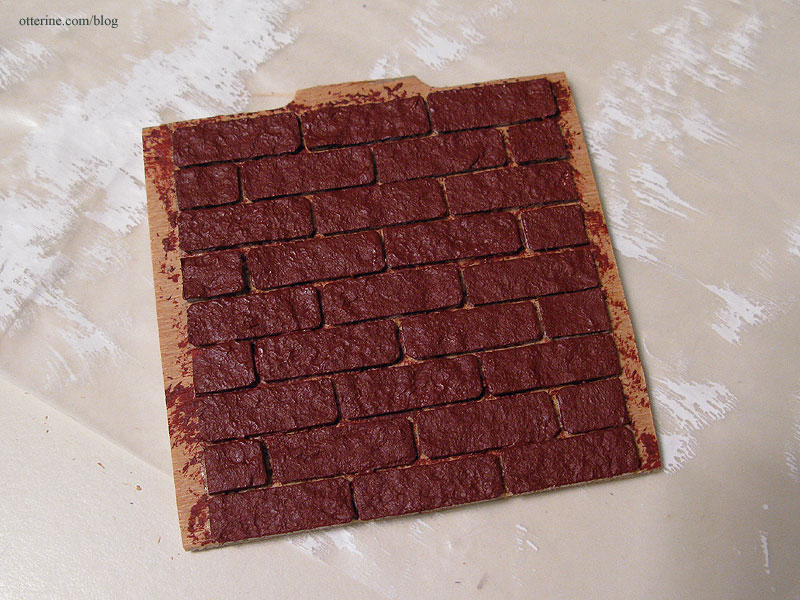
Here’s the chimney at Baxter Pointe Villa painted with layers of brown acrylics and grouted in grey. You can see the longer bricks used around the corners.
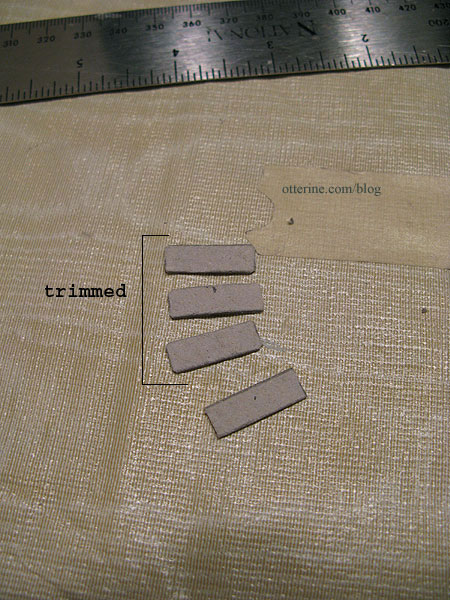
At the end of each strip, there is usually a piece that is too short. I mark that with an X and put it in a separate pile. When you do brickwork, you often need short or angled pieces. These leftovers are already the right height and can be cut to fit those smaller areas without wasting your full sized bricks.
Once I have a pile of bricks, I cut the corners from each one. This gives them a more natural appearance in my opinion.
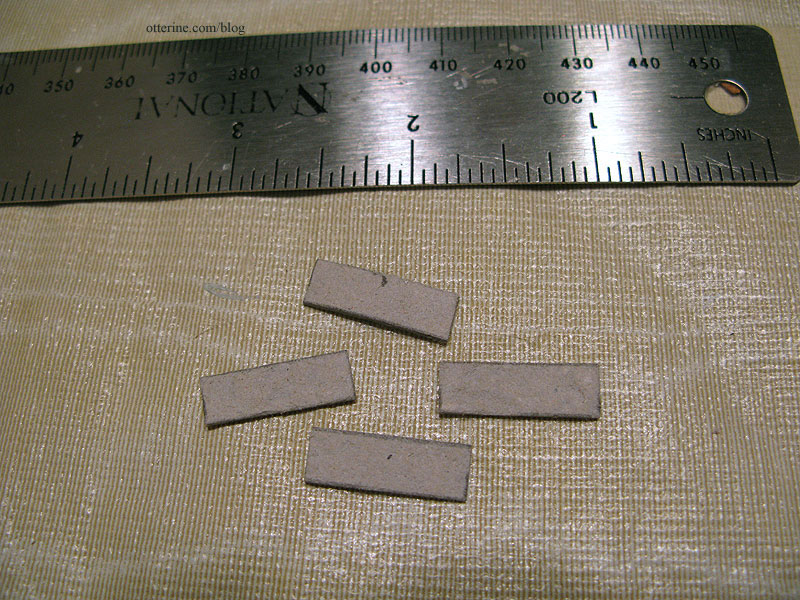
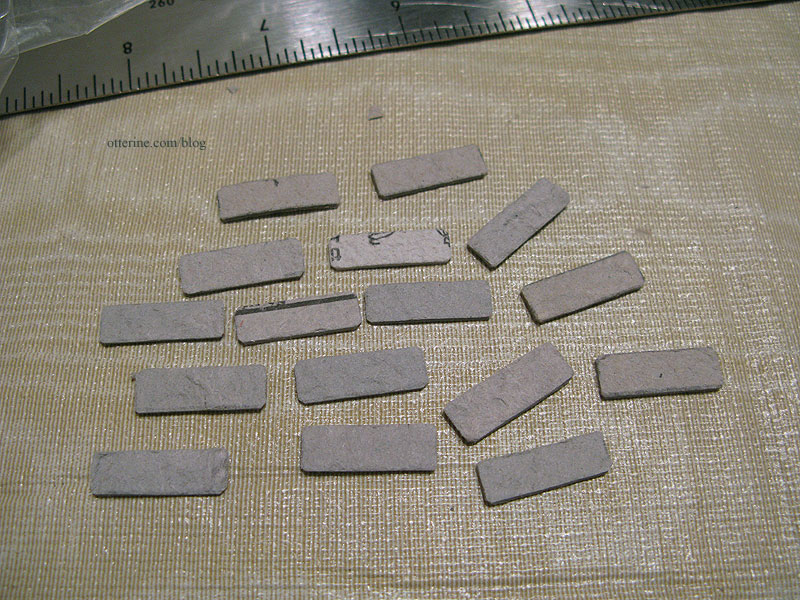
Here are my four new bricks with a bunch I’ve cut previously. They are all close in size and shape but they do vary.
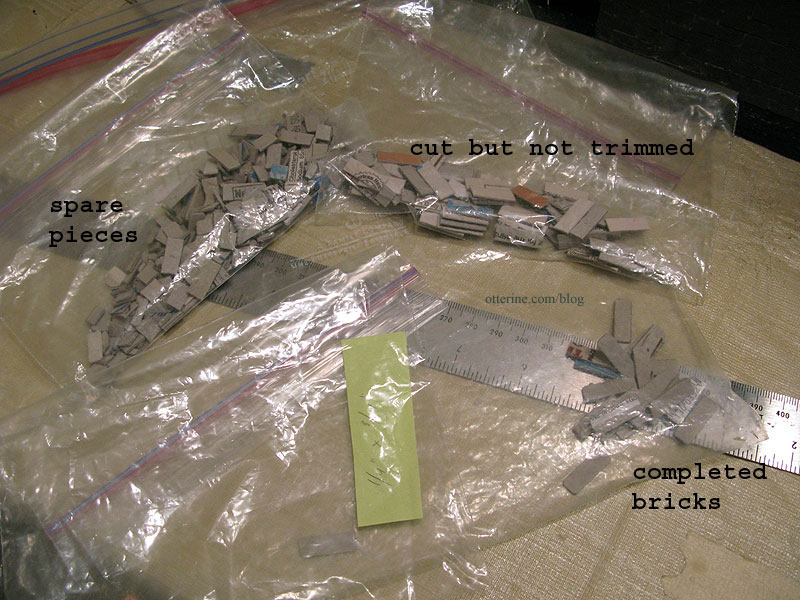
I keep a large ziploc bag for my finished bricks. I keep a smaller bag inside for bricks that have been cut to size but the corners still need to be trimmed. I also have a bag for scraps. If I’ve cut a different sized brick, I use a note inside the bag so I can tell which is which.
For the Heritage chimney, I used guidelines drawn on my underlying structure to plan the exact number of bricked rows I would need and to keep the structure aligned properly.

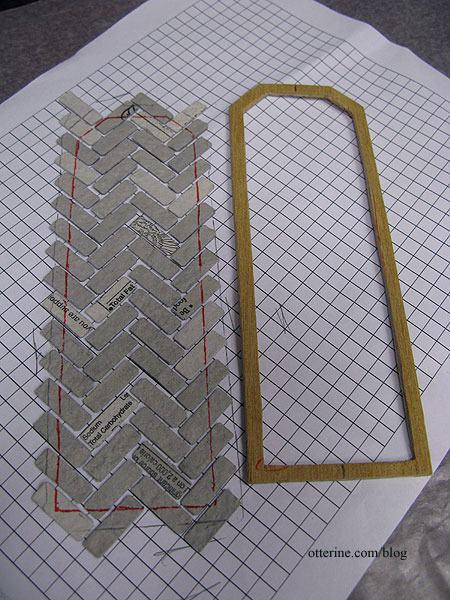
For herringbone brickwork, I use graph paper as a guide. You don’t really fill in the squares per se, but the grid helps create a more uniform pattern.
However, I usually don’t bother with guidelines for straight brickwork. I am able to eye measurements well, so I just glue the bricks with a little bit of give in between them and check with a ruler every other row to make sure I haven’t gotten too far off.
I use Aleene’s Quick Dry glue to apply the bricks. Once the bricks are in place and the glue has dried, I paint with acrylics in the color of my choice. I use a stencil brush and stipple the paint on since brushstrokes can ruin the illusion.
Once I have the color I want, I seal the surface for grouting. The grouting process will change the coloration, so keep that in mind when you paint. You can touch it up later. For instructions on painting, sealing and grouting, see my post on finishing the Heritage foundation. For instructions on aging the brickwork, see my post on adding grime and moss to the Heritage foundation.


