
I found this gorgeous dollhouse online from a shop in the UK – The Alpine by La Maison Dollshouses and Miniatures. Back in the day, I tried contacting them about the house numerous times by e-mail and telephone to no avail. Their website was also defunct, so I am guessing they went out of business.
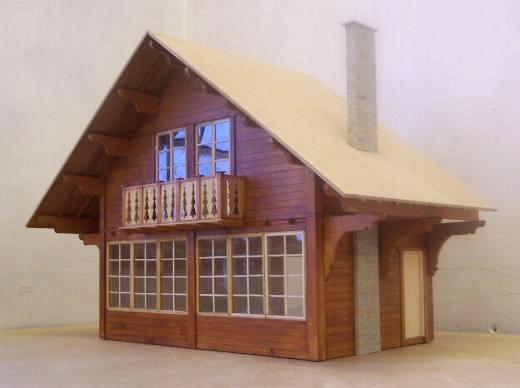
There were no other photos showing the interior, but I figured it was a simple two story house with maybe one small room upstairs and a large open room downstairs. Looking at the structure, it seems pretty straightforward in design – a box with an angled roof line. So, I put it in the someday file but spent a little time mulling ideas.
My plan for the first floor included an efficiency kitchen with an eating area, a staircase and a living room with a large fireplace. The second floor would have a bedroom with a balcony. Where I could fit a modest bathroom was anyone’s guess. I might be able to split the loft area with the bed or find a corner for it on the first floor. That’s the drawback of open back dollhouses – something is always in the way. :\
My initial thought is to make a small bathroom for the basics and put the big tub in the bedroom with a privacy screen (I stayed in a nice resort that did this and it looked very nice). It’s the angled roof that will determine a lot of this placement.
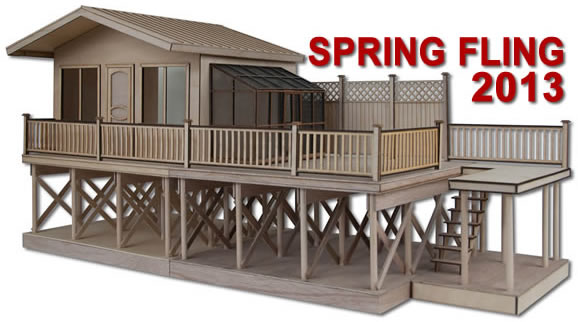
Update 2013: I bought the Greenleaf Dollhouses Spring Fling kit in hopes of making this house but didn’t end up building to completion for the contest.
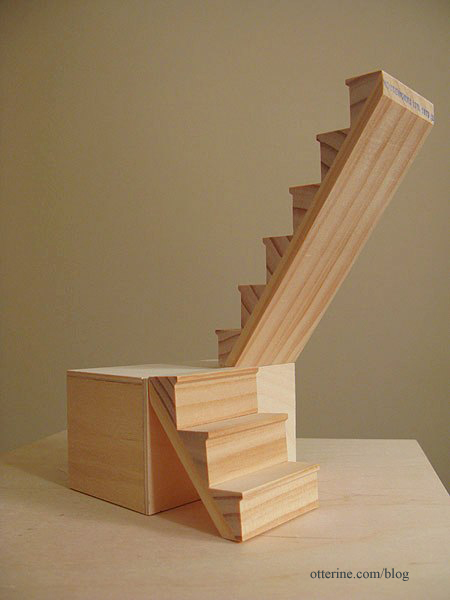
I did a fair amount of work including a turnaround staircase.
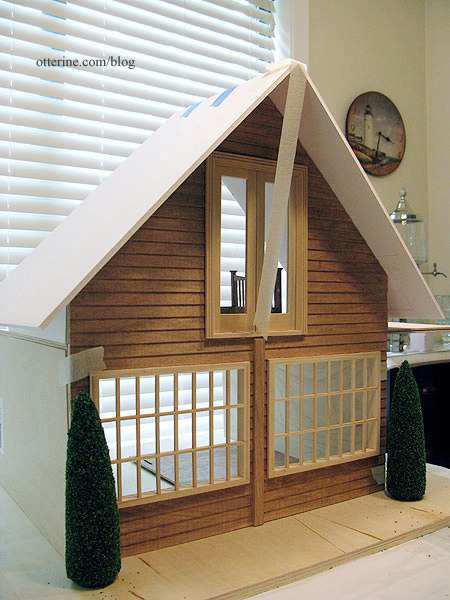
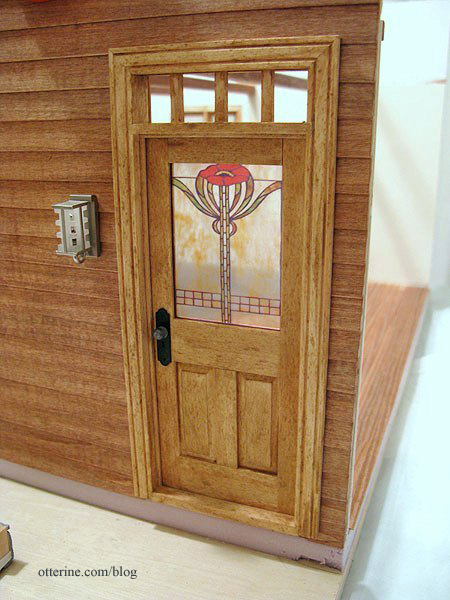
I altered the kit, added siding, windows and a French door that would lead to the small balcony.
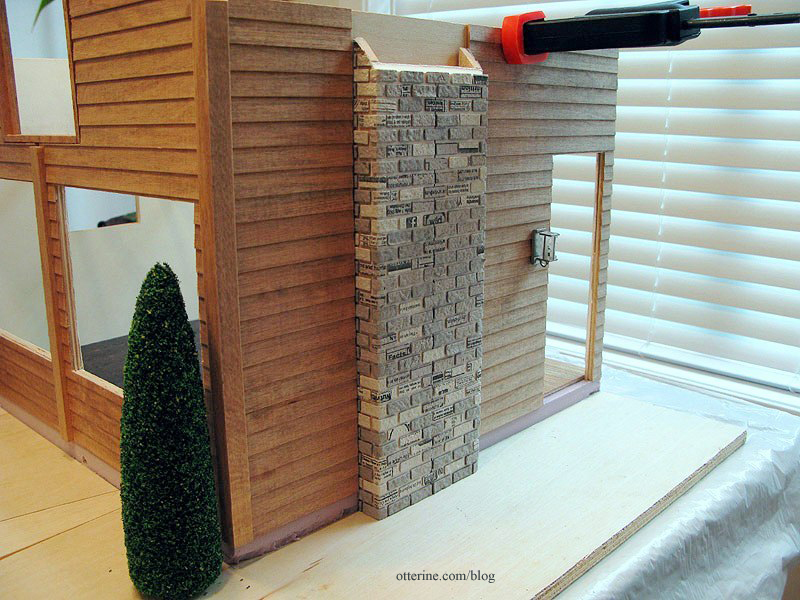
In keeping with the original inspiration, I started the long skinny chimney, but mine would be assembled in two pieces – one under the roof and one on top. I have the lower portion built, bricked with egg carton, painted and grouted. Here it is in progress, before the painting and grouting.
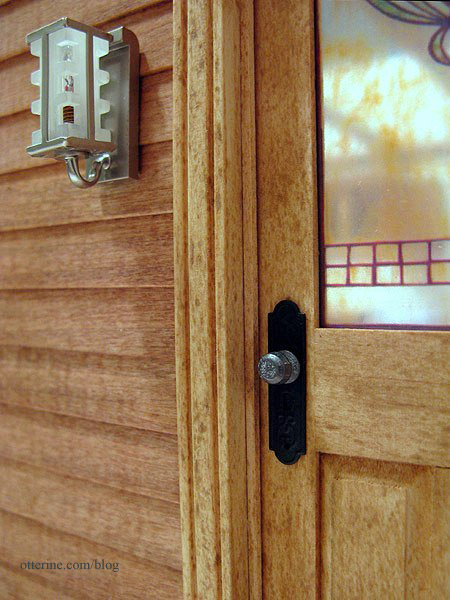
The Mackintosh light by the door came from The Dolls House Emporium. These are no longer made, which is a shame. The doorplate was brass, and the silver knob is from Sussex Crafts.
For the window, I printed an image of the Parker Poppy stained glass panel on transparency film after altering the image to fit the window opening.
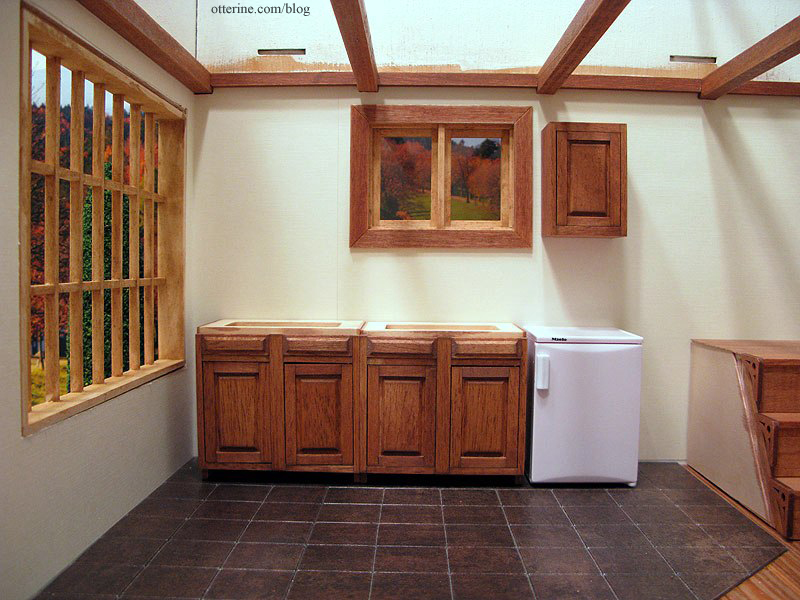
The first floor will have a living area and kitchenette. The flooring is Houseworks Southern Pine sheet flooring and Greenleaf vinyl tiles for the kitchen area. I added cross beams that will actually serve as structural support for the upper floor.
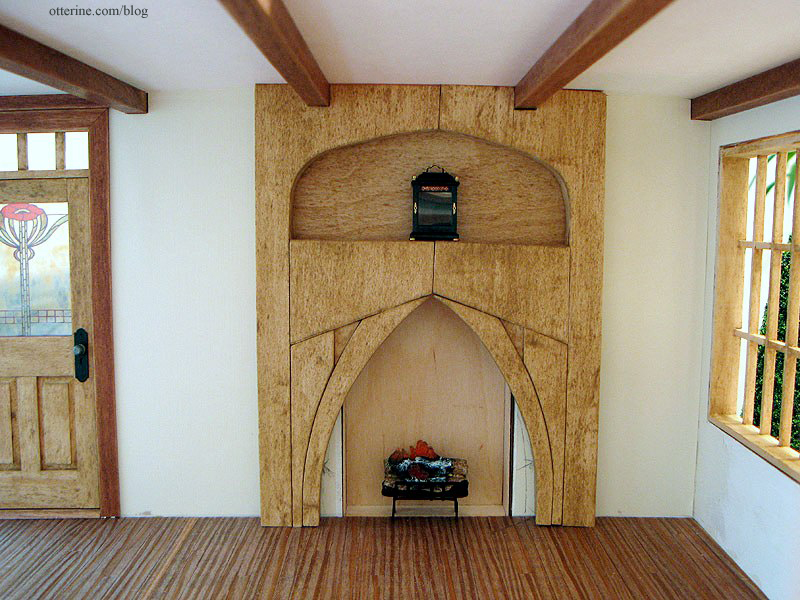
This is the fireplace I built for the space; the inspiration was found on a decorating blog.
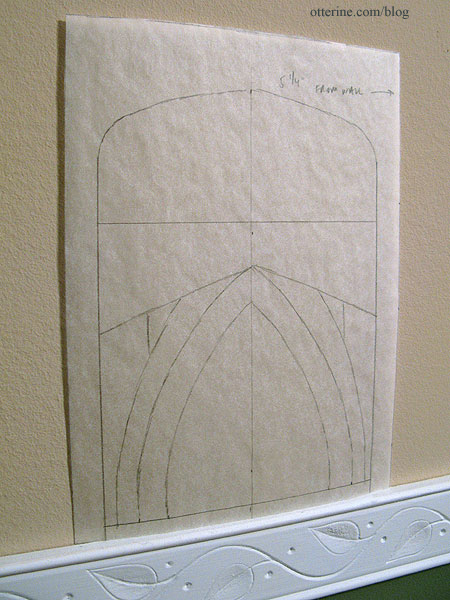
After a few rough sketches on the wall, here’s the final outline drawing I used to make my pattern pieces for the scroll saw.
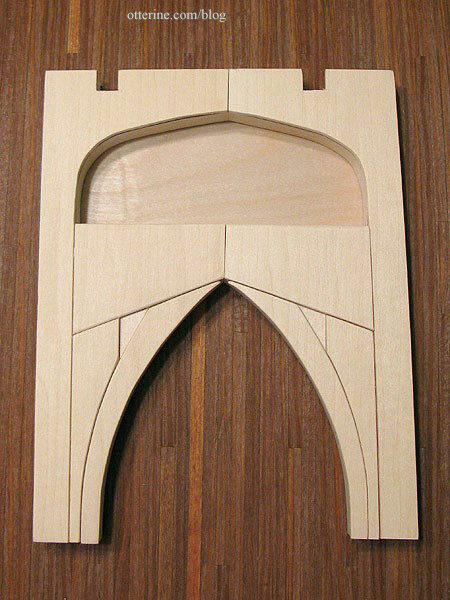
It was cut from basswood and mounted on thick foam board.
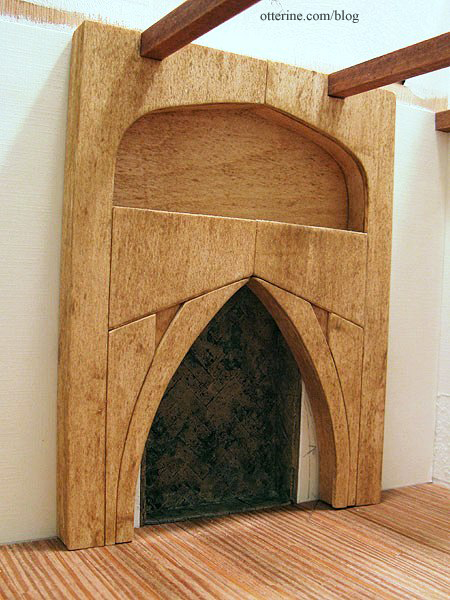
I used my favorite IKEA stain, called “antique.” Well, the can was a little old and had bits of coagulated stain floating in it. I didn’t realize this until after I started to apply it, of course. By then, I had to just go with it and stain all of the pieces to match. Once dry, the ratty bits smoothed out with a light sanding but left darker spots as expected. This ended up being a happy accident since the basswood looked like knotty pine. Not a bad finish after all. (This fireplace was later altered and installed in my witchy cottage, Hocus Crocus.)
The upstairs had a bedroom and bathroom planned.

Eventually, I decided I didn’t like enough about the build and abandoned this structure. I removed the components and lights to save for later. I still want to make this house one day, but I would likely scratch build after making a full mockup from foam board.


