
Half Clocked – timber walls
With the brickwork mostly done, it was time to finish the upper portions of the exterior walls. I have yet to tackle the hinged back wall other than to cut a new board, but that should likely be added at the end for the best fit. Since I’ve been taking the building in and out of dry fit, I had many errant pencil marks for trim placement. To make my final markings, I used colored lead for my mechanical pencil so I could differentiate the final lines from the previous mess. (As an Amazon Associate, I earn from qualifying purchases.)


I used yellow frog tape for the lower edge since I thought it would be easier on the brickwork. Masking tape might lift the finish on the brick, but there was no reason not to use it around the remaining areas. I wasn’t worried about crisp paint lines, but I did want some bare mdf for better trim adhesion later.

No process pics, but the stucco is a relatively easy though fickle finish. I spread spackling over the two walls where I filled in openings; the other two I left plain. After it dried, I sanded the areas smooth. The walls didn’t have to be completely flat. I just needed to mask the window outlines so their halos wouldn’t be seen later. Next up was a coat of Americana White Birch. This is a satin paint, so it has a lovely sheen once dry. I tapped the paint on with the flat side of a foam brush to achieve a light stucco finish. Once dry, I touched up any areas that needed it and removed the tape.

While working on the stucco, I stained the trim pieces Minwax Jacobean. I love this rich, dark chocolate brown. I’m usually a white trim gal. It was then time to get out of dry fit!!! Always a momentous occasion with all the worry that I’ve not done something I should have while the walls were flat. Of course, I’ve left the new front wall unattached since I do need to work on that one flat.

After gluing the main trims in place came the task of measuring and cutting the upright timbers. I had a pattern in mind, but I wanted to see the uprights alone before making any final decisions. I evenly spaced the boards on the short side, opting for narrow spaces.

On the long side, I trimmed above the window for uniformity but followed a similar look as the short side for the rest of the wall.

I will try out a few patterns to see if I want anything beyond this, though I already love the look and will most likely leave it as is.

I left the porch simple so it doesn’t get lost and will be easier to decorate. The door frame has been stained to match the trims, but I am still deciding on a door color. I painted the porch ceiling stucco white so it would brighten the space.

Categories: Half Clocked
September 17, 2018 | 0 commentsHalf Clocked – casting call
I need a rabbit for Half Clocked. I have this lovely wood rabbit I bought back in 2012 from artbase, but I don’t want to alter the original for my purpose.

Using EasyMold Silicone Putty, I made a mold of the rabbit and let it be for a long time while working on other aspects of the build (as an Amazon Associate, I earn from qualifying purchases).

I’m using Alumilite Amazing Casting Resin, my first time using an opaque resin (as an Amazon Associate, I earn from qualifying purchases). I followed the directions exactly, though I did mix too much for the pour. I wasn’t sure how to gauge the amount needed. Watching it cure was fun. :D

The result? It turned out well considering my original mold was not that great. You often can’t tell you have a bad mold until you cast something in it. But, the resin is sandable, and I did not want to start over. This cast would work well for my purpose since it looked more hand carved than the original. Here’s one of the flaws from the mold before I sanded it smooth.

The instructions recommended painting right away, but the acrylic brown I used did not want to stick. I washed the paint off and then used a spray primer. The paint adhered to the primer without issue. Pretty great for a maiden voyage, and it works well for my purposes. :]
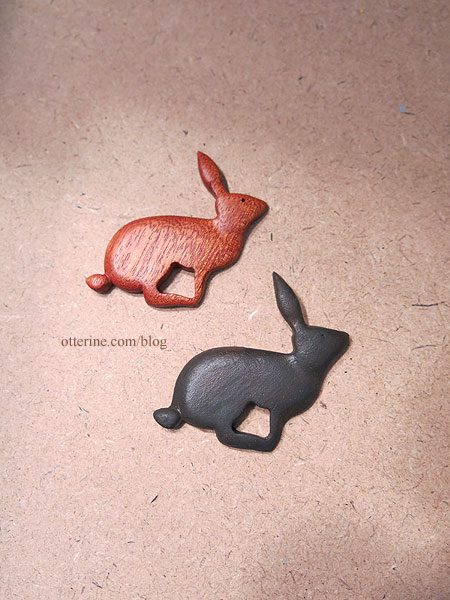
Hmm…I kinda want a chocolate bunny now. haaaaaaaaaa
Categories: Half Clocked
September 16, 2018 | 0 commentsRX-7 in half scale – body work
Continuing work on the RX-7 in half scale. One of the imperfections of the C-West kit is the mold line on the hood. It’s not meant to be decorative from what I can tell from the kit box photo, and no part is meant to sit in the depression inside the mold line.
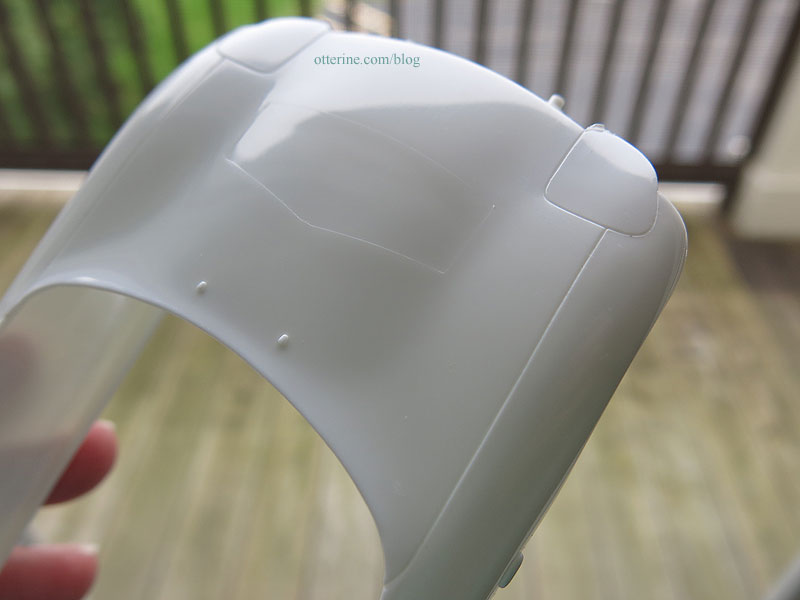
Here is the underside of the hood.
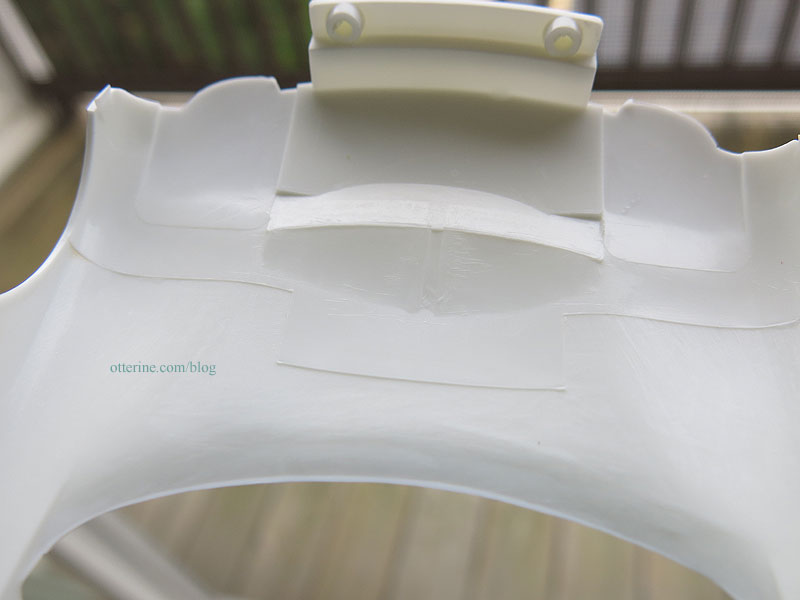
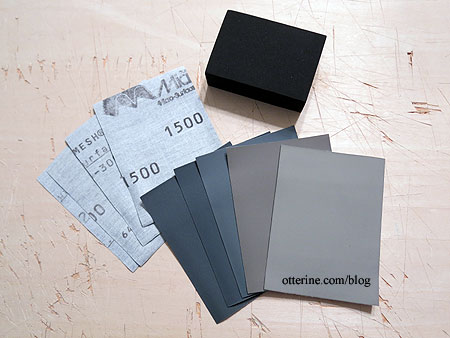
I used Micro-Mesh Sanding Sheets, starting with 2400 grit to remove the mold line and then 4000 grit to prepare the finish for priming (as an Amazon Associate, I earn from qualifying purchases).
The mold lines are now gone, but the halo might end up showing in the end. I don’t want to risk filling in such a low depression with putty and making a bigger mess, so I will forge ahead to see if paint layers will soften the look. Also, the kit comes molded with light covers, but it has the clear covers for situated headlights as well. You have to cut away the light covers from the body if you want to use the clear covers. Yeah…. Holding my breath the whole time and using a very sharp X-Acto, it worked. Oy!
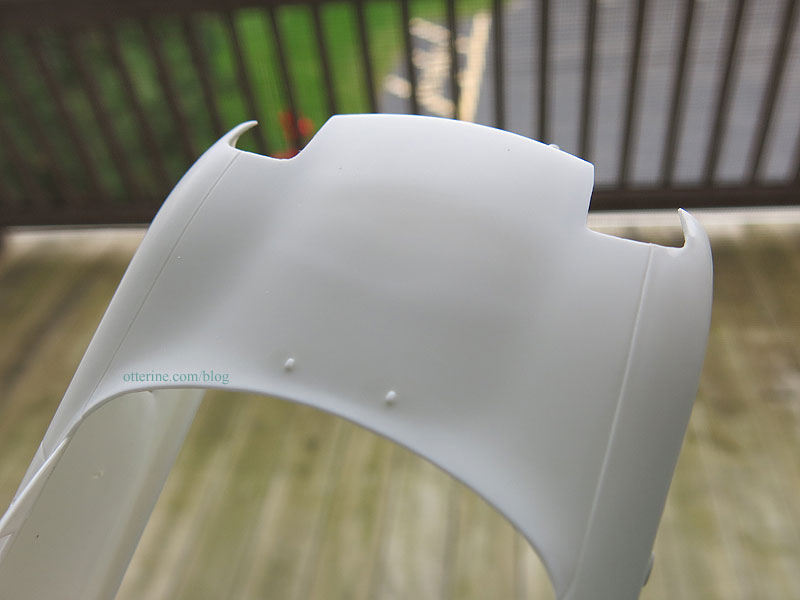
Here it is after the first primer coat. I think the halo of the mold lines will still show in the end, but it should be minimal.
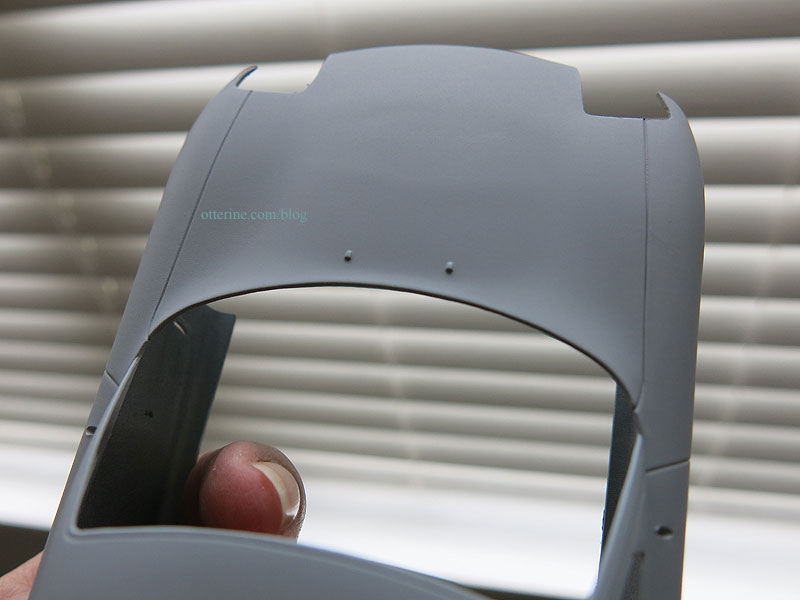
I removed the molded side lights. There are extra clear parts between the three kits, so I will add these more like the real deal. Besides, these are always so hard to paint when they are molded in place. I used masking tape to protect the area around the parts I planned to remove.
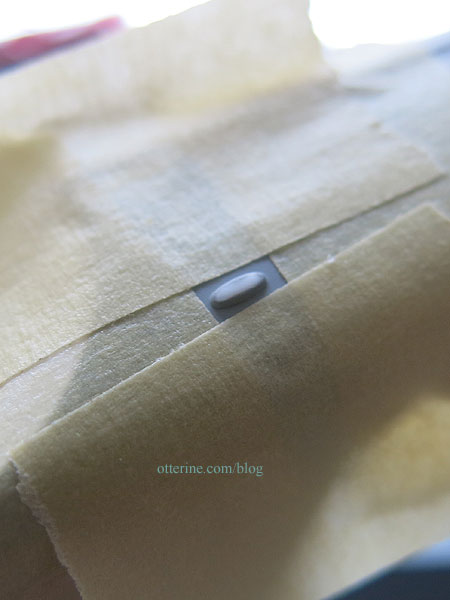
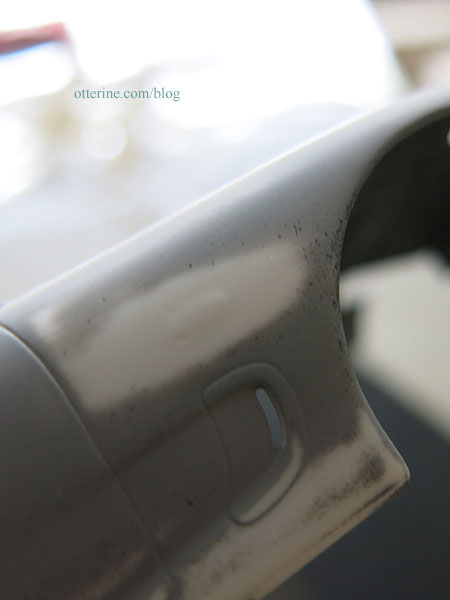
I then scraped away the lights with an X-Acto blade and then sanded.
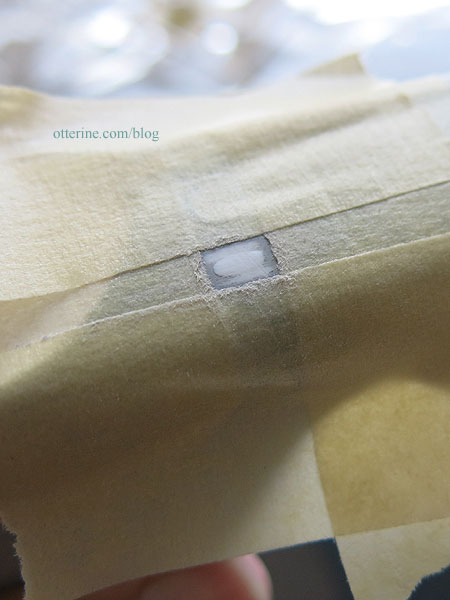
I did a final wet sanding with a high grit to smooth it out. Any halo will just help with placement of the final parts later, but it is pretty smooth.
The side skirts were a bit taller than I wanted, so I cut them down. Here is the original skirt (shown on the other kit body) as a reminder.
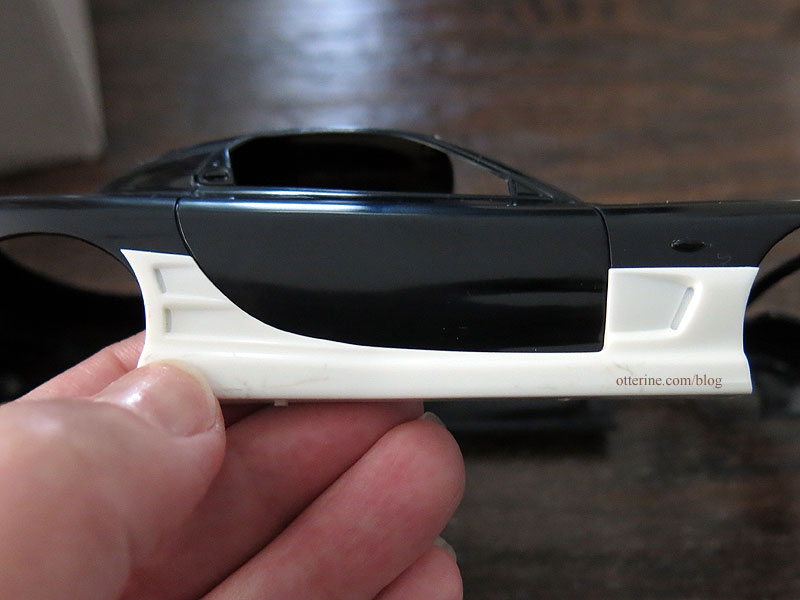
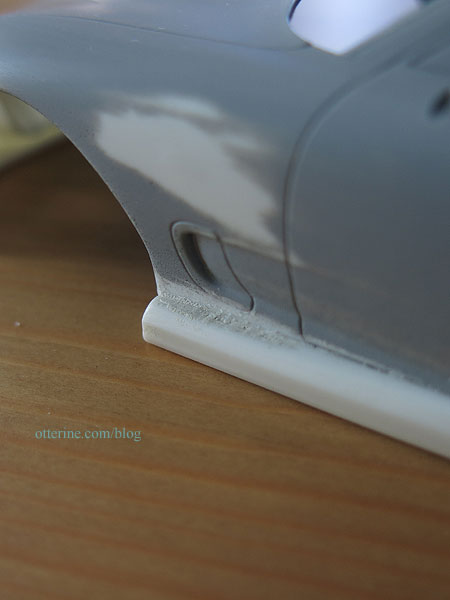
After cutting away the parts I didn’t need, I glued them to the body. There were gaps since they are not solid pieces, so I filled in with Squadron Products White Putty. It’s a good product that bonds well and sands smooth. Right now it’s rough since I’m letting it cure before final sanding and touch-ups.
The next thing was adding the rear wing from the Fujimi kit to the C-West body. There will be minimal gaps, and since I plan to paint the car black, it should look mostly seamless. There’s a top piece that goes to the wing, but you can’t spray inside of a tight space like that, so it will be finished separately and added at the end.
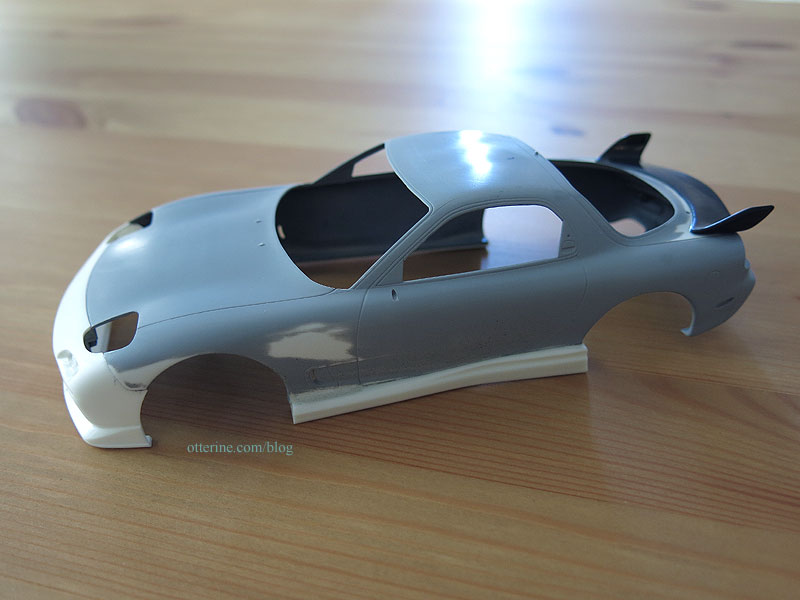
Once the putty has set and I’ve touched up where needed, it will be time to prime again. I have the undercarriage parts primed and ready for finishing and assembly.
Categories: Model Cars, Vehicles
September 9, 2018 | 0 commentsRX-7 in half scale
I know I have countless model cars started, but there’s another one in the body shop: the Mazda RX-7 in 1:24 scale. Half scale?!! Yes, you read that right. Don’t worry…it will all make sense later on.
I have three models hoping to morph into one exotic model.
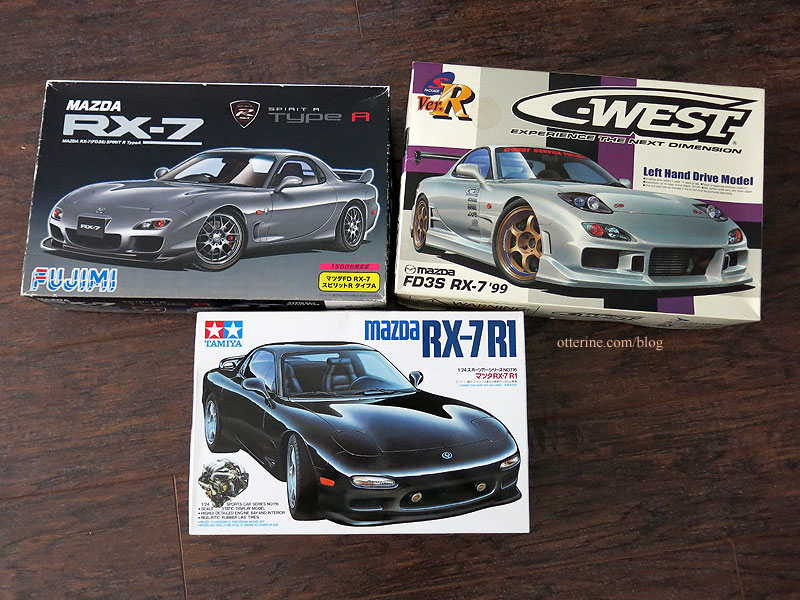
If I’m not able to make all the changes I want, then the white C-West kit will be the closest to the end result I need. Unfortunately, this one doesn’t have an engine for display, which is much of the fun in building car models.
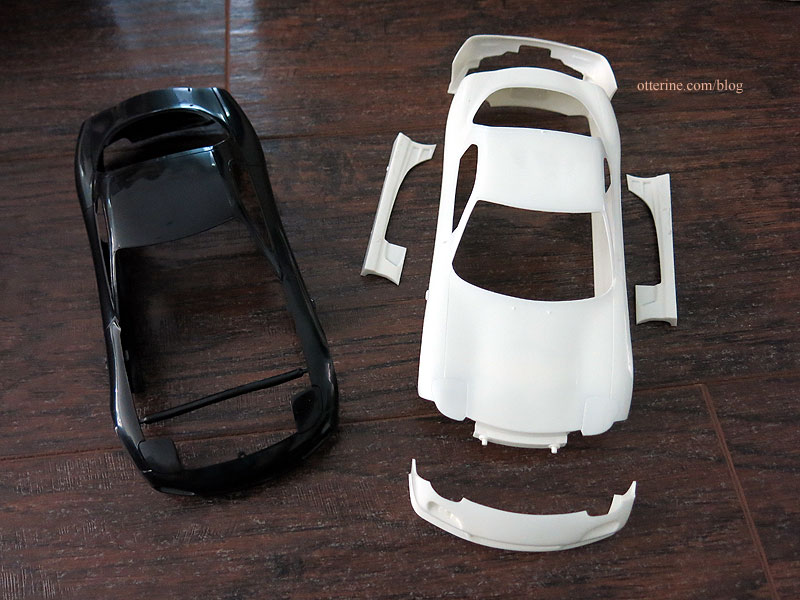
I’ll start by trying to alter the body of the black Tamiya model to hold the skirts of the C-West model so there will be an engine. Plus the C-West model’s hood has mold lines that might be difficult to sand away. Fingers crossed.
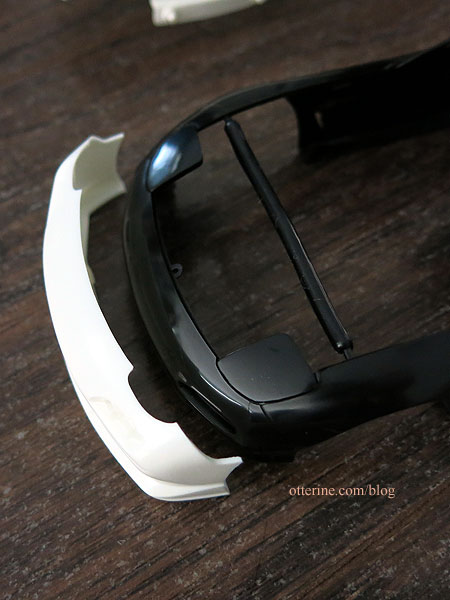
Otherwise, the cross kit parts seem to fit well, so if I am successful in adding the front skirt to the black body, then I’ll be ready to dive in.

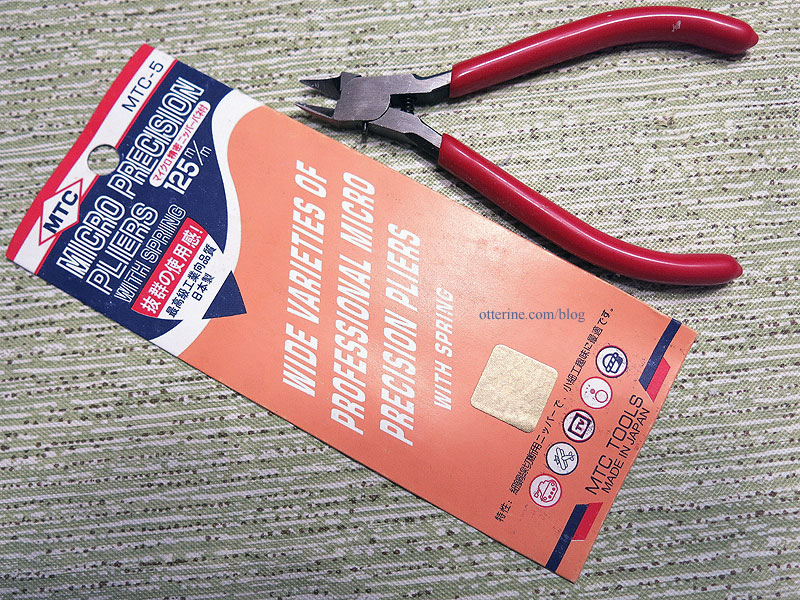
Before work could start in earnest, I wanted to try a few things. First, I attempted to alter the body of the black Tamiya model to hold the skirts of the C-West model so there would be an engine with the fancier sports car exterior. Cutting the front from the black body wasn’t so bad since I used the below pliers to clip away the excess.
But, the white front skirt is significantly wider than the black body, more than can be filled or sanded. The headlight covers are also slightly different shapes. Unfortunately, there are too many gaps to make this feasible.
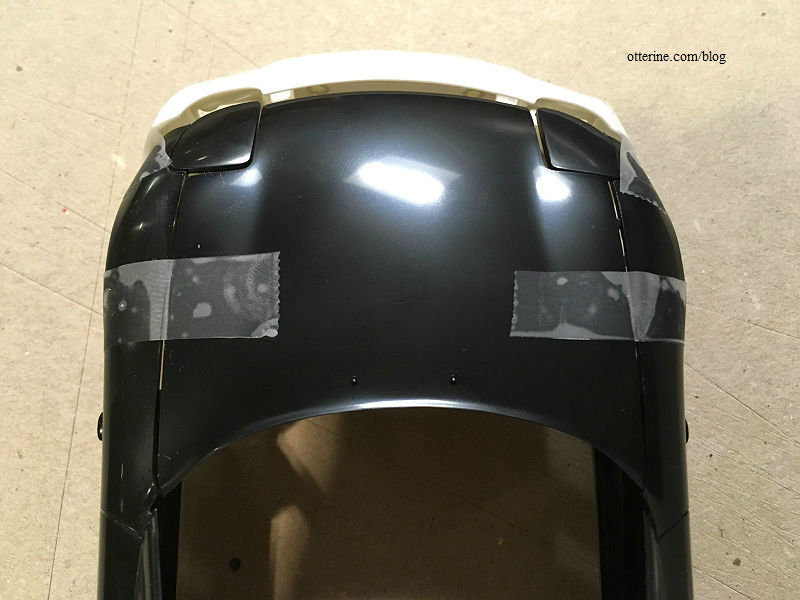
I then checked to see if the whole white body would fit over the chassis/interior/engine of the black kit. Then I could potentially cut the hood from the white body. That was even less likely because the white hood is thick and not properly detailed underneath. The black hood would likely not fit as a replacement since the black body is narrower than the white body, as noted above. It was worth a look before giving up on the engine, though. As expected, it didn’t pan out.
This is the white body on the Tamiya assembly in back…
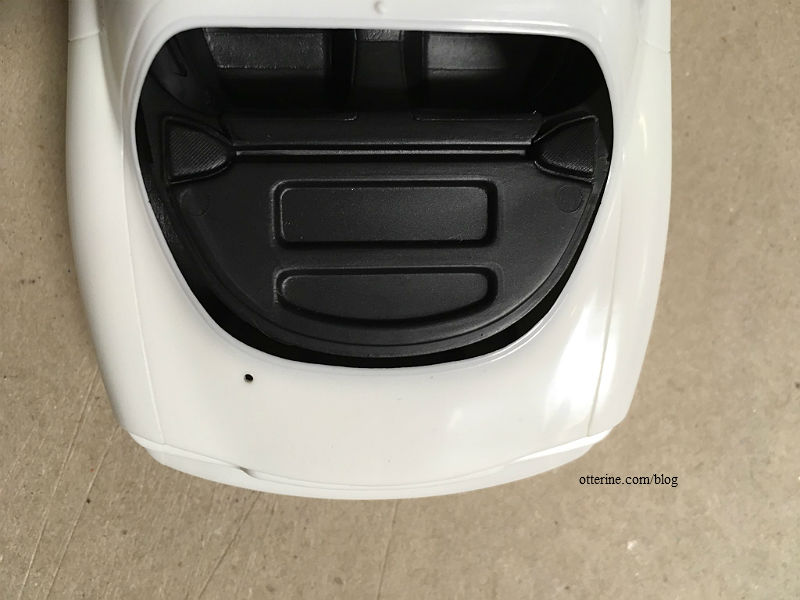
and in front. The pieces are molded to slightly different shapes and there are a lot of gaps.
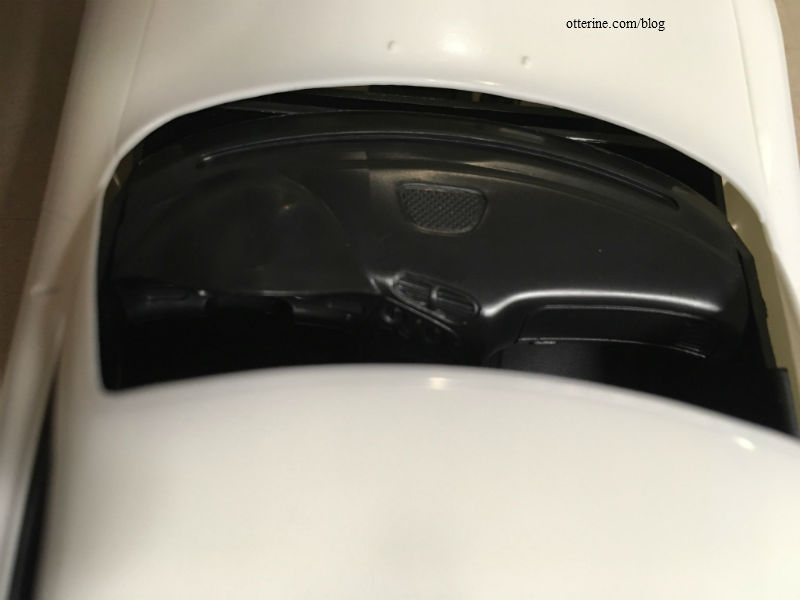
This is the fit of the white body on its own back…
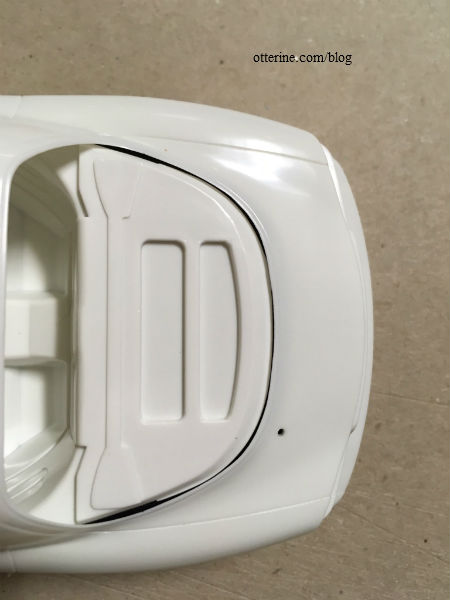
and front (the dash piece is tipped toward the front seat since it’s not glued yet, but you can see the curve matches so it will fit without gaps)
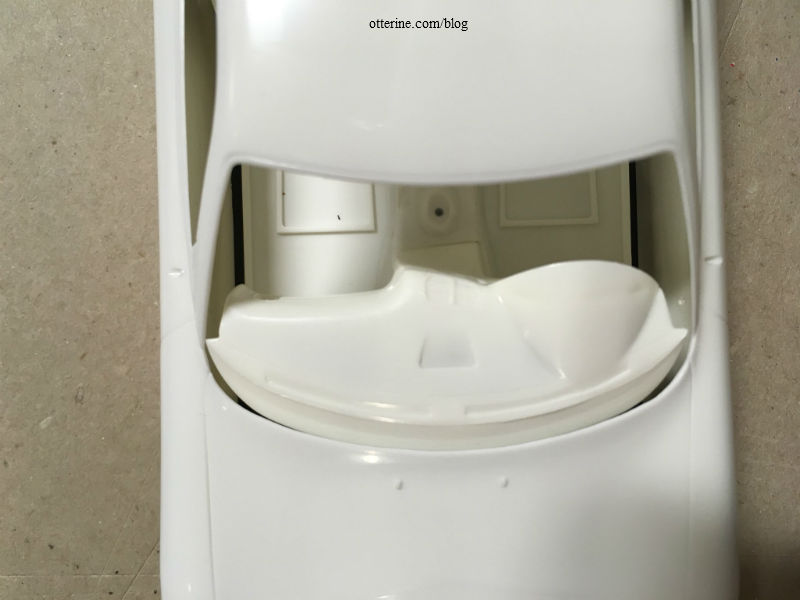
I’m still planning a hella beautiful ride, though…so not to worry. :] I will forge ahead with the white C-West kit without an engine.
Categories: Model Cars, Vehicles
August 31, 2018 | 0 commentsHalf Clocked – herringbone brick porch
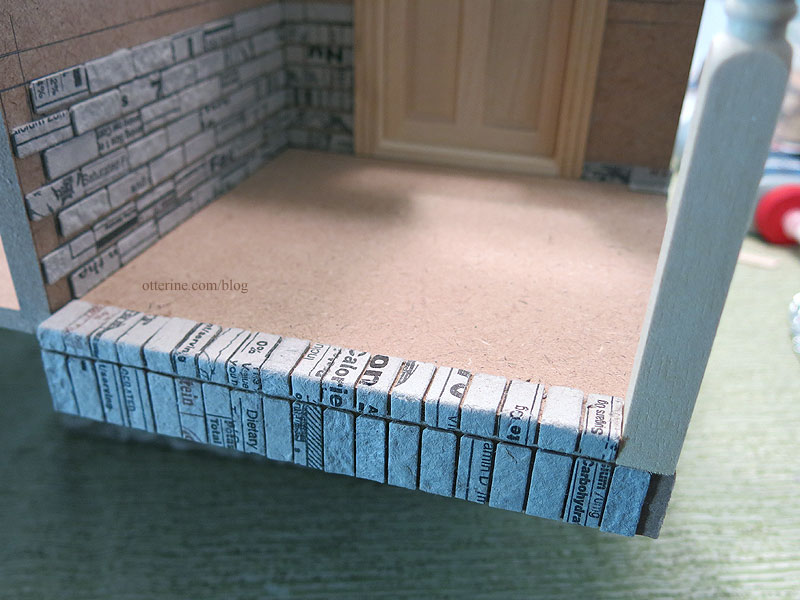
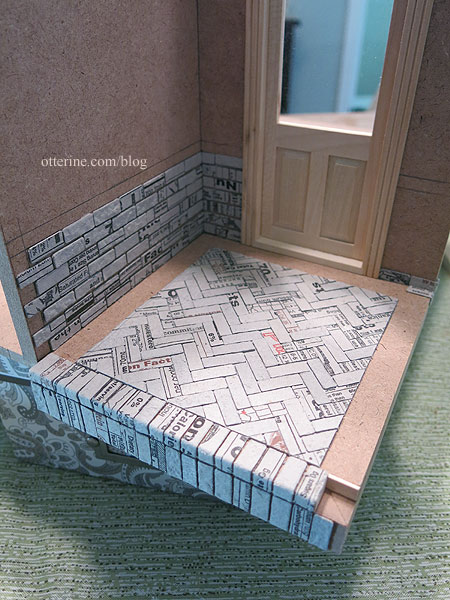
I’m going with a brick base again, so I was back to the egg carton brickwork. For the porch landing, I wanted a straight brick border with a herringbone center. I started with the front step, using vertical bricks on the riser. I couldn’t find a true example of this in real life from a quick image search, but it doesn’t look terribly out of place. I just didn’t want to carry the horizontal rows from the front and side walls around the porch step. I’m replacing the porch post with a Houseworks turned post, so I had to fill in the space a little with strip wood.
For the herringbone center, I printed 1/4″ square graph paper. The bricks don’t align to the grid perfectly as you glue them in place, but it is the best tool for keeping things relatively on track from row to row. I spaced these very close since this is a walkway and I wanted to minimize the grout. A welcome mat and plant pots are great for masking any inconsistencies.
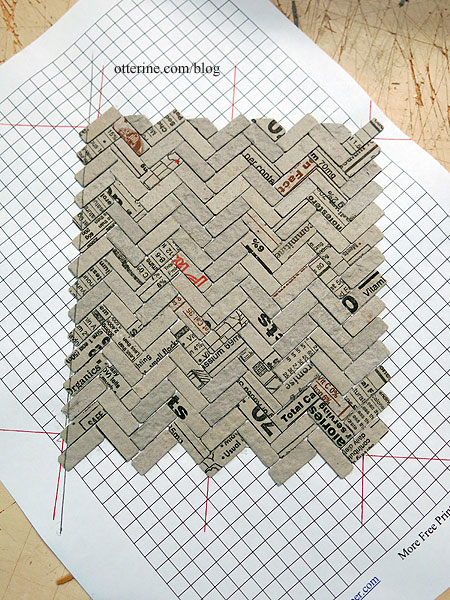
Once I had the herringbone pattern glued to the paper, I cut a template to determine the best layout.
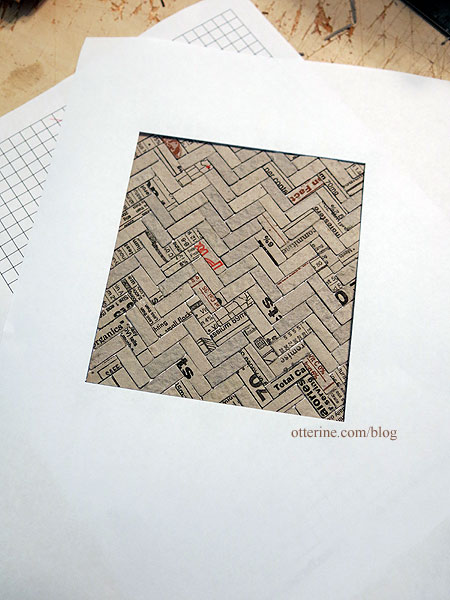
I marked the border, cut the herringbone section and glued the paper to the porch. Then I could finish the straight border. I also planned to have a brick walkway later in the landscaping phase.
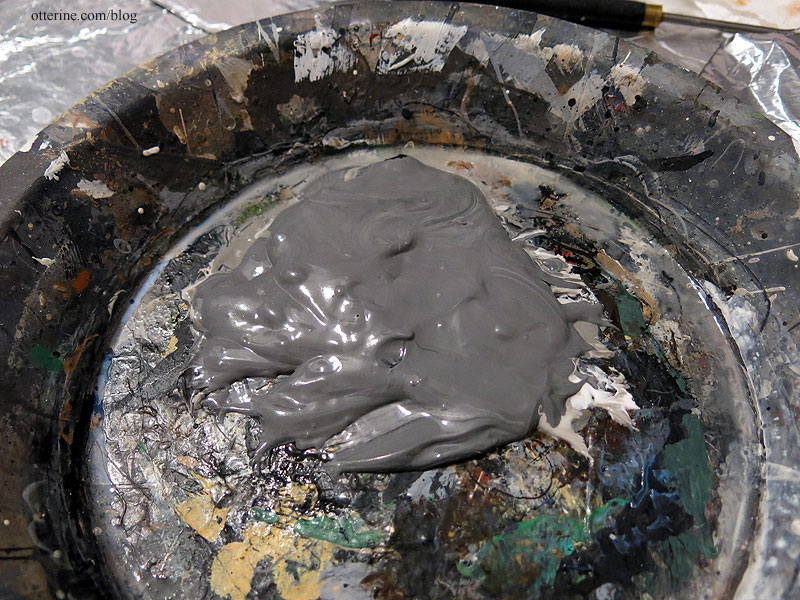
For the grout, I mixed spackling, neutral grey paint, black paint and Aleene’s Quick Dry glue. I added the glue just in case the paint made the spackling too thin to stay put.
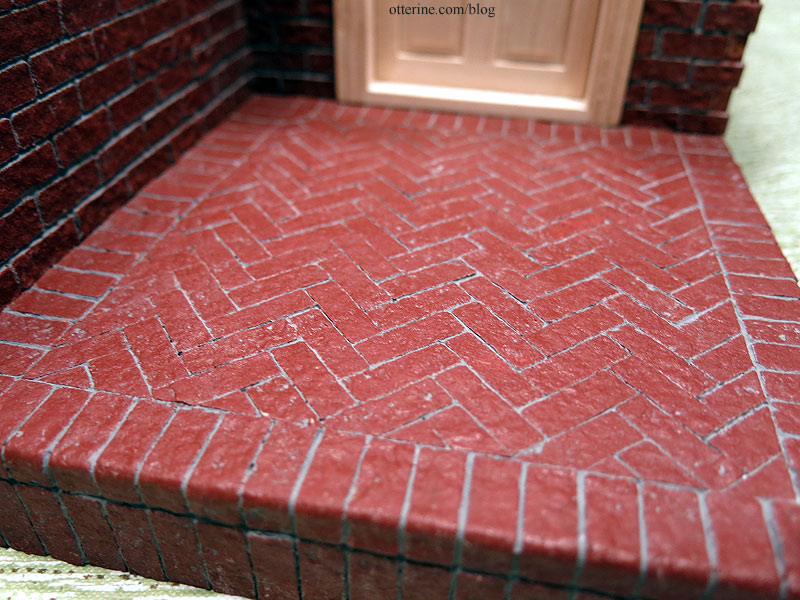
The grey looks great with the Liquitex Burnt Sienna painted brick, but I will still add some subtle aging washes later.
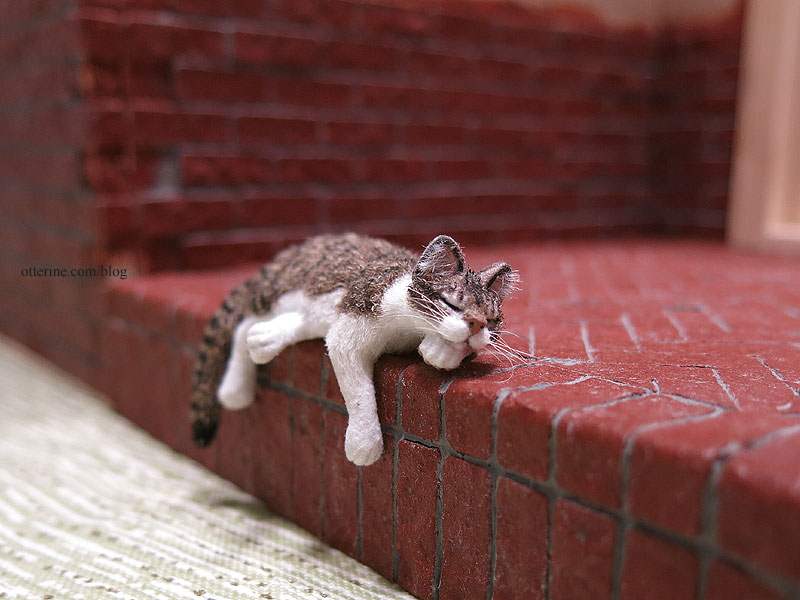
Finn is back to napping. :D
Categories: Half Clocked
August 22, 2018 | 0 comments
NOTE: All content on otterine.com is copyrighted and may not be reproduced in part or in whole. It takes a lot of time and effort to write and photograph for my blog. Please ask permission before reproducing any of my content. Please click for copyright notice and Pinterest use.


