

Sewing in mini
I entered this mini room box in a real life size sewing contest. I didn’t win, but it was a lot of fun putting the scene together.
——
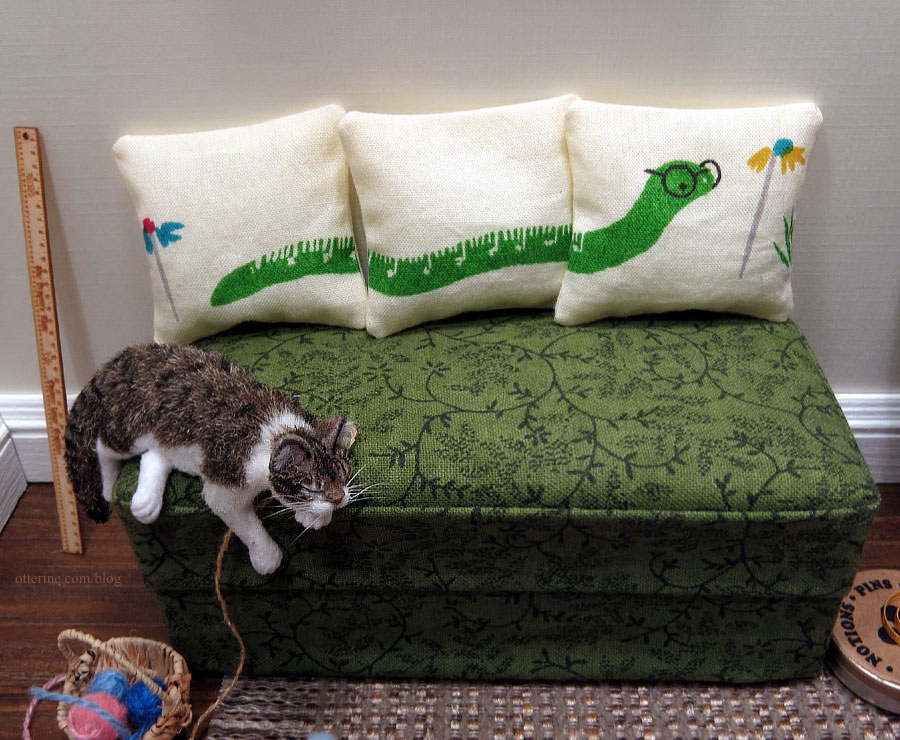
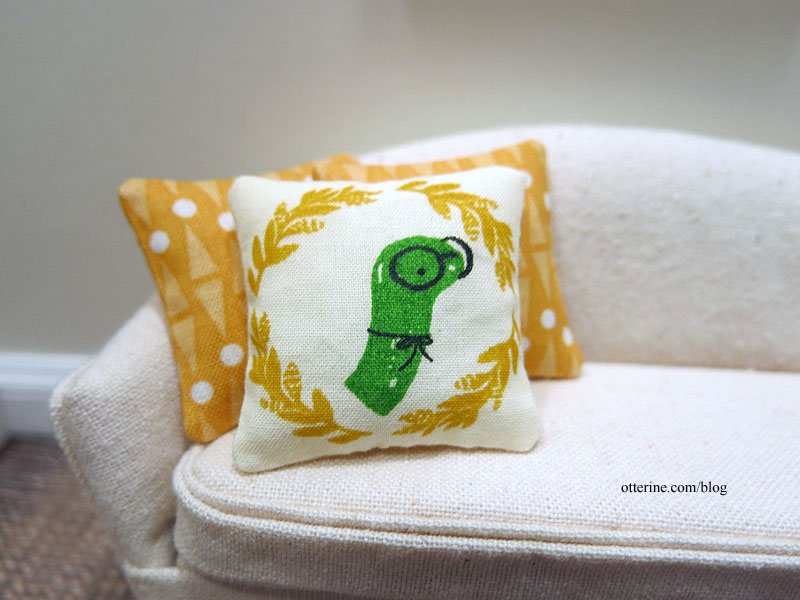
Linus is the Fabricworm mascot, and everyone entering had to use this fabric for their entry. I’ve made a set of building block pillows to feature Linus and his inchworm form (yep, these are available in my etsy shop).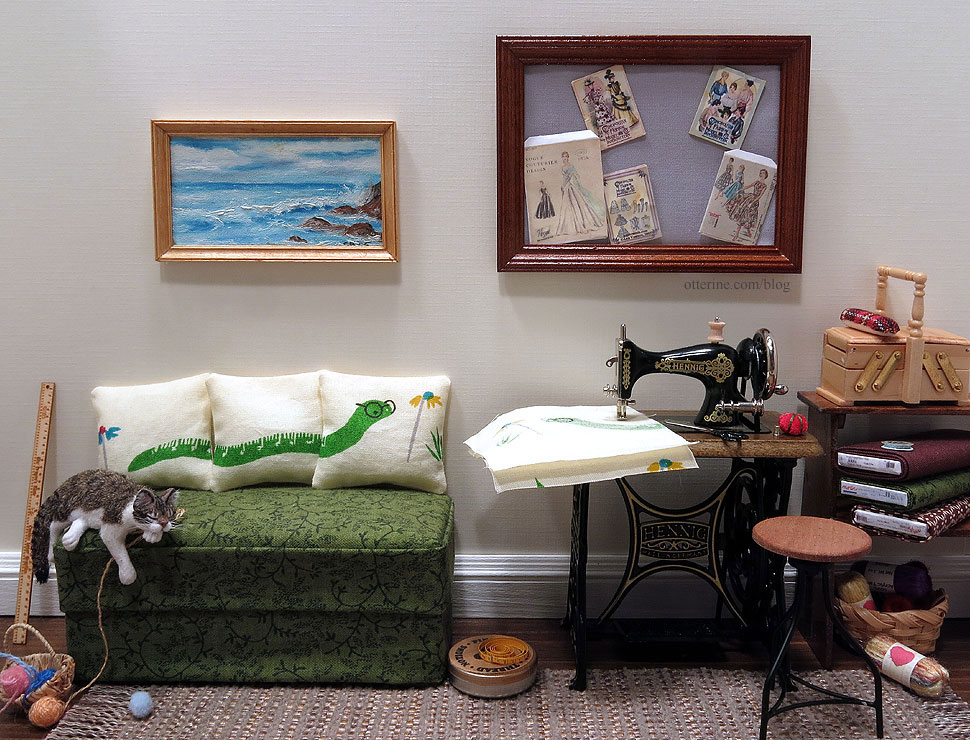
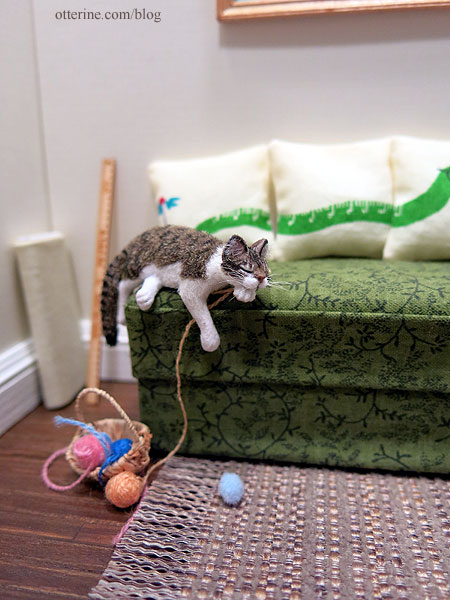
Finn is napping after wearing himself out with the yarn.
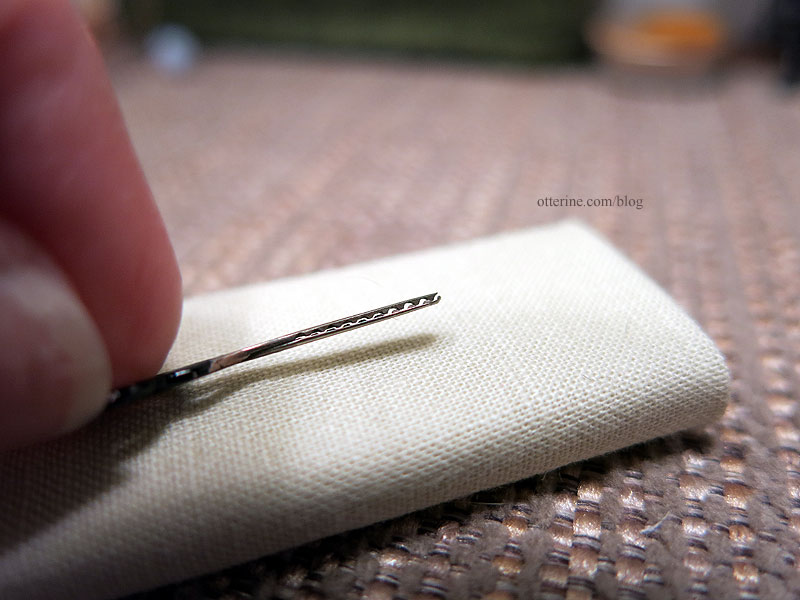
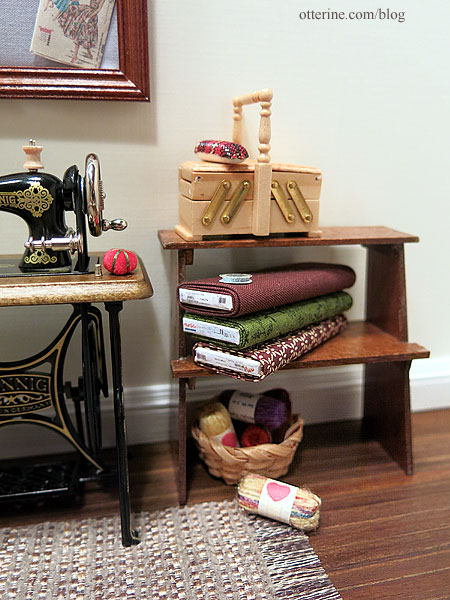
The Bodo Hennig sewing machine is one of my favorite minis. You can lift the presser foot to place fabric underneath.
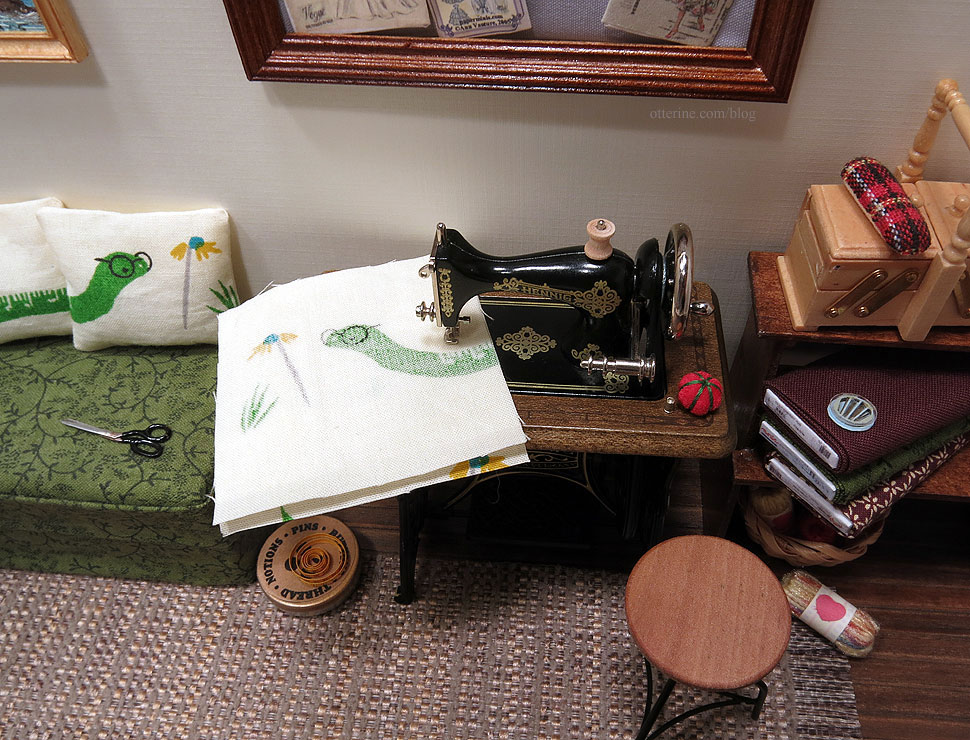
I didn’t get my high powered readers out to see if I could thread it, but I wouldn’t doubt it. Maybe next time….

A relatively recent acquisition are these pinking shears by Frank Matter. They open on a tiny hinge pin.
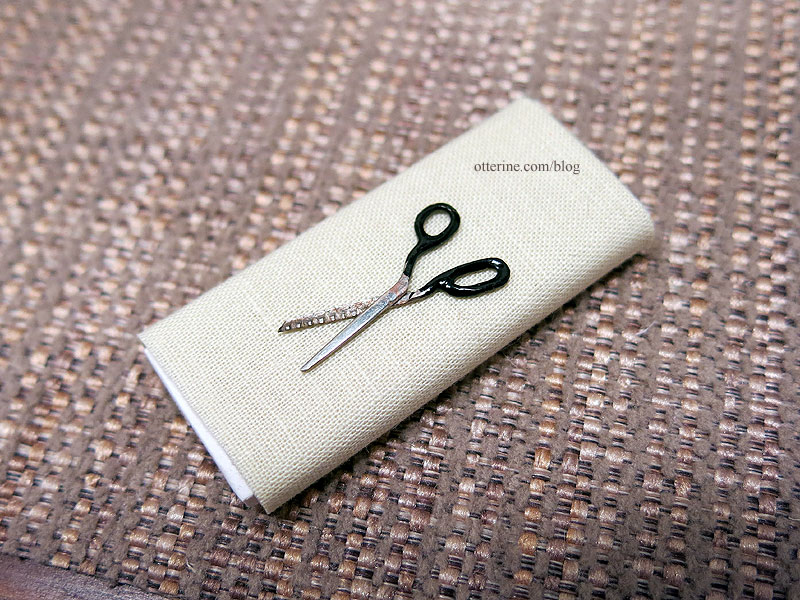
They have chipped paint just like my real life originals, which is a detail I adore.

Look at those tiny teeth!
Finn was made by JMDS, and I made the divan from a pattern in Dolls’ House Furniture: Easy-to-make projects in 1/12 scale by Freida Gray.
Jennifer at aMusingMiniatures custom made the seam roll for me. It’s simply perfect, just like the real deal! I made the fabric bolts and purchased the thimble and needles from Vilia Miniatures at the local shows.
The fabric also has some nice close-ups of Linus, so I’ve made those as well. :]
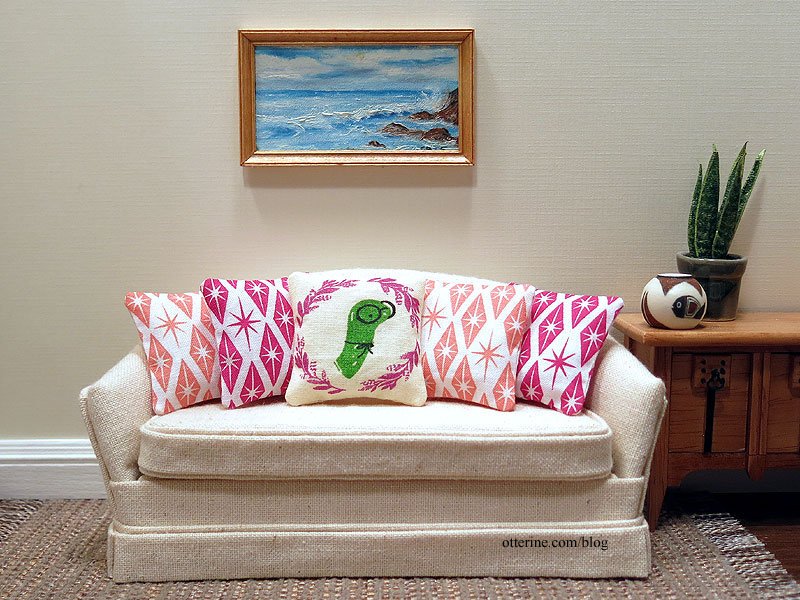
Additional notes: I believe the sea painting is from Barbara, likely an estate mini; it is signed S Bedu 2005. I made the fabric bulletin board and most of the patterns displayed. The adjustable stool is by Boutique Miniatures, and the rug is from Iklectic Kollectibles. The fish pot is by Barbara Begley Miniature Gardens. I made the snake plant and sofa.
Categories: Roomboxes and Mini Scenes
December 4, 2018 | 0 commentsHalf Clocked – fireplace insert
Since my fireplace is only for show, I made a flat brick insert from egg carton bricks instead of a firebox.

I glued the bricks to a paper grid and then cut the insert to fit.

Before installing, I painted the bricks Neutral Grey and then used spackling for the grout. I didn’t want any color to clash with the fire screen, which is black and gold, and the grey brings out the marble detailing.

I used a piece of thin cardstock to attach the brick insert to the fireplace.

I think this will be lovely with the baseboards and fire screen installed. I’m not sure I need a hearth since there will be no logs or even candles. More on that to come.

The fireplace was part of a miniatures lot I bought online. I have two that are very similar, and one is for the Brownstone. They are heavy, well made and have crisp detailing. The material appears to be some sort of translucent resin. There are no markings or manufacturer details. The seller indicated that she purchased them in 1996 at The Dolls House Toys Ltd., Covent Garden, London.
Categories: Half Clocked
December 2, 2018 | 0 commentsHalf Clocked – furnishings and such
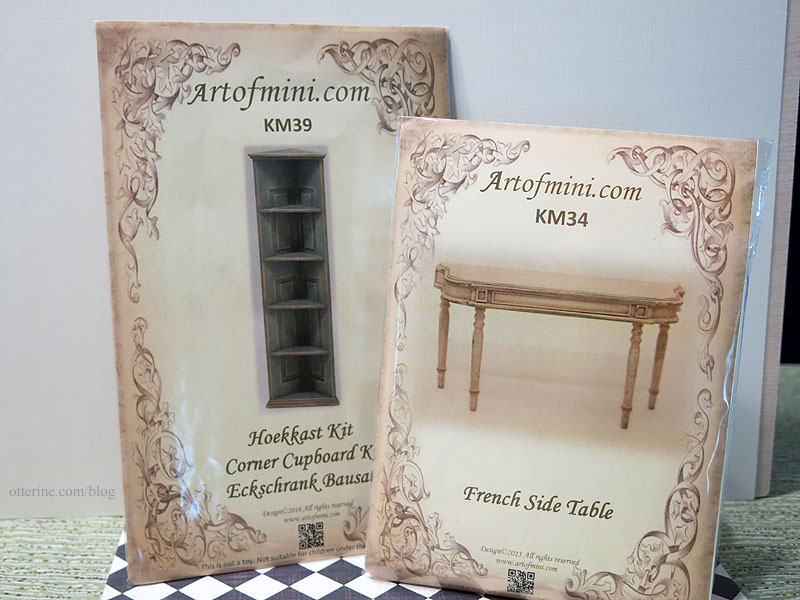
Here is where we left off with the kits.

I also started a French side table kit by Art of Mini (shown on the right below; the corner cupboard is for Watson Mill).
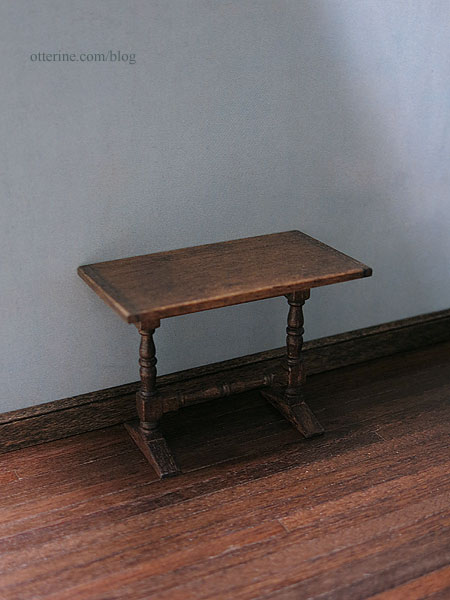
For the trestle table, I opted for a stained finish. After filling in any minor gaps with wood putty, I stained the piece Minwax Dark Walnut. I touched up any glue/putty areas with brown paint and then added a coat of Delta Ceramcoat Satin Varnish.
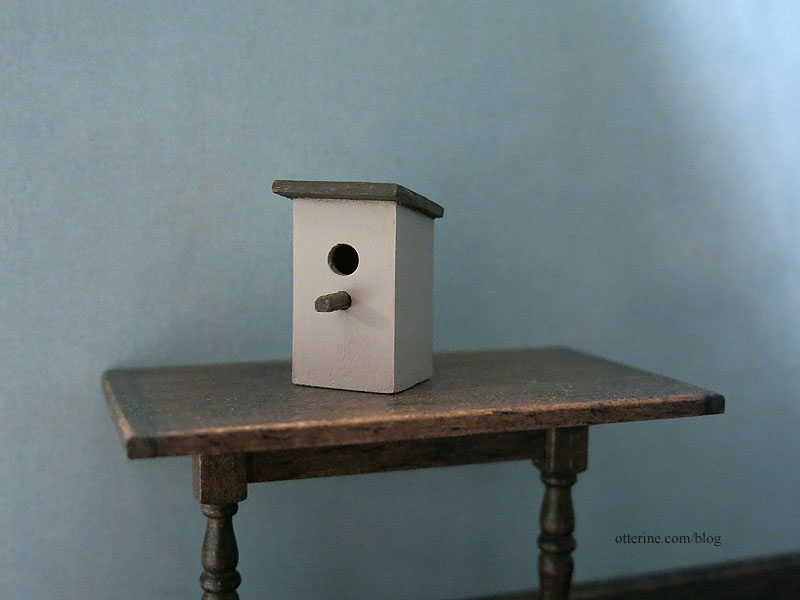
I painted the birdhouse green, but then I thought, “Why is just about every birdhouse I make green? I’m sure birds like other colors.” So, I painted over that with Battleship and painted the roof Bittersweet Chocolate, both by Americana. Now it’s a house suited for the unassuming bird who doesn’t like to draw attention. :D
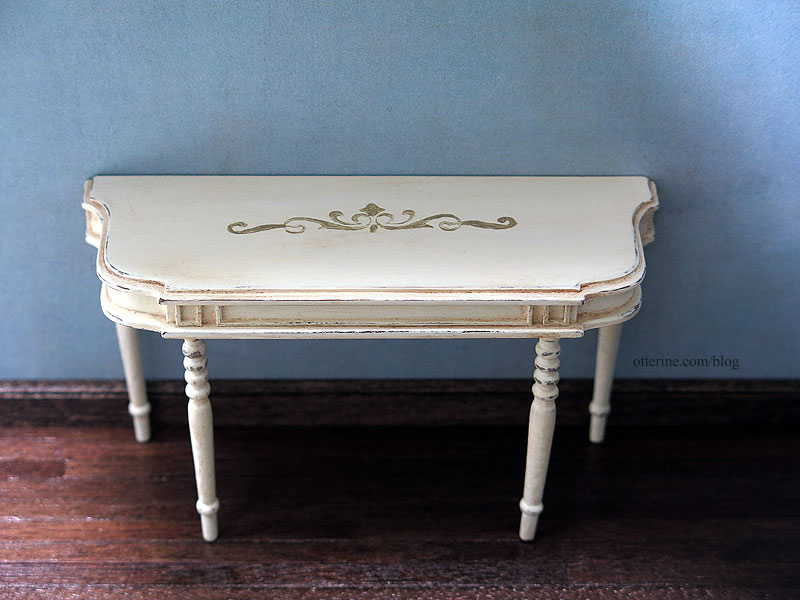
For the French side table, I started with a coat of Bittersweet Chocolate by Americana. I want this to be an old table, perhaps once stained and lovely then re-purposed with a coat of paint (or three).

The Folk Art Vintage White paint I had was very thick for being rather old, so I added some water. With the dark undercoat, it took several layers to even out. That added to the refinished look unexpectedly, so a nice happy accident. I rubbed the paint with a piece of brown paper bag to remove the high spots. Then I used a light grit sanding stick to bring out some of the dark details from underneath.
I added metallic detailing with Taupe by Folk Art. I used a rubber stamp and the same paint on the top (technique detailed here). I rubbed the piece again with a piece of brown paper bag until I had a nice sheen.


The legs warped a little, but that adds to the antique feeling…at least that’s what I tell myself. :D
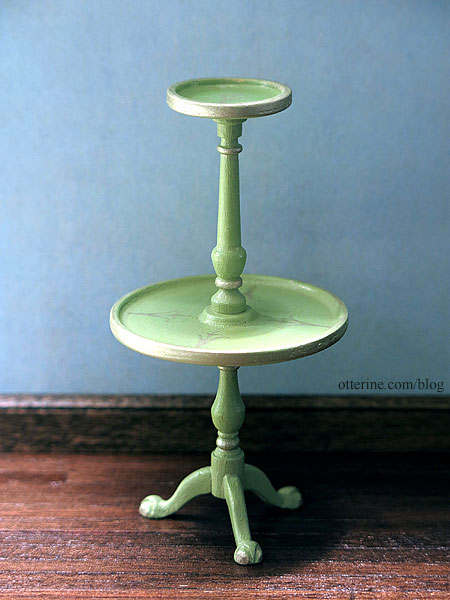
The tiered server started with a coat of Basil Green by Folk Art. I had to paint this since I always get glue everywhere when putting together any three-legged stand. I used one of the small rubber stamps with the same paint as the French side table to add some detailing.

This piece was also prone to warping, but I like the way it turned out. :]
I have a few more furnishings in mind, so more on that to come….

Categories: Furniture, Half Clocked
November 28, 2018 | 0 commentsHalf Clocked – landscaping
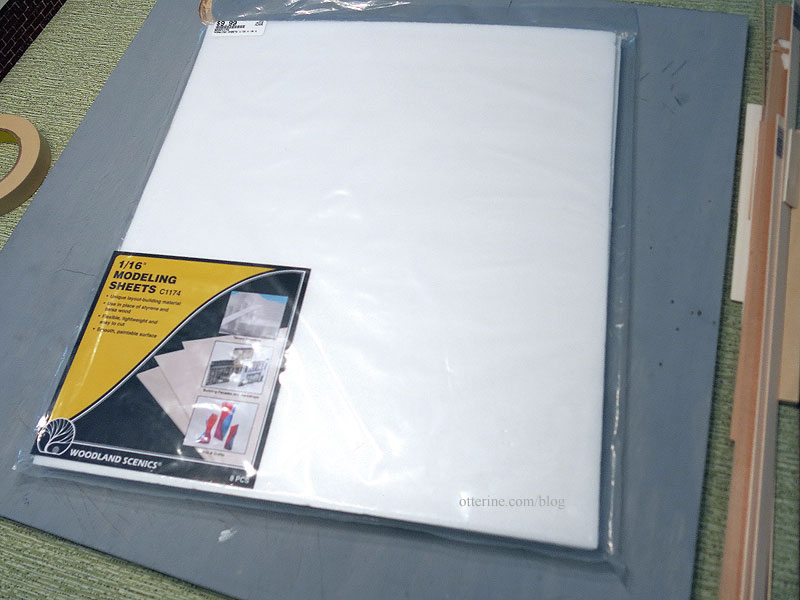
The landscaping board is finished on the edges with iron-on veneer edging. I then glued layers of white 1/16″ foam sheets by Woodland Scenics using Weldbond glue. I went with thin foam so I could keep the land relatively flat on the baseboard while still allowing for natural unevenness.
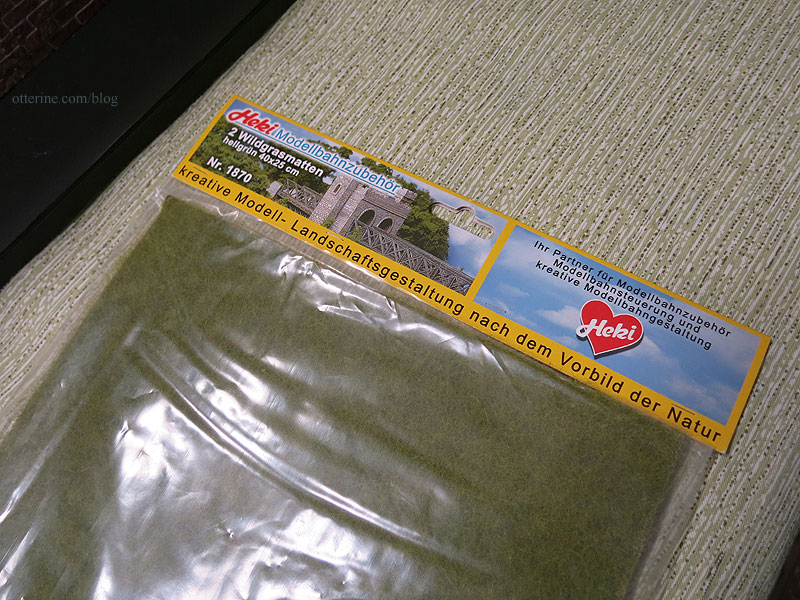
For the grass, I’m using Heki Summer Meadow Field Grass. It has a paper backing that isn’t the easiest to seam, but I do like the color, variation and texture. I also had it in my stash already, so that saved on costs.
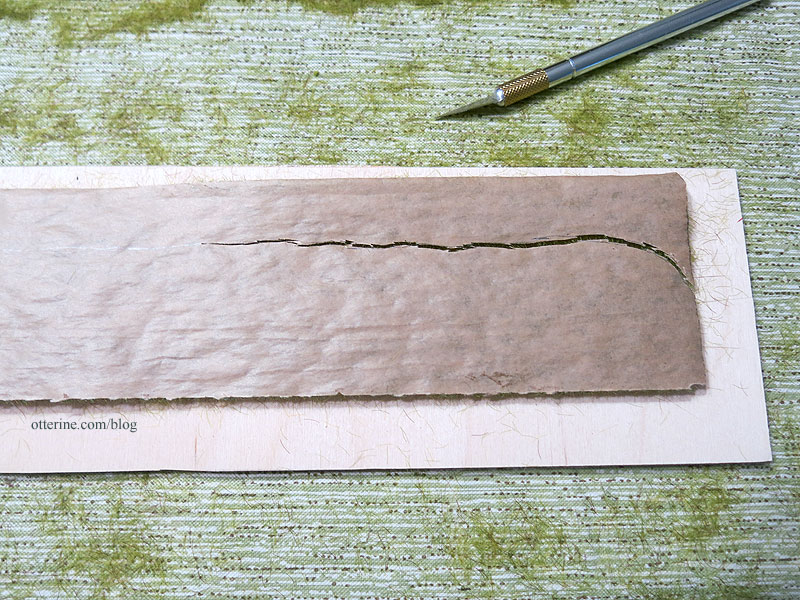
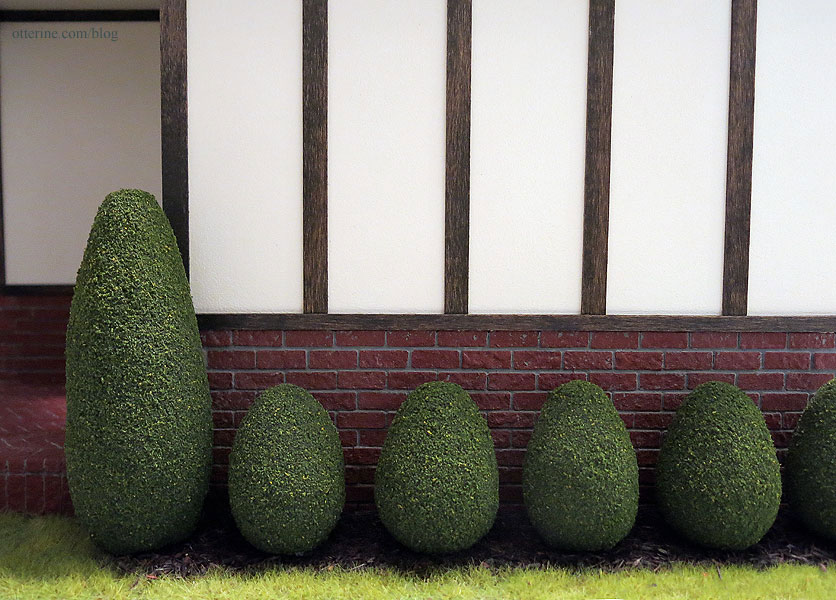
Since I’ll be planting the 20 shrubs I made around the structure, I opted for mulched areas. This cut down on the grass quite a bit. I started in the back on one side and cut a strip of grass with an uneven edge for a more natural look.
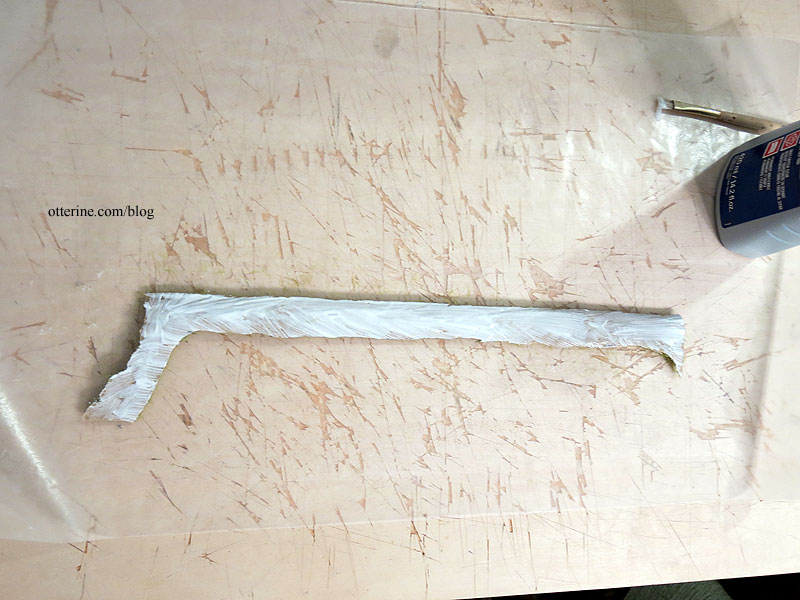
I glued this with Weldbond glue spread with a brush.
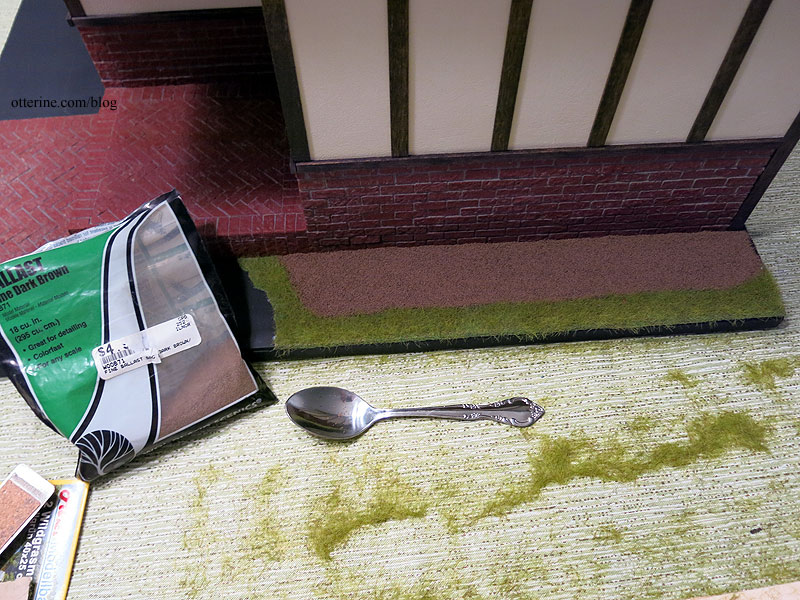
I added Woodland Scenics Fine Dark Brown Ballast as the mulch base, to serve as dirt. If there are any bare spots in the mulch, this will blend well.
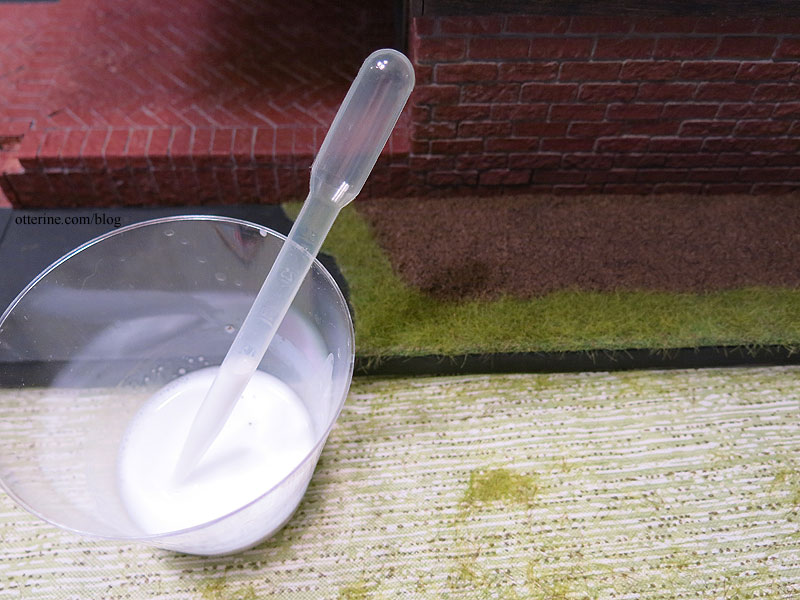
I held it in place with Woodland Scenics Scenic Cement applied with a pipette.
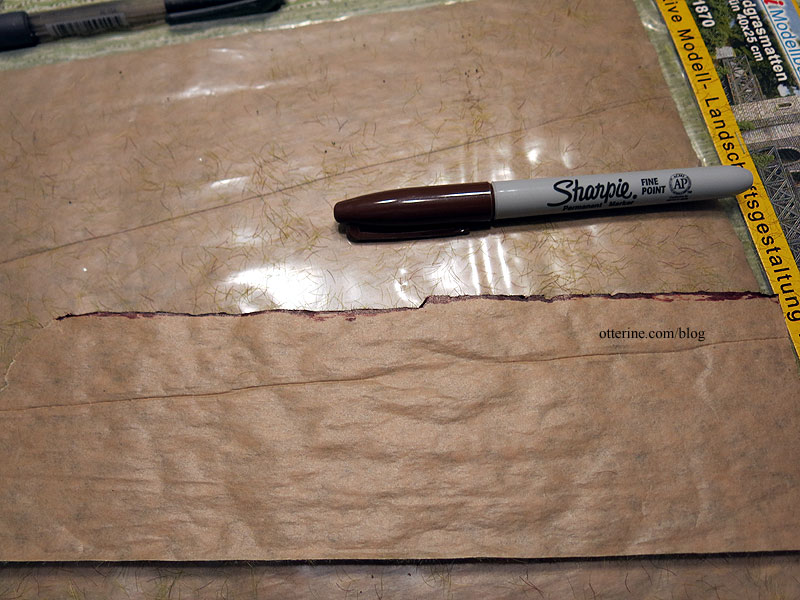
I colored the edge closest to the brick with a brown Sharpie to allow for better blending. The edge of the grass would be a light green otherwise and somewhat out of place.
I let the ballast dry overnight, then added the mulch. Again, I used Woodland Scenics Scenic Cement applied with a pipette.
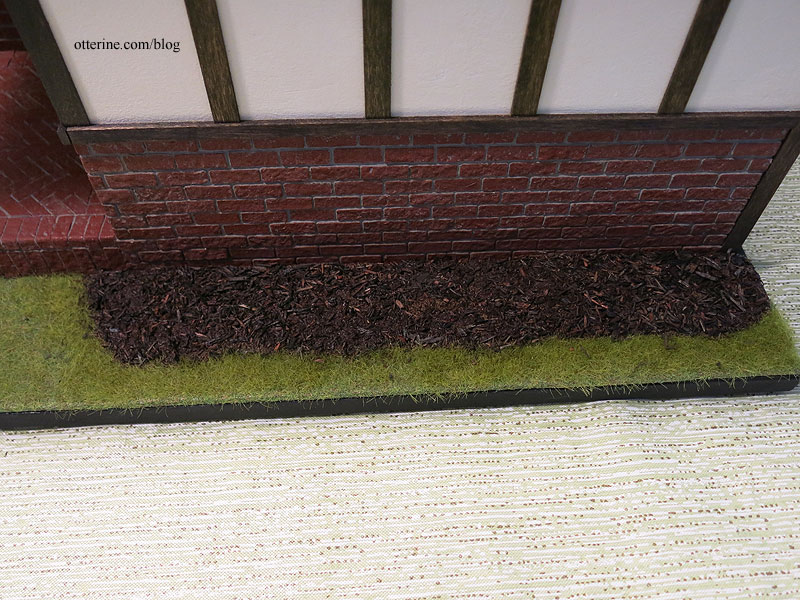
I let the mulch dry overnight and vacuumed the lawn to get rid of any excess. The shrubs are glued right on top of the mulch with Weldbond and a dab of super glue gel to hold them steady while the white glue dried. I foresee at least one of these popping off in the future, but at least they are easily repaired or replaced.
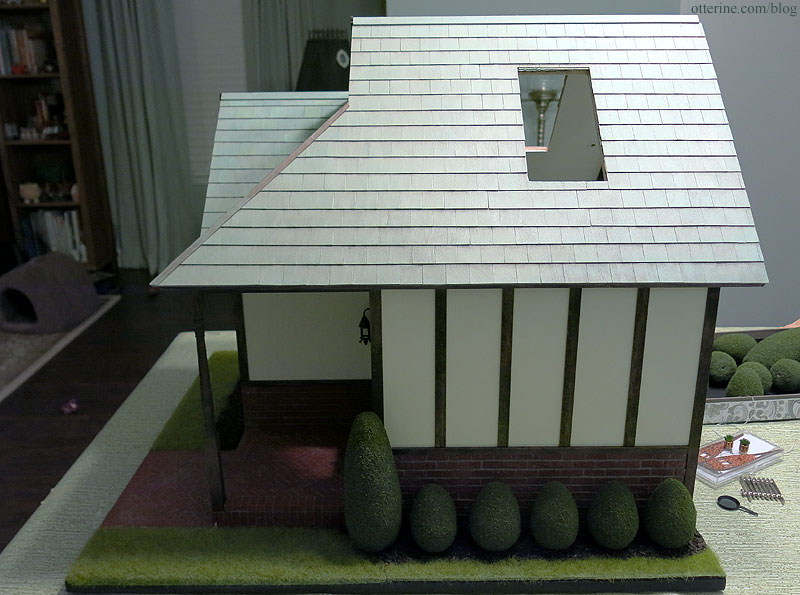
With the landscaping in place, it finally looks like a solid structure. :]
Shrubbery tutorial available in my etsy shop.
Categories: Half Clocked
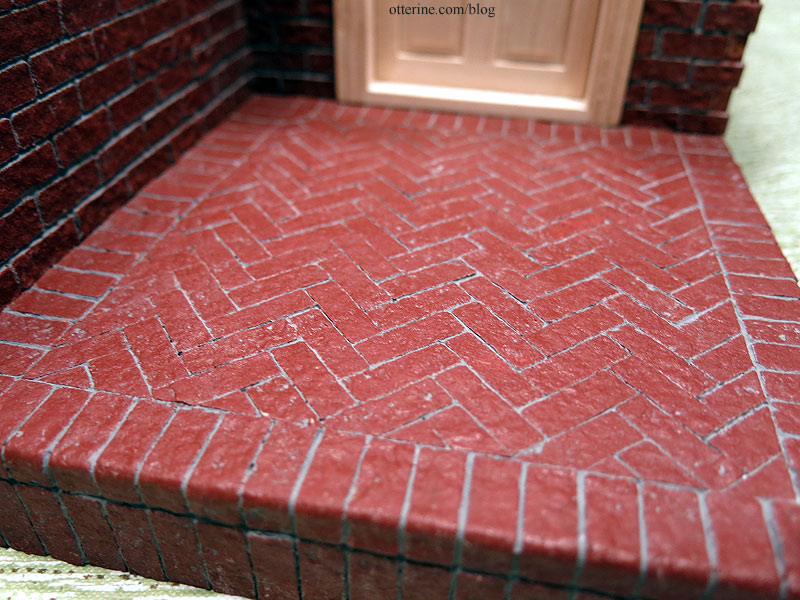
November 27, 2018 | 0 commentsHalf Clocked – brick walkway
I am getting close to gluing the structure to the landscaping base, so I can start to work on the brick walkway. Here’s the porch already done.
I started by marking a printed grid to match where the porch meets the walkway.

I wanted more herringbone, so I started with a 4.5″ by 5″ section.

Once that was done, I cut a template for the shape I wanted.

I glued that section to the base board.

I then individually cut the straight brick border.

Then paint….

Then grout was applied before the house was attached to the base. Easier to work with that way.

Categories: Half Clocked
November 25, 2018 | 0 comments


NOTE: All content on otterine.com is copyrighted and may not be reproduced in part or in whole. It takes a lot of time and effort to write and photograph for my blog. Please ask permission before reproducing any of my content. Please click for copyright notice and Pinterest use.


