

Italian shoes and matching handbag
I now own three things from Italy, though I have never been there. First is a Venetian mask I bought online about ten years ago. And, now…these beautiful shoes with a matching handbag from the wonderfully talented Patrizia Santi. :D I just love them!
I originally saw the shoes at the Bishop Show in Chicago back in April. I hesitated about buying them and lost out. The price was reasonable considering the outstanding workmanship and time involved; I just hadn’t wanted to go overboard with shopping on my first night at the show. When I went back later, however, the ones I wanted were gone.
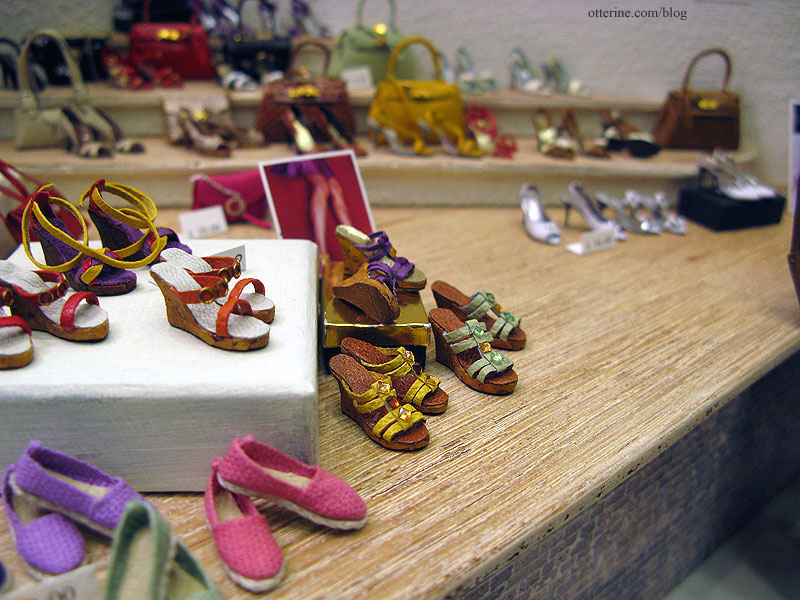
After looking at the photo I took at the show over and over, I decided to write to the artist to find out what I had to do to get those shoes! She made a pair for me and (as a complete surprise to me) included a matching handbag. It was so thoughtful of her. I think the shoe box and shopping bag are so awesome, too. :D
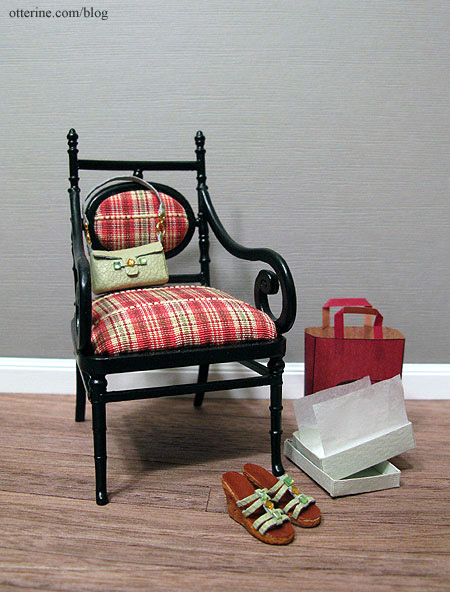
I don’t typically carry handbags in real life, but I would carry this one and I would definitely wear those shoes! :D
Categories: Miniatures
May 22, 2010 | 0 commentsNewport – guest bed, part 1
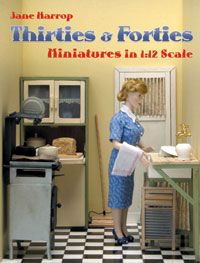
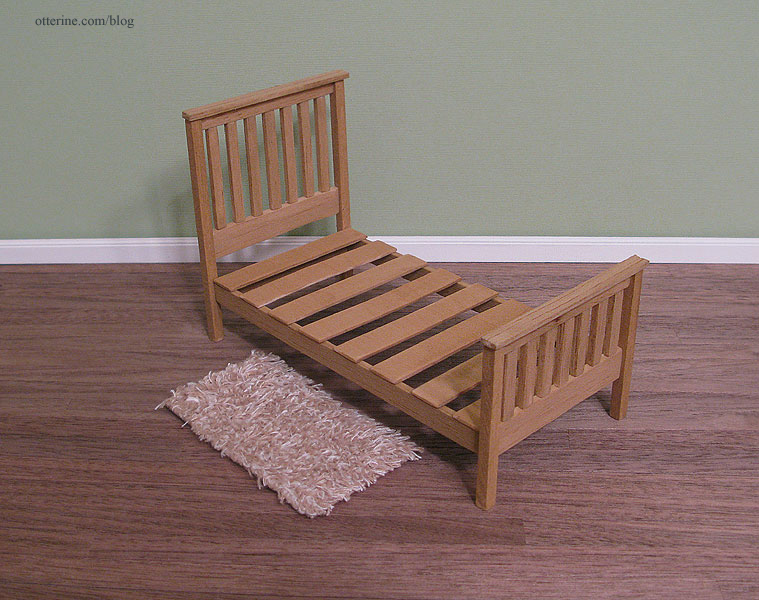
One of my favorite dollhouse furniture books is Thirties & Forties Miniatures in 1:12 Scale by Jane Harrop. There are a lot of great projects in this book that are both classic in design and usable in a more modern setting. I plan to make several of the items, but I decided to start with one of the more straightforward designs listed as “beginner” level: the single bed.
I used balsa wood for the build since I am not sure where I would find the obechi wood the book indicates. Balsa can damage easily, but I love the way it looks once stained. It’s also very easy to cut. (Note from the future – I would no longer use balsa to build, and this bed has suffered damage over the years.)
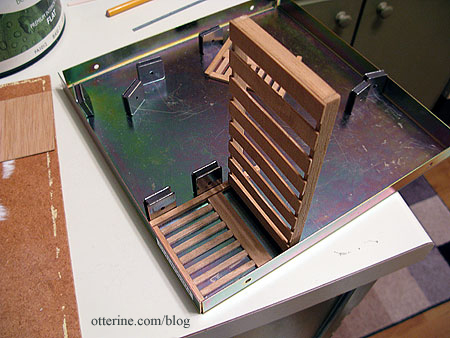
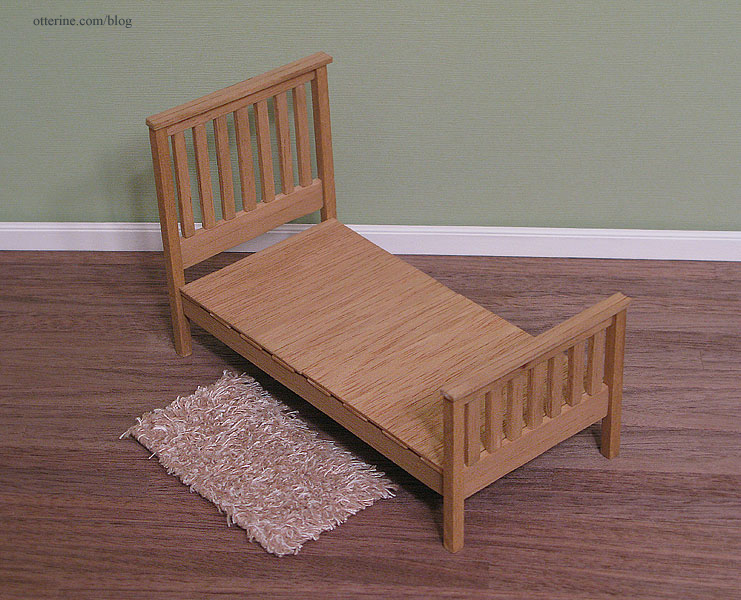
I love the look of the bed with the high headboard. I used antique pine stain from IKEA.
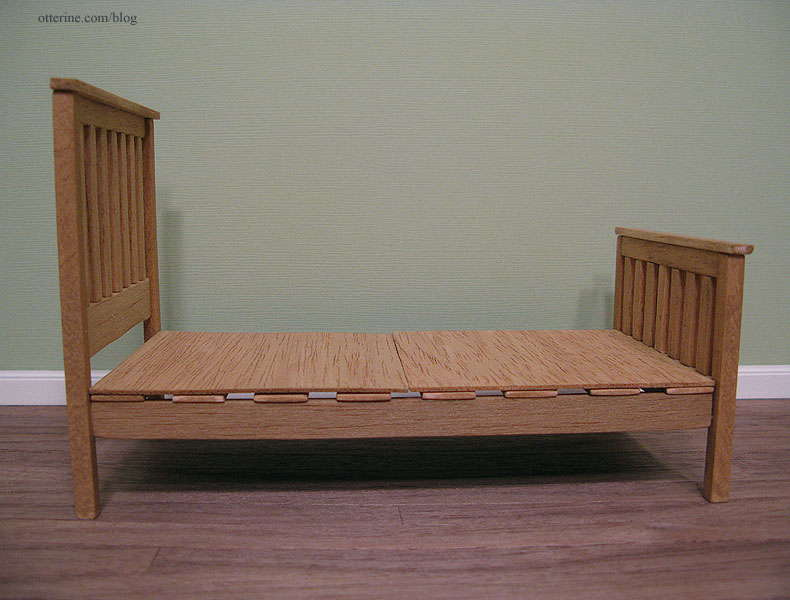
The most difficult part of the whole process was making sure the slats on the headboard and footboard were measured exactly.
The bed has two flat boards (shown above) that I left unattached. Once I figure out the bedding, I’ll decide if I need them or not.
Categories: Furniture, The Newport
April 10, 2010 | 0 commentsRya rugs and clover pitcher
I’ve received a few minis from a two international miniaturists. First, two rya rugs made by the talented Glenda at Peppercorn Minis in New Zealand. They’re so soft and pretty I wish I were mini so I could run my toes through the pile! :D
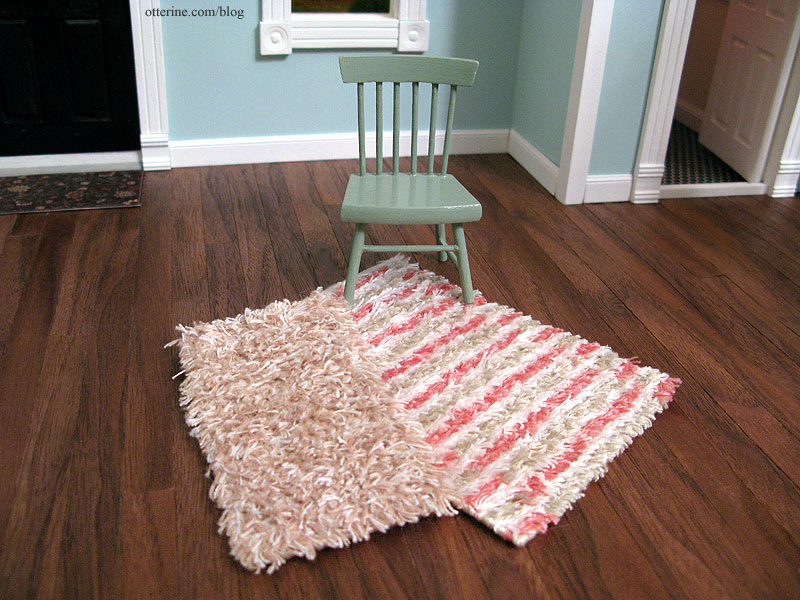
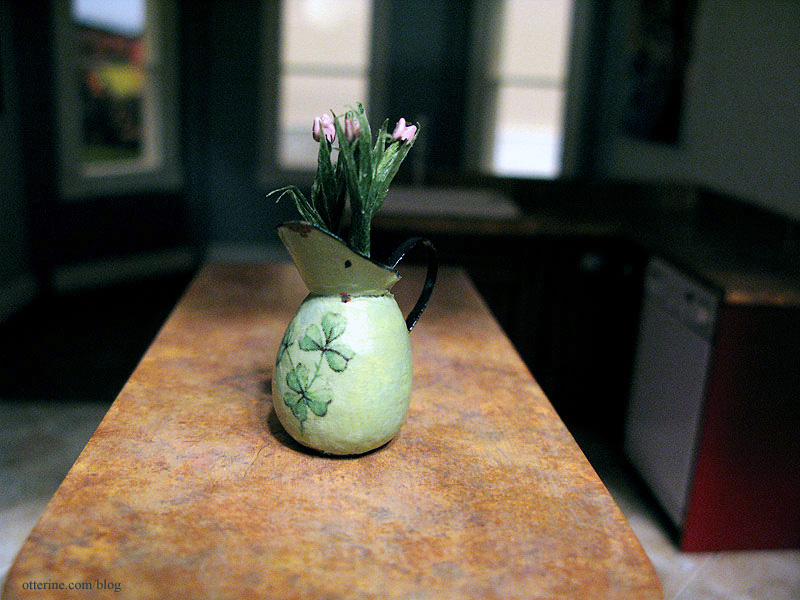
The second is a tiny pitcher with flowers from the gifted Sylvia at lotjesdollshouse in The Netherlands. I love the color and the clovers!
Categories: Miniatures
April 5, 2010 | 0 commentsFlipping the opening direction of a door
Houseworks has some of the best dollhouse components on the market, and their doors are fabulous in that they are premade and hung in frames. All you have to do is slide them into place. But, sometimes you want the door to open the other direction. As they are currently made, if the premade door is facing you, the door opens in to the right.

Here’s how I flipped one to open in to the left. First, I used masking tape to indicate the “up” direction and sides 1 and 2.

Since you are always keeping the “up” side in the right direction, this will work with other paneled doors where there is an obvious up direction. It’s less important with this type of door where the style is uniform up and down.

I removed the hinge pin on the bottom but left the pin at the top in the door.

I then measured where the original holes were and marked that same measurement on the opposite side. These need to be precise. I then used a pinvise to make the new holes. I slid my drill bit into the original hole to make sure I had the right size before drilling on the opposite side.

top of door frame 
bottom of door frame I installed the original door with side 2 facing me. The door now opens in to the left. The original holes can be filled or left in case you change your mind again.

Categories: Baslow Ranch, Miniatures
April 2, 2010 | 0 commentsNewport garage, part 2
Though the Newport was sold eventually, I’ve compiled some of the posts I made when I first started building it.
—-
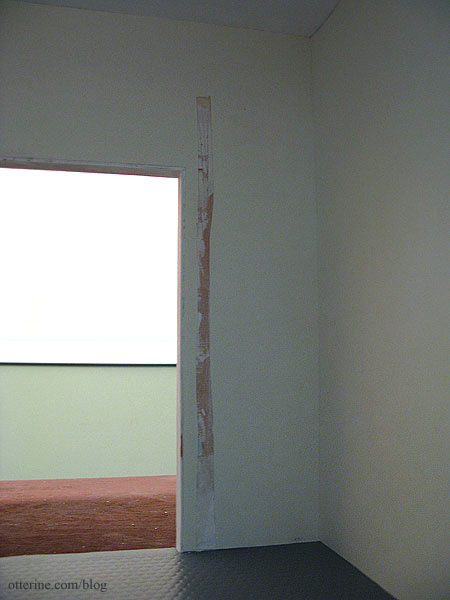
Continuing work on the garage. I cut grooves for the front lighting wires and put up the wallpaper (scrapbook paper by Martha Stewart in a color called swan, a very pale green). I left the ceiling plain wood painted white since the surface was fairly smooth.
Next came installing the Timberbrook garage door. I first cut some holes in the wallpaper so the glue would adhere to the wood and not just the paper. I figured this would add to the stability of the door moving up and down.
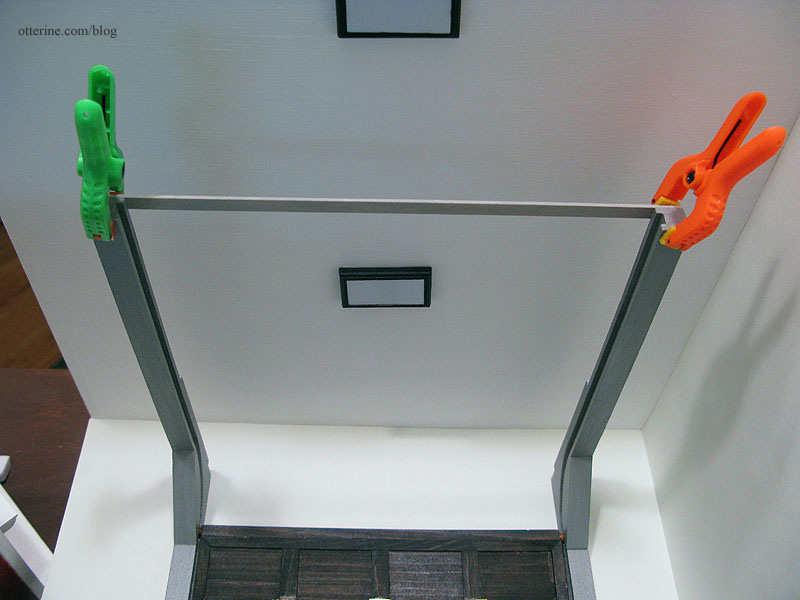
After following the easy instructions of the kit, I decided lifting the door was still a little unstable. I added a thin strip of wood connecting the ends of the ceiling track, and the door moved much more freely in the track.
The garage is technically removable from the main house, though the wires need to be disconnected before doing so. I left it detachable in case I need to move the build sometime in the future.
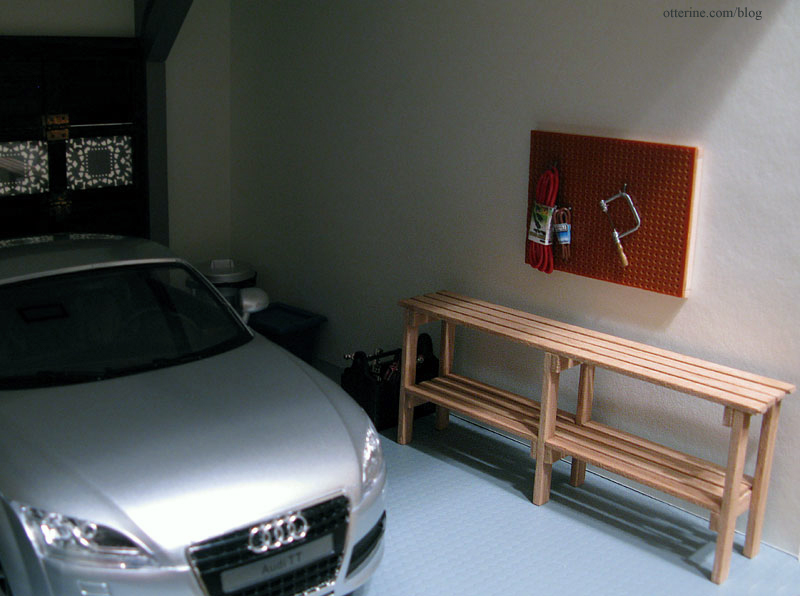
I set up a few things I’ve acquired to put in the garage, though I have more planned for this space.
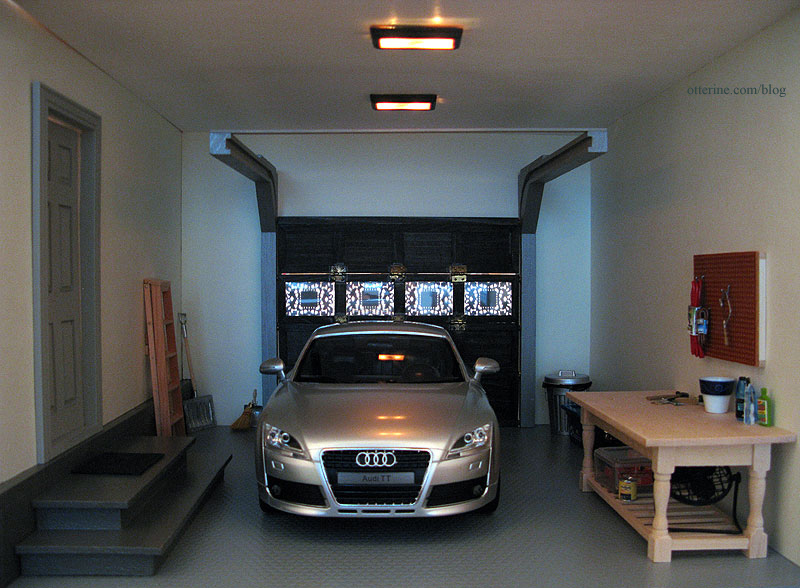
The car is a 1:14 scale remote control Audi TT. The lights come on only when the car is in motion, so I had to prop up the back wheels to prevent movement as I photographed the car with the lights on.
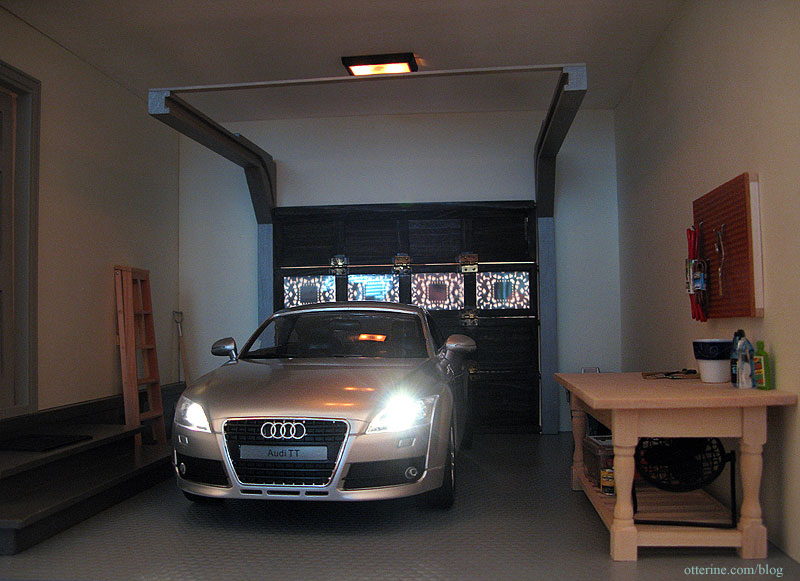
I built a new set of shelves for the garage. The table I had used for the above setup was too large and actually meant for a different room in the house. I made the new shelves from balsa wood following the instructions in Making Miniature Gardens by Freida Gray.
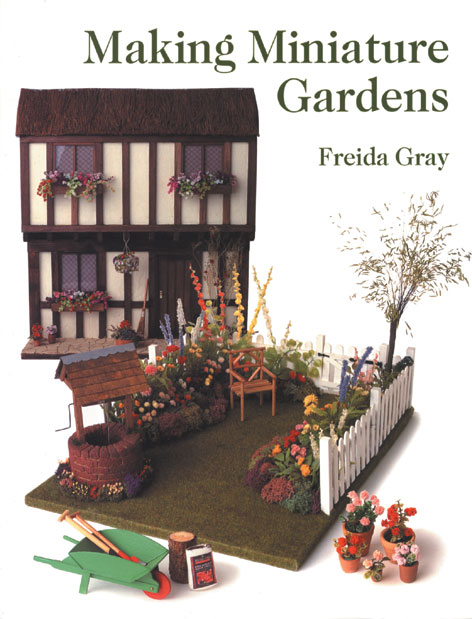
This book has a lot of great ideas for gardens including plants and flowers as well as structures, furniture and accessories. These shelves were very simple to put together.
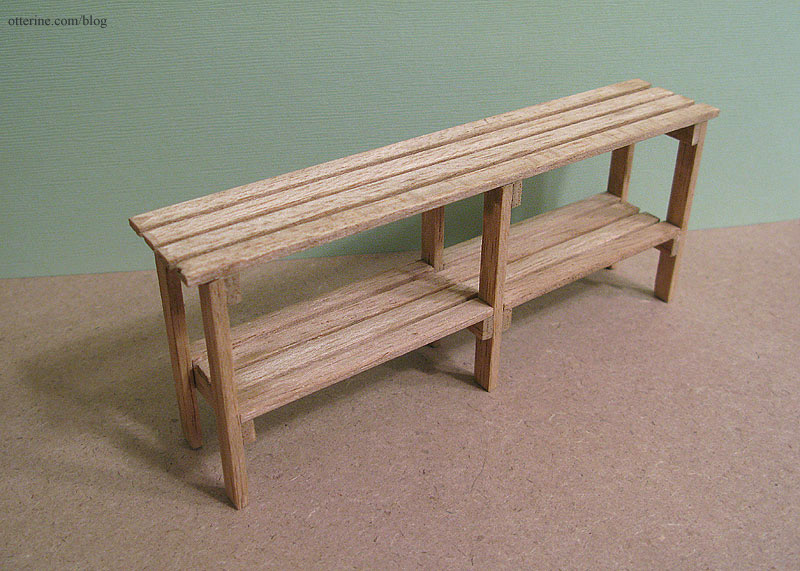
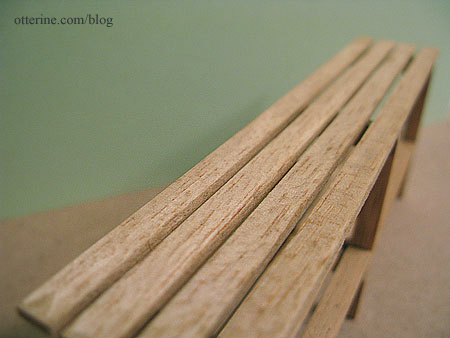
I used antique pine stain from IKEA – one of my favorite colors of stain. It brought out the grain of the balsa and really warmed the overall look.
I think this works better for scale and for showing off the various minis I’ll display here. Nothing on it right now – waiting for the stain to cure.
Categories: The Newport
April 1, 2010 | 0 comments


NOTE: All content on otterine.com is copyrighted and may not be reproduced in part or in whole. It takes a lot of time and effort to write and photograph for my blog. Please ask permission before reproducing any of my content. Please click for copyright notice and Pinterest use.


