

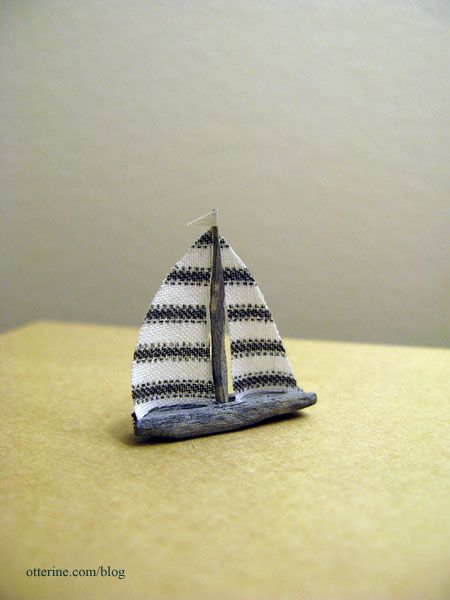
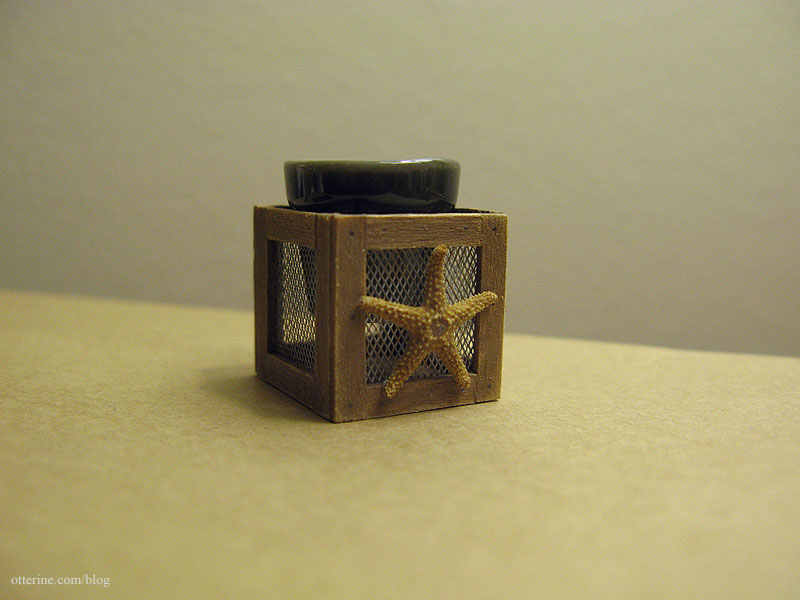
Sailboat and starfish planter
The inspiration pieces for these two tiny accessories I’ve just made were found from links on Completely Coastal. If you love anything beachy, that is the place to go!
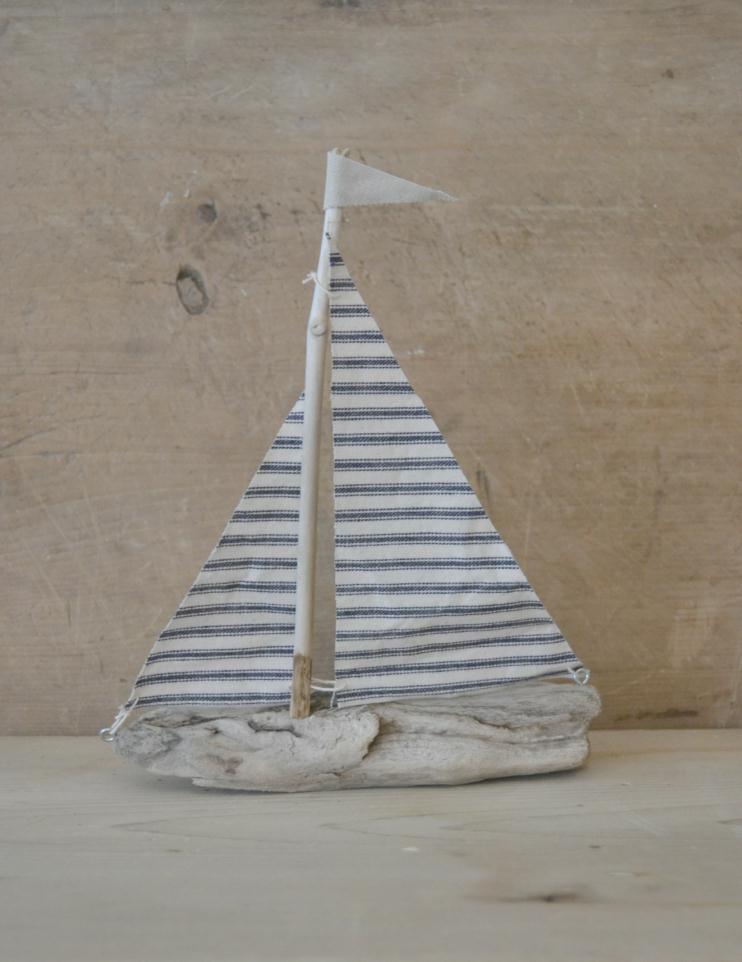
The first is a 1:12 scale replica of a driftwood sailboat made from scraps from my wood bin. The fabric is a ticking stripe pattern that I had attempted to recreate by printing on fabric, but my scale was too large for what I envisioned so I didn’t end up using it. But, for this project, I thought it fit wonderfully.
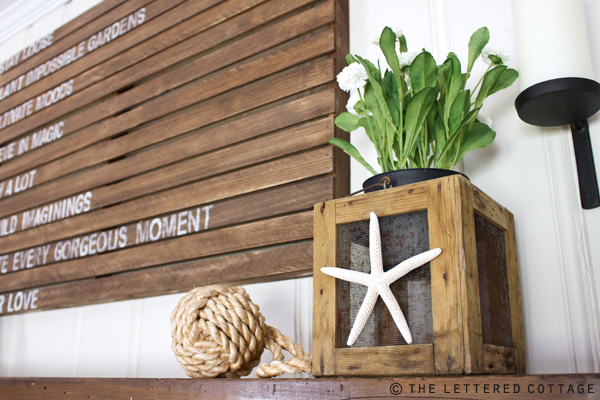
I first saw this on The Lettered Cottage, and the real life size one is from White Flower Farmhouse.
the original inspiration The other item was inspired by a starfish planter I also saw on The Lettered Cottage (see more on the original here) made from a vintage cricket cage. I made mine out of 1/32″ thick bass wood, wire mesh and a ceramic planter from Manor House Minis. My cage measures 3/4″ square. That’s an actual tiny starfish from Marco Island Shells. I chose to leave the starfish unpainted to preserve its natural beauty.
I love the creativity of the original.
the original inspiration Categories: Baxter Pointe Villa, Miniatures
June 20, 2011 | 0 commentsCustom built wine rack
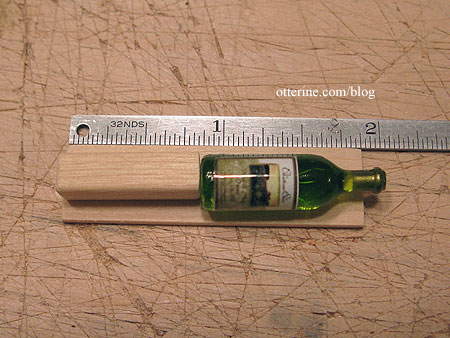
I am so brimming with excitement over how this turned out that I just needed to share. :D This wine rack is attached to a Houseworks cabinet, so I built a box from 1/8″ thick bass wood to mimic the structure of that cabinet. I painted just the lead edges of the inside as well as the entire exposed side of this addition.
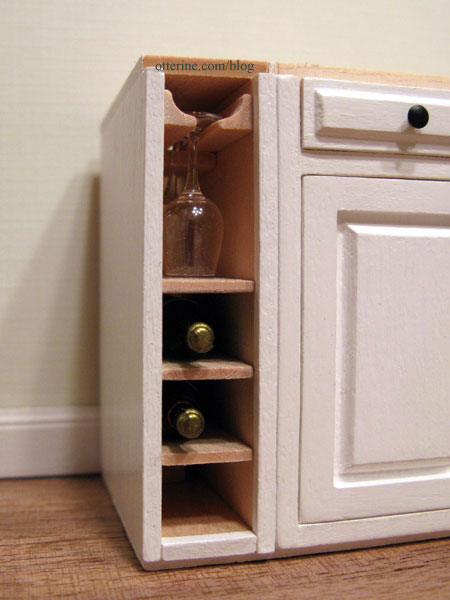
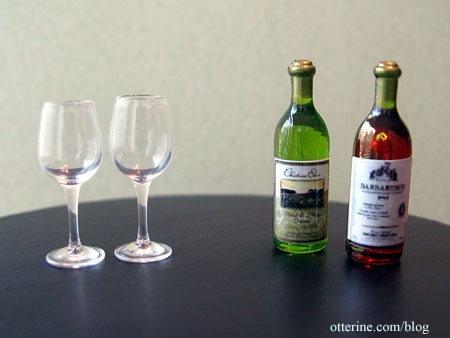
Inside, I have a place to hang wine glasses and to store three bottles of wine. I bought these items at the Bishop show even though they were a little large for scale. I think they work wonderfully here since they aren’t sitting next to anything else that would give away that fact.
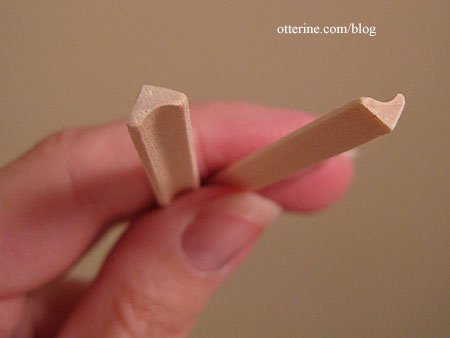
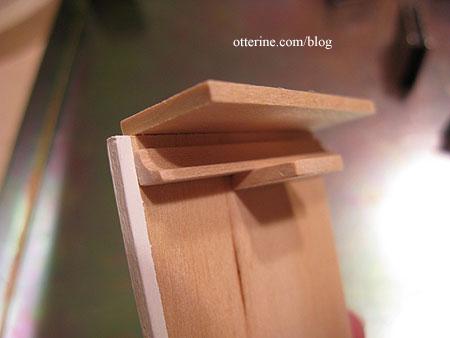
I made the glass holder from mini cove molding…it was actually a sample from a dollhouse wood supplier. There was exactly the amount I needed for this project. Score!
To keep the glasses from sliding too far back, I glued in a block right behind where the second sits. I left the holder and the shelves in natural wood.
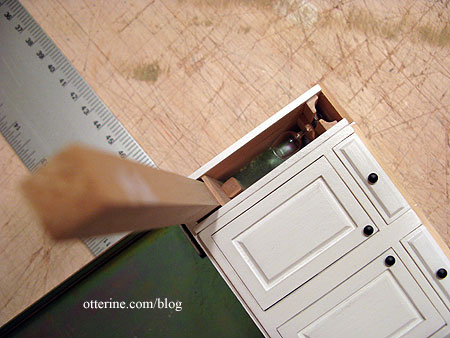
Each shelf is made from 1/16″ thick bass wood. Just as with the glass holder, I put in a stopper to keep the bottles from sliding back too far.
To keep the shelves in straight while the glue dried, I used a 3/8″ post as a spacer.
Now, who wants a glass of wine? :D
Categories: Baxter Pointe Villa, Furniture
June 12, 2011 | 0 commentsDoor to _____?
So, say you need access behind a wall, what do you do? You build a door to get there. :D
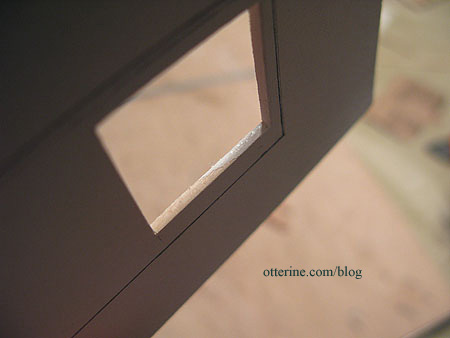
I started with a piece of 1/32″ thick bass wood cut to the size of the door I needed (my wall in this example is 1/16″ bass wood). Around this, I drew a rectangle in the area where I wanted the opening.
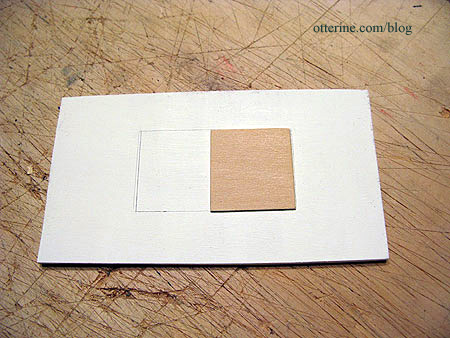
On one side of the rectangle, I cut an opening smaller than my door.
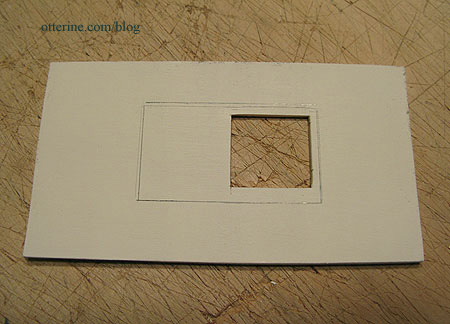
I painted the inner edge of the cutout.
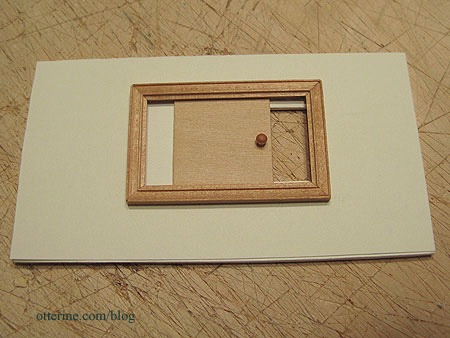
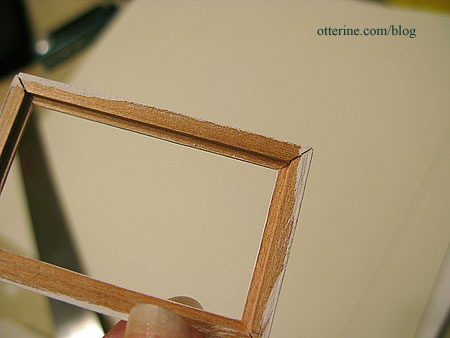
Since I plan to wallpaper this wall, I needed to cut a template for the rectangle I drew earlier.

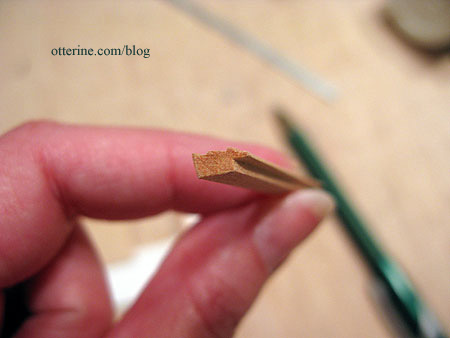
Using 3/16″ framing strip wood, I cut a frame to fit the rectangle to cover the wallpaper edge.
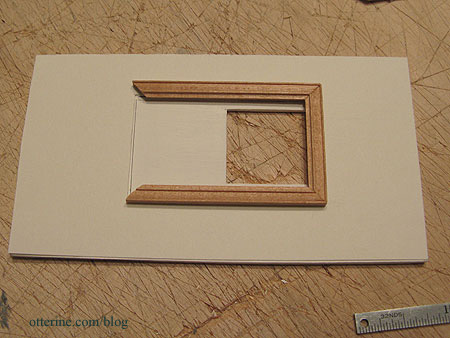
I used a gluing jig to keep my frame square.
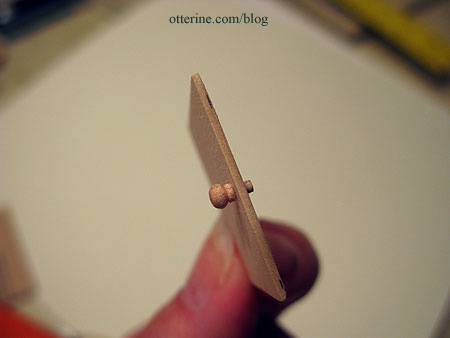
On the lead edge of the door, I drilled a hole to fit a small wood knob.
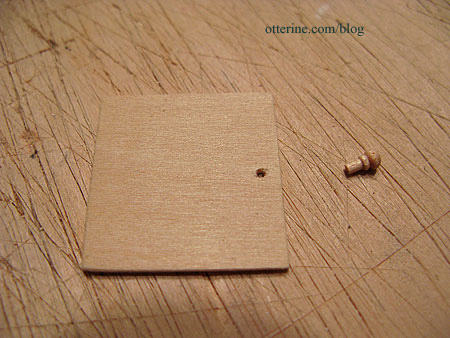
I left the excess on the back side of the door since this serves as a door stop.
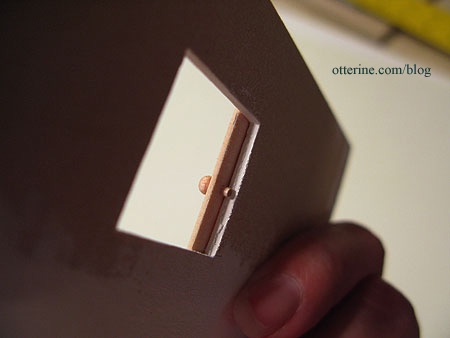
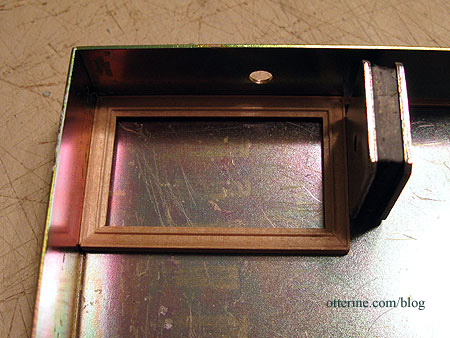
I checked the fit of the frame over the door to make sure it would slide easily.
I then painted the door and the outer frame. I kept the paint thin and out of the inner track of the frame completely so it wouldn’t interfere with the door functionality.
Where does this door lead?

You’ll need to wait until July 4th! :D
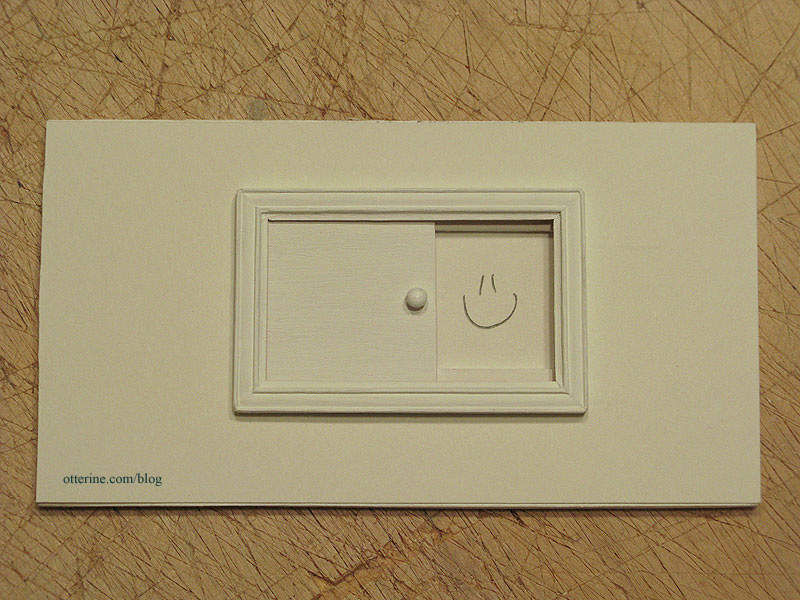
Update: The door is a means to feed the fish!
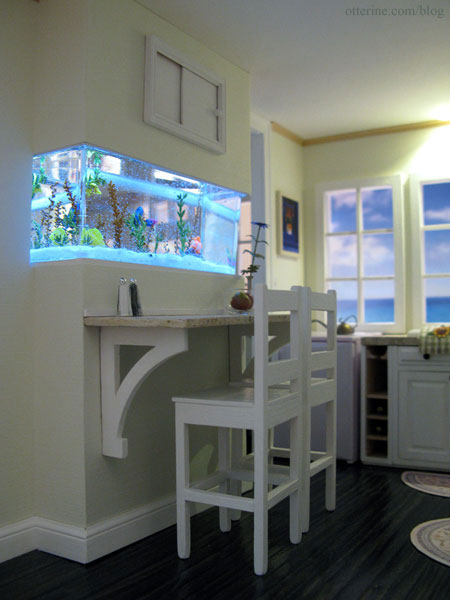
Would this be at all practical in real life? Nope. But, I wanted to put something in the kitchen that appeared to be an access point for the aquarium. In reality, this entire wall panel would likely be removable. :D
Categories: Baxter Pointe Villa
June 10, 2011 | 0 commentsBonnie Lavish Sunflowers
Bonnie Lavish kits are super easy, and today I made sunflowers. There’s a field on the way to work that has sunflowers planted about every other year, sometimes two years in a row. So pretty.
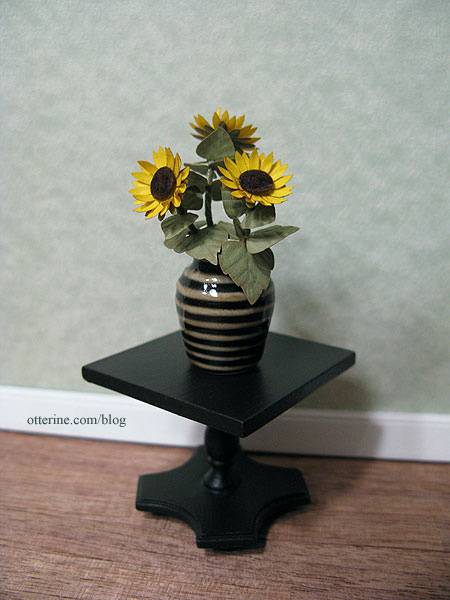
The vase is from Manor House Miniatures. It reminds me of a bee. :D The table is a Concord miniature I refinished. The kit instructions suggested adding flocking or sand to the centers, so I made some flocking using DMC 3371 and sharp scissors.
I purchased a set of stylus tools as well as Bonnie’s leaf veiners, which I think are the bee’s knees! These made life so much easier. Here are two leaf pairs…one before and one after using the veiner.

In addition to loving sunflowers, I love the German name for them, too! Sonnenblumen. :D
Categories: Flowers, plants, and trees
June 3, 2011 | 0 commentsOly Studio Ichibad Side Table in miniature
Here is the side table I built, inspired by the Oly Studio Ichibad Side Table (as of 2024, the link to the square top table no longer works, but they have this round version).

My version was made from a premade wood square that measured 1 1/4″ across and 1/8″ thick and wood spindles by Tiny Turnings. Mine is a bit larger than a direct 1:12 scale conversion, but that actually works better for the scene it’s intended for.

I first drew a 1/8″ grid on the square with pencil and then used an X-Acto knife to score along those lines.

I painted the edges and back of the square with black acrylic and then started washing on various paint colors watered down to keep the color transparent (Coffee Bean, Black Cherry and Sunflower by Folk Art; Terra Cotta by Americana; and Barn Red by Apple Barrel).
I had to go over the scored lines again after painting with the X-Acto knife. I then used two coats of Triple Thick Gloss Glaze by Americana on the top and one coat of Delta Ceramcoat Satin Varnish on the sides. My scored lines aren’t as obvious as in the inspiration table, but I still like the way it turned out. Too much surface texture on a mini table can also make it difficult to display things on it.
For the legs, I cut the Tiny Turnings into 2″ lengths with the connectors intact. For the separators, I cut 1 3/16″ lengths also with the connectors intact.

I sanded around the ends of the separators with an emery board to make a smaller dowel that would fit into a drilled hole in the leg.


I cut one of the separators in half, splitting the connector in half. I sanded around the outer ends of the separators but left the inner connector halves as is.

I am not really a fan of brass or gold finishes, so I painted the bottom portion with two coats of Iridescent Silver by Liquitex. It was a little shiny and new, so I applied a black paint wash over the finish and dabbed away the excess. It was just enough to add some depth to the color.
I then drilled holes in the bottom of the table for the tops of the legs.

I think it turned out pretty well! :] It’s a bit rickety from being top heavy, but that’s the nature of lightweight materials in miniature.
Categories: Furniture
June 2, 2011 | 0 comments


NOTE: All content on otterine.com is copyrighted and may not be reproduced in part or in whole. It takes a lot of time and effort to write and photograph for my blog. Please ask permission before reproducing any of my content. Please click for copyright notice and Pinterest use.


