

Adding area to a room
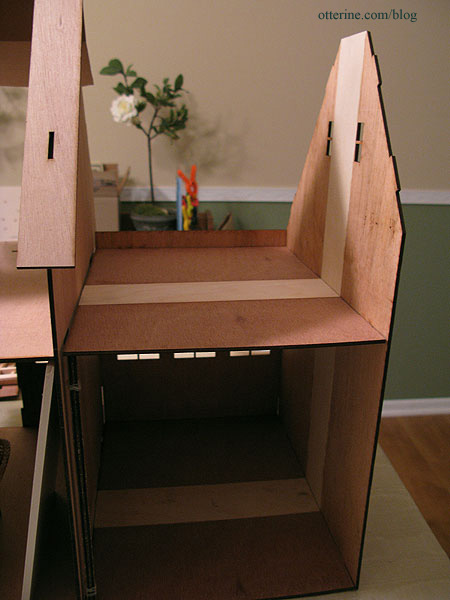
While putting the Spring Fling kit together, I wanted the side addition to be the same depth as the base kit to make one large, open room on the first floor and to allow for a narrow door between the rooms on the upper floor. The measurement of base kit’s first floor is 11 3/16″ front to back. The measurement of the addition’s first floor is 9 1/16″ front to back. This meant I needed to add 2 1/8″ to the outer side wall, the first floor and the second floor of the addition.
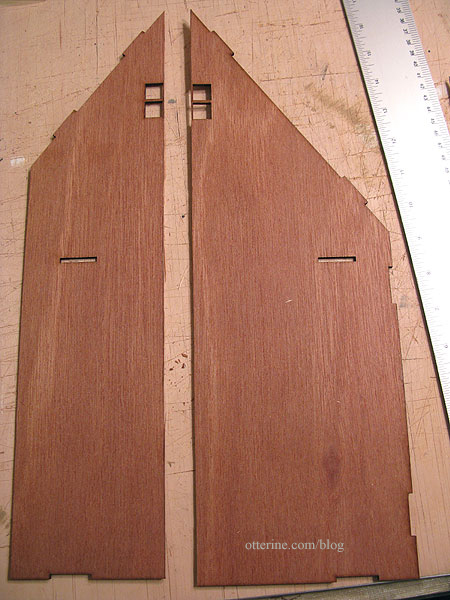
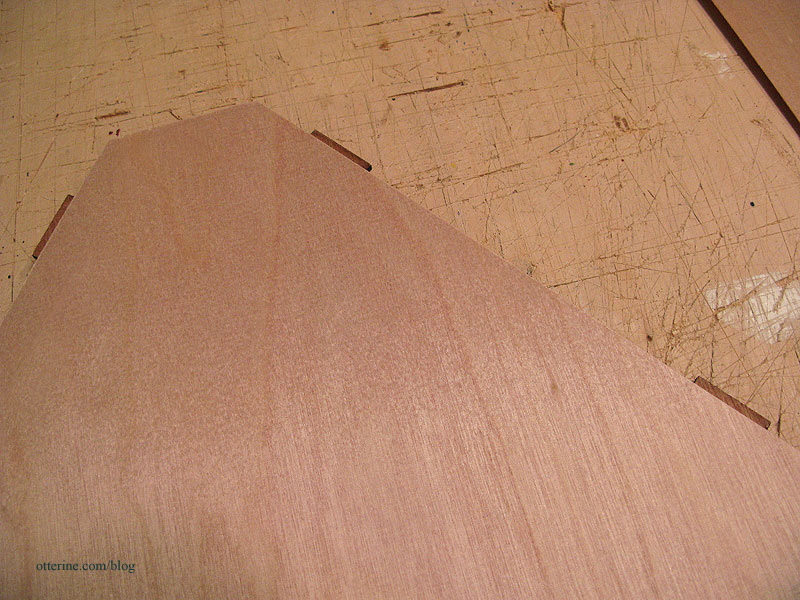
In order to still have the angled roof on the front and back edges, I split the outer side wall from the middle of the top peak to the bottom with a utility knife using a T-square as a guide.
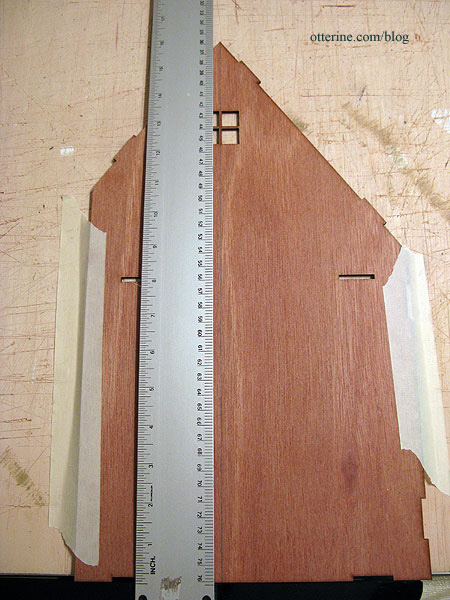
The cut pieces are a little scary, aren’t they? No turning back now. :]
To keep the tabs and slots in alignment, I repeated the process for the first and second floors. I first measured where I had cut the outer side wall against the floor.
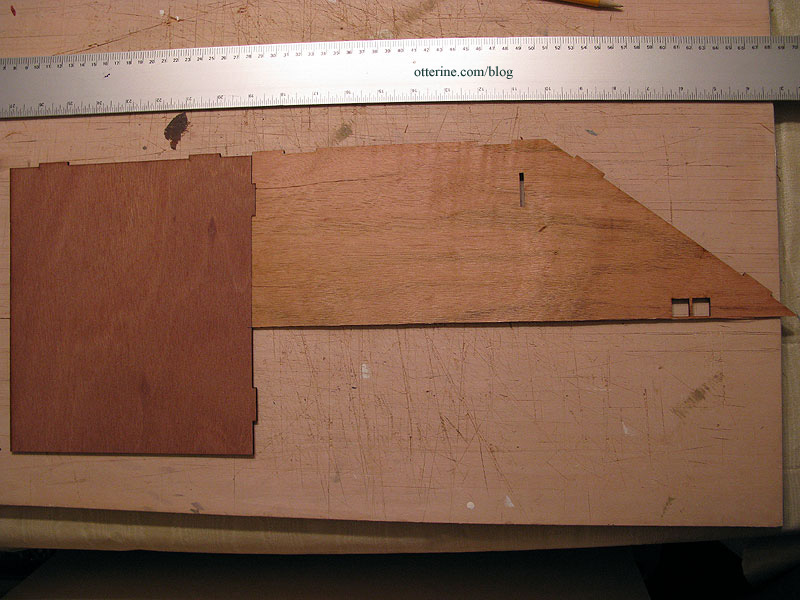
I used that mark as a guide to split the floor board side to side.
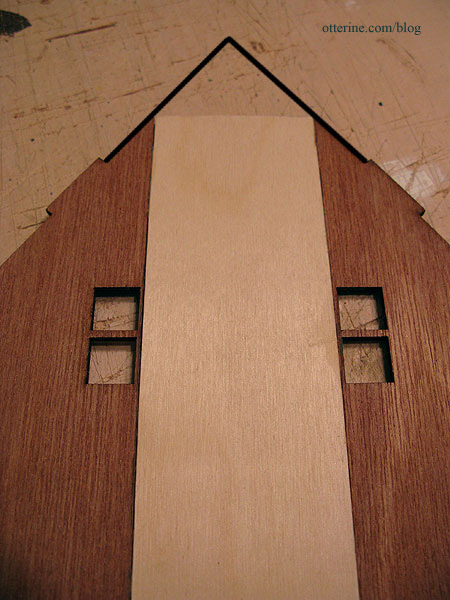
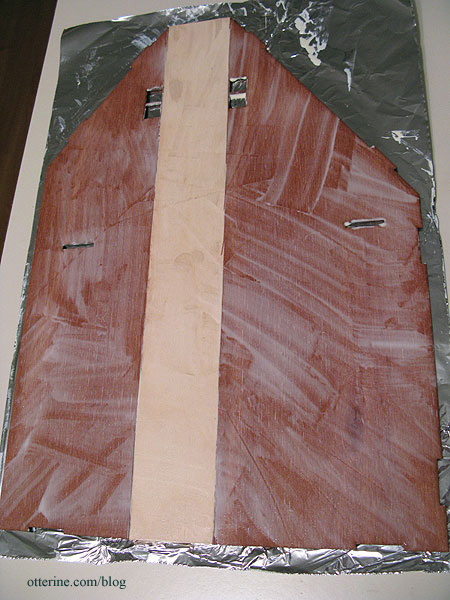
I then added a piece of plywood measuring 16″ (the height of the bottom to the peak at the cut) by 2 1/8″ between those two split pieces of the side wall. I used wood glue to join the three pieces together and weighed the whole thing down to make sure the joins were flat.

This addition created a small flat portion to the roof. If I had wanted to keep a peak roof, I could have cut a taller piece and cut the angle based on the two side pieces.
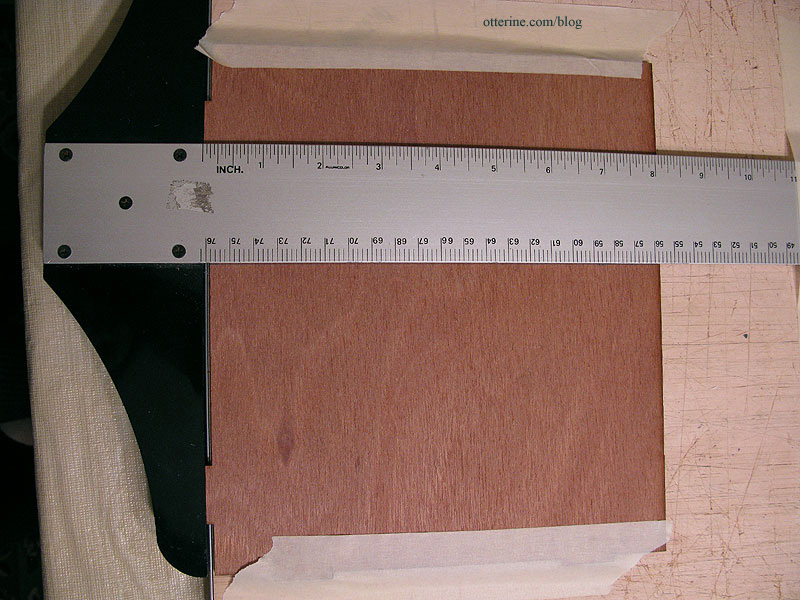
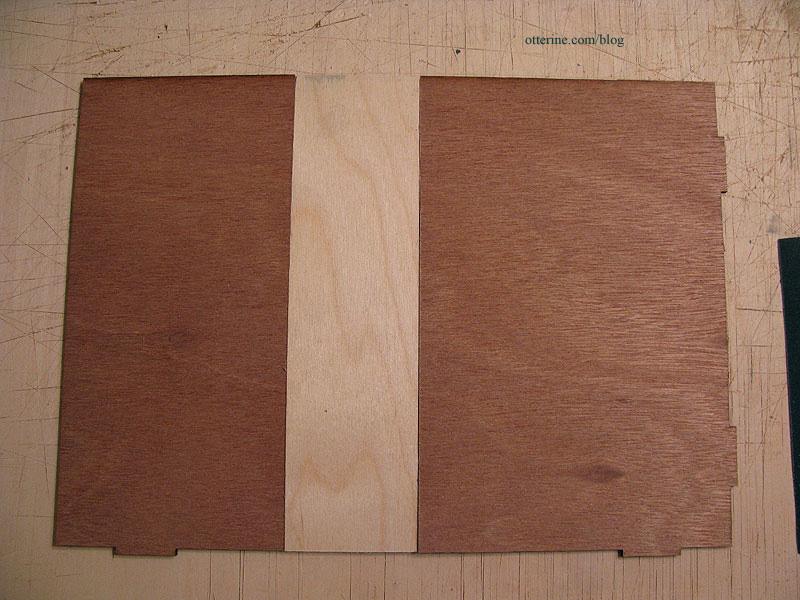
I glued a piece of plywood measuring 7 31/32″ (the width of the floor board at the cut) by 2 1/8″ between the two split pieces and repeated the process for the second floor.
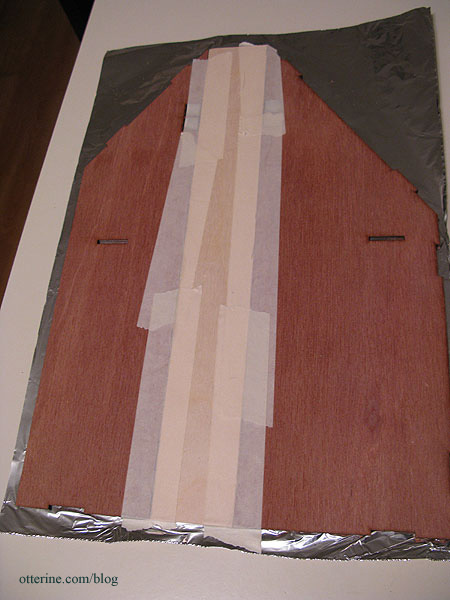
To strengthen the outer side wall, I traced the outline onto a sheet of wood veneer 1/64″ thick.
I cut out the thin veneer, clipping off the tabs from the veneer sheet.
I spread wood glue on the pieced side wall and attached the veneer. I flipped the assembly over and cleared out any glue that had spilled into the slots and window openings before weighing it down to dry flat.
I repeated the veneer process for the second floor, on the underside, to have a smooth surface for the first floor ceiling. I didn’t add a veneer to the first floor since it would be glued to my added foundation and would have some type of floor covering on it.
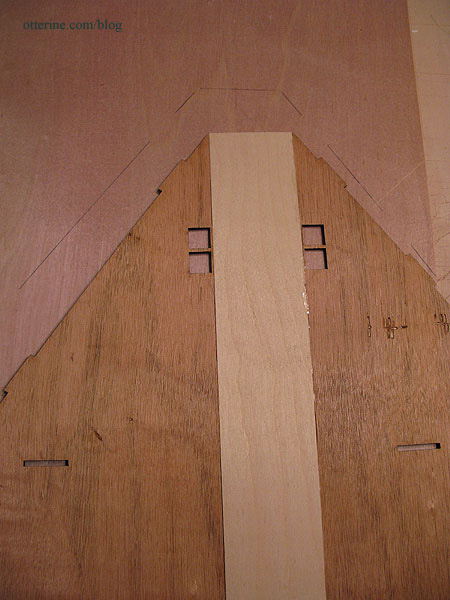
And, here are the three pieces fitted together afterward. Looks a bit like a racing stripe. :D
Categories: Baxter Pointe Villa
June 23, 2011 | 0 commentsSailboat and starfish planter
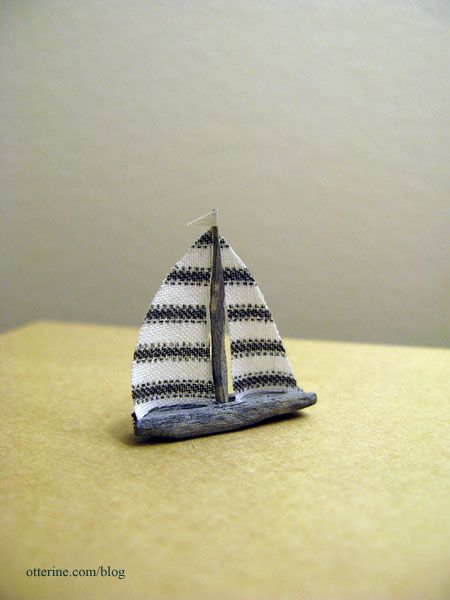
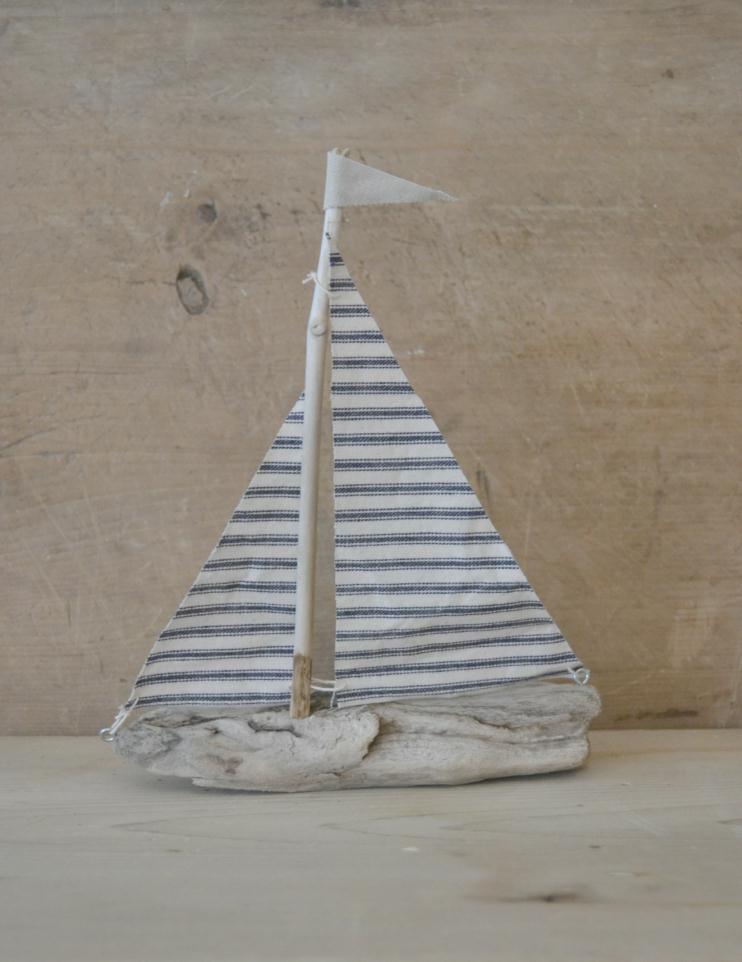
The inspiration pieces for these two tiny accessories I’ve just made were found from links on Completely Coastal. If you love anything beachy, that is the place to go!
The first is a 1:12 scale replica of a driftwood sailboat made from scraps from my wood bin. The fabric is a ticking stripe pattern that I had attempted to recreate by printing on fabric, but my scale was too large for what I envisioned so I didn’t end up using it. But, for this project, I thought it fit wonderfully.
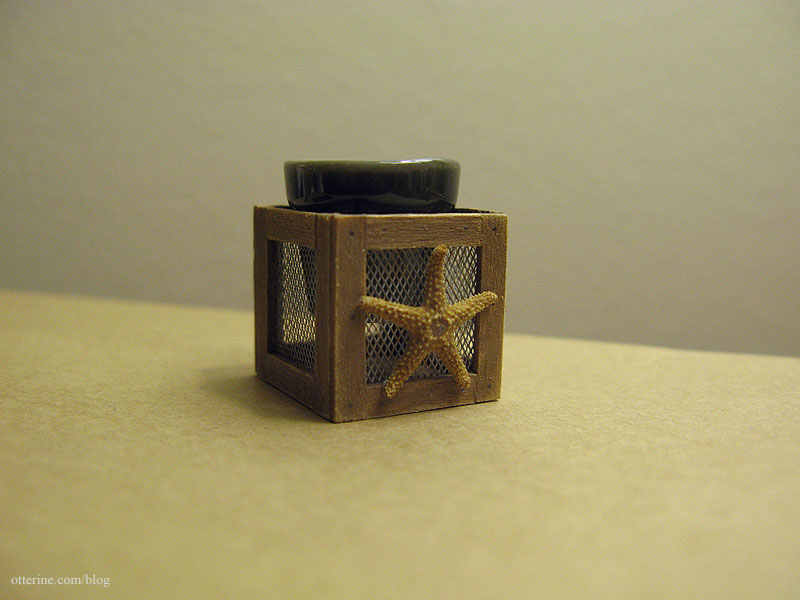
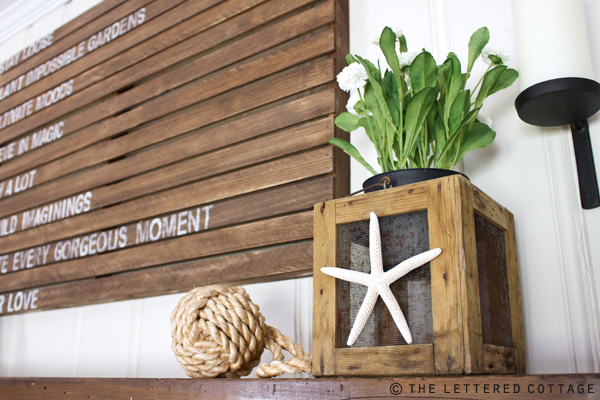
I first saw this on The Lettered Cottage, and the real life size one is from White Flower Farmhouse.
the original inspiration The other item was inspired by a starfish planter I also saw on The Lettered Cottage (see more on the original here) made from a vintage cricket cage. I made mine out of 1/32″ thick bass wood, wire mesh and a ceramic planter from Manor House Minis. My cage measures 3/4″ square. That’s an actual tiny starfish from Marco Island Shells. I chose to leave the starfish unpainted to preserve its natural beauty.
I love the creativity of the original.
the original inspiration Categories: Baxter Pointe Villa, Miniatures
June 20, 2011 | 0 commentsCustom built wine rack
I am so brimming with excitement over how this turned out that I just needed to share. :D This wine rack is attached to a Houseworks cabinet, so I built a box from 1/8″ thick bass wood to mimic the structure of that cabinet. I painted just the lead edges of the inside as well as the entire exposed side of this addition.
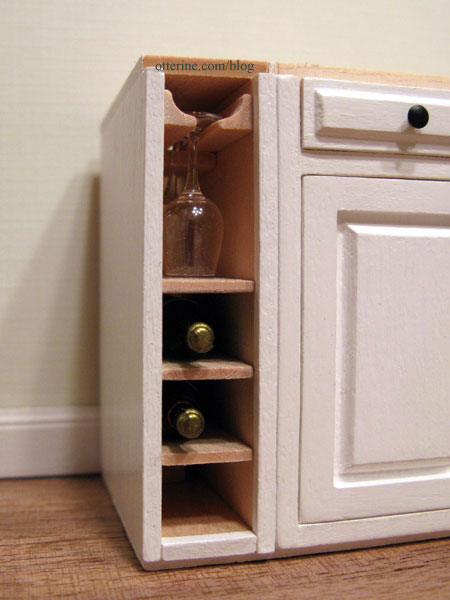
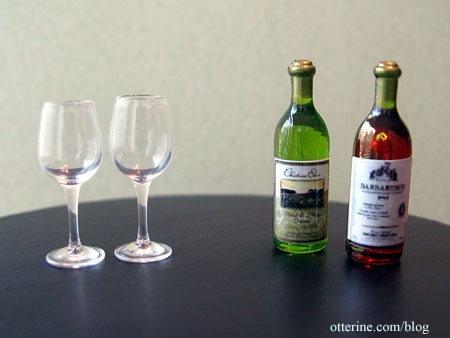
Inside, I have a place to hang wine glasses and to store three bottles of wine. I bought these items at the Bishop show even though they were a little large for scale. I think they work wonderfully here since they aren’t sitting next to anything else that would give away that fact.
I made the glass holder from mini cove molding…it was actually a sample from a dollhouse wood supplier. There was exactly the amount I needed for this project. Score!
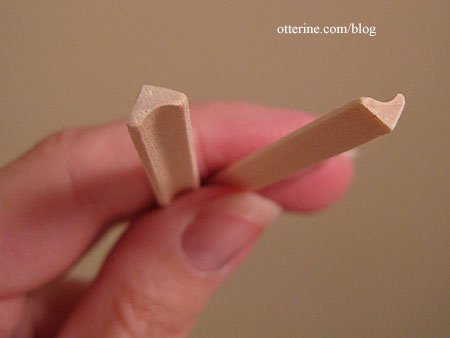
To keep the glasses from sliding too far back, I glued in a block right behind where the second sits. I left the holder and the shelves in natural wood.
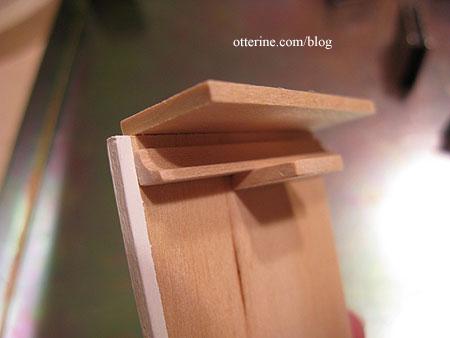
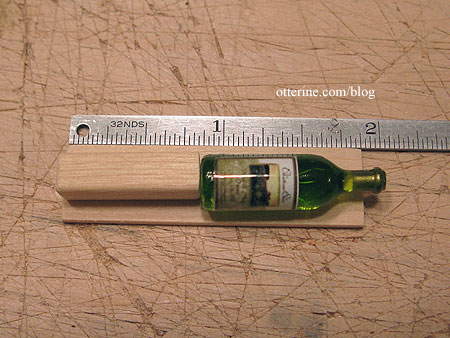
Each shelf is made from 1/16″ thick bass wood. Just as with the glass holder, I put in a stopper to keep the bottles from sliding back too far.
To keep the shelves in straight while the glue dried, I used a 3/8″ post as a spacer.
Now, who wants a glass of wine? :D
Categories: Baxter Pointe Villa, Furniture
June 12, 2011 | 0 commentsDoor to _____?
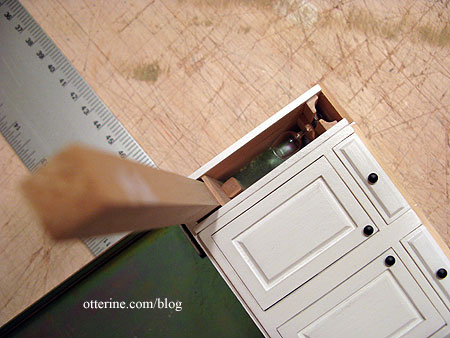
So, say you need access behind a wall, what do you do? You build a door to get there. :D
I started with a piece of 1/32″ thick bass wood cut to the size of the door I needed (my wall in this example is 1/16″ bass wood). Around this, I drew a rectangle in the area where I wanted the opening.
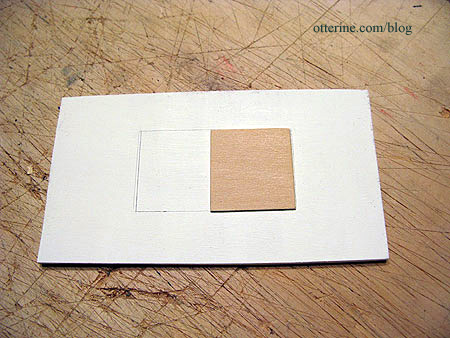
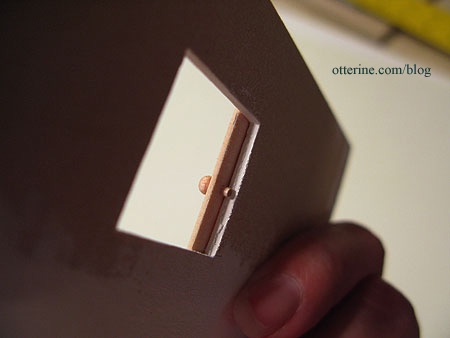
On one side of the rectangle, I cut an opening smaller than my door.
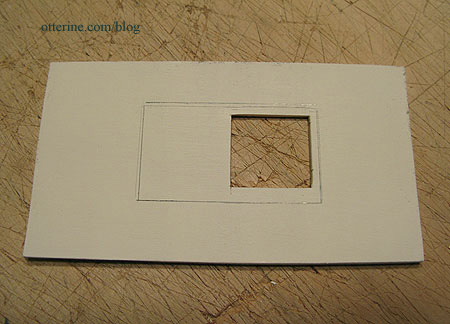
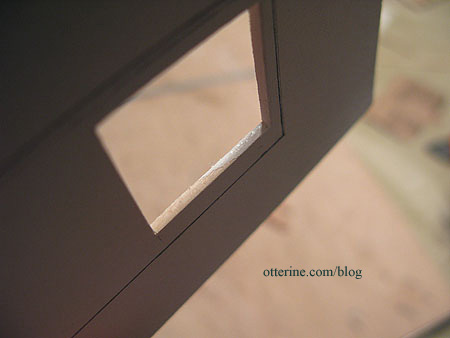
I painted the inner edge of the cutout.
Since I plan to wallpaper this wall, I needed to cut a template for the rectangle I drew earlier.

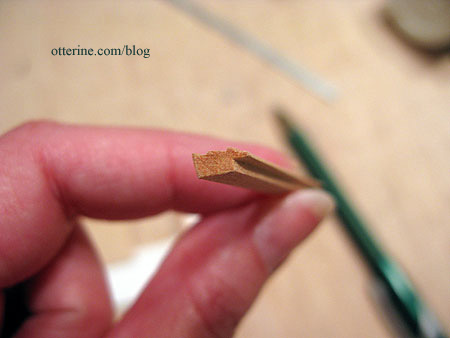
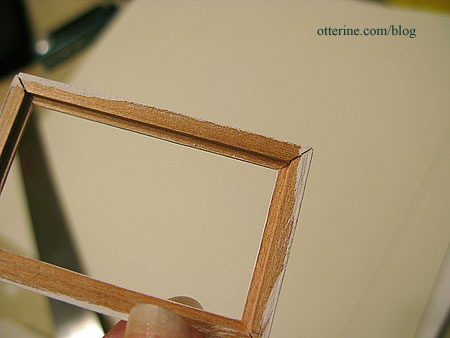
Using 3/16″ framing strip wood, I cut a frame to fit the rectangle to cover the wallpaper edge.
I used a gluing jig to keep my frame square.
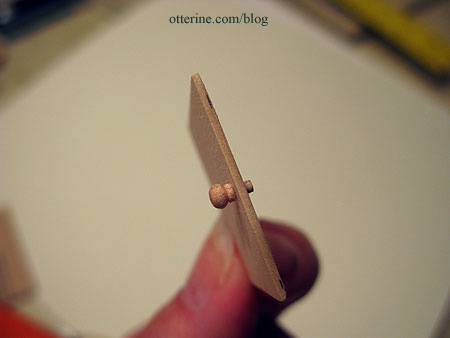
On the lead edge of the door, I drilled a hole to fit a small wood knob.
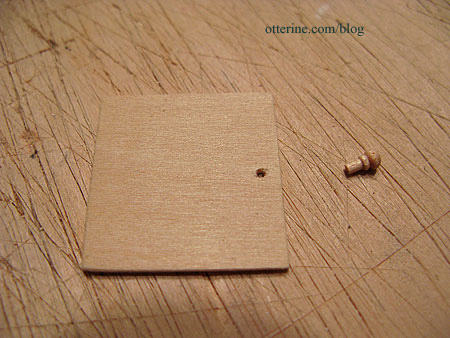
I left the excess on the back side of the door since this serves as a door stop.
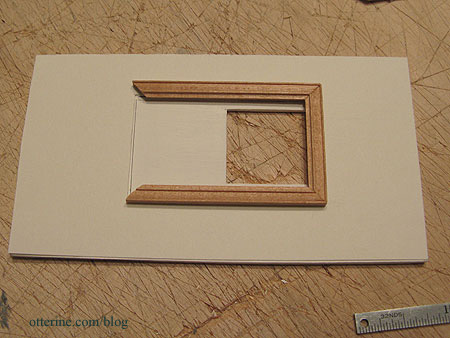
I checked the fit of the frame over the door to make sure it would slide easily.
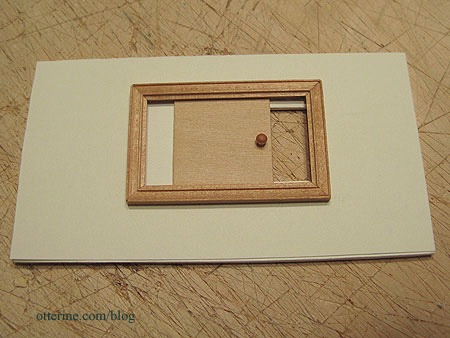
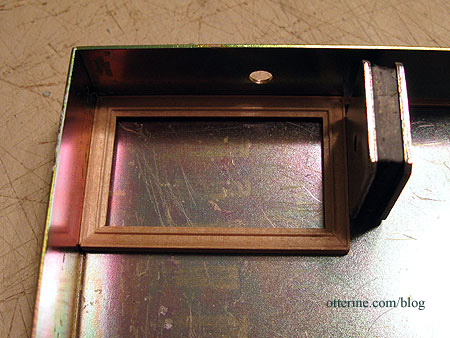
I then painted the door and the outer frame. I kept the paint thin and out of the inner track of the frame completely so it wouldn’t interfere with the door functionality.
Where does this door lead?

You’ll need to wait until July 4th! :D
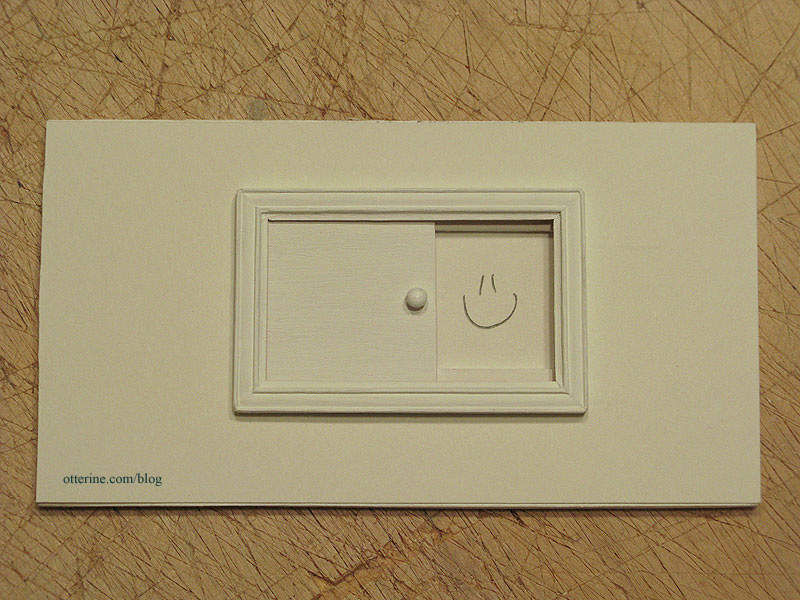
Update: The door is a means to feed the fish!
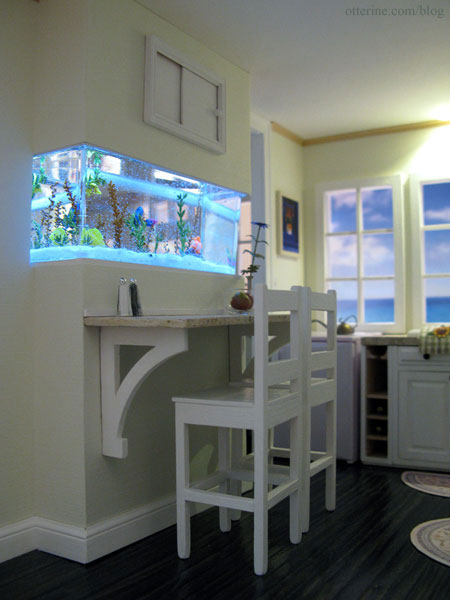
Would this be at all practical in real life? Nope. But, I wanted to put something in the kitchen that appeared to be an access point for the aquarium. In reality, this entire wall panel would likely be removable. :D
Categories: Baxter Pointe Villa
June 10, 2011 | 0 commentsBonnie Lavish Sunflowers
Bonnie Lavish kits are super easy, and today I made sunflowers. There’s a field on the way to work that has sunflowers planted about every other year, sometimes two years in a row. So pretty.
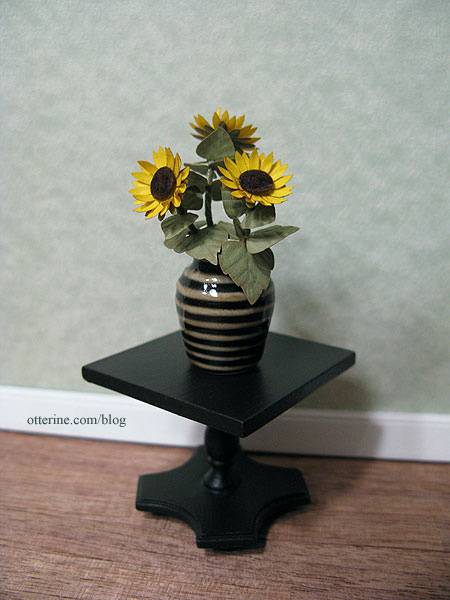
The vase is from Manor House Miniatures. It reminds me of a bee. :D The table is a Concord miniature I refinished. The kit instructions suggested adding flocking or sand to the centers, so I made some flocking using DMC 3371 and sharp scissors.
I purchased a set of stylus tools as well as Bonnie’s leaf veiners, which I think are the bee’s knees! These made life so much easier. Here are two leaf pairs…one before and one after using the veiner.

In addition to loving sunflowers, I love the German name for them, too! Sonnenblumen. :D
Categories: Flowers, plants, and trees
June 3, 2011 | 0 comments


NOTE: All content on otterine.com is copyrighted and may not be reproduced in part or in whole. It takes a lot of time and effort to write and photograph for my blog. Please ask permission before reproducing any of my content. Please click for copyright notice and Pinterest use.


