

Miniature Treasures: Catacombs Clock Case
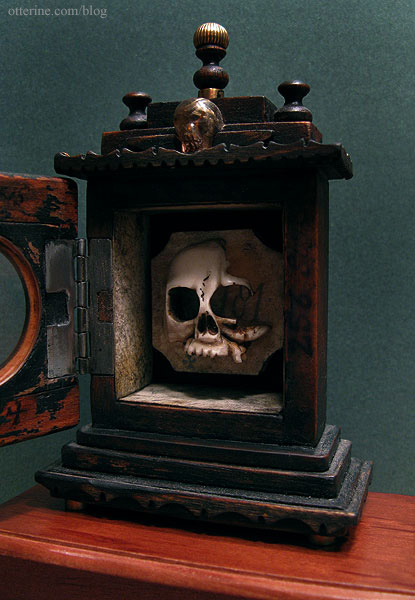
I recently found my way to a blog on some of the most amazing miniatures I’ve ever seen. The artist uses old, sometimes ancient, pieces and creates wonderful works with such character. One of these works I instantly loved…his dark but beautiful debut miniature that he based on an old clock case and the French catacombs.
When Tony later posted on his blog that all of his works were for sale, I don’t think I could have sent that email to him any faster! :D He replied promptly, and after some email exchanges, all was set and that beautiful piece was on its way to me.
It soon arrived safe and sound. It’s just so gorgeous, so well made. I tell you – it even smells awesome!!!! :D It smells of wood and parchment and leather. The scent reminds me of ‘new car smell’ most of all.
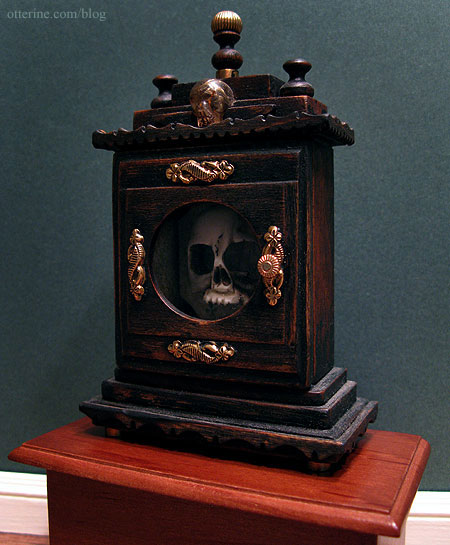
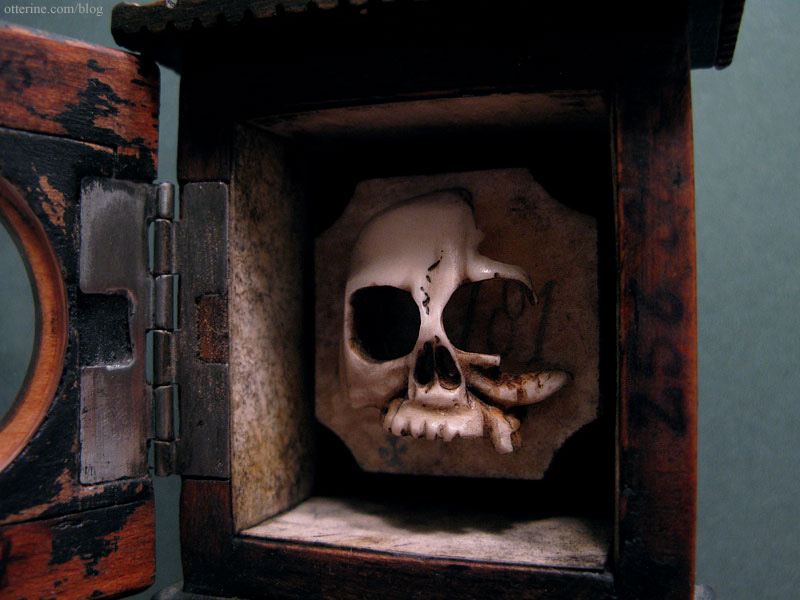
Tony used a skull carved from genuine bone, genuine 18th century vellum, optical glass from a pair of broken Victorian spectacles, a hand carved rutile quartz skull, and items from broken watches and clocks.
Thank you, thank you, thank you, Tony, for this beautiful work of art. I will indeed treasure it!

(As of 2024, his blog is no more, but you can find the artist here.)
Categories: Miniatures, The Haunted Heritage
September 6, 2011 | 0 commentsCellar windows and lighting
After painting the cellar windows black on the exterior and interior, I applied some paint washes in Bittersweet Chocolate and Terra Cotta, both by Americana. This gives the windows the look of rusted wrought iron.
I added the windows previously spray painted lightly with flat black to give the appearance of years of accumulated dirt, holding them in place by gluing a spare wood piece behind the semicircle of the outer trim (so they won’t show from the outside). Once the foundation is attached to the base, I don’t want those windows budging one bit!
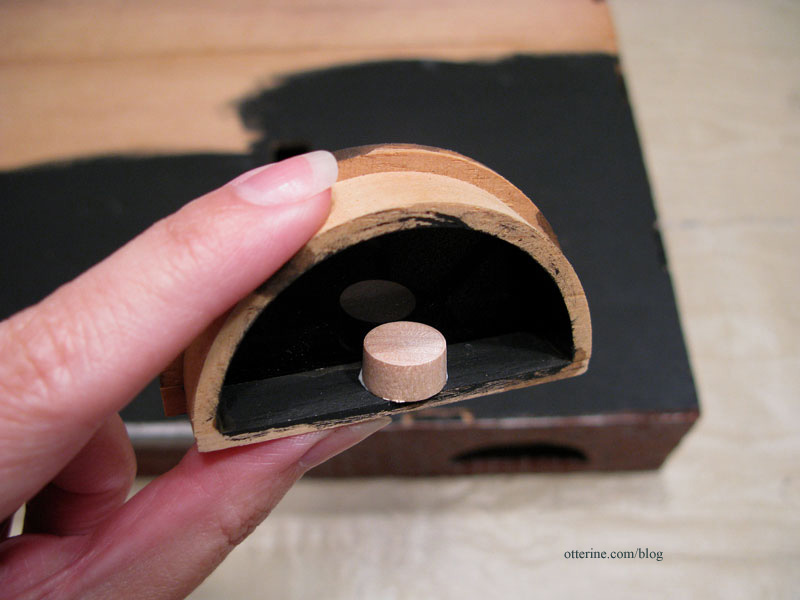
I then glued the windows inside the foundation.

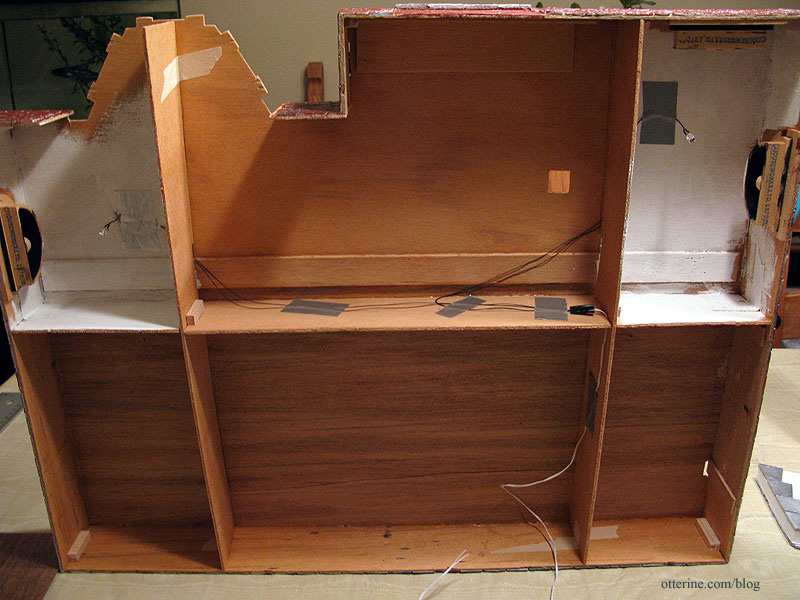
I used warm white 5mm LEDs from Evan Designs for the lighting. I like them since they have the look of a bare lightbulb. To give the LEDs the proper placement behind the windows, I bent the ends approximately 1.5″ from the tip of the bulb and secured them in place with duct tape to the foundation ceiling.
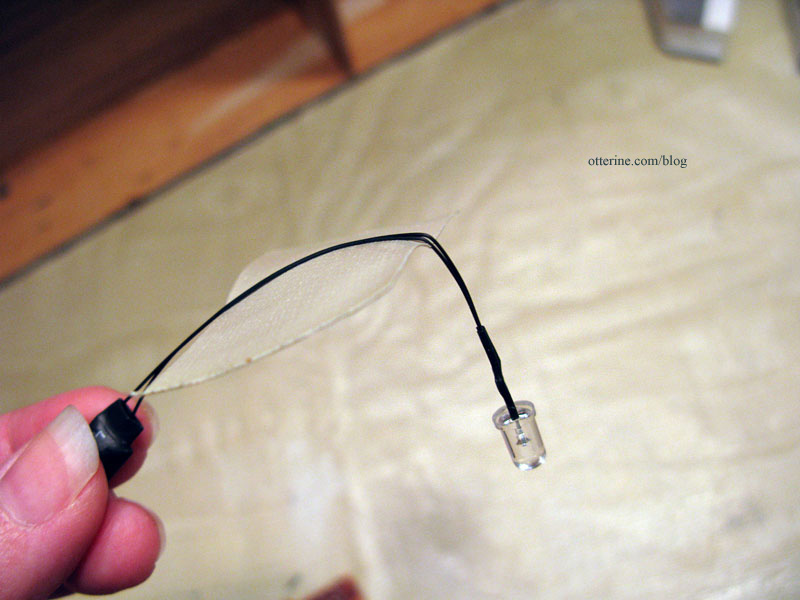
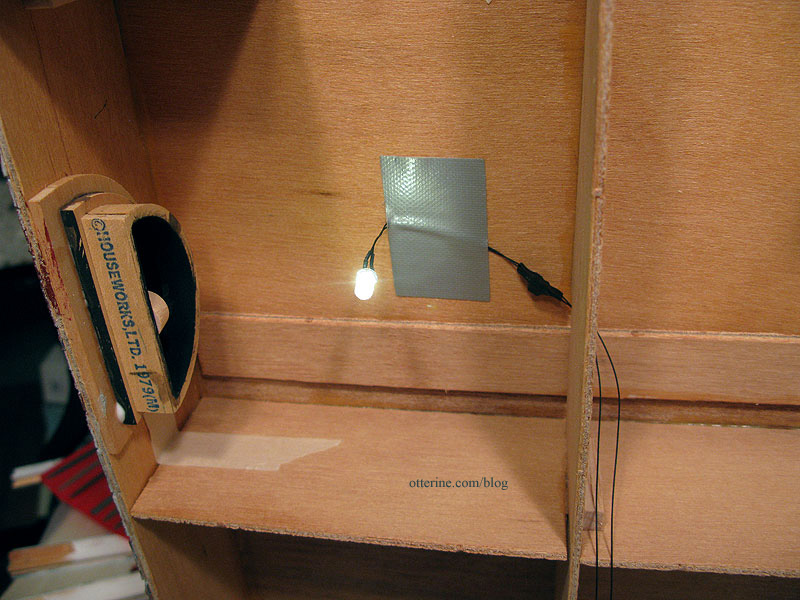
I found that an off-center placement worked best since the spindles on the window were blocking the light otherwise.
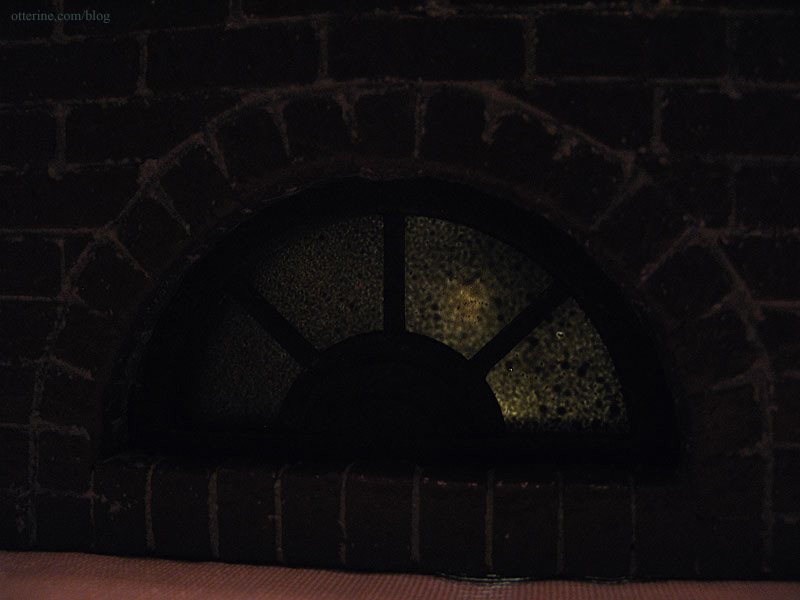
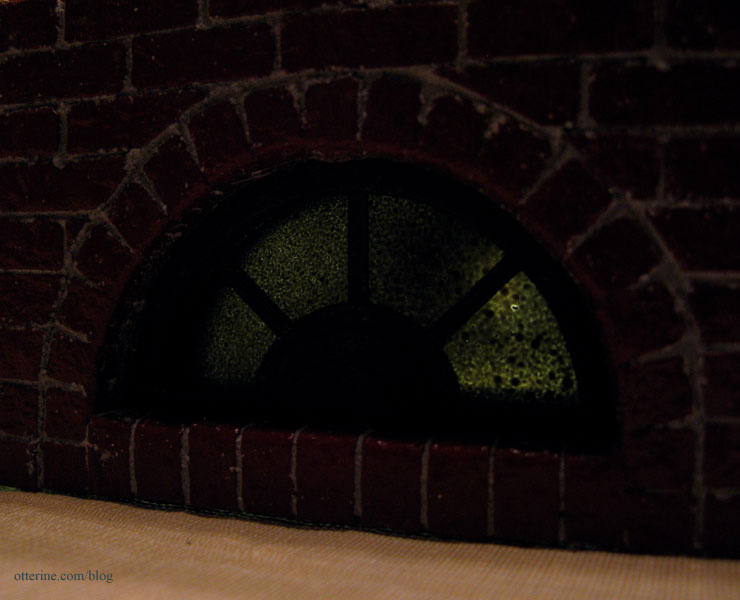
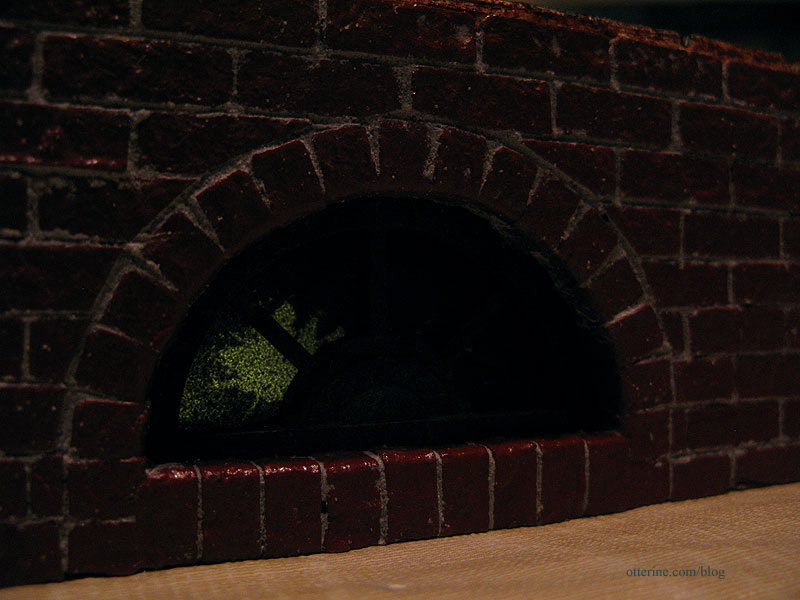
The light is not terribly bright with the thin layer of black paint on the windows, so I painted the “room” behind the window white.
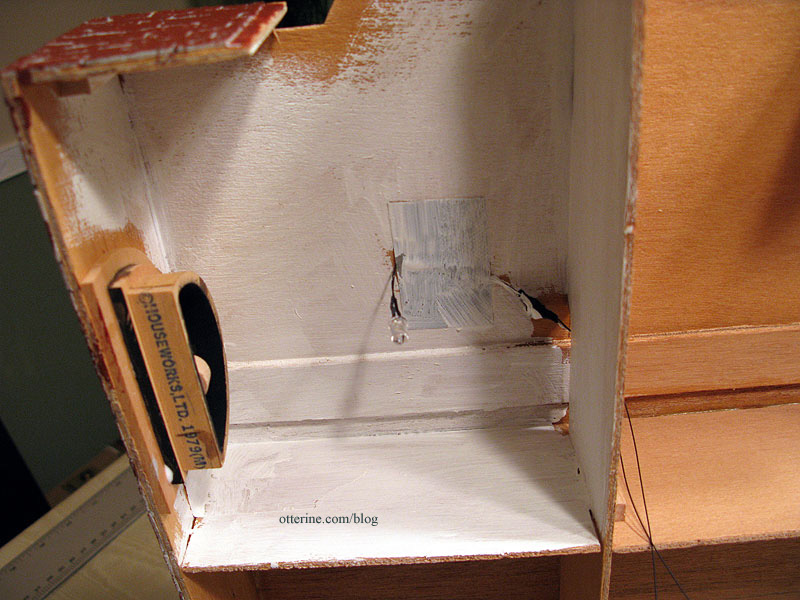
It reflected back just enough light to enhance the eerie green glow that works so well.
For the corner with two adjacent windows, I used one LED.

For one of the windows, I sprayed one side first with flat black paint and scraped away some of the paint after it dried. I then sprayed the other side to act as the outside. Now it looks as though someone has tried to see out from the cellar. :O
Since there is so much room in the foundation, I left all of the wiring here instead of running channels on the opposite side as I usually do. I ran the two sets of wires through existing openings under the foundation and spliced them together to work as one. These will have one plug that will operate both lights.
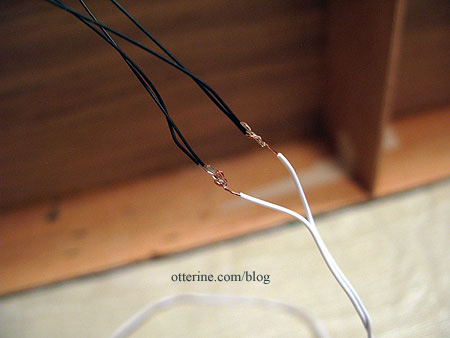
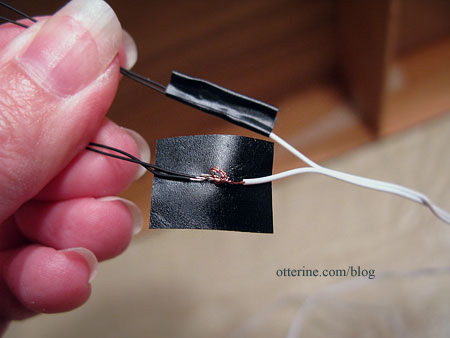
I taped all the wiring in place with duct tape to make sure it stays in place.
Categories: The Haunted Heritage
September 5, 2011 | 0 commentsHaunted Heritage red brick foundation
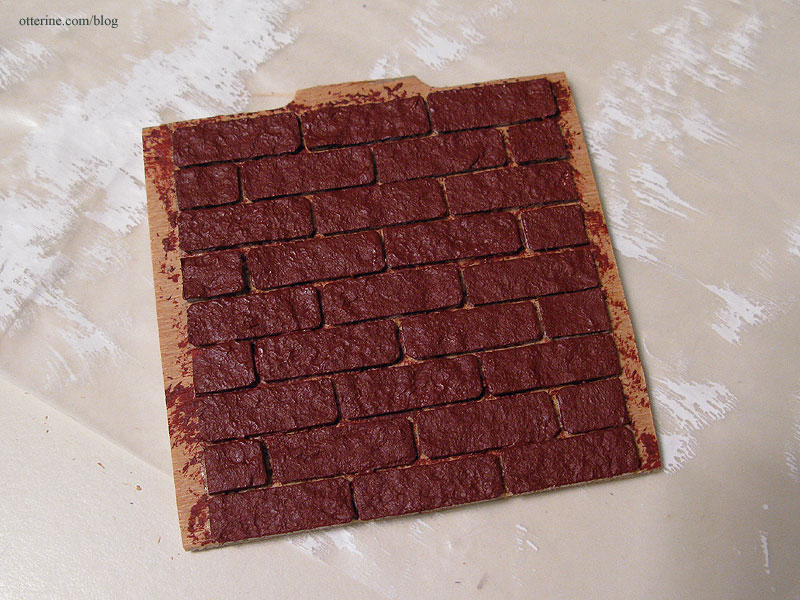
The bricks for my Heritage foundation are 1/4″ x 3/4″ except for the corner bricks, which measure 1″ in length. I also did a special treatment around the arch windows of the cellar, which I detailed earlier.
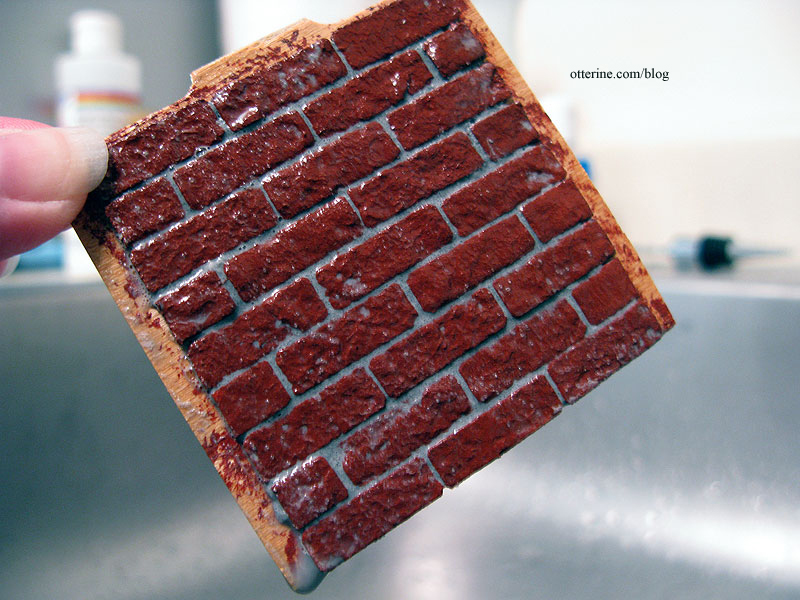
Once all of the bricks were in place, I dabbed on Liquitex Burnt Sienna. This is a thicker artist color acrylic, but it is a wonderful brick red color and has a great texture when stippled on with a stencil brush (two coats).
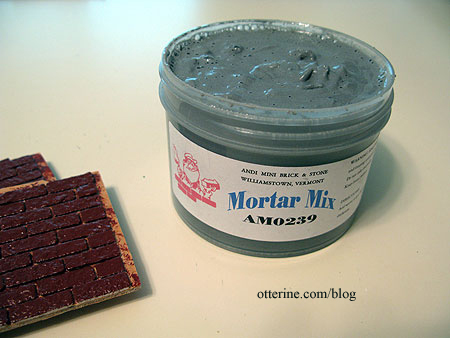
I let it dry overnight before grouting. I usually use Andi Mini Brick and Stone Mortar Mix for the grout since it has a good consistency and gives great results. If it gets thick, you can also soften with water.
First, I spread on a little bit at a time with my fingers, pushing into the gaps between the bricks. I use my middle finger so I can apply with lesser pressure than I would with my index finger. The grout is abrasive and can mar the surface. Please forgive the blurry photos; I was trying to photograph with my left hand while working. :D
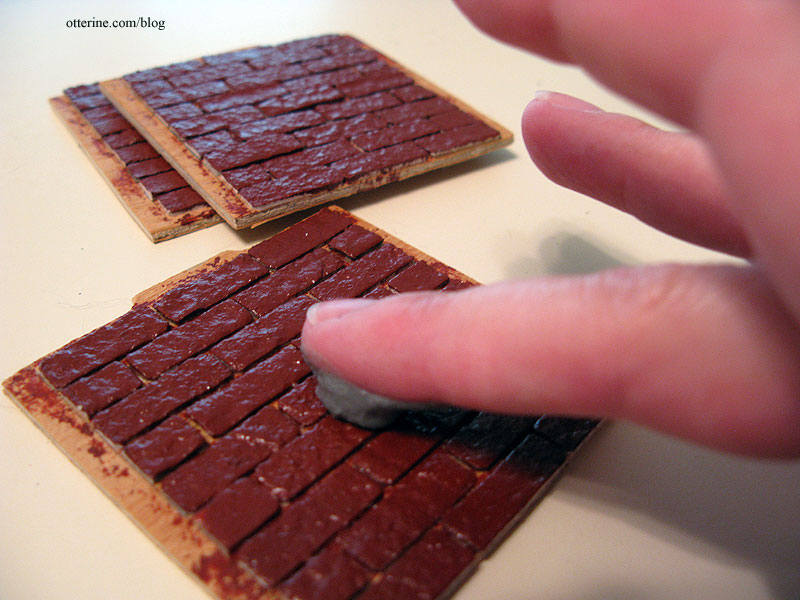
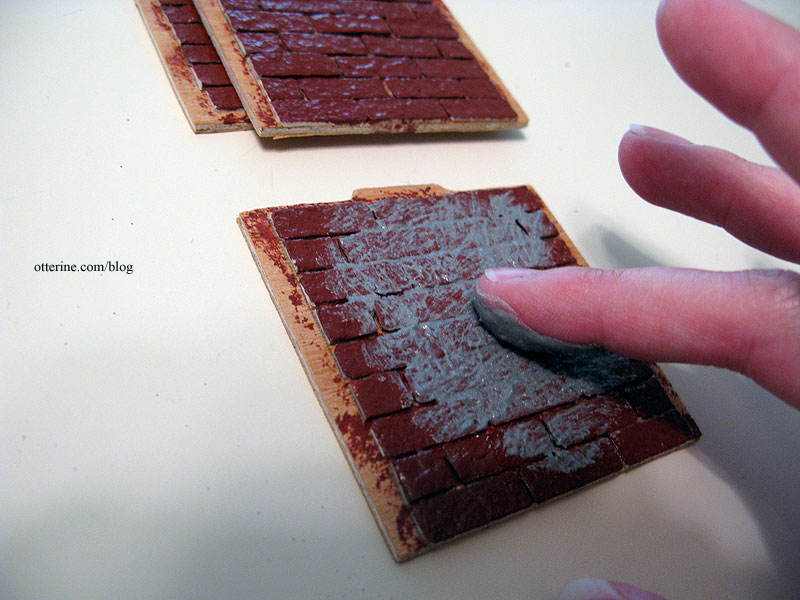
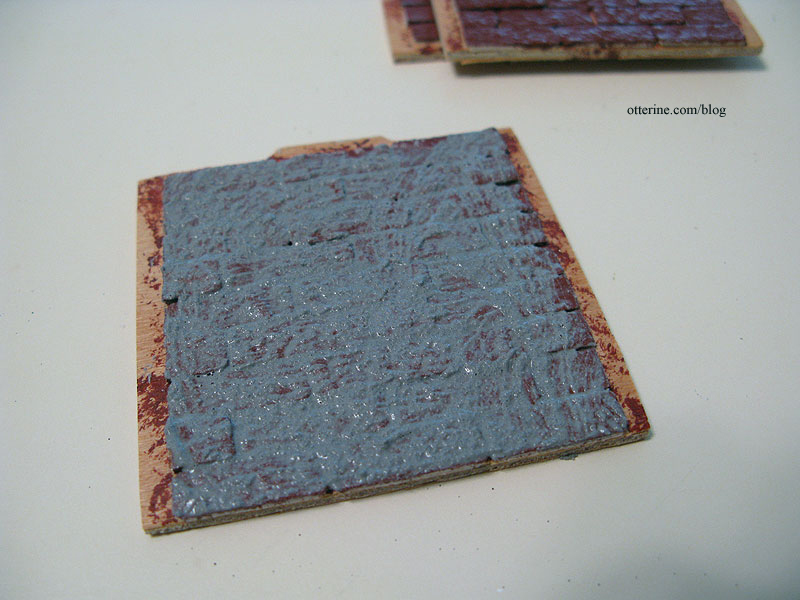
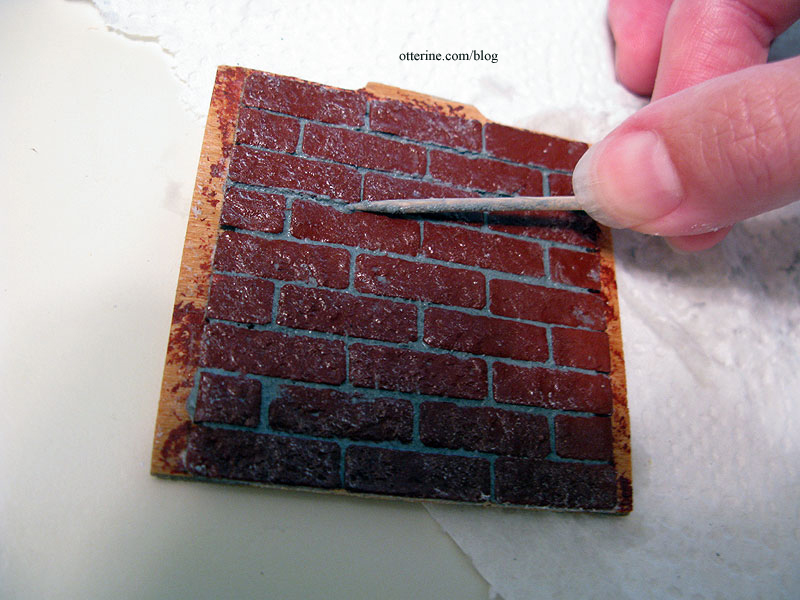
I try to keep the amount to just enough to fill the gaps without being too heavy on the surface. The more excess, the more you have to remove.
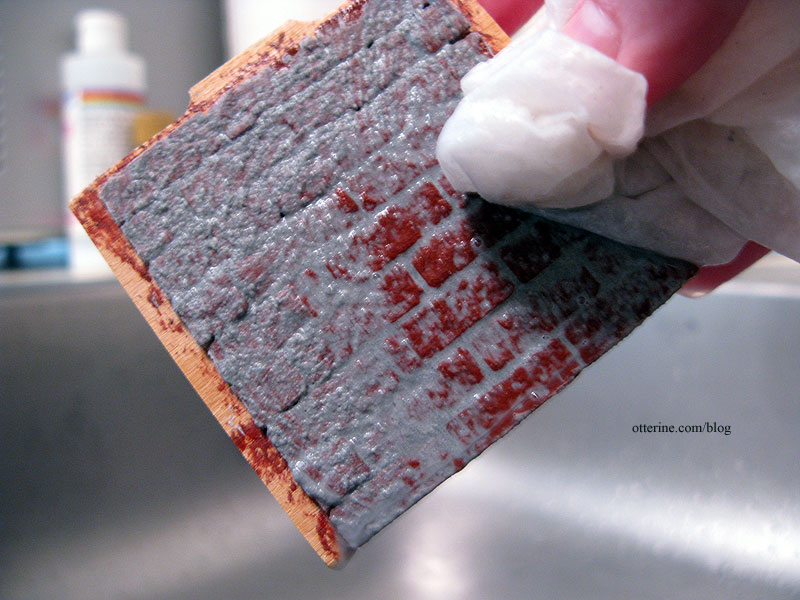
I do a section at a time and then take a wet towel and wipe away the excess. I do use a fair amount of water, which can lift some of the bricks and warp wood if I’m not careful. The key is to let the water do the work and not scrub the excess grout off. Doing so will lift not only the paint but in some places the entire paper surface of the egg carton bricks. This can be fixed, but why mess it up to begin with if you can avoid it? :D
I leave some in the indentations of the bricks since I find it looks more realistic in the end.
I then pat the bricks and surrounding wood dry.

The next step is to pull a toothpick across the grout and then down each separation for a more realistic finish. Since I want to end up with a more weathered look, I did gouge out a few areas and wasn’t especially careful when tracing the lines.
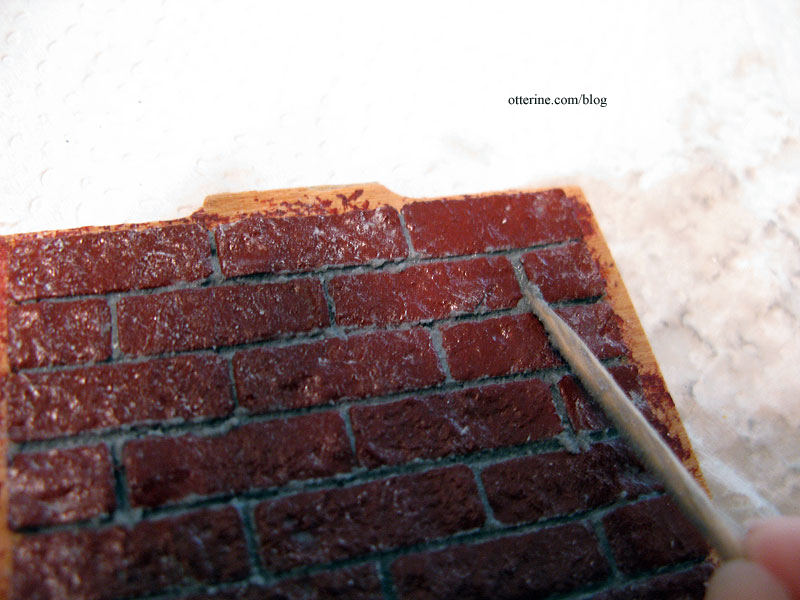
I sprayed on a light coat of matte sealer to finish and then let the whole thing dry. As it dries, the grout lightens a bit and any excess loose sand and dust can be brushed away. After drying completely, some bricks may need to be glued back down where they have lifted from the surface.
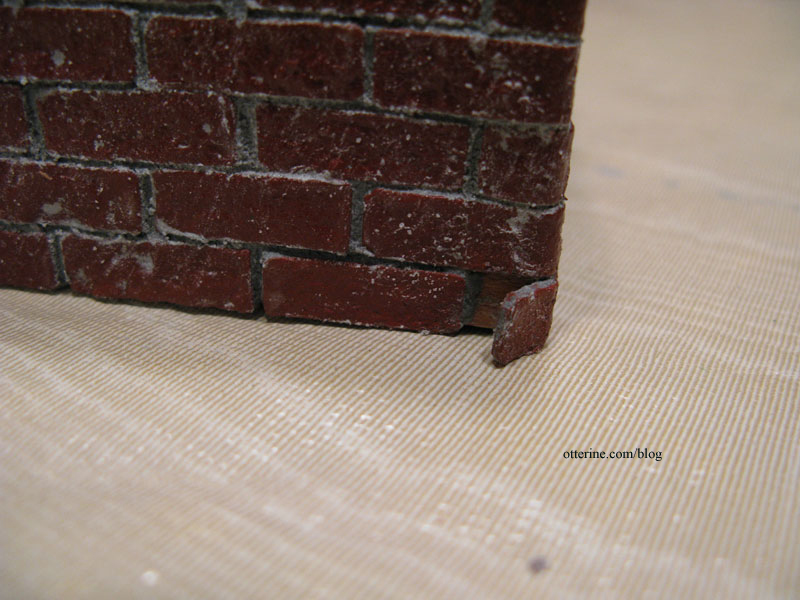
This is pretty shiny and new for my purposes, so I will age it more with paint and moss later on.
Update: see this post for the aging and moss application.
Categories: The Haunted Heritage
September 5, 2011 | 0 commentsHaunted Heritage chimney, part 3
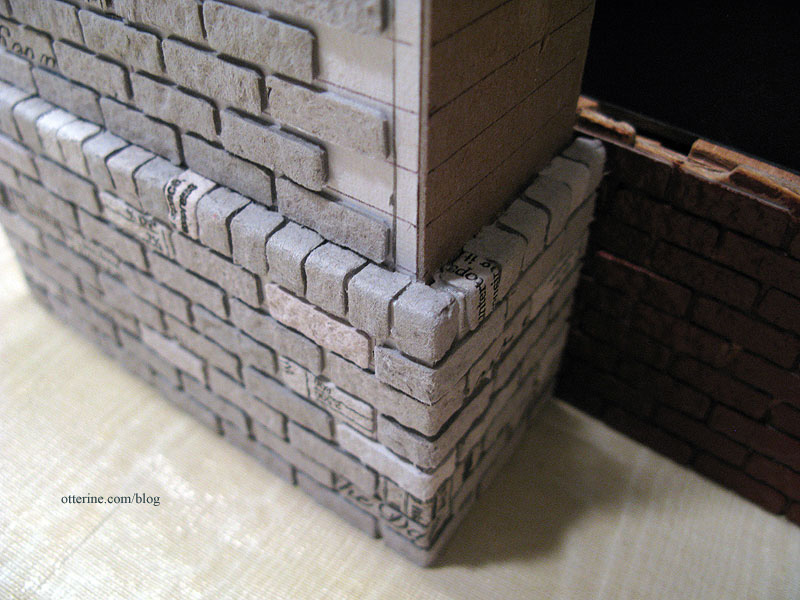
Continuing work on the chimney. As I was applying the bricks up to where the bricks start to build out from the main surface, I discovered that my vertical row was too short for the opening between horizontal bricks. I removed them, cut a wider opening and applied a new vertical row.
Once near the top, I cut the uppermost portion at an angle. This will be built up once I get the middle section of the chimney completed. To create the topper on the lower section, I added a 3/4″ wide strip of cardboard to the front and sides above the topmost row of bricks and then applied bricks to the bottom of the cardboard.
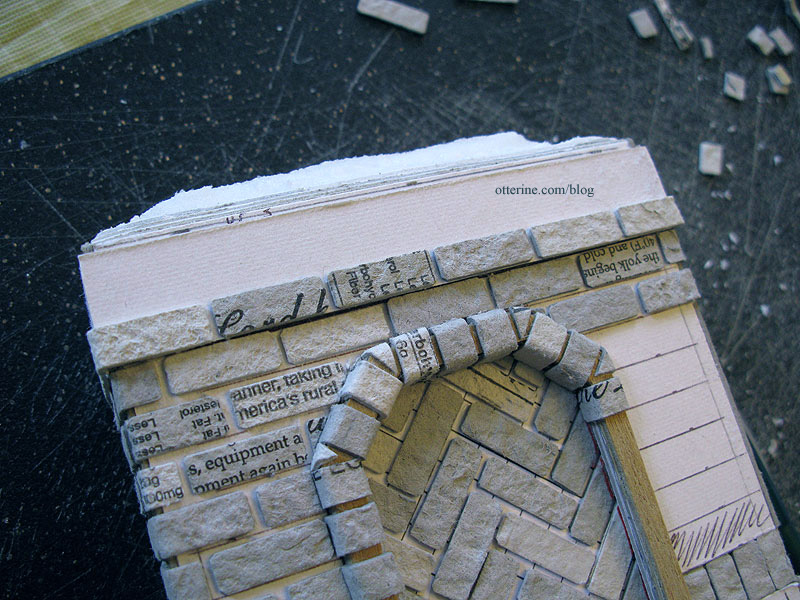
For the next row, I added a 1/2″ wide strip of cardboard to the front and sides above the last row of bricks.
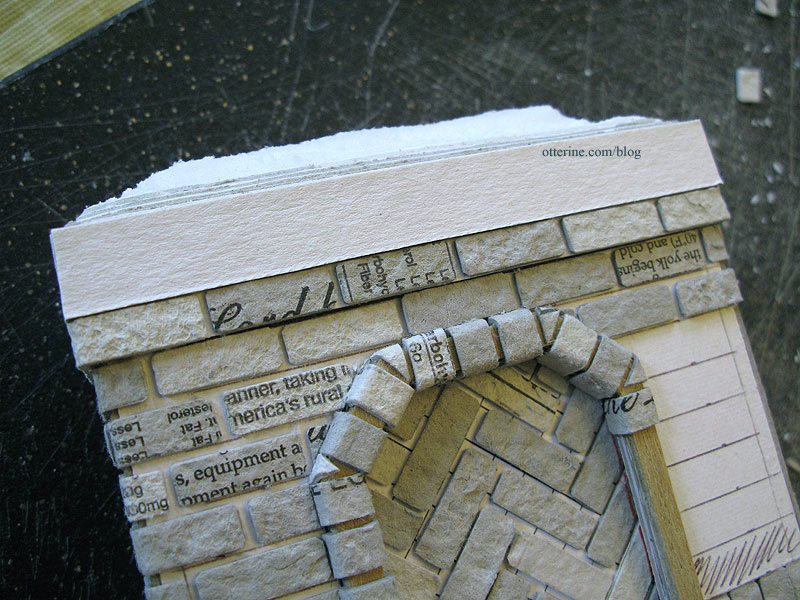
I then added bricks to the bottom of this piece. For the final row, I added a 1/4″ strip of cardboard to the front above that last row of bricks.
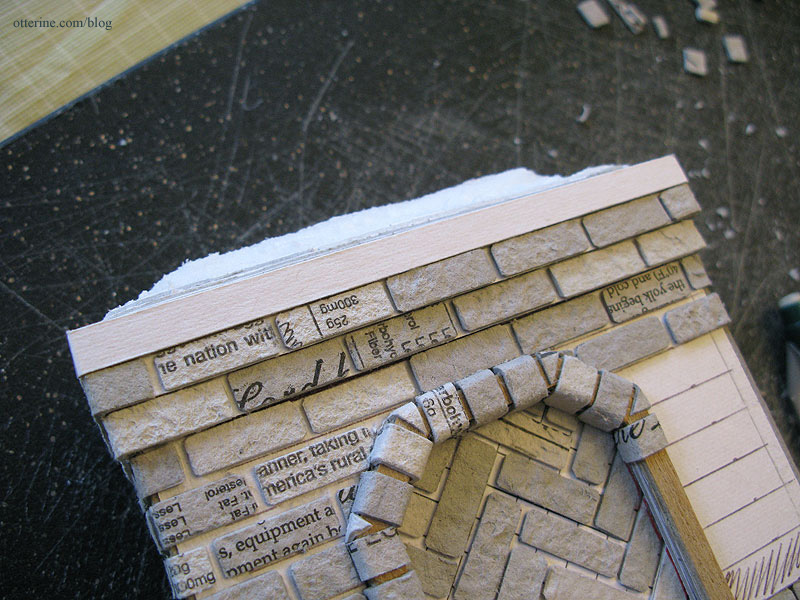
I added bricks to the 1/4″ strip to finish up the extension.

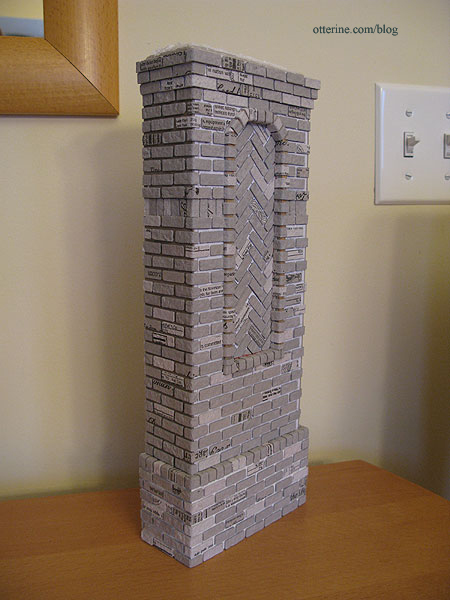
I then finished up the herringbone frame and part of the right side before running out of bricks. So, it’s back to the cutting board! :D
Categories: The Haunted Heritage
September 3, 2011 | 0 commentsHaunted Heritage chimney, part 2
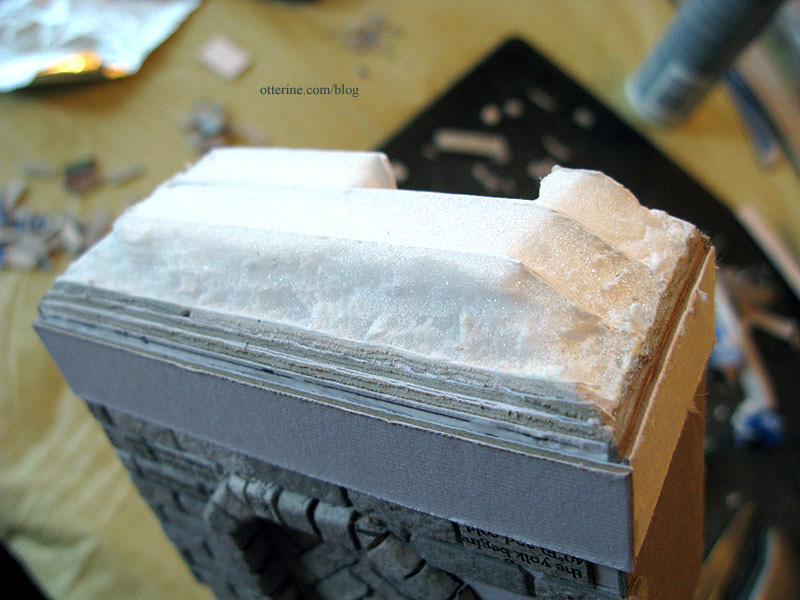
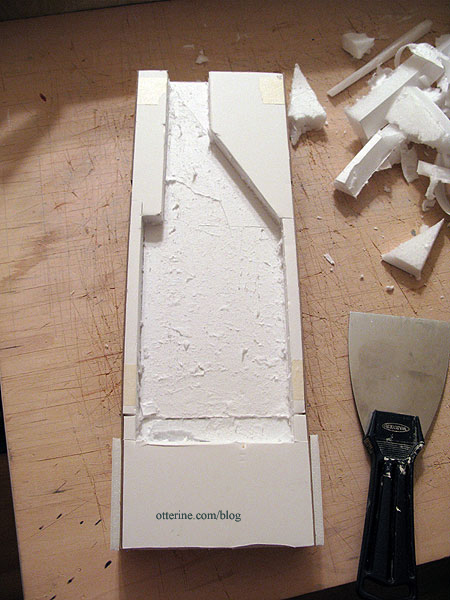
Continuing to work on the chimney. I cut out space for the firebox and any wiring I might end up running through the house. To do this, I scored lines in the foam core, and then lifted the pieces out with a putty knife. I waited until after assembling the chimney since it’s far easier to cut portions out in the size and shape I want than to attempt to frame the area with thin pieces of foam core board.
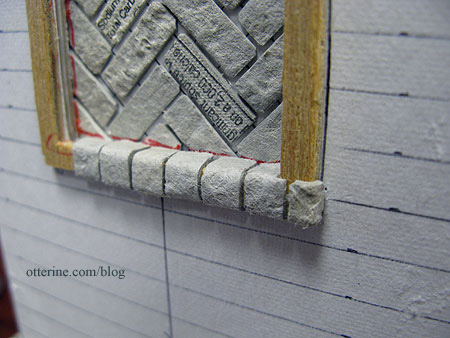
I added vertical bricks to the slightly recessed section at the sides by cutting the pieces to fit individually and gluing them in place between the cardboard top and bottom. Putting the outer brick surface on the adjacent cardboard while leaving this section as is will create the indented layer. I then glued the wood frame in place.
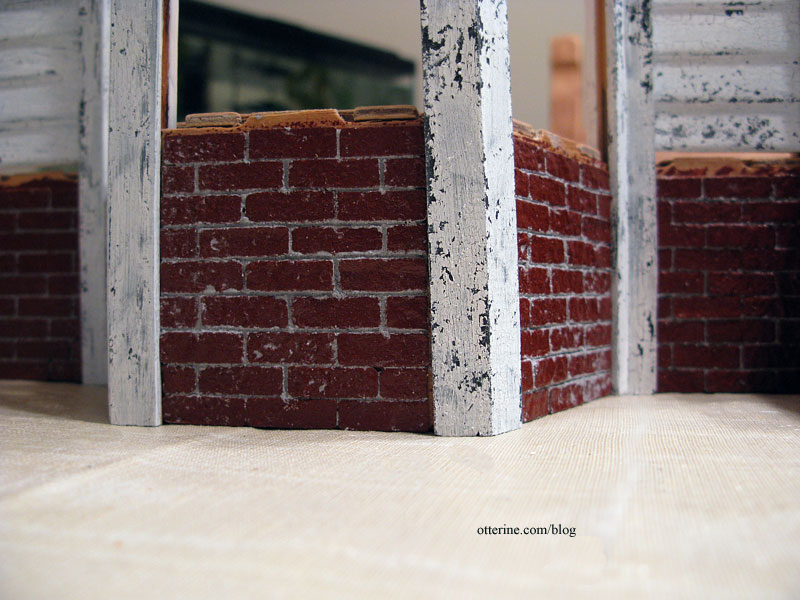
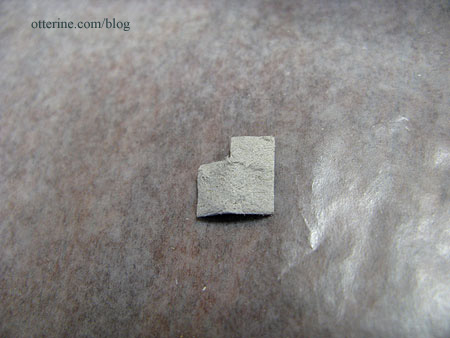
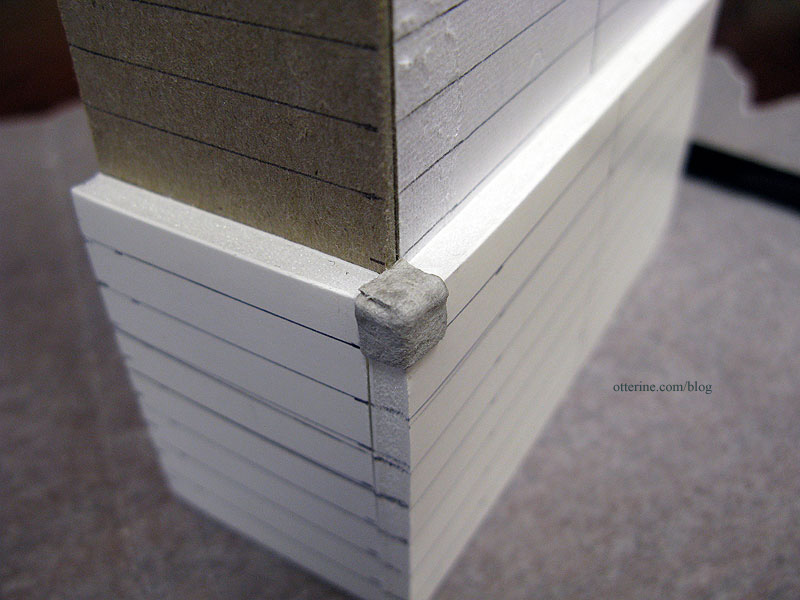
For the bottom portion of the chimney, I created a vertical row at the upper edge. To cover the corners I cut special corner shaped bricks and glued them around the corners. Once painted and grouted, the seams won’t show.
Sometimes when the bricks didn’t want to stay put while the glue dried (I use Aleene’s Quick Dry for bricking), I used sewing pins to hold them in place.
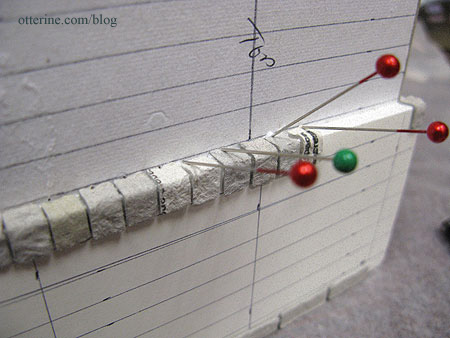
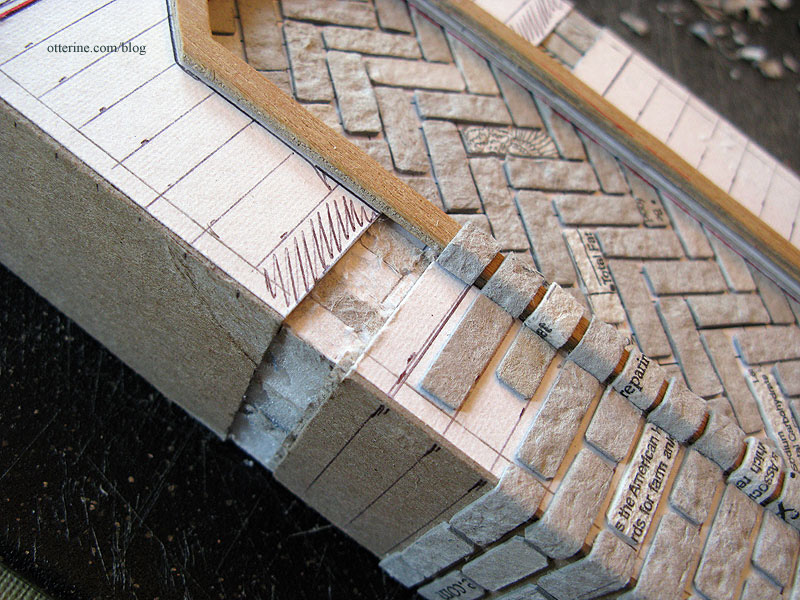
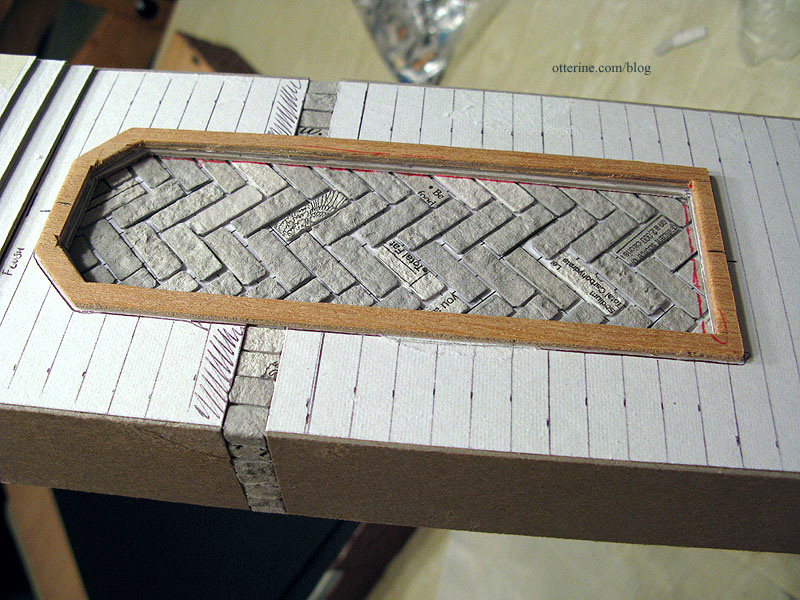
Mini masonry goes much faster (and with better results) with guidelines, though there is the time involved in making said guidelines to be considered. ;]
Amazing but my white cutting board looks a lot like ice in this photo. :D
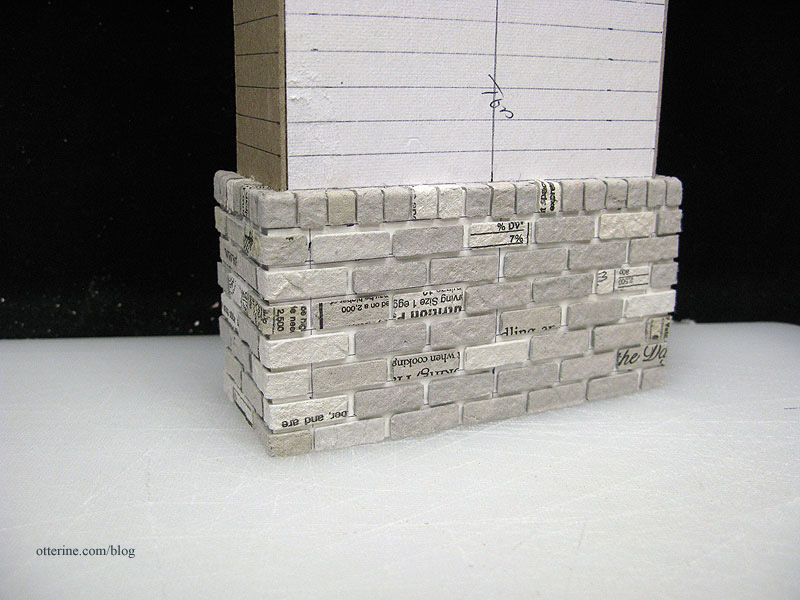
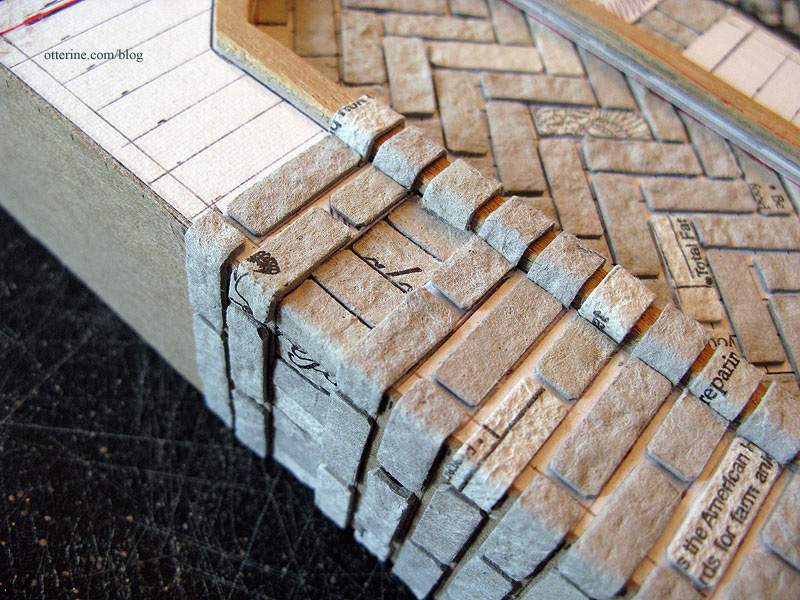
After completing the base, I started applying the bricks to the herringbone frame.
This part was tedious even for me, so I took a break and started to brick the rest of the lower portion from the base upward.

I think having the extra base the same height as the foundation will work out nicely.
Categories: The Haunted Heritage
September 2, 2011 | 0 comments


NOTE: All content on otterine.com is copyrighted and may not be reproduced in part or in whole. It takes a lot of time and effort to write and photograph for my blog. Please ask permission before reproducing any of my content. Please click for copyright notice and Pinterest use.


