

Heritage – Portico, part 1
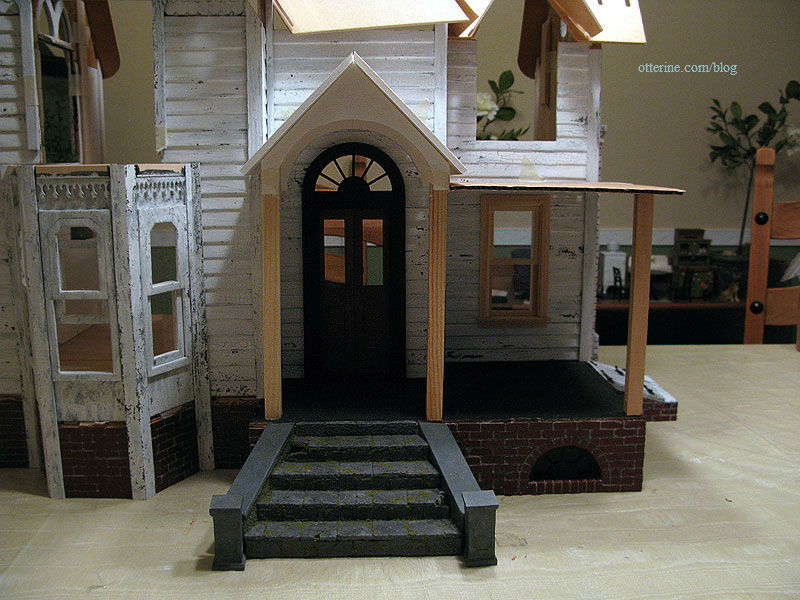
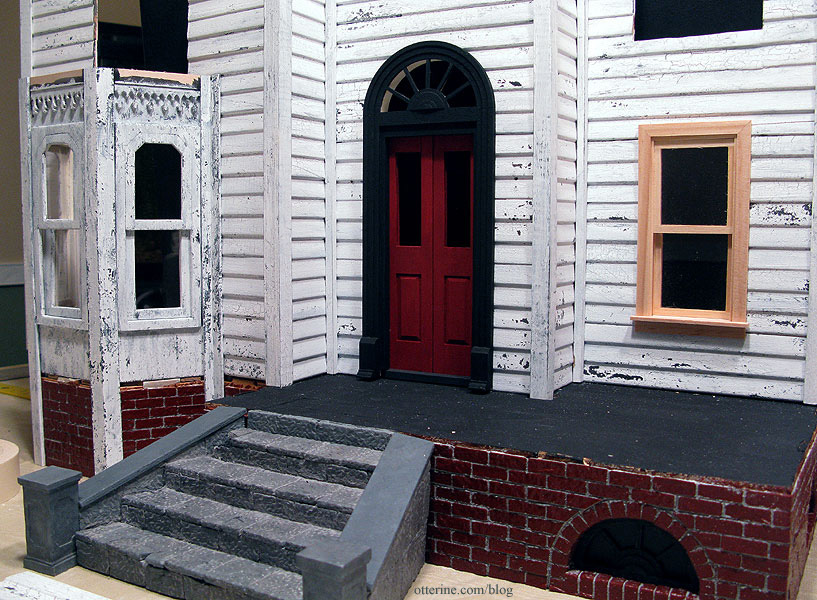
Since the Heritage has a flat porch roof but my new Palladian door has an arch top, I needed a solution to have both. I figured building a portico similar to this one would work, though my door has a half circle window above it.
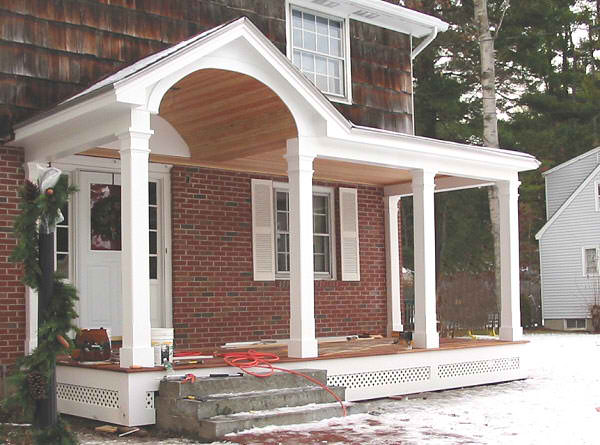
Photo from JP Works, Massachusetts Mike from One Twelfth Scale Miniatures also just made a beautiful portico, though his construction varies from mine a bit. And, his isn’t as rustic as mine.
First, I determined the width, height and basic shape of the portico in relation to the doorway using 1/4″ thick foam core board and two of the original porch posts from the kit. I’ll likely use turned posts for the final, but I didn’t want to cut them until I was certain of the height. At 12″ tall, they are too long to use for layout purposes.
I think the portico adds just the right kind of interest that the original porch was lacking since I upgraded the front door. It also fits in better with the various roof angles.
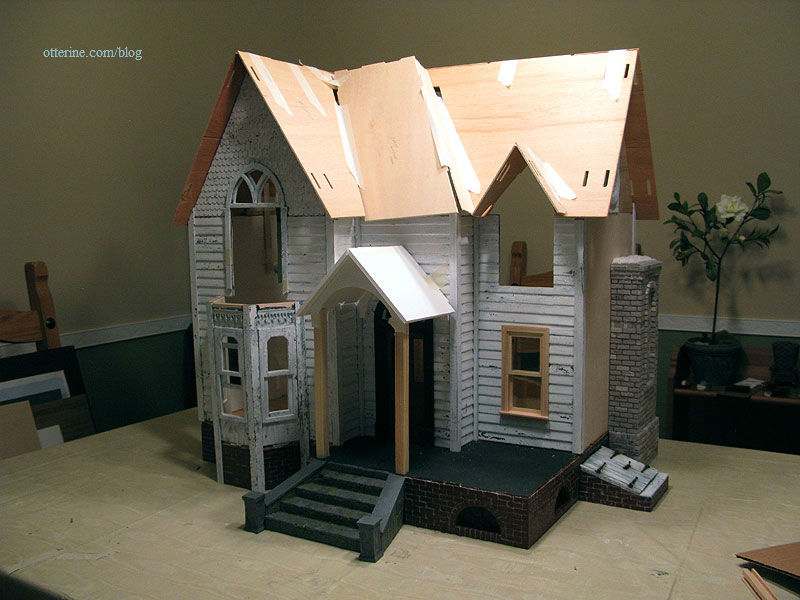
I traced the original porch roof piece onto cardboard and used this copy for the next step. I will be using the original plywood piece in the final, but this way I could cut and modify the cardboard piece without worrying about making a mistake.
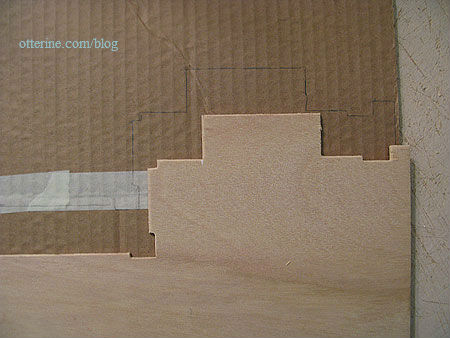
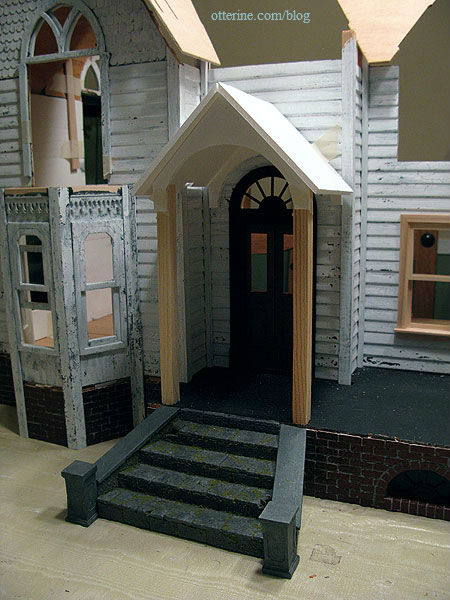
With the portico in place, I could determine the remaining porch roof. I cut the cardboard piece to fit and added a scrap (broken) connector cut to size to serve as the third porch post.
Since the house is still in dry fit, I won’t cut the final pieces until after I glue the walls together. This mockup version gives me something to work with in the meantime and helps me determine the direction I need for certain aspects of the build.
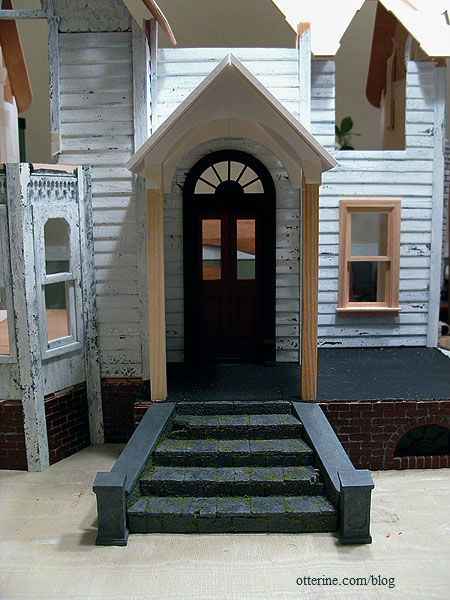
But, I am torn between a standalone portico…
…and a portico with a flat roof on the side.
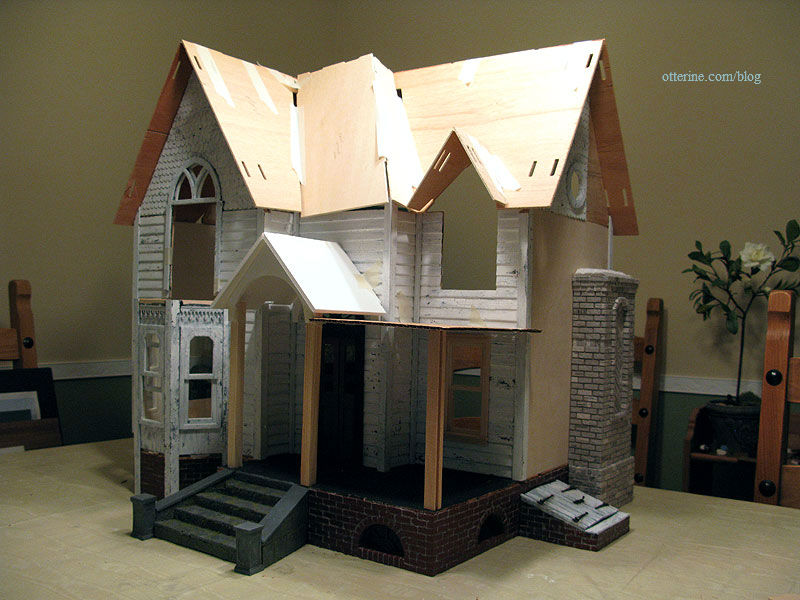
Visually, I think the lone portico is much more interesting, but I don’t know if it would make architectural sense to have most of the porch uncovered. Hmm…
Categories: The Haunted Heritage
October 8, 2011 | 0 commentsHeritage fireplace finishing
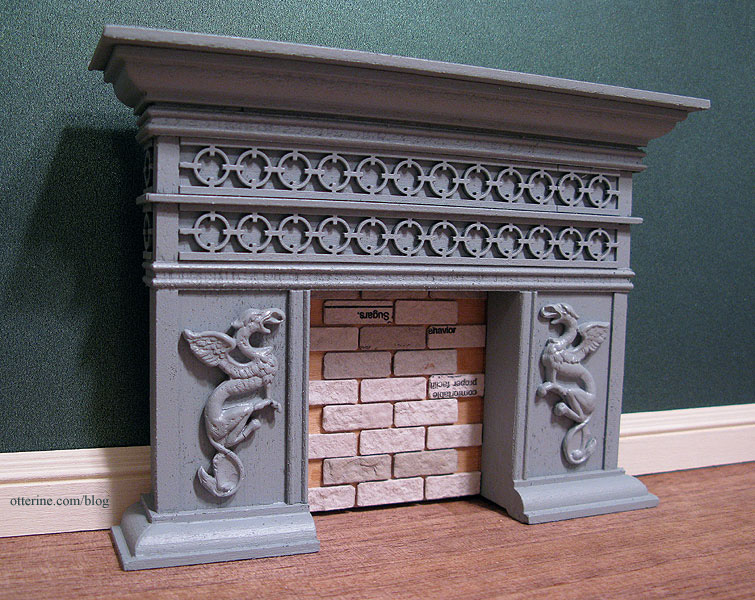
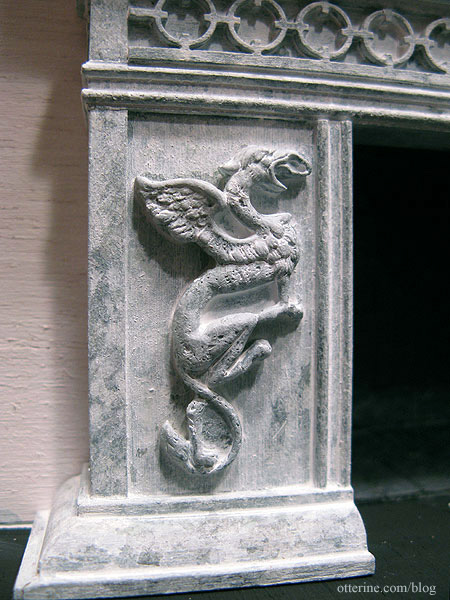
Continuing work on the fireplace, I sprayed it with grey primer. I wanted a good and even base layer for the final finishing I have planned. The griffins look more natural now that the fireplace is all one color.
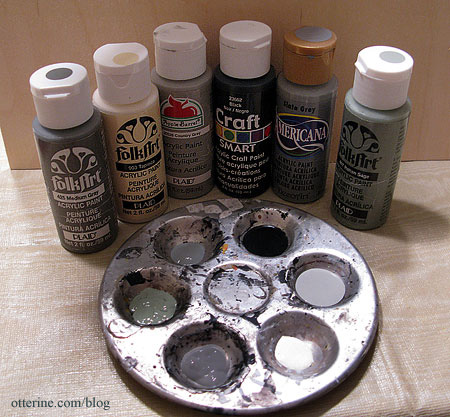
I lightly sanded the roughness after the primer coat had completely dried. I then used this array of paints to create the final coloration and finish. These are: Medium Grey, Tapioca and Italian Sage by Folk Art; Country Grey by Apple Barrel; Black by Craft Smart; and Slate Grey by Americana.
I dotted on the paint in layers, starting with one of the lighter greys followed by the Tapioca, also dotted on. Uh-oh…polka dotted fireplace.
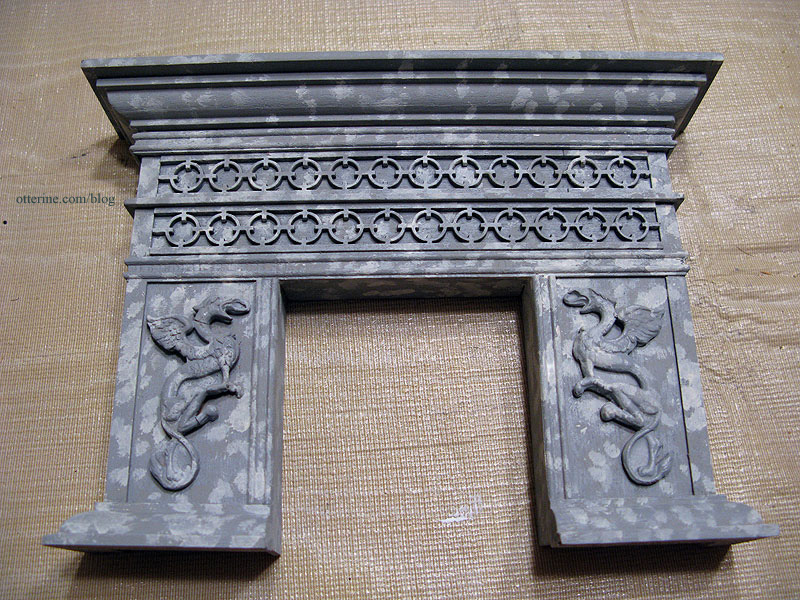
And then black, stippled in the same manner. The griffins are disappearing. Yes, it looks worse before it gets better.
Lastly, the Italian Sage. Now it looks like camouflage! But, not to worry…

I then used heavily diluted paint washes with the paints left in the palette including the ones I had already used. I couldn’t really take photos since this part was messy. I would layer on the watery paint and then dab it off with a paper towel, so my hands got covered in paint. The last wash was Tapioca.
Yes, it is as scary as it looks. The wood swells and glue comes undone in places…nothing that can’t be fixed. It’s all part of the process. :]
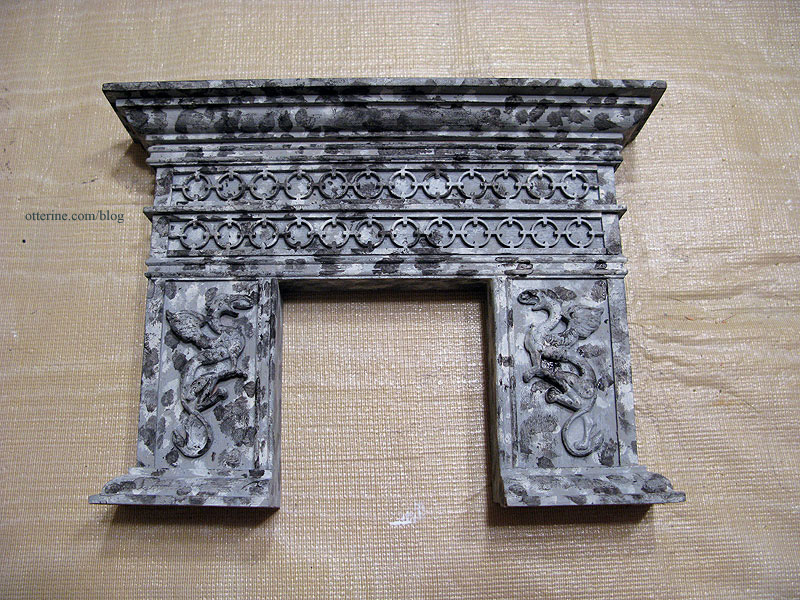
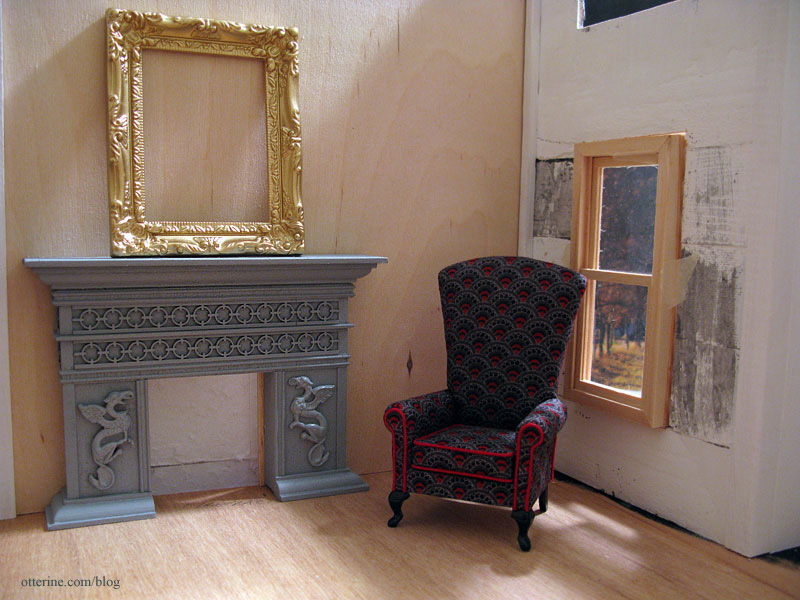
I dabbed the last wash after letting it set a minute, and I was left with a fine white stone finish with a hint of sage green.
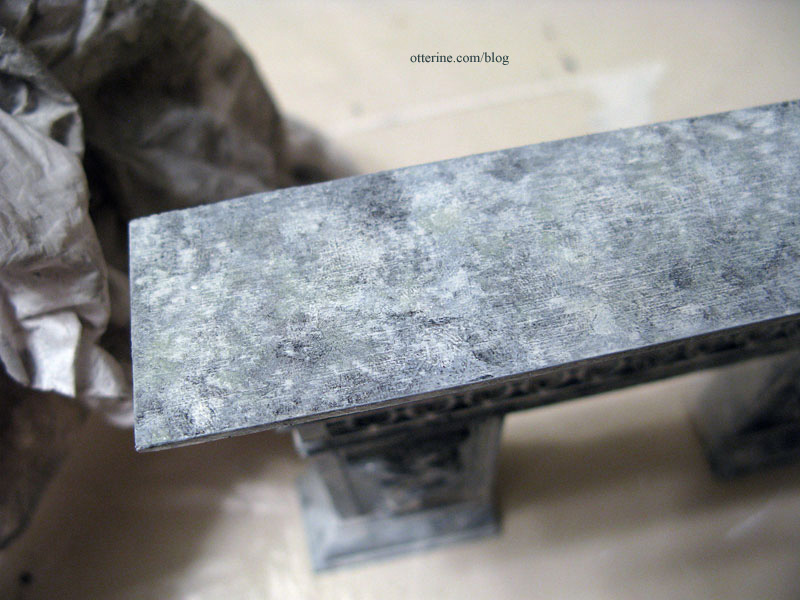
I really like the way it turned out.
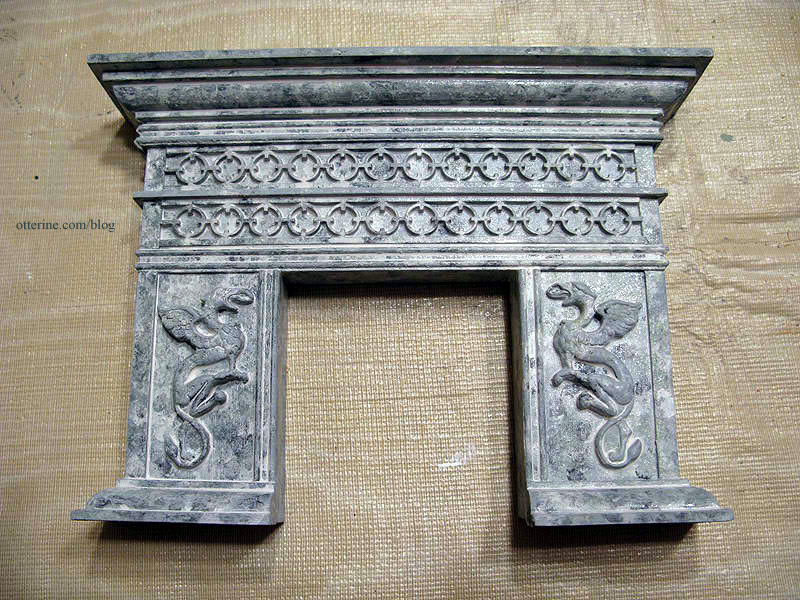
The griffins also look more like carved parts of the fireplace instead of pieces stuck on top.
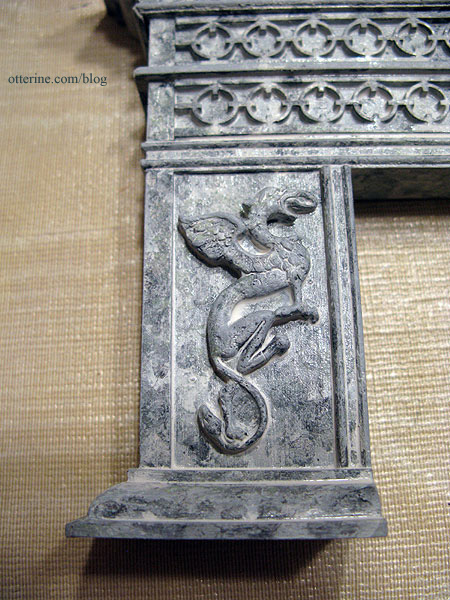
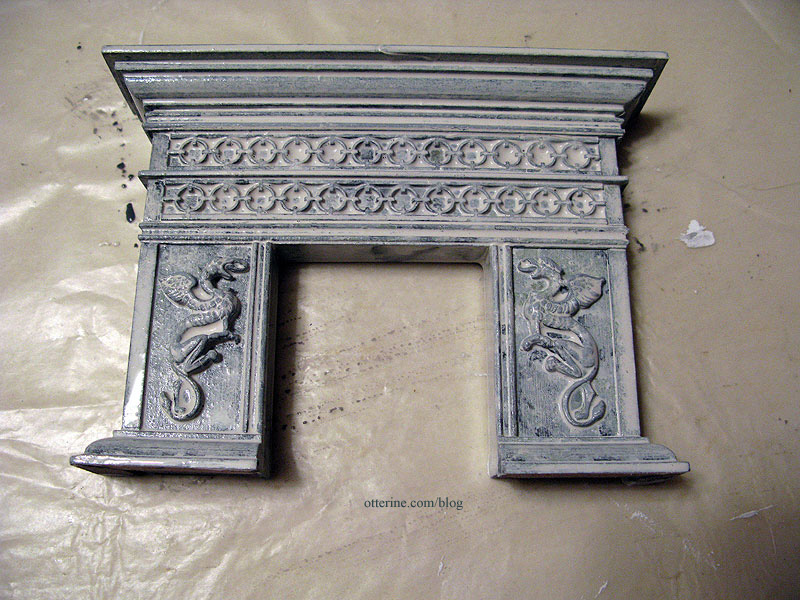
I added another white wash to the fireplace since the paint did end up duller and darker after it dried. This turned out so well, I set the finish with spray sealer.
I love the texture of it.
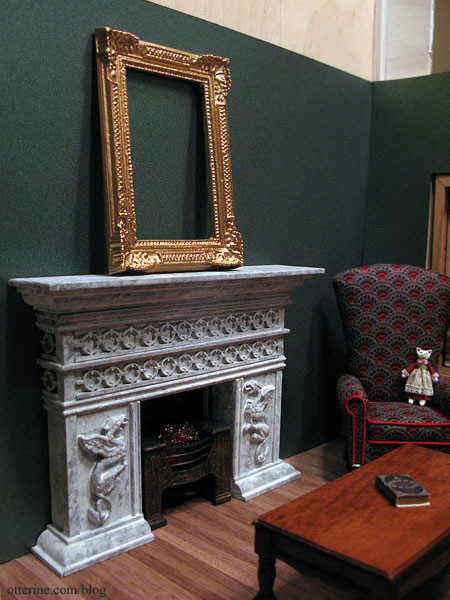
For details on the firebox, hearth and coals, see this post.
Categories: The Haunted Heritage
October 6, 2011 | 0 commentsHeritage – mossy steps
Continuing work on the stone steps. I never knew landscaping could be so much fun!!! I think I’m going to have to make a mini garden at some point in the future. :D I’ve started some leaves, more here.
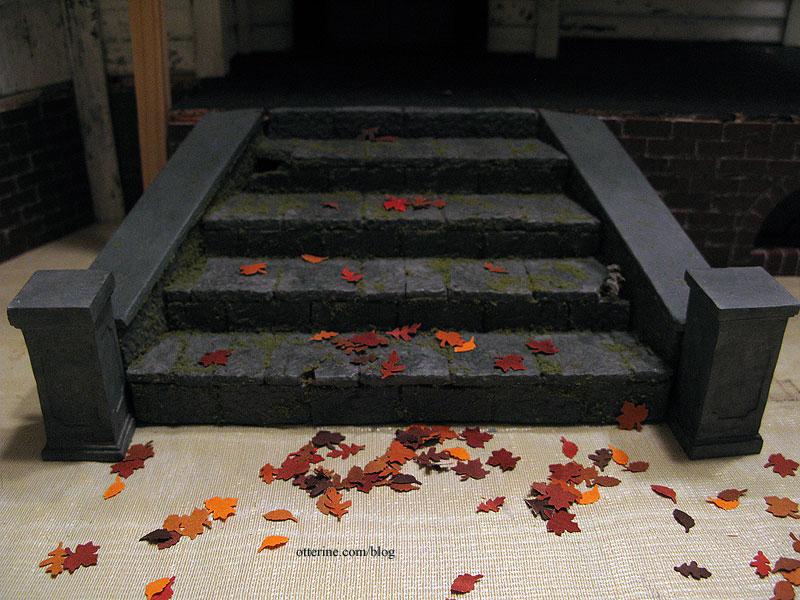
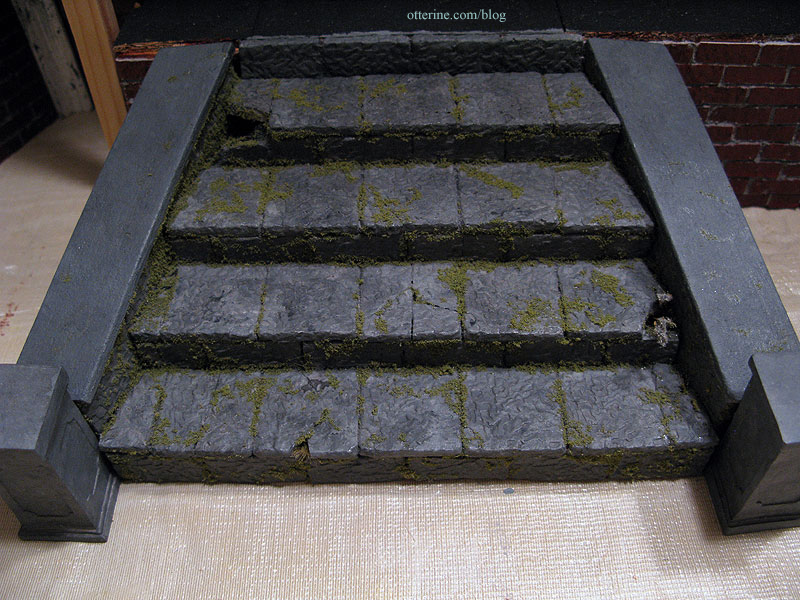
Using Aleene’s clear gel tacky glue applied with a toothpick, I glued Fine Turf, Burnt Grass by Woodland Scenics to the stone steps to serve as moss.

I love the subtle quality of this material on the painted stone. I didn’t go overboard with it, figuring I can always add more but it’s not so easy to remove the excess.
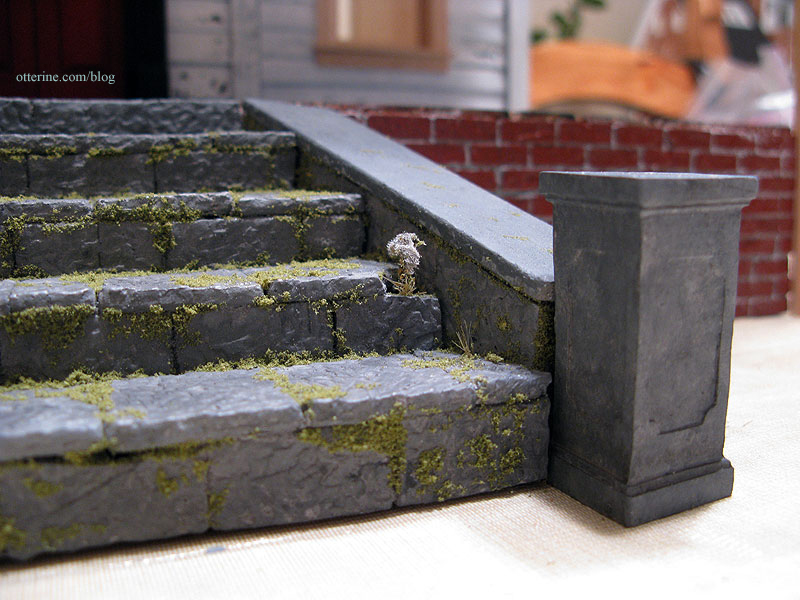
In one of the holes I had made in the steps, I glued two Extra Long Autumn Tufts “Silflorettes” and three Autumn Tone Goldenrod Weeds “Silflorettes” by MiniNatur.
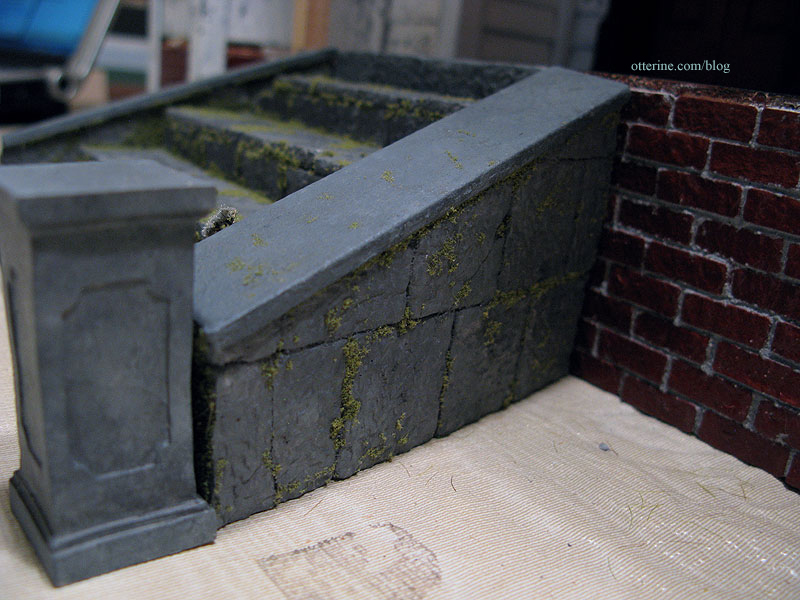
This whole process is messy, but I don’t know if that makes me love it even more. I’ll add the moss to the top riser and front pedestals when I finish the foundation. It, too, will have moss detailing.
Categories: The Haunted Heritage
October 5, 2011 | 0 commentsHeritage – First floor windows, not happening
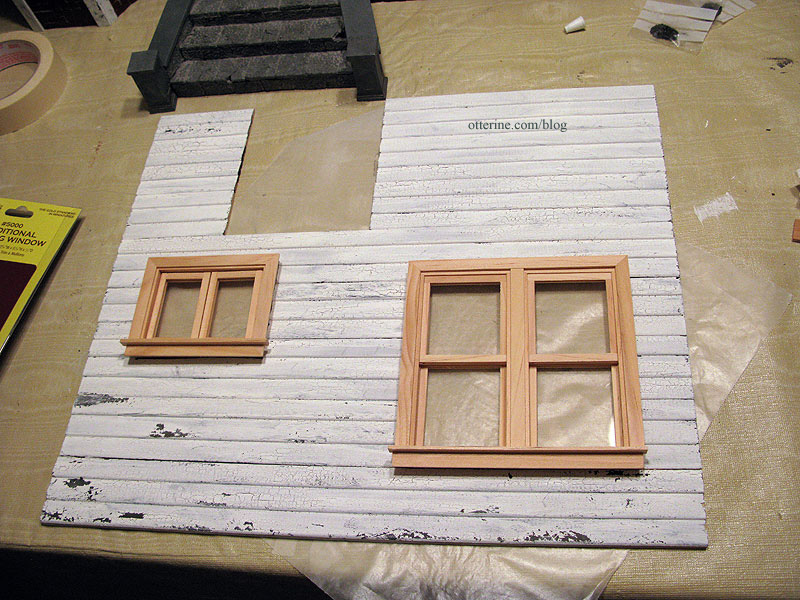
Even with the success I had getting two out of three windows working for the front bay window, the two regular first floor windows are just … errrmmm … garbage. The wood is beyond bad and the pieces just don’t fit at all. I’d be better off cutting new ones from scratch than even attempting to reshape and repair. And, if I am going to go through that sort of hassle, why not just get some ready-made components?
Enter the Houseworks traditional working window and double working window. Since these components have more depth to them than the original wall thickness, I’ll need to build up the outer frame and pad the interior walls but that’s easy to do.
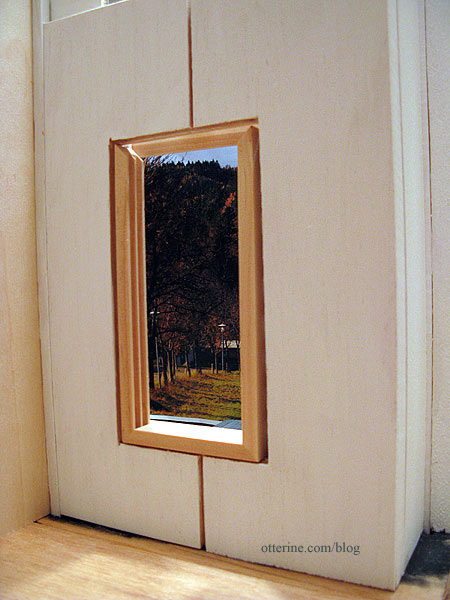
For the parlor, to get the traditional single window to work, I had to make the hole off the front porch narrower. This was made easier since I had leftover siding pieces from eliminating the side bay window. I took the original wall apart, cut new pieces from the side wall leftovers and put the wall back together. Since these pieces were already painted and aged, they didn’t need any finishing other than a few touchups.
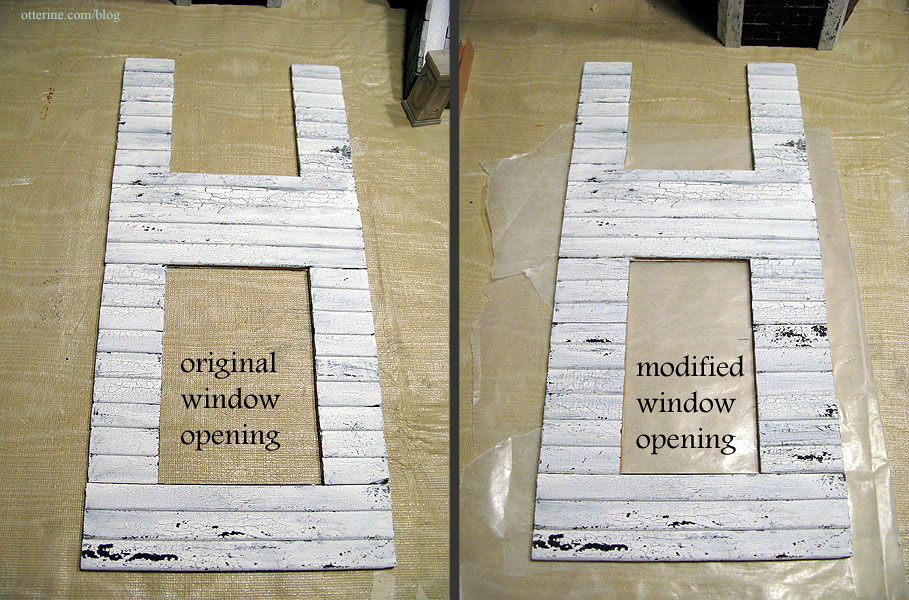
I think it looks like it belongs. :D
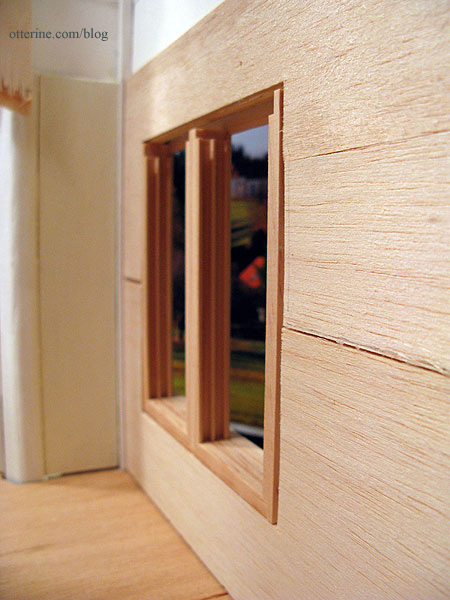
This component required a depth greater than the wall. You can see how it doesn’t fit as is.
I padded the front parlor wall. This will offer support for the parlor ceiling. The gaps you see here are for potential wiring.
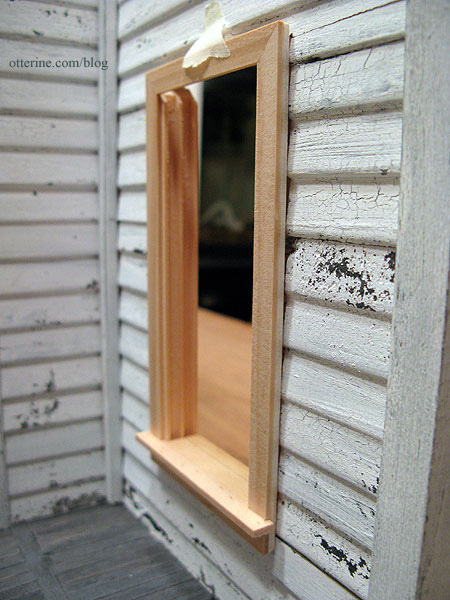
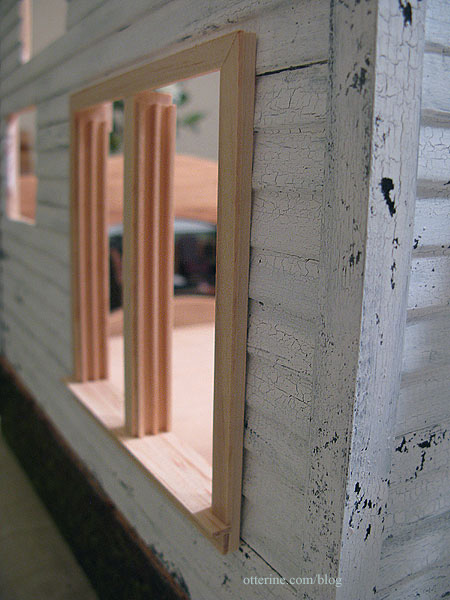
This window required some extra wood on the outer frame. I actually think this added thickness looks more realistic than the way the window looks out of the package.
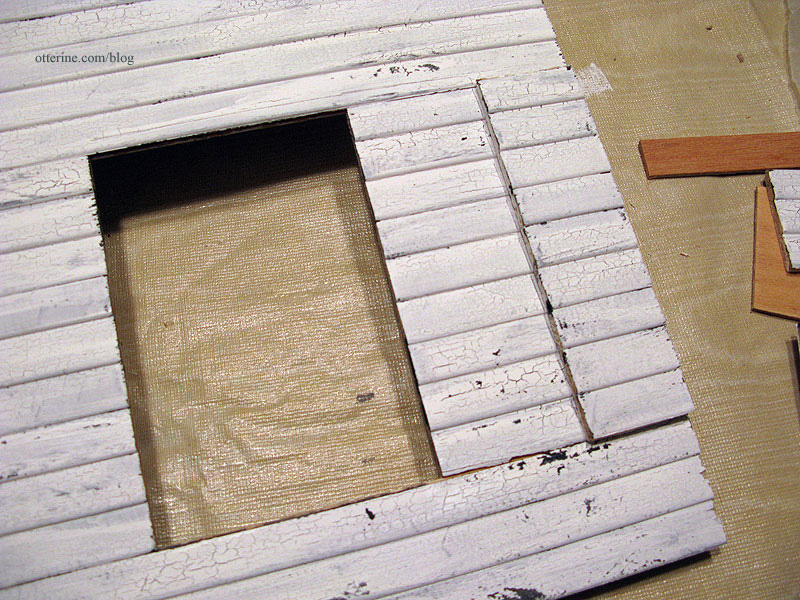
For the kitchen, to get the double working window to fit, I had to make the existing hole larger.
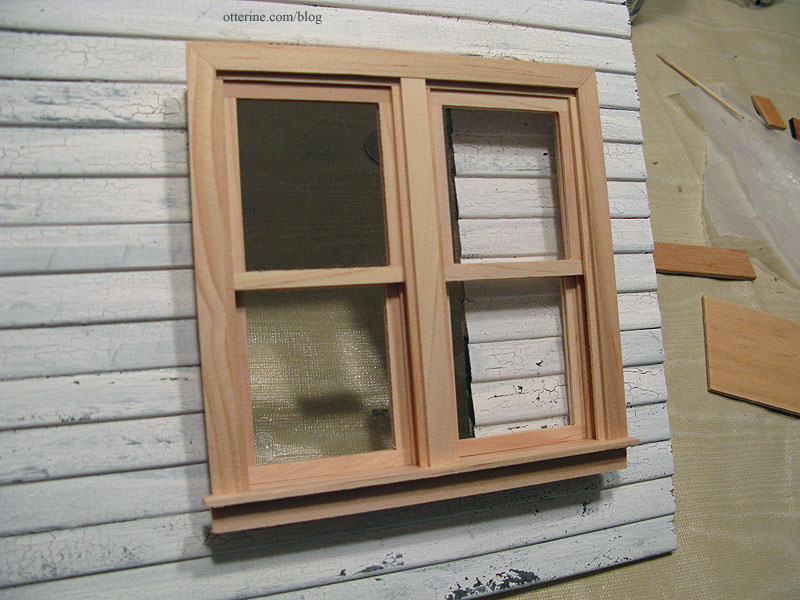
I think this was perhaps meant to be since the pieces I had removed from the front wall were the exact width I needed to get the window to fit. So, I took this wall apart, took out the existing pieces and replaced them with the narrower ones. I’ll keep the originals in my stash of spares.
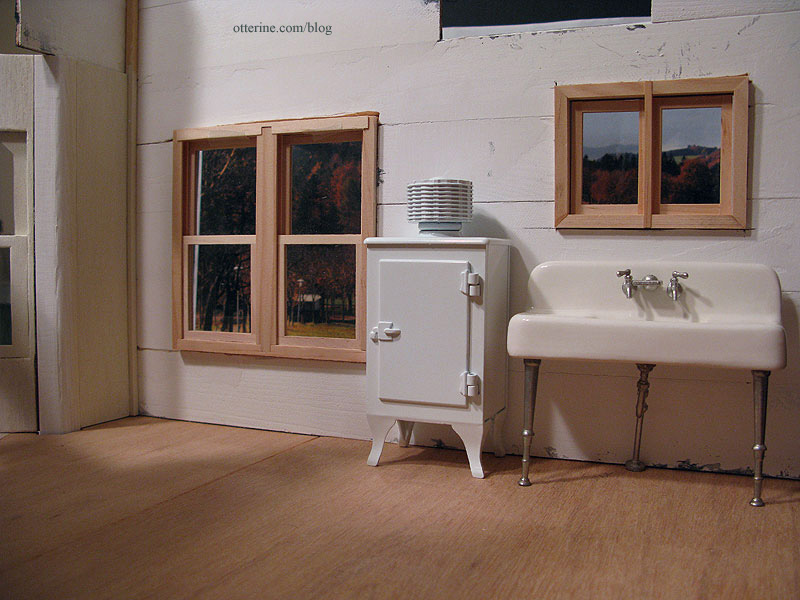
This new window matches so much better with the working casement window I already added to this wall than the original would have.
It’s a rather large window, but I remember the windows in my childhood house being large, too. I think it works, and there’s enough room for the kitchen appliances even with the added window width.
I padded the side kitchen wall for the new double working window. This will offer support for the kitchen ceiling as well as make up part of the difference in depth between the original wall and the added window. Adding this extra padding in both rooms eliminates the need for floor supports that would have otherwise shown in a very unrealistic manner.
On the outer frame, I added strip wood to make up the rest of the difference.
Categories: The Haunted Heritage
September 28, 2011 | 0 commentsHeritage – stone steps, part 2
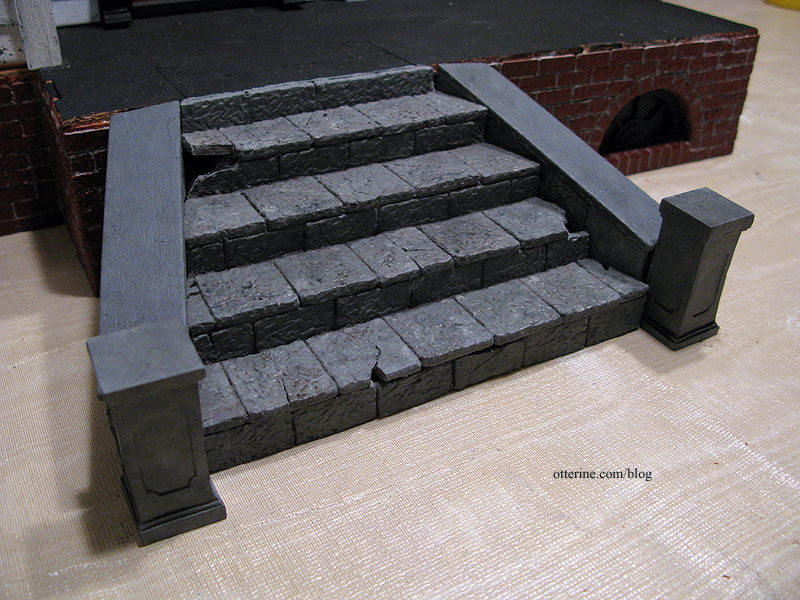
I’ve painted the stone steps in a mixture of grey and black acrylic paints to take down the shine of the original pavers and painted the purchased pillars to match. I also cut toppers for the side walls out of balsa wood.
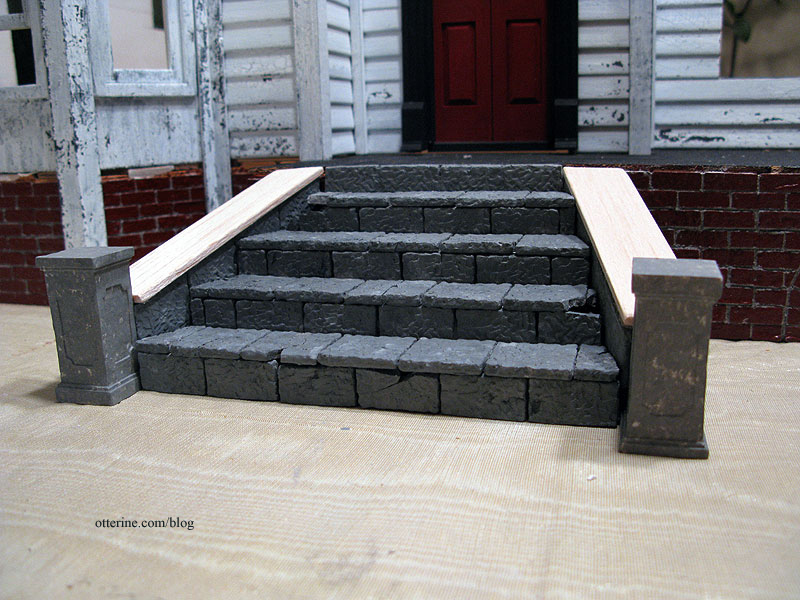
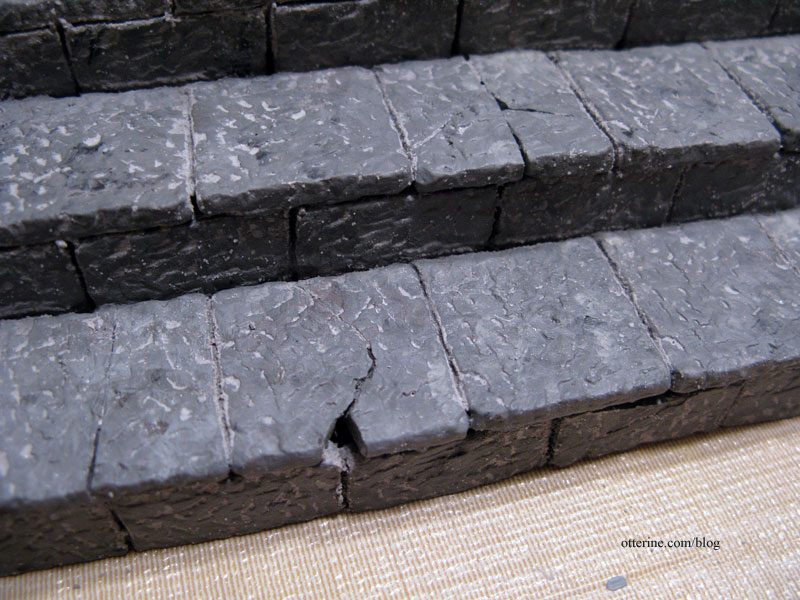
I grouted the steps, though I didn’t seal the grey paint before grouting. I wanted to make sure I didn’t have any shine on the steps. I used a sewing pin to define the grout lines since a toothpick would have been too thick to get between the pavers.
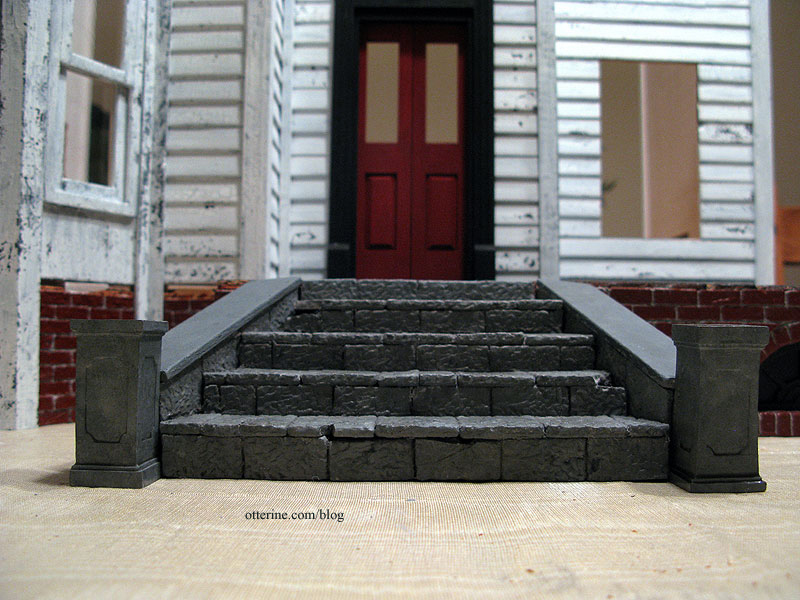
A pair of pedestals from Carol’s Bloomers finish off the front steps. The pillars needed another coat of paint to match seamlessly.
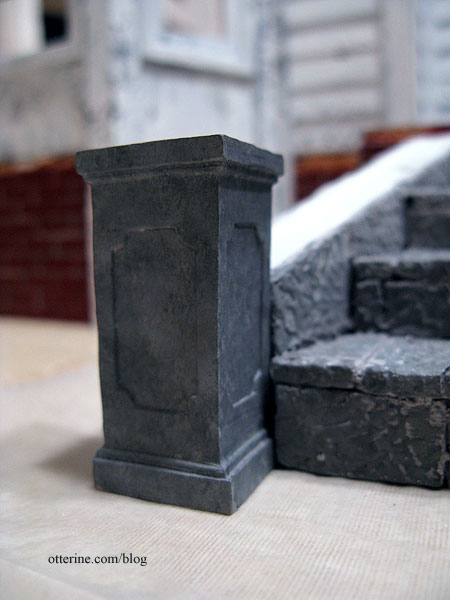
I glued the sides to the steps but the whole assembly won’t be attached permanently to the foundation until after the house is mounted to its baseboard. I painted the balsa toppers to match as well, but it took a lot of layers to remove the wood grain. I even used some grouting material to add some texture to the paint, though most of it was sanded down in the process.
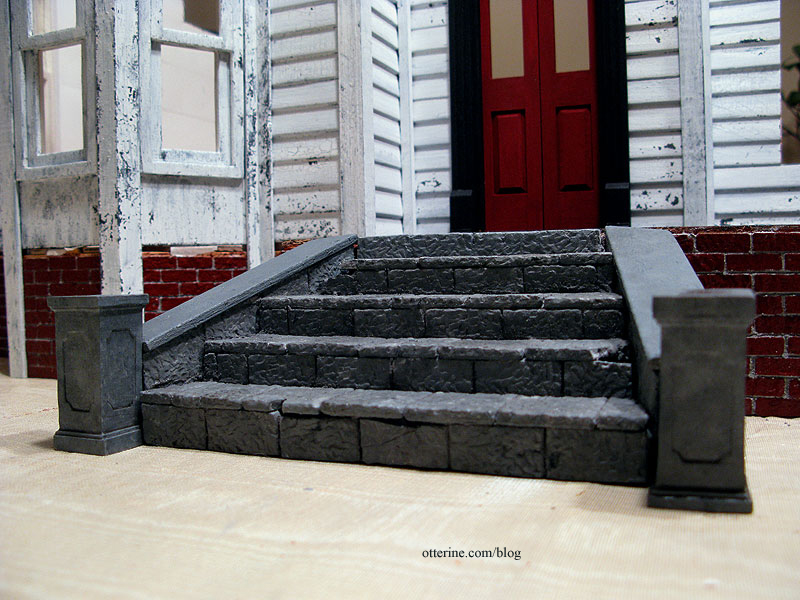
I gave the steps, sides and pedestals a quick wash of black-brown paint diluted in water to take down the brightness of the grouting. It also gives the illusion of leftover mud from a recent rain. :D
There will be some plant matter and moss added during the landscaping phase, too. I really like the visual weight of them. :D
Aging and adding moss here.
Categories: The Haunted Heritage
September 27, 2011 | 0 comments


NOTE: All content on otterine.com is copyrighted and may not be reproduced in part or in whole. It takes a lot of time and effort to write and photograph for my blog. Please ask permission before reproducing any of my content. Please click for copyright notice and Pinterest use.


