

Heritage – bedroom flooring and lighting plan
I cut the wood flooring for the bedroom. I was able to cut the entire room from one sheet of pre-made walnut flooring, which was a pleasant surprise. I had thought I would have to piece it from two sheets. I like the rich color of the parlor, so I decided to use the same stain, English Chestnut by Minwax.
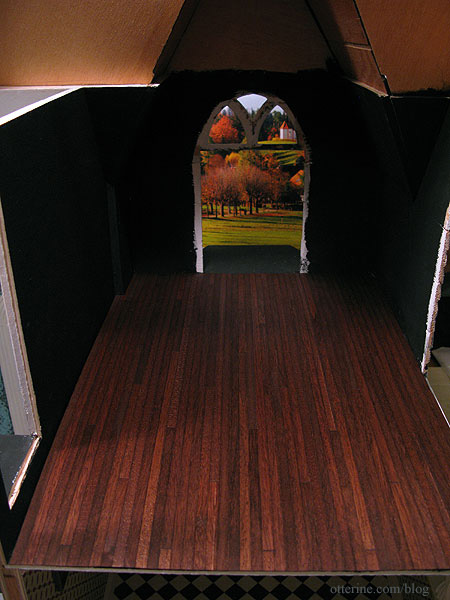
Before I can actually apply the wallpaper, I need to plan the lighting layout for the room, including three table lamps. I’ll use my usual faux outlet technique.
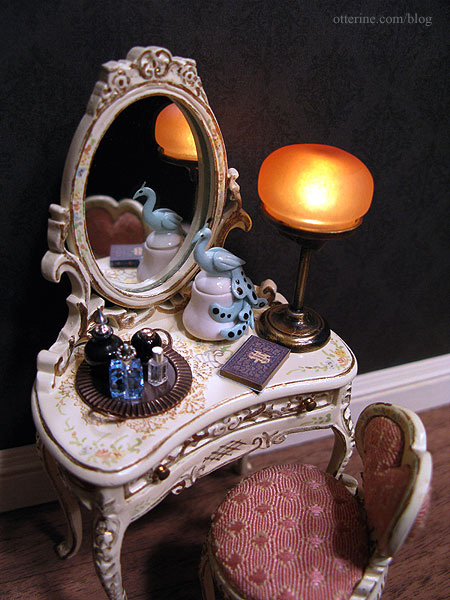
I have the vanity light on the outside wall.
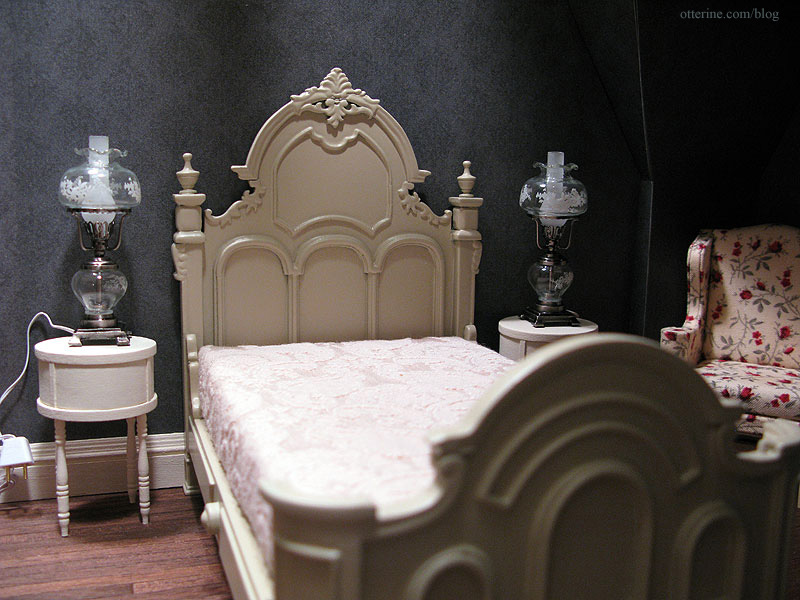
I decided these Heidi Ott lamps were the best match for the bed and the overall décor. Even though the Heidi Ott lamps are huge, they are the perfect color and the clear glass makes them the right visual weight.
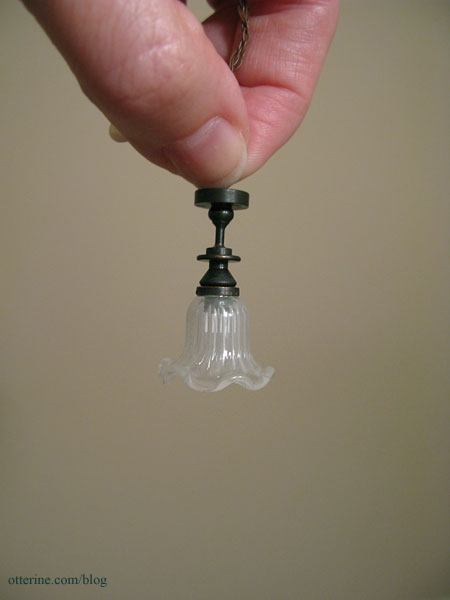
An elegant Ray Storey ceiling light will add a soft glow.
I have the battery operated light for the dresser in the front corner. This is a rather dark photo, but the lamp has a gunmetal finish.
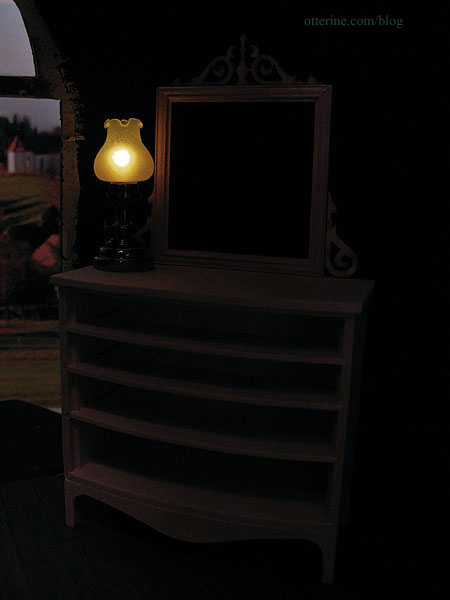
All of these lamps will complement the vintage feminine ambiance of the room. :]
Categories: The Haunted Heritage
April 17, 2012 | 0 commentsHeritage – round stained glass window
I am turning my focus to the round window. This isn’t a feature of the original Heritage kit but something I added when I eliminated the side bay window and replaced it with the massive chimney. This window sits in the bathroom, and I wanted to find something whimsical for the space.
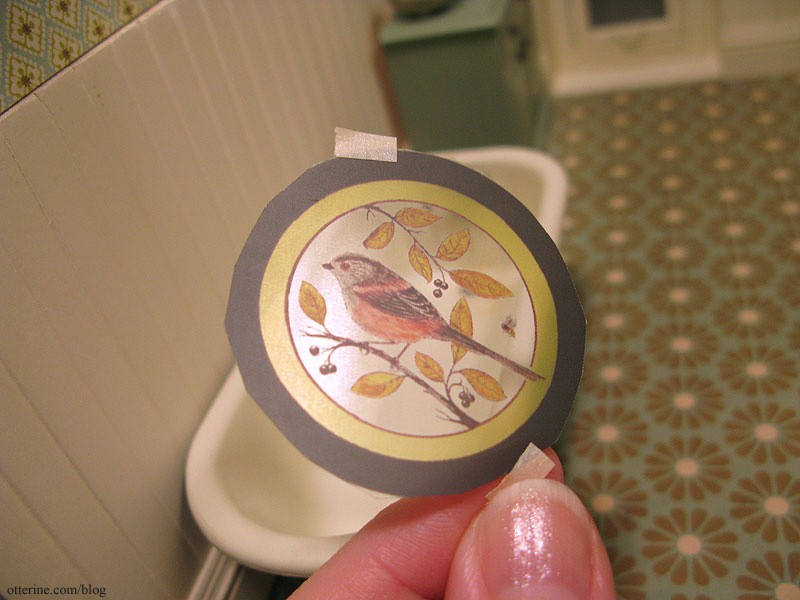
This is a lovely bird and bee design by Flora at Through the Round Window. Love!
I contacted Flora, and she graciously granted me permission to use the window in the Heritage. Here I’ve printed it on regular paper to test the size. Right now it looks like a painting, but I think it will shine once printed on transparency film.

I edited the image in PhotoShop, turning the bird more grey and removing all stray spots. The white in the bird wouldn’t print on transparency and any spots would be magnified in this small scale. I bumped up the coloration since printing on transparency usually results in some color loss. Beautiful.

I also flipped the direction of the bird in PhotoShop since the printed side looks dull, and I wanted the bird to be facing the same direction as the original inside the room. I’ll cut a piece of plain acetate to cover the dull side so it will look glossy like glass when viewed from the outside.
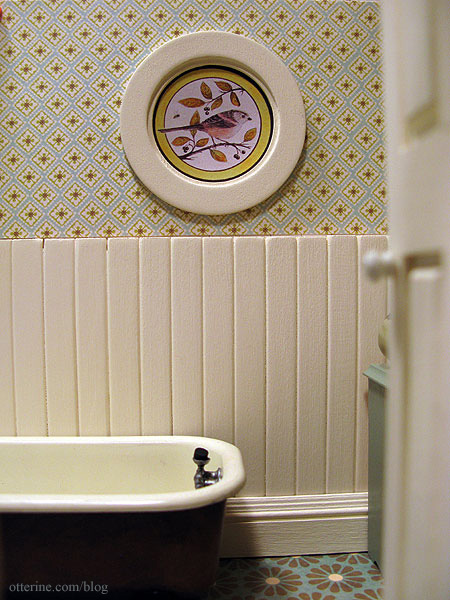
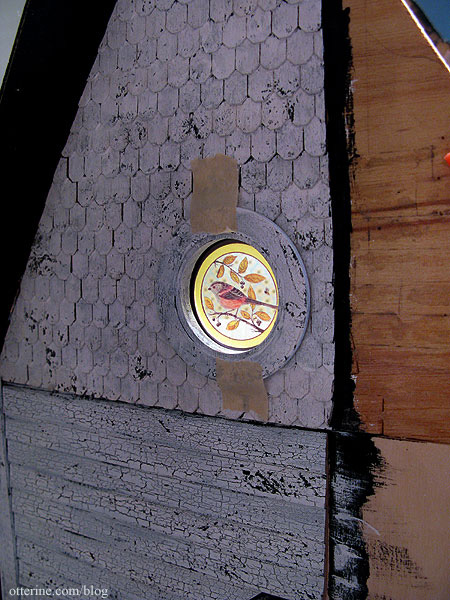
I taped it in place and checked the view from the exterior. Fabulous.
Finishing here.
Categories: The Haunted Heritage
April 16, 2012 | 0 commentsHeritage – bathroom and hallway ceiling boards
The original kit attic floor is a poor-fitting board to begin with, and it is pieced over the bedroom causing a noticeable seam on the ceiling. Additionally, since I added two walls on the second floor not originally intended as part of the house, I also need an attic floor that covers more area than the original. Trying to cut one board to span the entire house without having any fitting issues didn’t seem like something I wanted to attempt. So, I’ll be cutting each ceiling boards individually, having the seams over each new second floor wall.
The first one to be fitted is the bathroom ceiling board. I used the kit piece originally intended for the parlor ceiling, which I had replaced with new plywood.
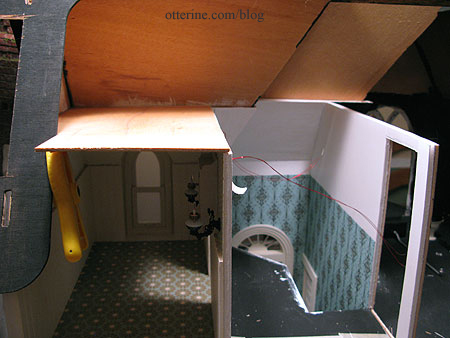
There is a back roof piece, so I notched out the ceiling board to accommodate it. I will add to the roof in back to “hide” the extra bit of interior space I’ve added so it won’t be seen from the exterior side views.
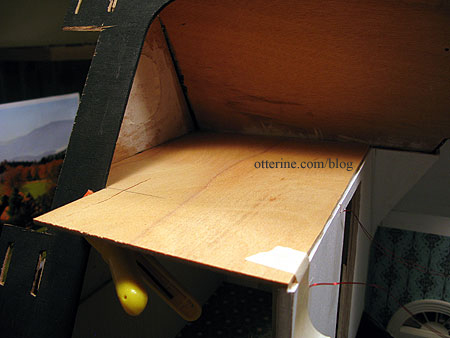
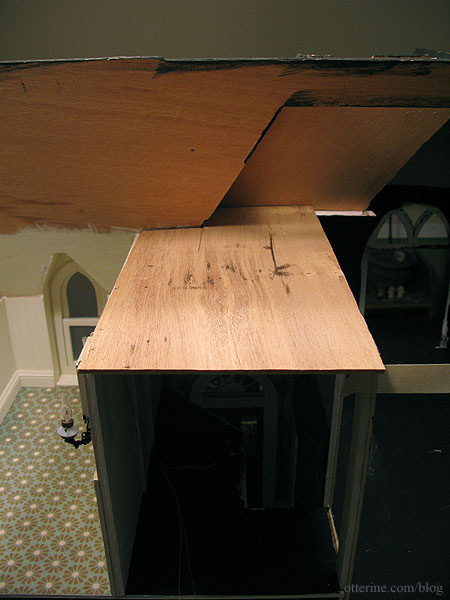
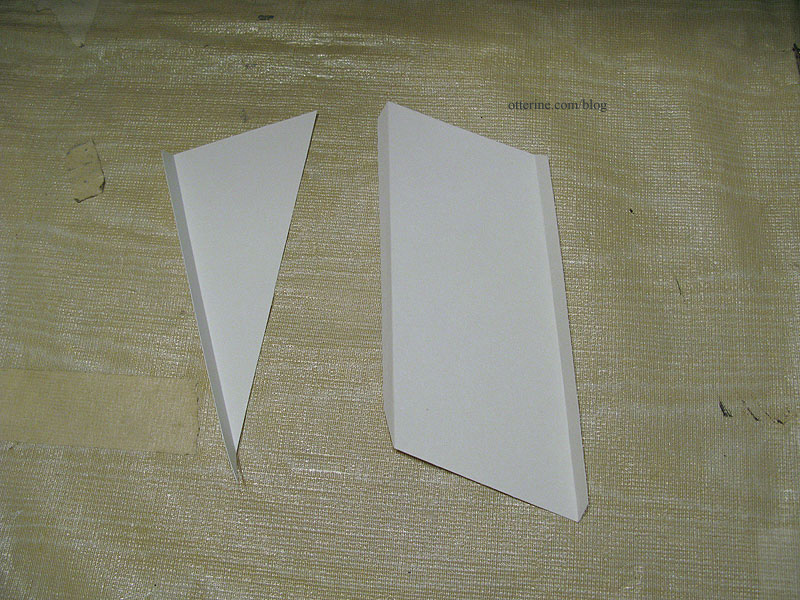
I cut the new ceiling board for the hallway portion of the attic using part of the original kit board.
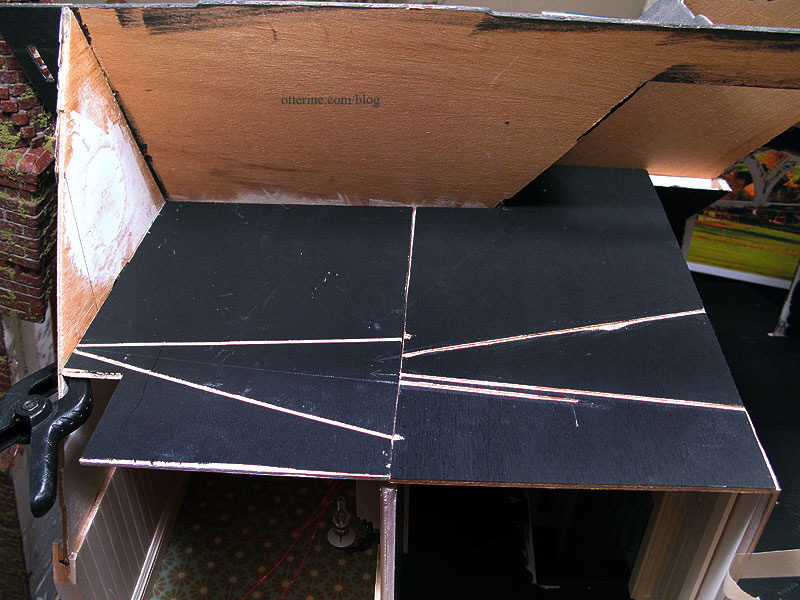
I painted the ceiling boards white and primed the tops with black acrylic paint. I also started putting in the electrical channels for the lights. It’s easier to do this when the boards are removable and the channels can be cut on a flat surface. Even though I don’t have the bedroom ceiling cut yet, I’ve started making the extending channels for the planned lights over the first two ceiling boards as well.
Categories: The Haunted Heritage
April 15, 2012 | 0 commentsHeritage – hallway wallpaper and trim
Continuing from the foyer wallpaper and trim post. I installed the wallpaper for the hallway, using plain drawing paper for the upper portion of the foyer. I like this material since the sheets are large (no seams on long walls), it has a nice texture and weight, and while it is a light color, it isn’t bright white. I used my usual method of scoring the paper to make tabs around corners. I find this makes for a cleaner finish.
Detail of the shaped pieces.
The wallpaper on the bathroom side wall is Turquoise Gothic Stripe. Once the papers were glued in place, I glued the anaglypta border in the foyer. Interestingly, the white drawing paper reflects the blue of the other paper and brings out the complementary yellow in the Vintage White painted trims.
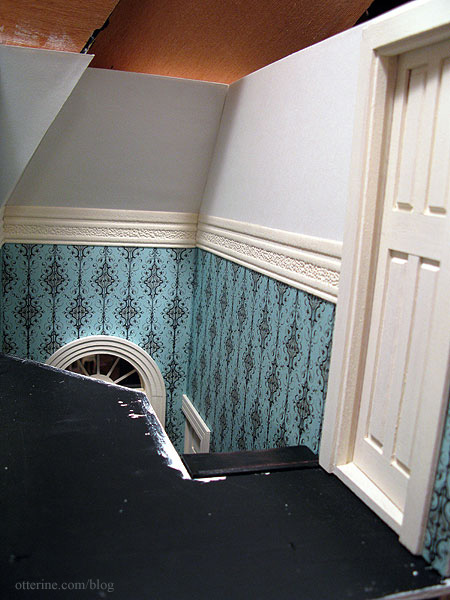
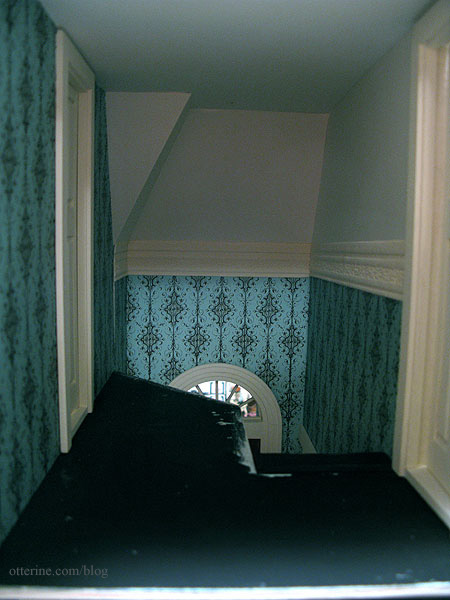
I haven’t glued the ceiling in place, but I propped it up to see the room enclosed. Not bad. :D
Categories: The Haunted Heritage
April 14, 2012 | 0 commentsHeritage – bathroom finishing, part 2
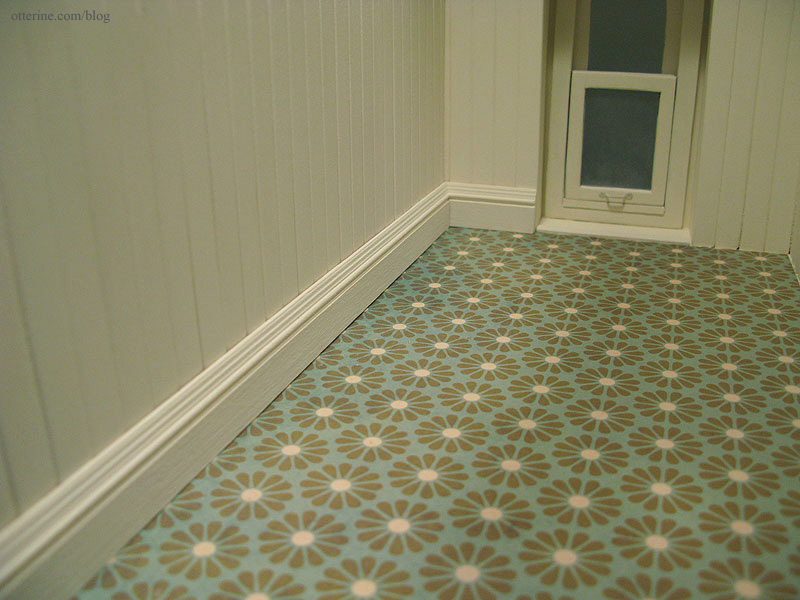
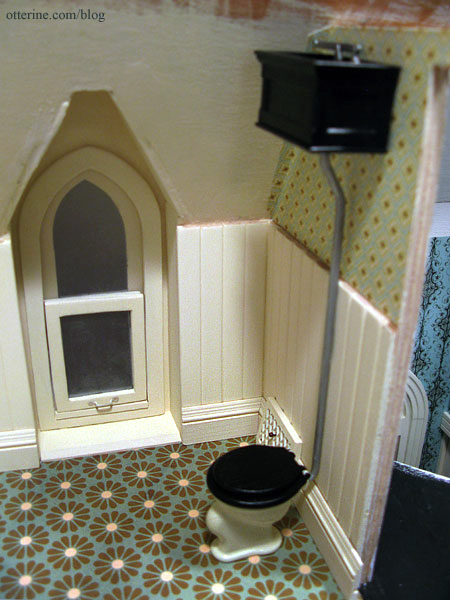
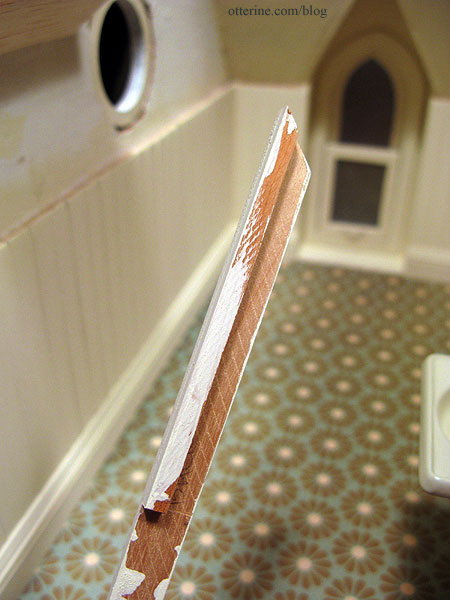
Continuing work on the bathroom. I started installing the baseboard permanently, including adding a board at the base of the dormer window where the flooring ends.
I made a heat register for the bathroom like the one in the kitchen, again using the tutorial by Kris at 1 Inch Minis. With the addition of water pipes for the sink, there wasn’t room for the register on that side of the room. The remaining portion of the inside wall will have either the tall tank toilet or a more updated version in roughly the same place, so I placed the register near the corner there.
The only change I made was to paint the exterior Vintage White by Folk Art to match the trim.
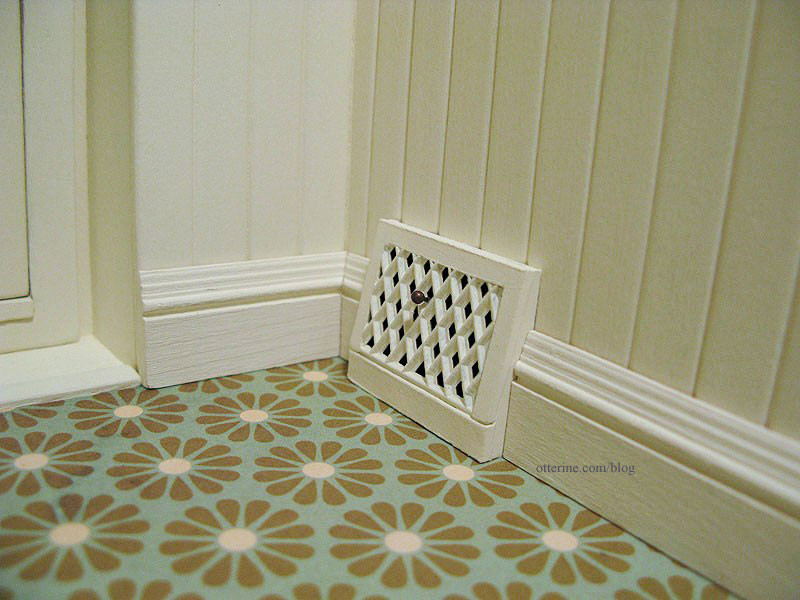
Since everything in this room is light in color save a few contrasting details, I thought a black register would draw too much attention.
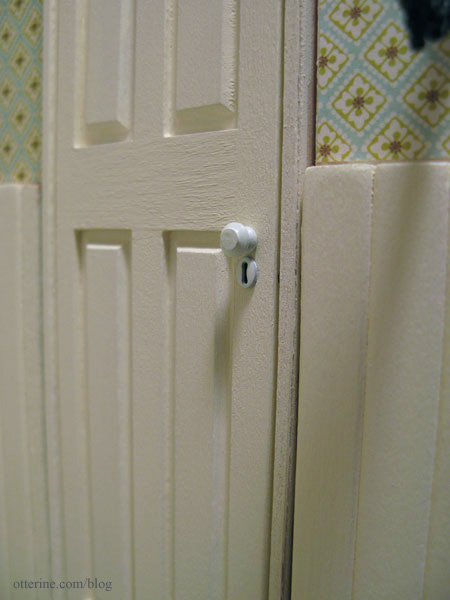
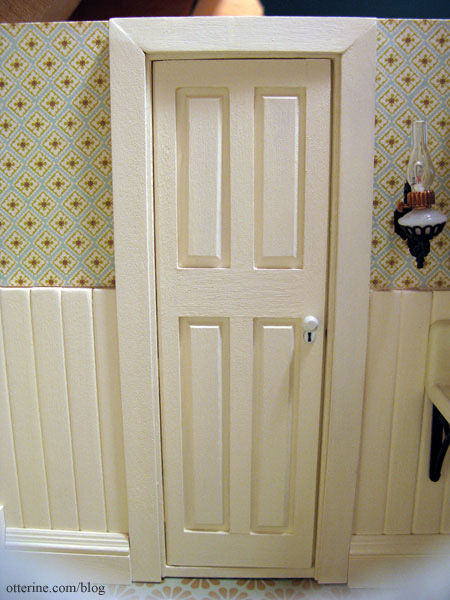
After working on the hallway, I was able to install the door, adding door knobs and keyholes. The keyhole covers are from Bindels Ornaments; they were brass but I spray painted them gloss white.
I installed the interior door trim. Since the beadboard has depth the upper wall doesn’t, the door trim has some added pieces around the top and sides to make up the difference.
I used spackling at the joins at the top and touched up the paint. (There’s a separate post on the Chrysnbon sink finishing.)
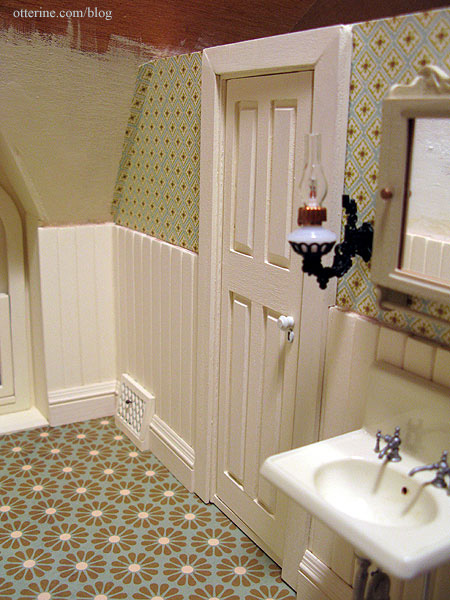
This view through the window will be obscured once the room is finished, but I had to get at least one shot of it.
Categories: The Haunted Heritage
April 13, 2012 | 0 comments


NOTE: All content on otterine.com is copyrighted and may not be reproduced in part or in whole. It takes a lot of time and effort to write and photograph for my blog. Please ask permission before reproducing any of my content. Please click for copyright notice and Pinterest use.


