
Heritage – bathroom and hallway ceiling boards
The original kit attic floor is a poor-fitting board to begin with, and it is pieced over the bedroom causing a noticeable seam on the ceiling. Additionally, since I added two walls on the second floor not originally intended as part of the house, I also need an attic floor that covers more area than the original. Trying to cut one board to span the entire house without having any fitting issues didn’t seem like something I wanted to attempt. So, I’ll be cutting each ceiling boards individually, having the seams over each new second floor wall.
The first one to be fitted is the bathroom ceiling board. I used the kit piece originally intended for the parlor ceiling, which I had replaced with new plywood.
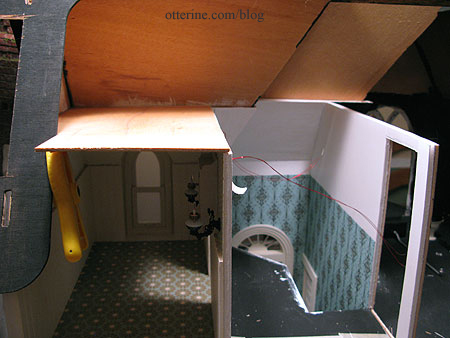
There is a back roof piece, so I notched out the ceiling board to accommodate it. I will add to the roof in back to “hide” the extra bit of interior space I’ve added so it won’t be seen from the exterior side views.
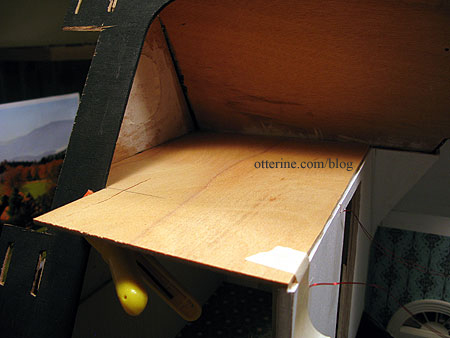
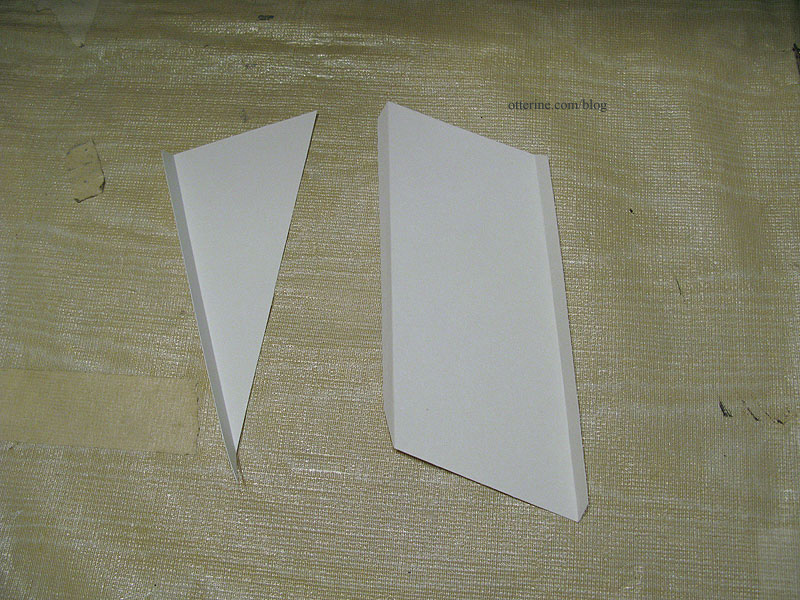
I cut the new ceiling board for the hallway portion of the attic using part of the original kit board.
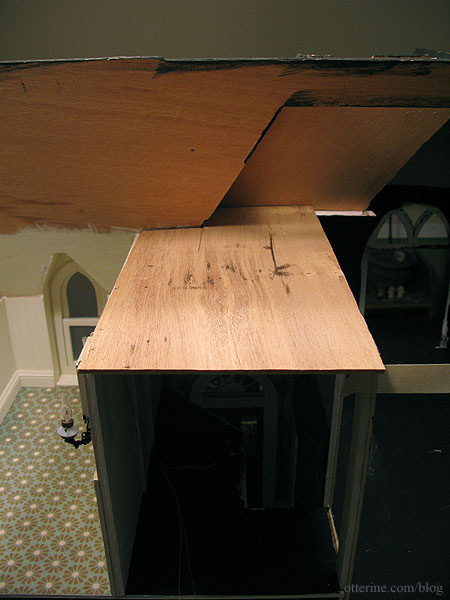
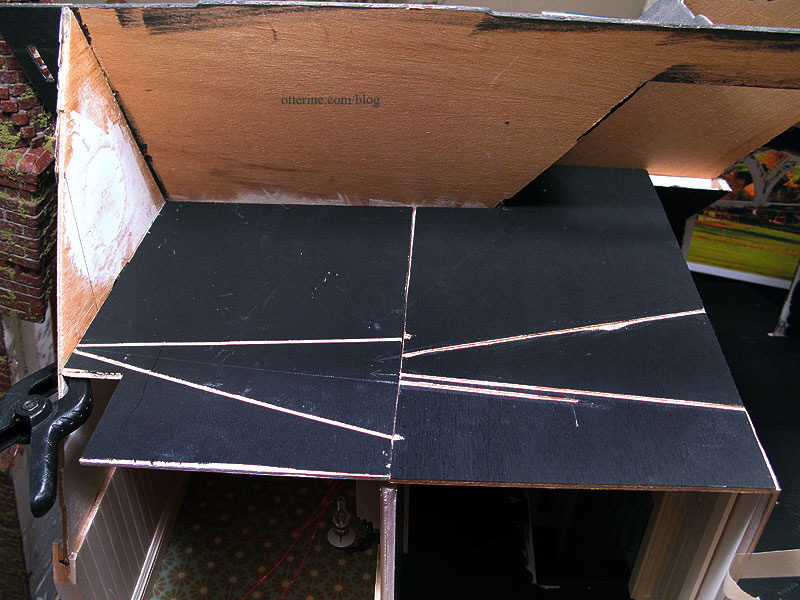
I painted the ceiling boards white and primed the tops with black acrylic paint. I also started putting in the electrical channels for the lights. It’s easier to do this when the boards are removable and the channels can be cut on a flat surface. Even though I don’t have the bedroom ceiling cut yet, I’ve started making the extending channels for the planned lights over the first two ceiling boards as well.
Categories: The Haunted Heritage
April 15, 2012 | 0 commentsHeritage – hallway wallpaper and trim
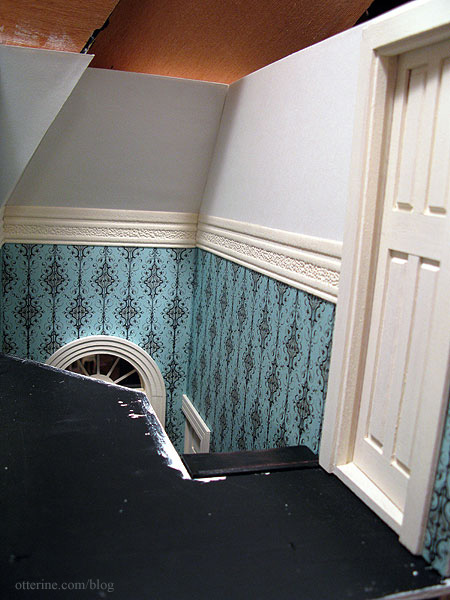
Continuing from the foyer wallpaper and trim post. I installed the wallpaper for the hallway, using plain drawing paper for the upper portion of the foyer. I like this material since the sheets are large (no seams on long walls), it has a nice texture and weight, and while it is a light color, it isn’t bright white. I used my usual method of scoring the paper to make tabs around corners. I find this makes for a cleaner finish.
Detail of the shaped pieces.
The wallpaper on the bathroom side wall is Turquoise Gothic Stripe. Once the papers were glued in place, I glued the anaglypta border in the foyer. Interestingly, the white drawing paper reflects the blue of the other paper and brings out the complementary yellow in the Vintage White painted trims.
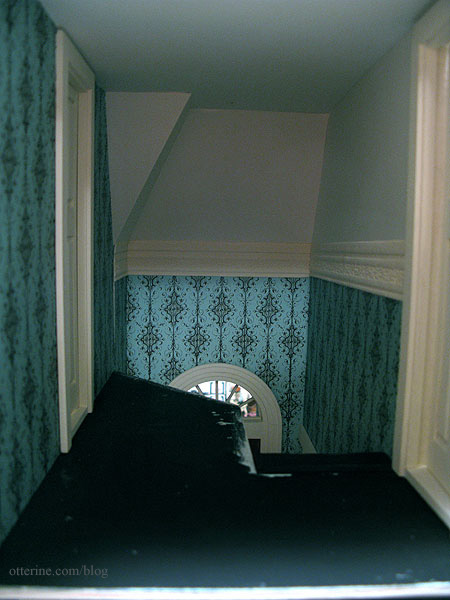
I haven’t glued the ceiling in place, but I propped it up to see the room enclosed. Not bad. :D
Categories: The Haunted Heritage
April 14, 2012 | 0 commentsHeritage – bathroom finishing, part 2
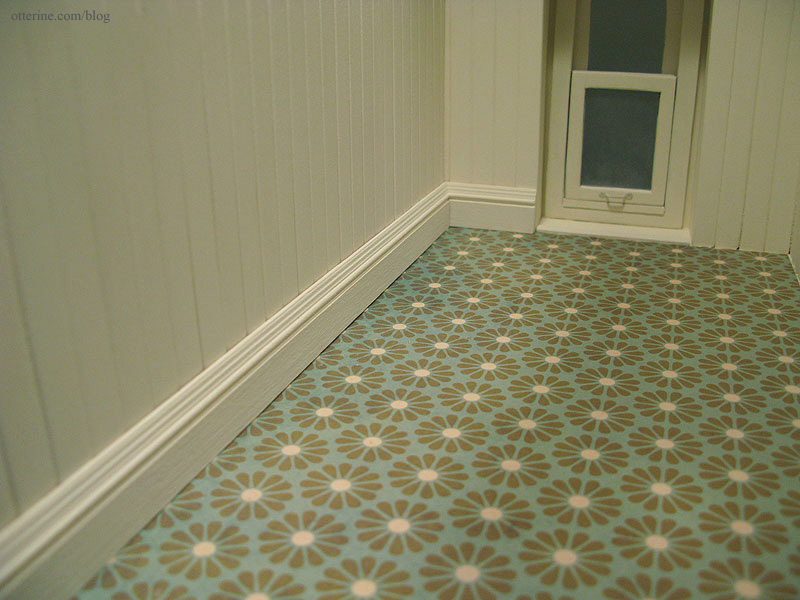
Continuing work on the bathroom. I started installing the baseboard permanently, including adding a board at the base of the dormer window where the flooring ends.
I made a heat register for the bathroom like the one in the kitchen, again using the tutorial by Kris at 1 Inch Minis. With the addition of water pipes for the sink, there wasn’t room for the register on that side of the room. The remaining portion of the inside wall will have either the tall tank toilet or a more updated version in roughly the same place, so I placed the register near the corner there.
The only change I made was to paint the exterior Vintage White by Folk Art to match the trim.
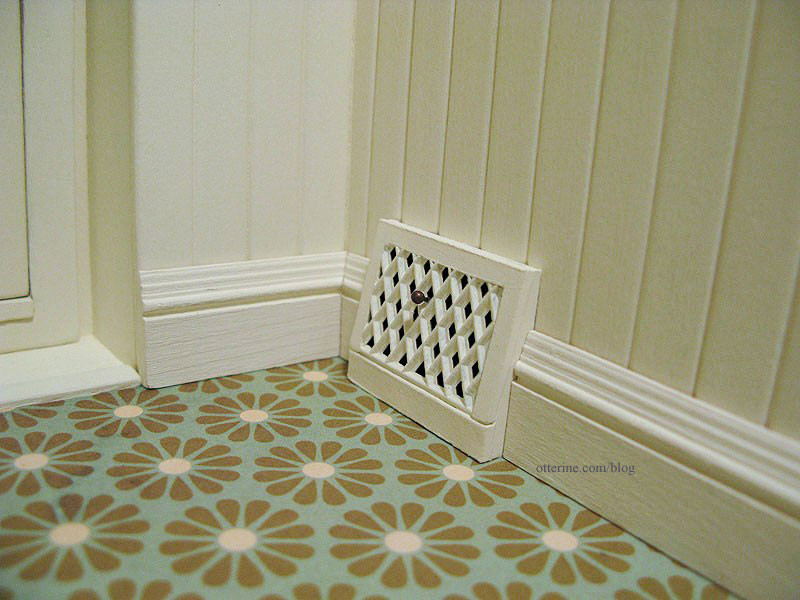
Since everything in this room is light in color save a few contrasting details, I thought a black register would draw too much attention.
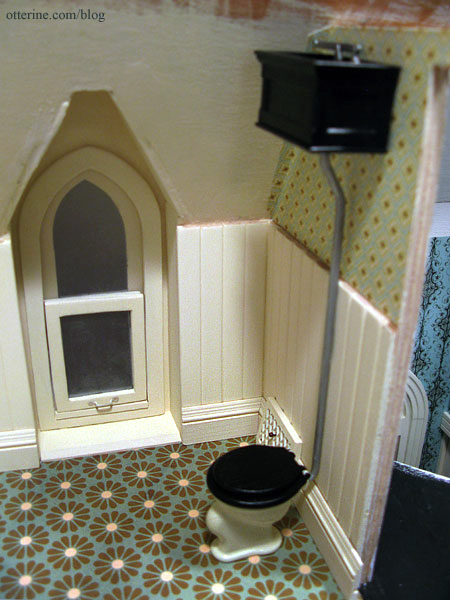
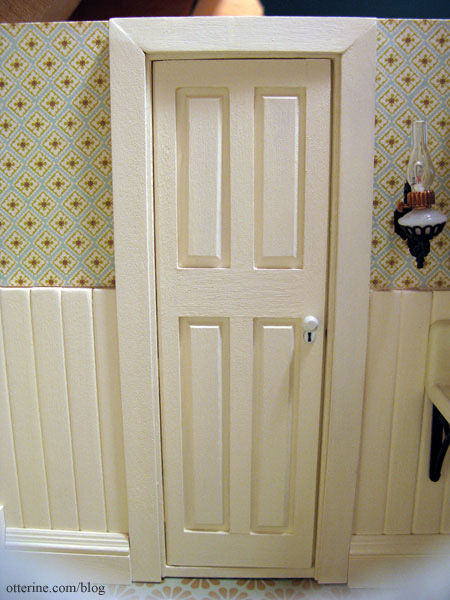
After working on the hallway, I was able to install the door, adding door knobs and keyholes. The keyhole covers are from Bindels Ornaments; they were brass but I spray painted them gloss white.
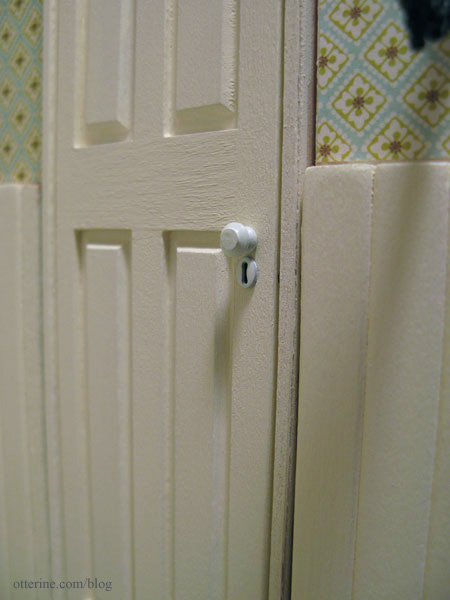
I installed the interior door trim. Since the beadboard has depth the upper wall doesn’t, the door trim has some added pieces around the top and sides to make up the difference.
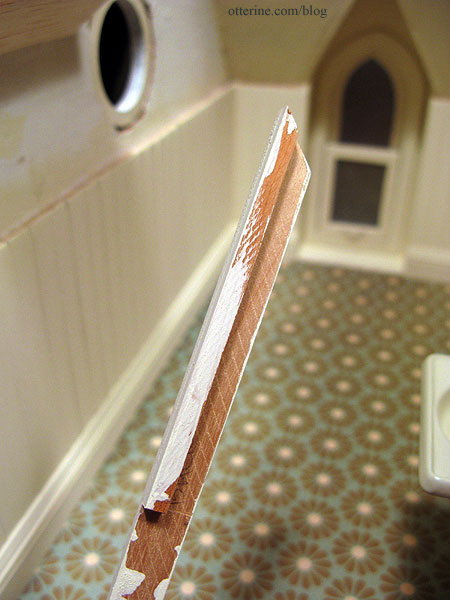
I used spackling at the joins at the top and touched up the paint. (There’s a separate post on the Chrysnbon sink finishing.)
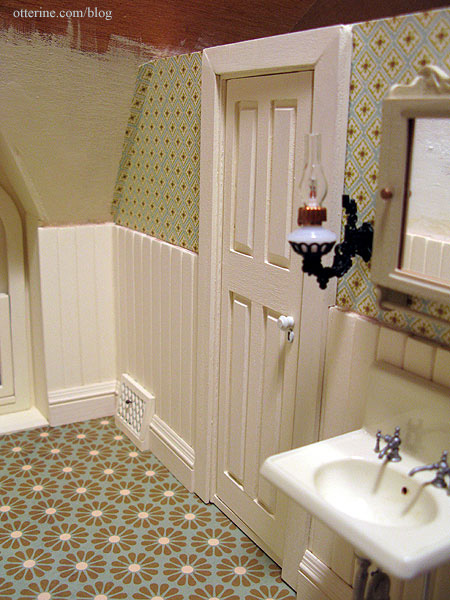
This view through the window will be obscured once the room is finished, but I had to get at least one shot of it.
Categories: The Haunted Heritage
April 13, 2012 | 0 commentsHeritage – Chrysnbon bathroom sink
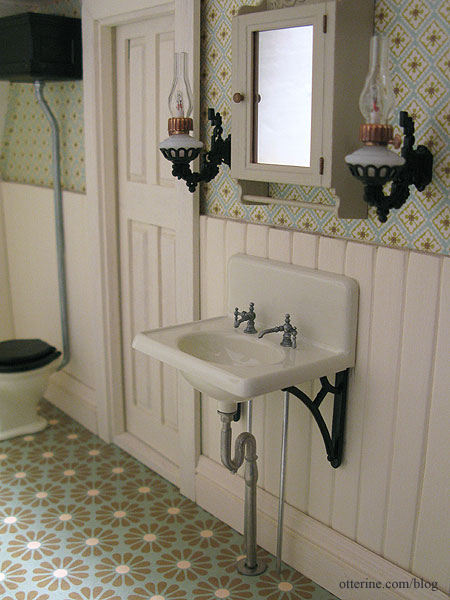
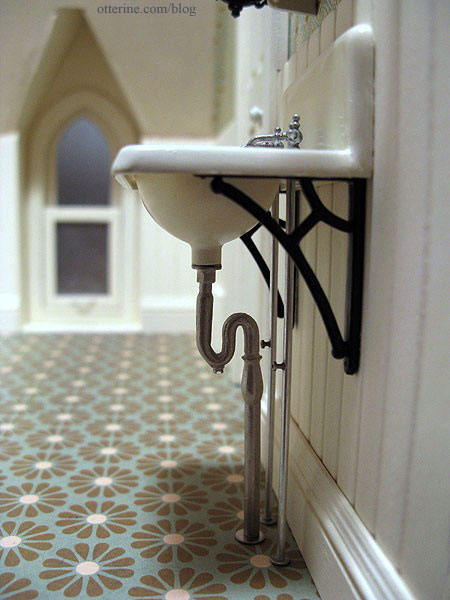
I used the same gloss ivory color from the bathtub on the sink and sprayed the brackets flat black. I painted the faucets with Testors Aluminum to tone down the shiny appearance and aged them with a wash of black acrylic. I still need to add an overflow outlet, paint the drain and add a little rusty water staining.
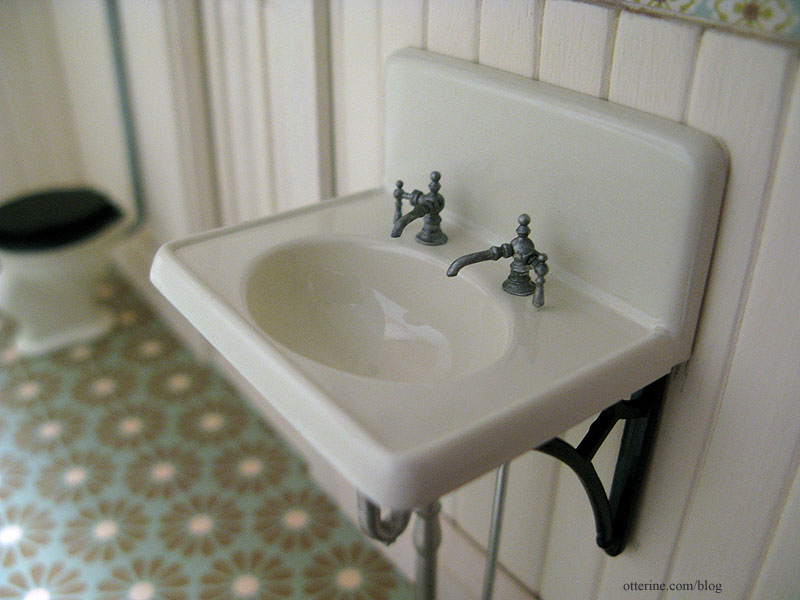
The pipe included with the kit would have made the sink too low, so I used a spare pipe I purchased from Sussex Crafts. I need to buy smaller washers but have put one I had on hand in for mockup purposes.
It also bothered the realist in me that there was no way for the water to get to the taps. So, I added two lines of aluminum tubing from the sink to the floor. I’ll need really tiny washers for these. And, I plan to fashion little valve knobs so grandma can turn off the water in an emergency.
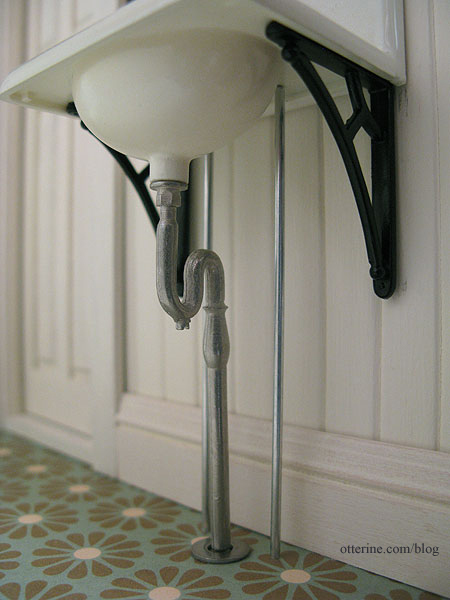
It’s a lovely little sink, no?
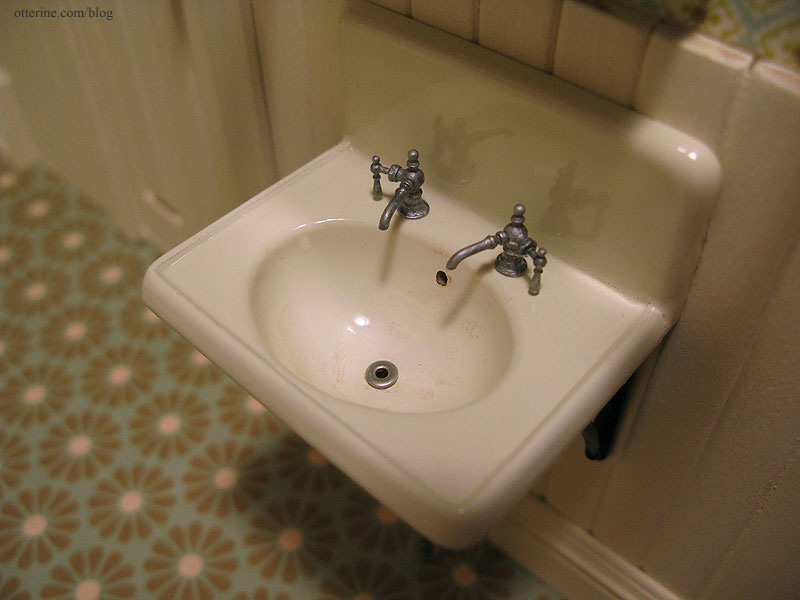
After having no luck at Lowes or Home Depot, I discovered a fine selection of tiny, thin washers at Ace Hardware. I didn’t have too much time to look around, but it just might become my new favorite store.
I added one washer to the sink bowl and drilled out a hole for the overflow. I placed a piece of black paper behind the overflow so no light would show through. I added a couple of brown paint washes but didn’t dirty it up too much…just enough to tone down the shine and make it look like it has been there awhile.
I bought a packet of miscellaneous watch parts some time ago for various projects I have planned. There are a lot of tiny, tiny parts in there!
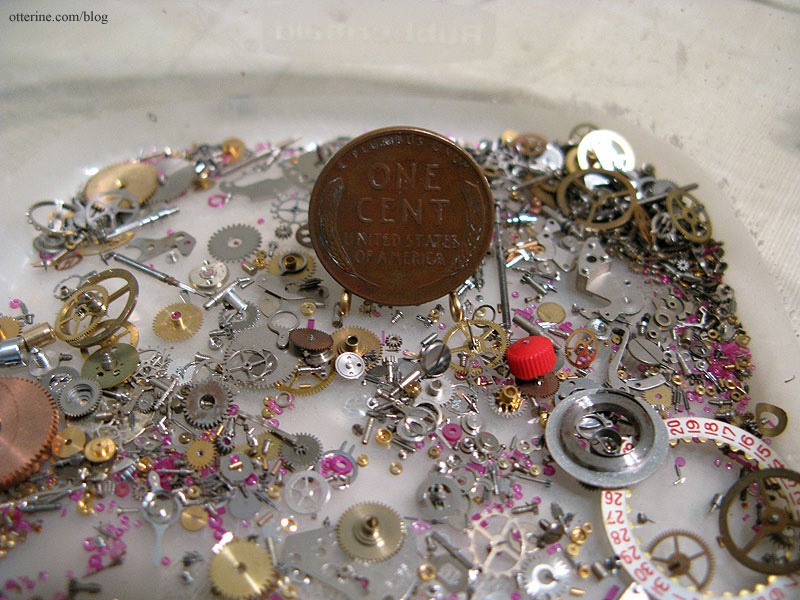
Today, I rummaged through it to find suitable shutoff valves. I know these are typically oval, but all I could find were round ones. I drilled holes into the aluminum tubing and glued them in place with super glue gel.
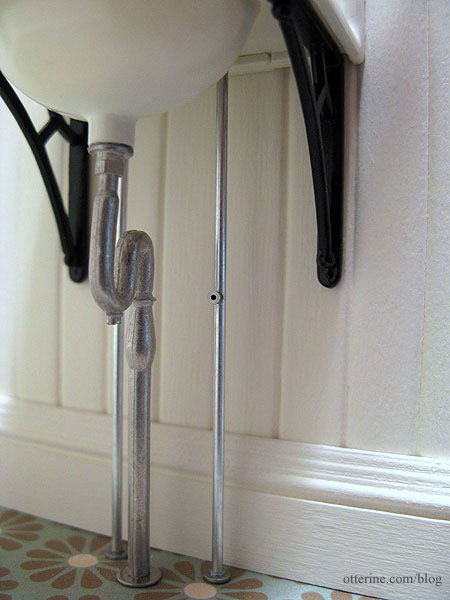
Two more of the tiny washers finish the bottoms of the water pipes where they meet the floor. I bought a washer one size larger for the drain pipe, too.
Categories: The Haunted Heritage
April 12, 2012 | 0 commentsHeritage – bathroom finishing, part 1
How do you get beadboard to look like it has been painted 50 times? You paint it 50 times. Okay, maybe I didn’t paint the bathroom walls 50 times, but I lost track of how many coats of paint I put on it. At least now it’s relatively smooth.
I tackled the flooring next. Using spray adhesive, I mounted the Flower Frenzy paper by We R Memory Keepers onto a sheet of regular drawing paper for stability and then sprayed it with matte sealer. I didn’t want it to be shiny, just a little deeper in color and not so paper-y. I like the way it looks like worn down linoleum.
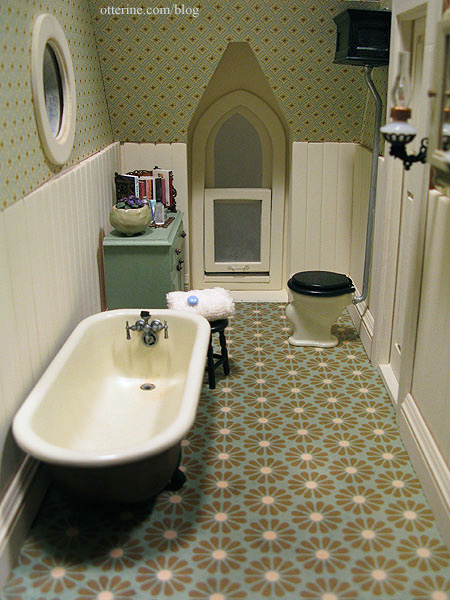
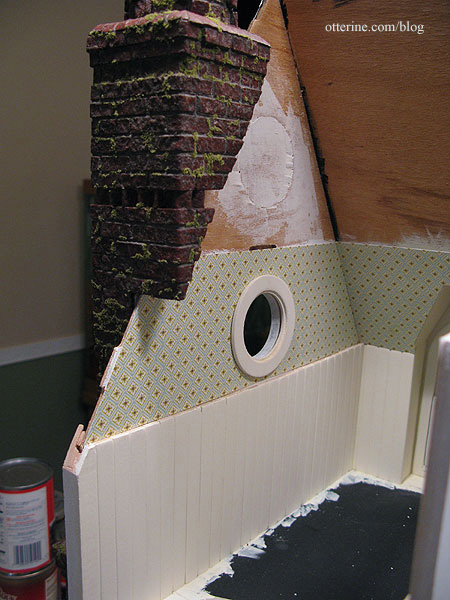
The wallpaper is Cute Little Diamonds paper by The Paper Studio. I don’t have the paper on the front and outer walls installed permanently yet because I need to finish the chimney. I know Keli would have a fit if I didn’t continue the chimney inside the house! ;D
As I mentioned before, I know that the high tank loo isn’t exactly 1920s. But, I’m picking my battles and sticking with the Chrysnbon toilet assembled right out of the box. I used Krylon Gloss Ivory on the loo and flat black on the seat, lid, tank and brackets. I hand brushed Testors Aluminum paint onto the lever and pipe in the tank. I also painted the main pipe even though it was molded with a chrome finish in the original kit. I didn’t want the pipe to look brand new.
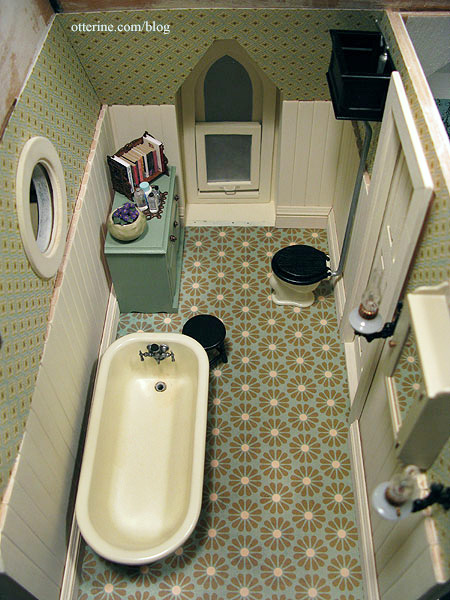
The medicine cabinet is also from the Chrysnbon kit. I painted it with Krylon Almond in satin finish, the same paint I used on the Bespaq bed. I like that it matches somewhat but I didn’t want a glossy finish to compete with the sink. The hinges and knob are painted with Liquitex Iridescent Bronze. I am still working on the Chrysnbon sink.
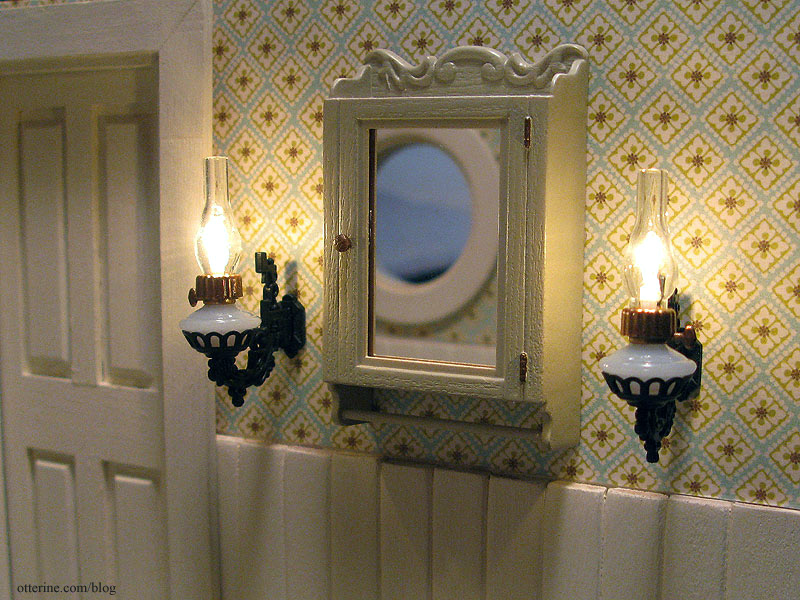
The wall sconces are Chrysolite kits, though I left off the reflectors.
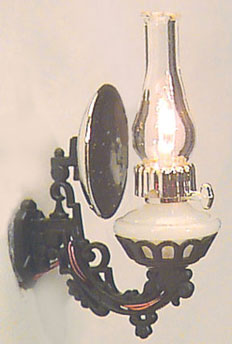
I painted the brass parts copper to match the bathroom colors and switched out the included wires for replaceable bulb sockets. I painted the wires black to make them less obvious.
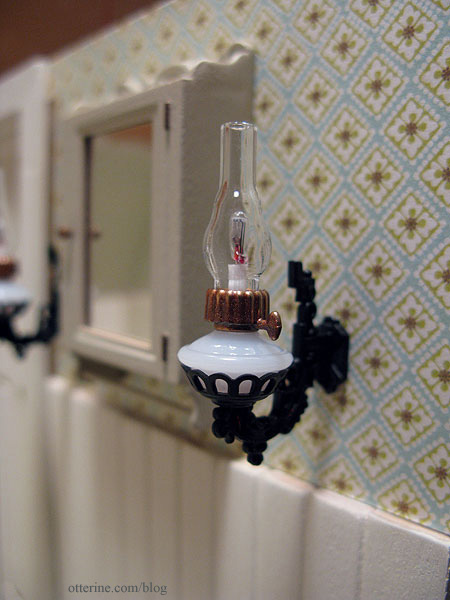
The wires go through the wall toward the hallway. I made thin channels in the wood and taped the wires toward the ceiling. These wires will be directed through channels on the attic floor and out the wall to the space allotted in the chimney.
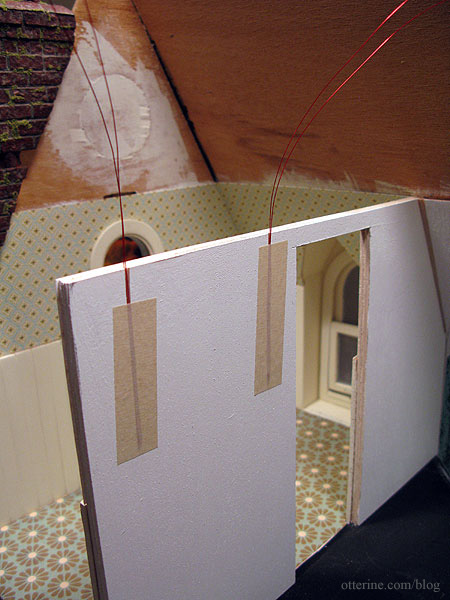
With a piece of white foam core propped in for the ceiling, I can already tell I am going to love this room when it is enclosed and finished. :D
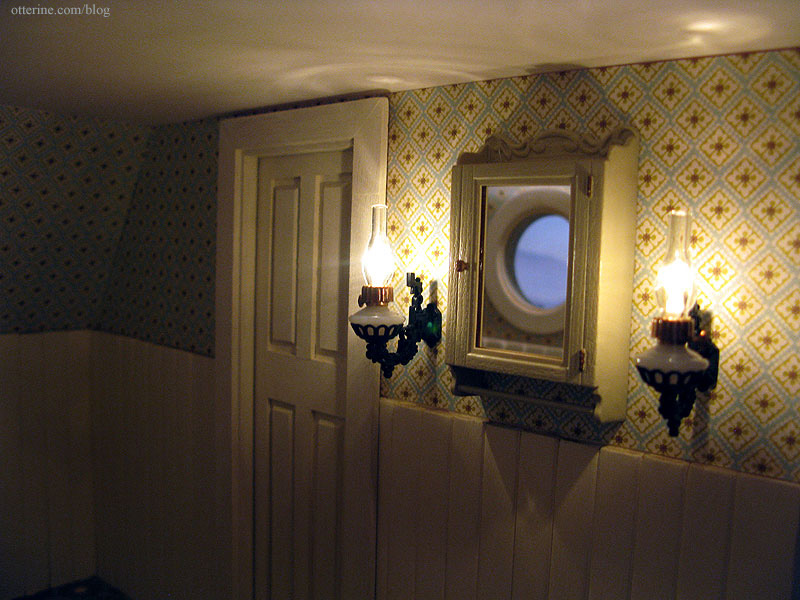
The door is propped in place backwards (door opening out) for now since it will take some work getting the interior trim in place. The beadboard takes up some of the extra wall thickness, so I’ll need to pad the framing around the top and sides of the opening.
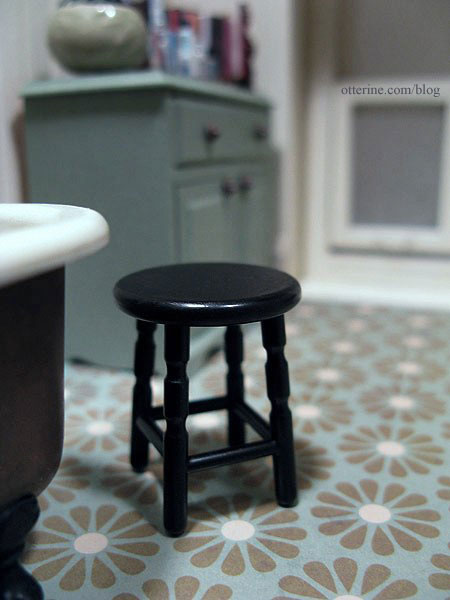
I made the small stool from the bath kit, too. I sprayed it flat black, but the top was rough so I had to follow up with acrylic paint. I topped it off with satin varnish, and now it looks like a vintage piece that’s been painted and painted and painted.
Categories: The Haunted Heritage
April 11, 2012 | 0 comments
NOTE: All content on otterine.com is copyrighted and may not be reproduced in part or in whole. It takes a lot of time and effort to write and photograph for my blog. Please ask permission before reproducing any of my content. Please click for copyright notice and Pinterest use.


