

Blue medallion rug – introduction
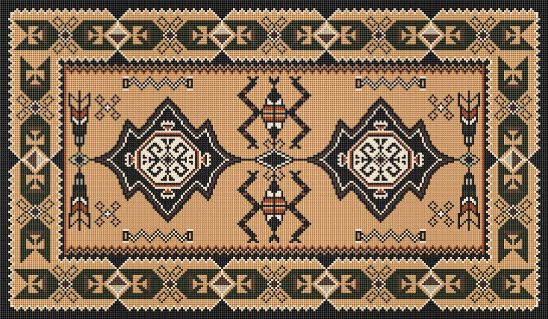
I found this beautiful rug on Jorge Cubells’s blog, and he was kind enough to upload a larger picture so I could stitch one for myself. I will be using colors very similar to his. I mounted a piece of 32ct Jobelan on a wood frame, and my threads are all from my existing stash…though I do need a better dark green than the one I have. The background will be ivory – DMC 712 – which I will do most of after the border and medallion are in place. I want to limit the chances of the ivory being soiled as I work on the darker designs.

Update 9-9-2012: I noticed a small issue with the pattern. It seems there is a column missing from the middle of the design on the pattern I downloaded, so there are two lines of stitching missing in my rug as I’ve stitched it. From Jorge’s photo, I see the violet flowers are uniform all the way around, but on my rug as I followed the chart, my middle violet flower is smaller than the two on either side…and the blue decoration in the border runs together where there should be a space between them. I realized it was off when I taped the pattern together but thought it was just a design element. It wasn’t until I looked at the photo of the finished rug again that I saw the pattern was off.
But, I am not starting over after 34.75 hours of work! Unless you are familiar with the original, you don’t even notice. Looking at my rug, nothing appears obviously off; it just differs from Jorge’s original. I still love it, and I am forging ahead!

Categories: Needlework - French knot rugs, The Artist's Studio
August 23, 2012 | 0 commentsMerry scarecrow tutorial
Who’s ready for autumn?!!!! I am eager to get back into working on the Heritage, which will be wonderful to decorate for Halloween. Below is a tutorial I wrote that was featured in the February 2012 Greenleaf Gazette.

This is a fun, simple and versatile tutorial for making raffia and polymer clay scarecrows.
Along with craft glue, some small clamps, a ruler and scissors, you will need:
– Orange polymer clay
– Clay sculpting tools
– Orange or natural raffia
– Black sewing thread
– Black felt
– Yellow paper
– Leaf paper punches
– Ball stylus
– Black paper
– 1/16″ hole punch
– Black paint and small brush (optional)
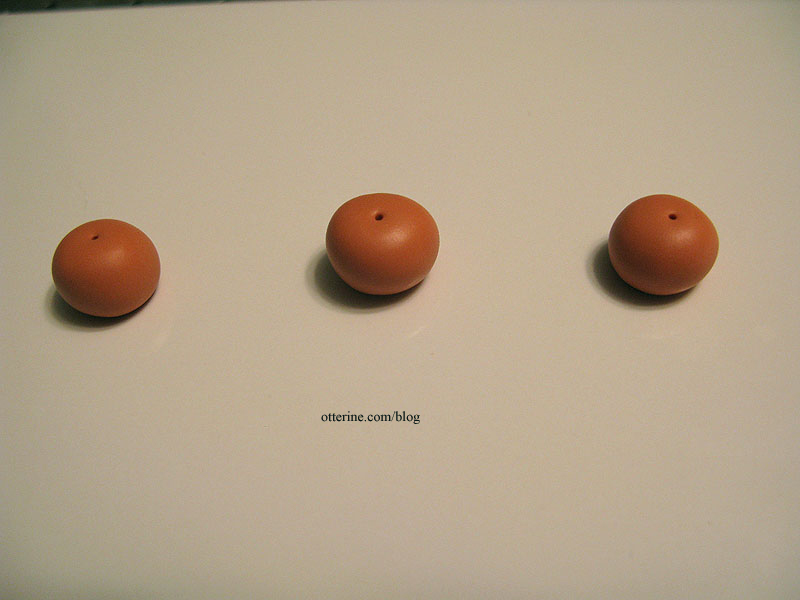
– A small bit of wire and mini drill (optional)To make a polymer clay pumpkin, roll some orange polymer clay into a ball in the size you wish for the head. I’ve used Fimo in Cognac here to form a ball approximately 3/8″ in diameter. Flatten the sphere just a bit and mark the top center with a clay sculpting tool.
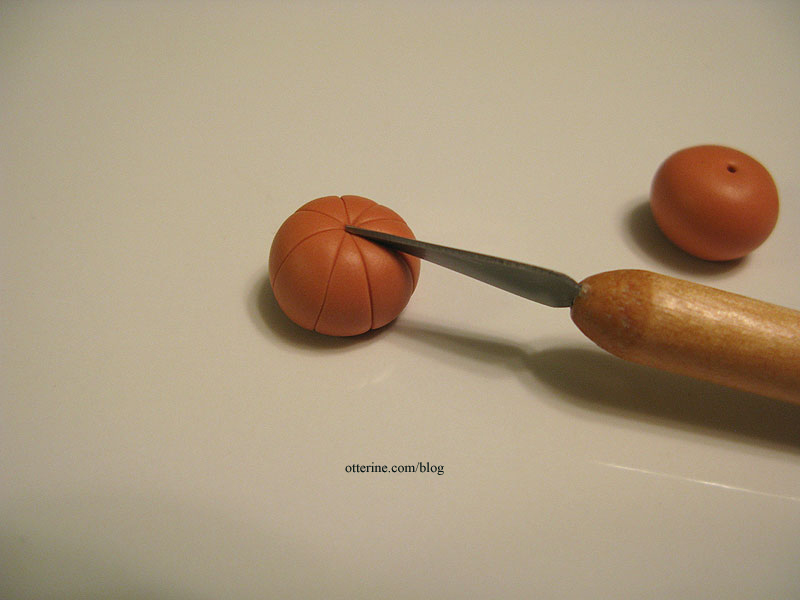
Using your sculpting tool, create indentations from the top to the bottom along the sides, evenly all the way around.
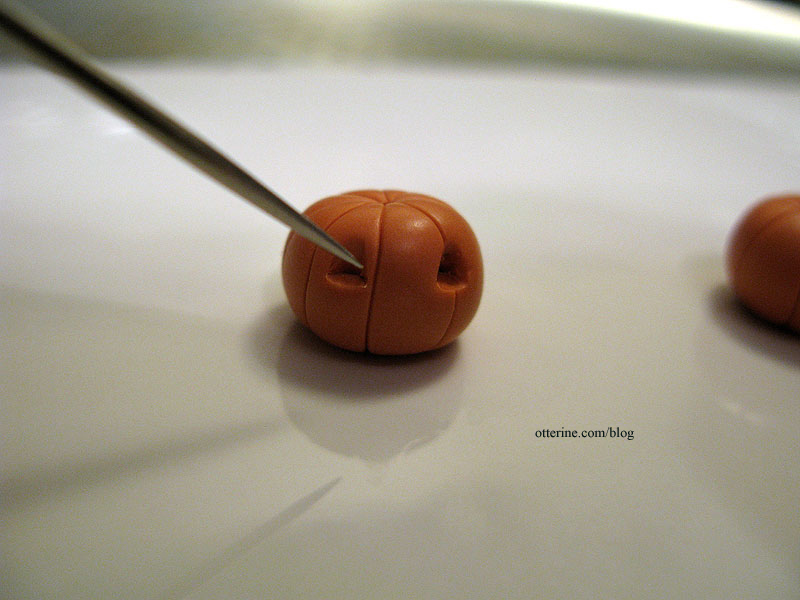
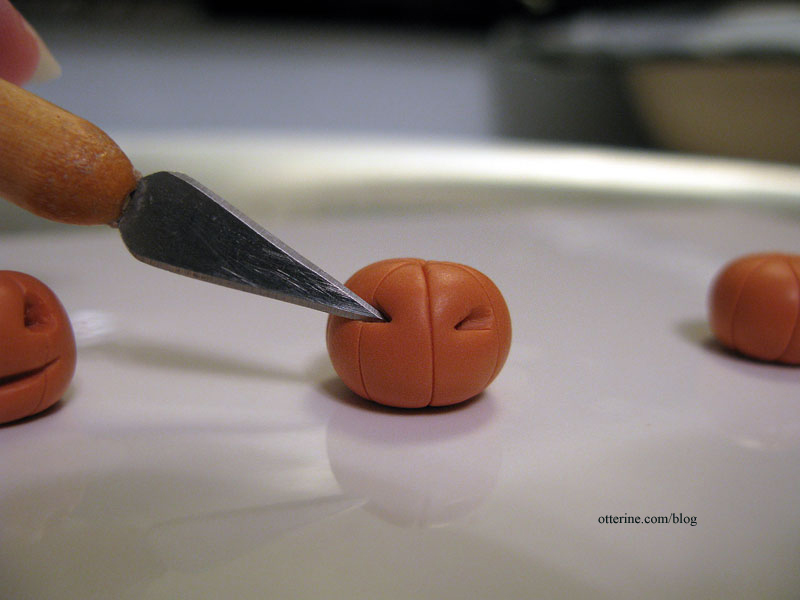
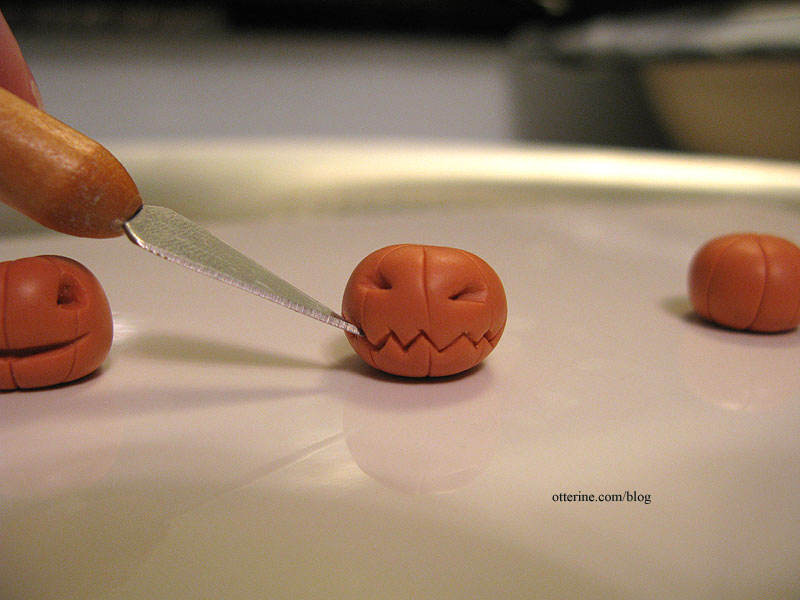
Create a face by indenting the clay. I’ve used these various tools for the faces created in my examples.
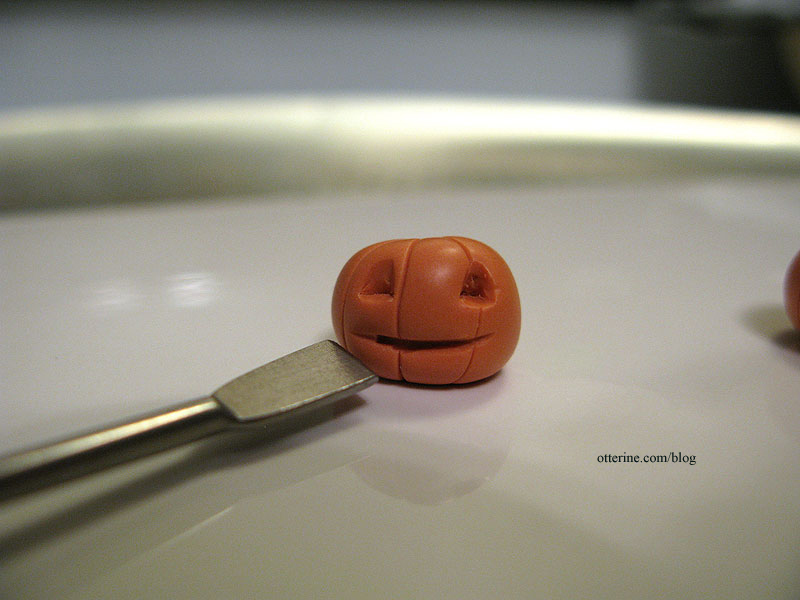
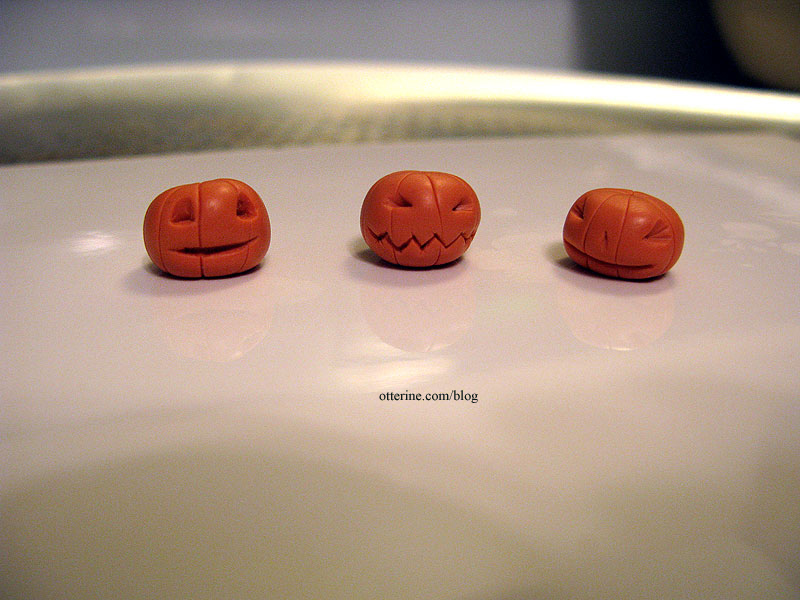
Bake according to the clay instructions and set aside to cool.
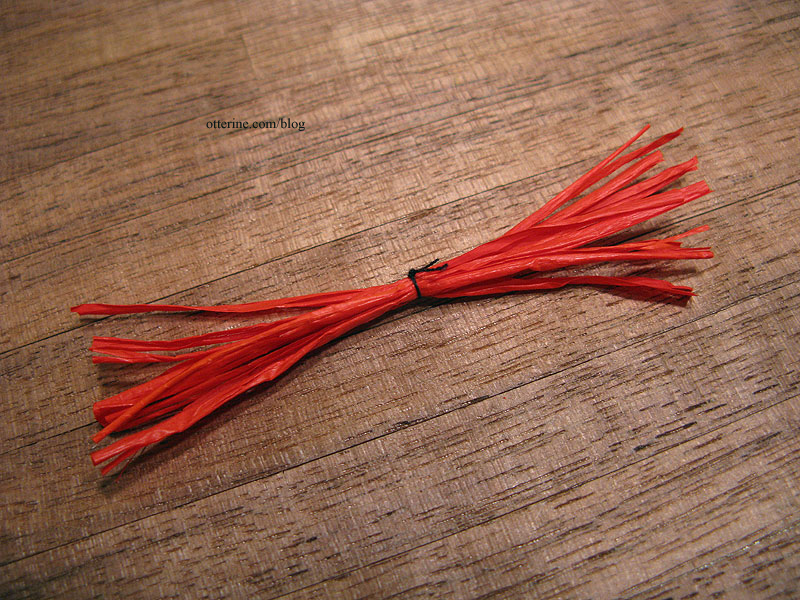
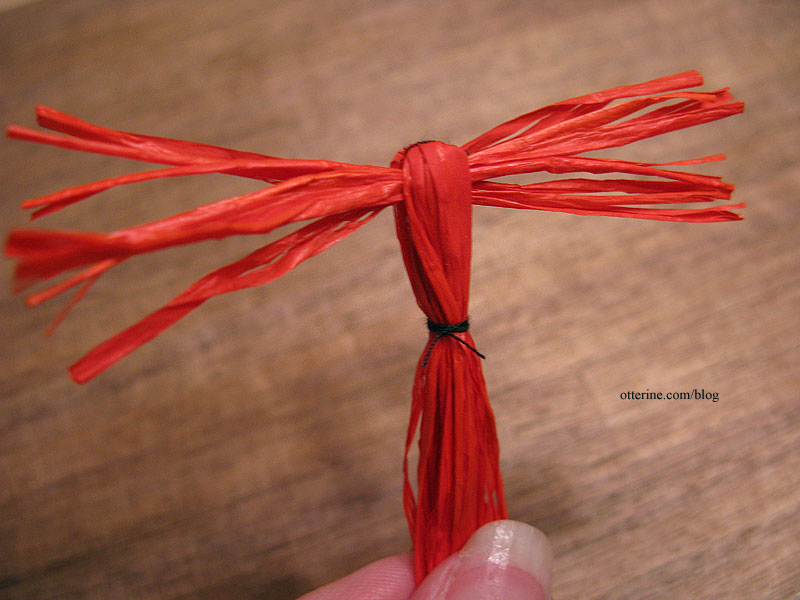
Determine the height you want your scarecrow to be from neck to feet (the polymer clay head and felt hat will add to the height, so take this into account). Take about 8-9 pieces of raffia and cut to the height measurement plus a little extra for trimming. I’ve made mine just over 3″ long. (Note: this corrects the Gazette version that stated to cut this bundle to half the height measurement.)

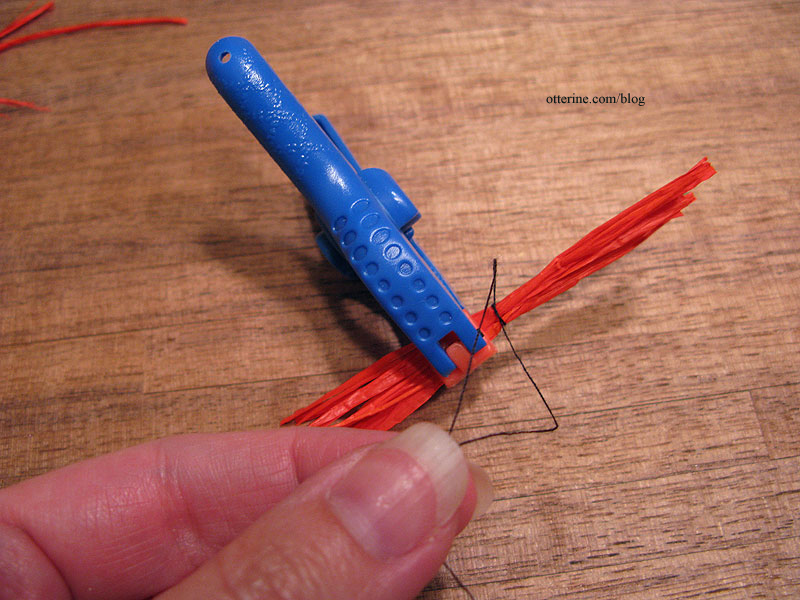
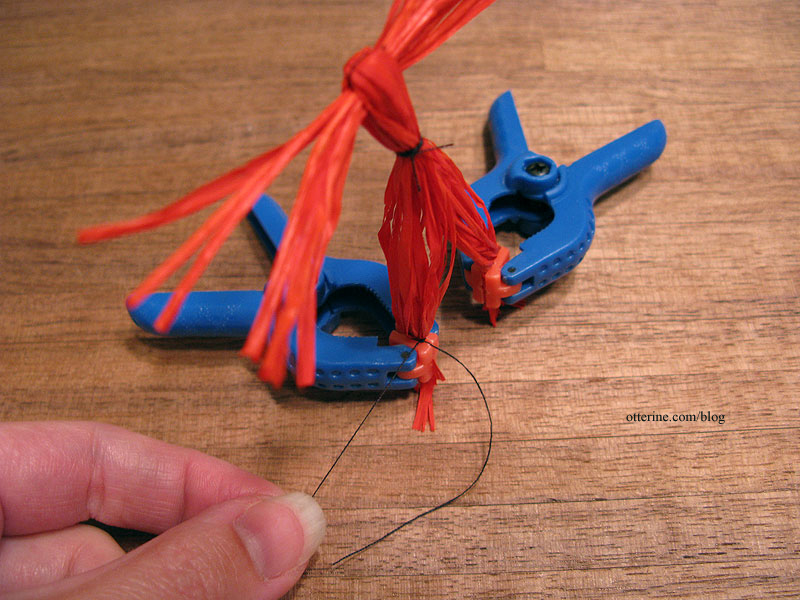
Tie the raffia bundle in the exact middle with black sewing thread, being sure to knot a few times. Cut the ends of the thread but not too close. This assembly will form the arms. Tip: use a clamp to hold the raffia while you tie the knots.
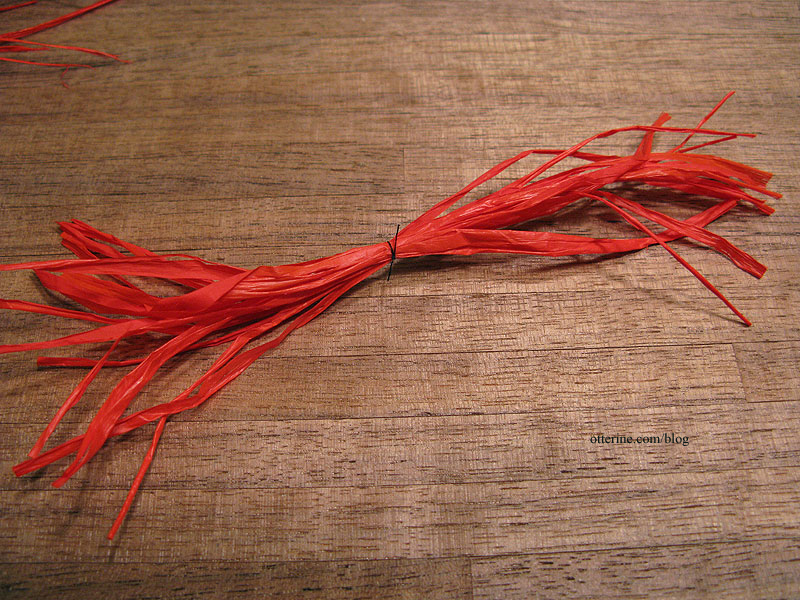
Take about 13-15 lengths of raffia and cut to twice the height measurement plus some for trimming. I’ve made mine 6.5″ long.
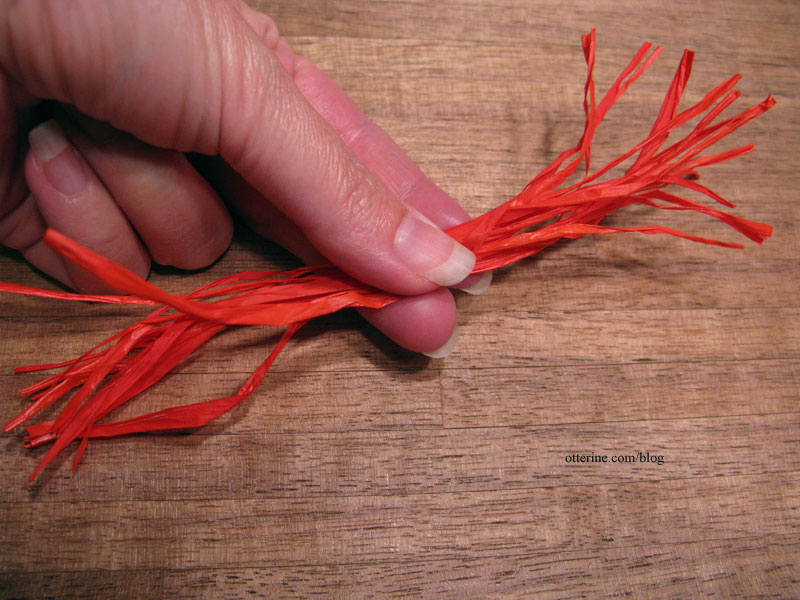
Tie the raffia bundle in the exact middle with sewing thread and cut the ends of the thread. This will form the body and legs.
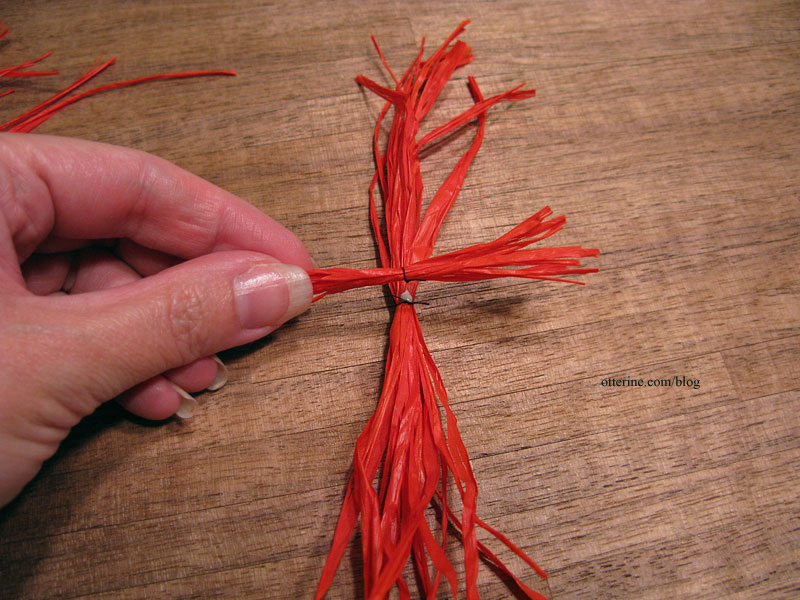
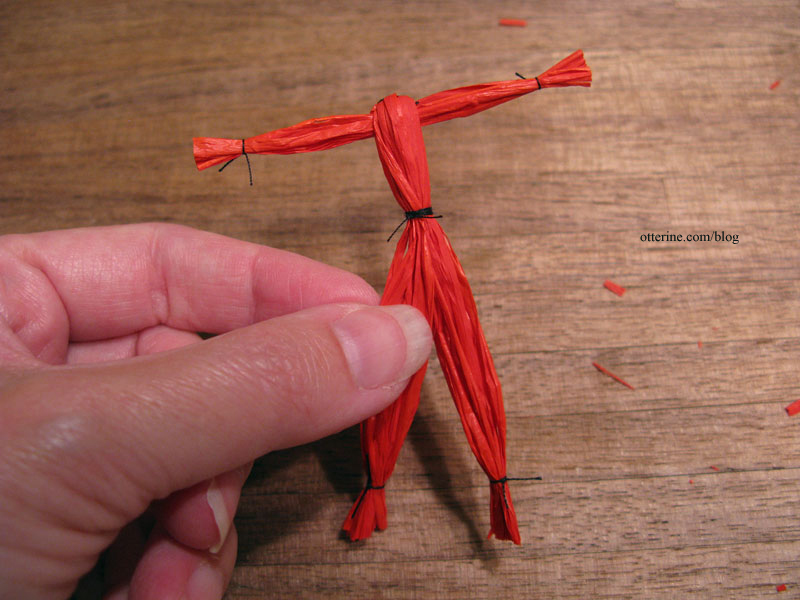
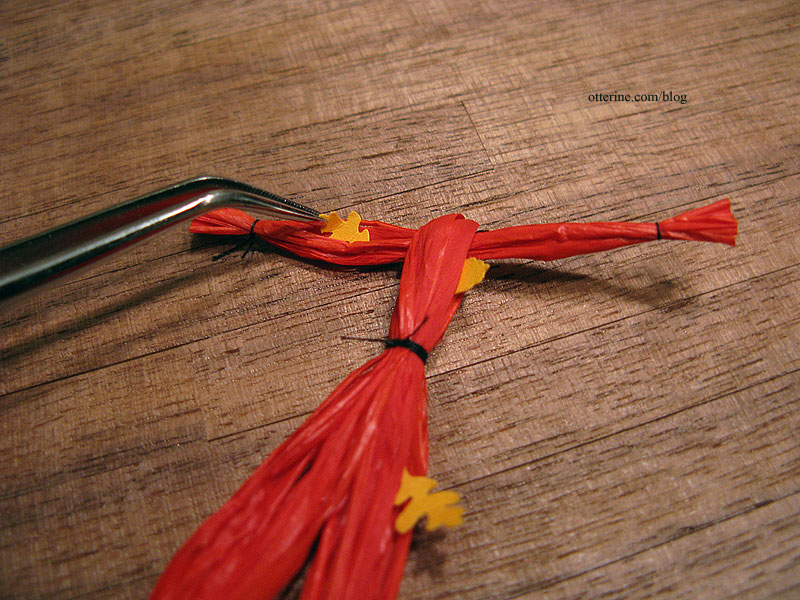
In the exact middle, glue the arm assembly at the knot and fold the body over.

Tie the waist with black thread. Wrap the thread around a few times to form a belt (you can also add thin ribbon) and knot the thread. Cut the ends of the thread.
Separate the raffia below the waist into equal amounts. Tie at each ankle with black thread, leaving a bit of extra raffia to form the feet. Cut the ends of the thread. Trim the raffia ends even.

Tie at each wrist, leaving a bit of extra raffia to form the hands. Cut the ends of the thread. Trim the raffia ends even. Set body aside.
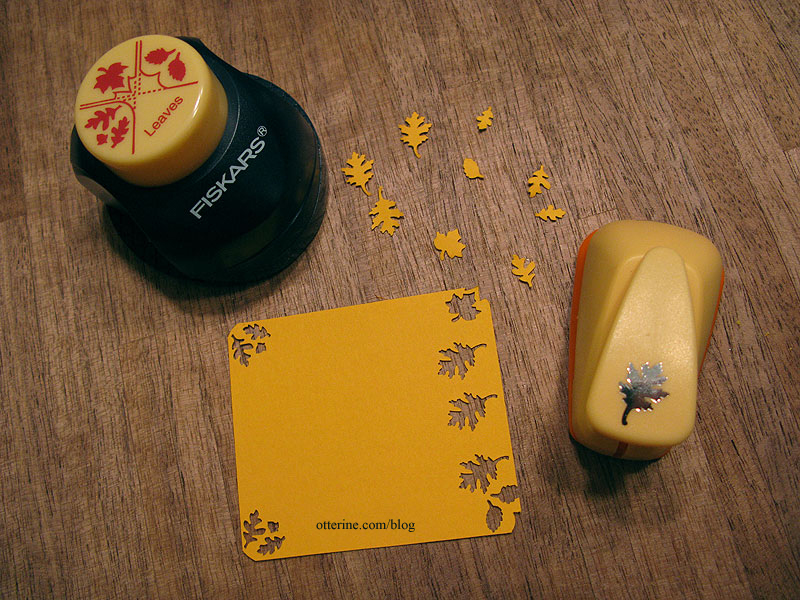
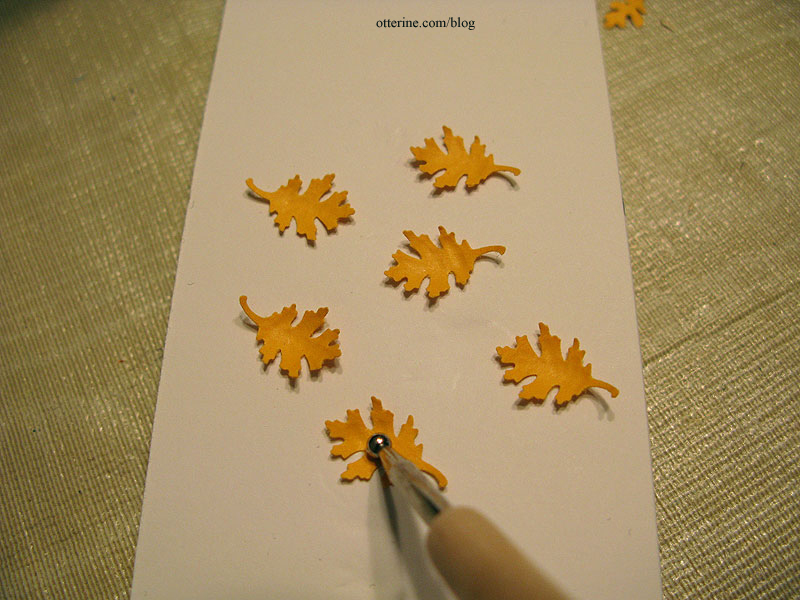
Punch out leaves from yellow paper. I use the larger leaves for the head and the smaller ones to stuff into the body.
Cup the leaves with a ball stylus.
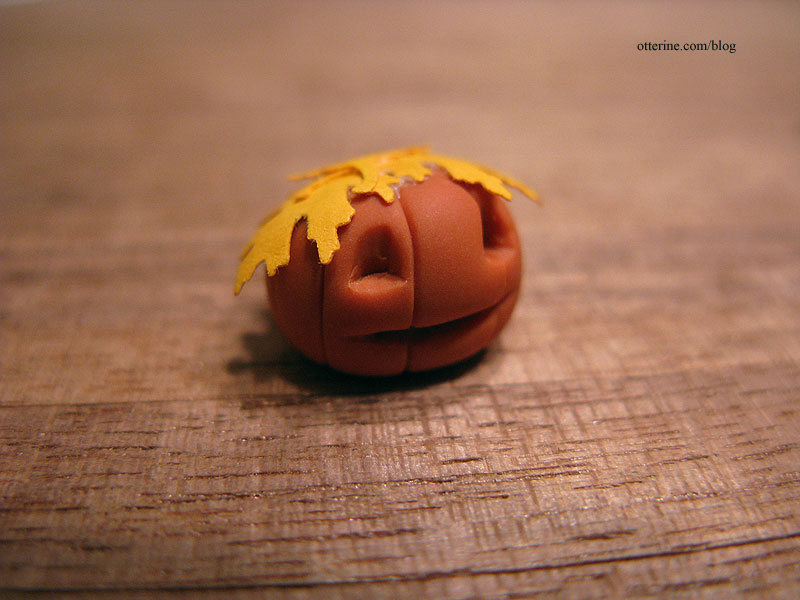
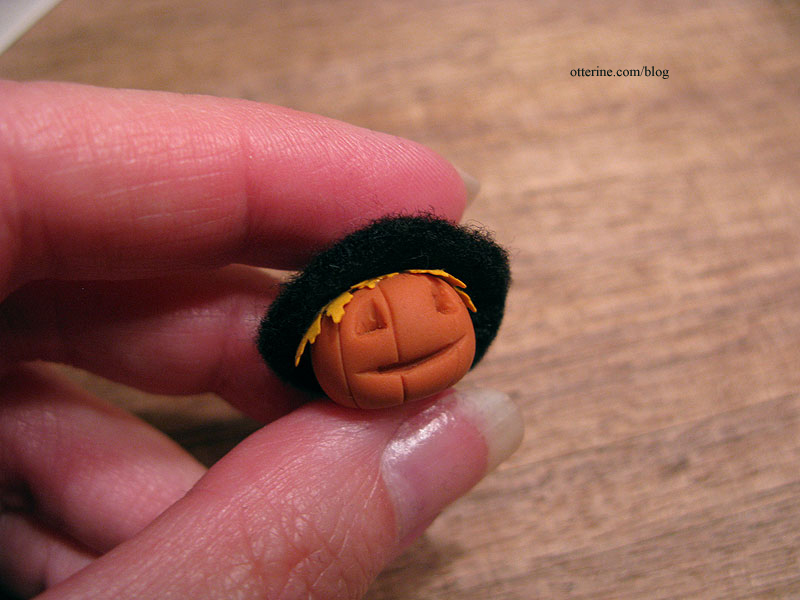
Glue three of the larger leaves on top of your pumpkin, clipping or shaping as necessary.
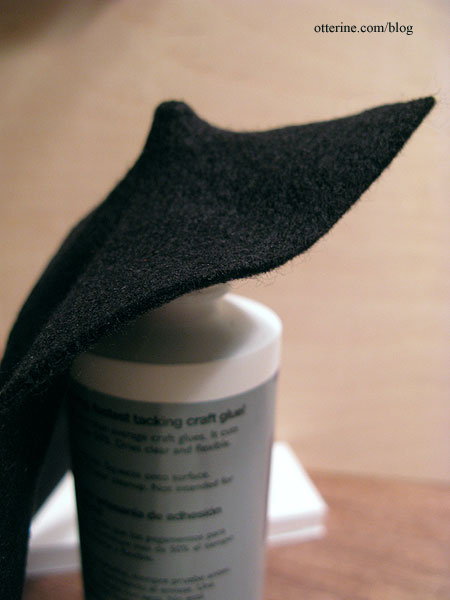
Using the tip of your glue bottle, press the felt down to form a bubble in the felt. Work gently and slowly, otherwise you’ll poke right through. I find it easier to make these bubbles on a larger piece of felt and then cut them to fit.
Using your polymer clay pumpkin as a guide, trim the black felt around the bubble to make a hat.
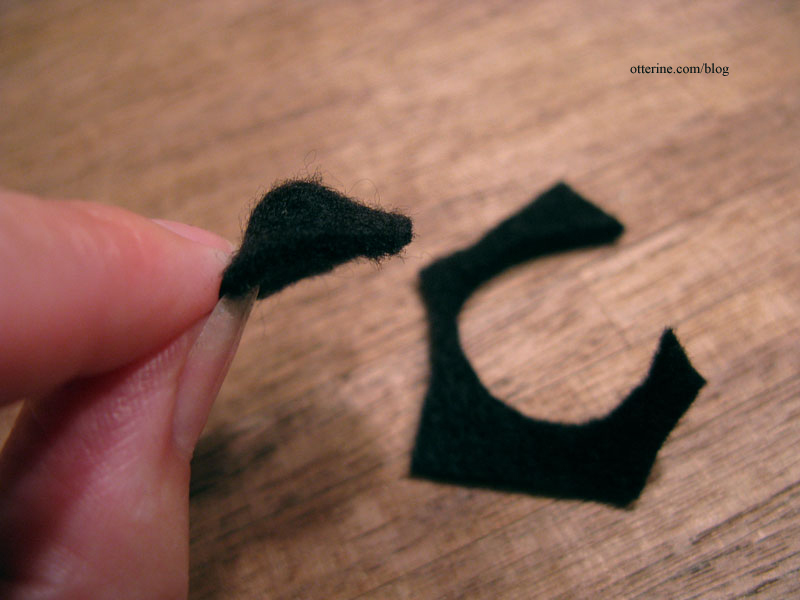
Glue the hat in place over the leaves.
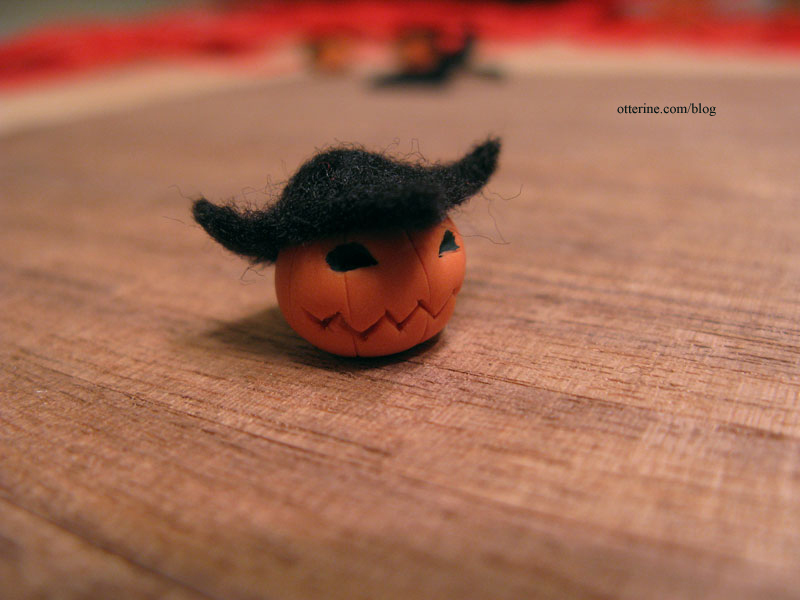
You can also skip the leaves altogether and make any crazy shaped hat you want.
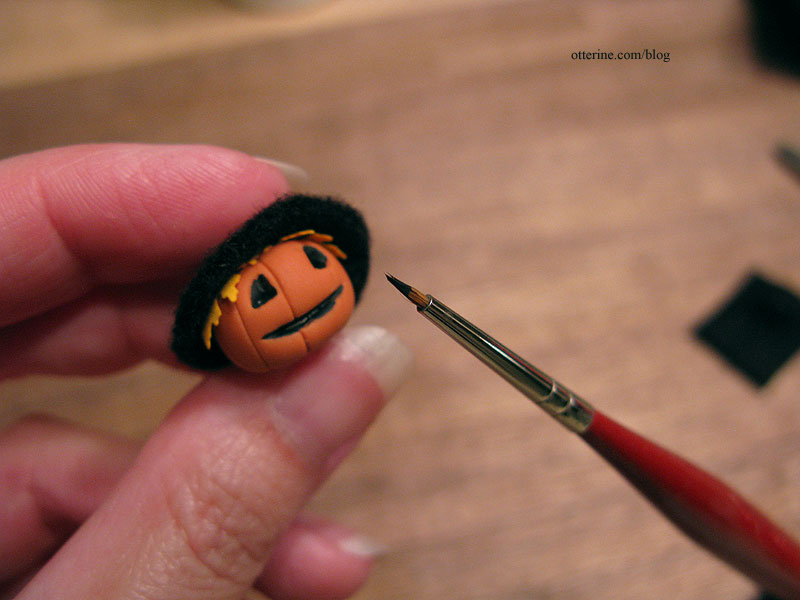
If you’d like to paint your pumpkin’s face, use a small brush to apply acrylic paint into the indentations for the eyes and mouth (and nose, if you made one). You’ll need to let the paint dry before finishing.
Shape and glue the smaller leaves into the raffia of the body.
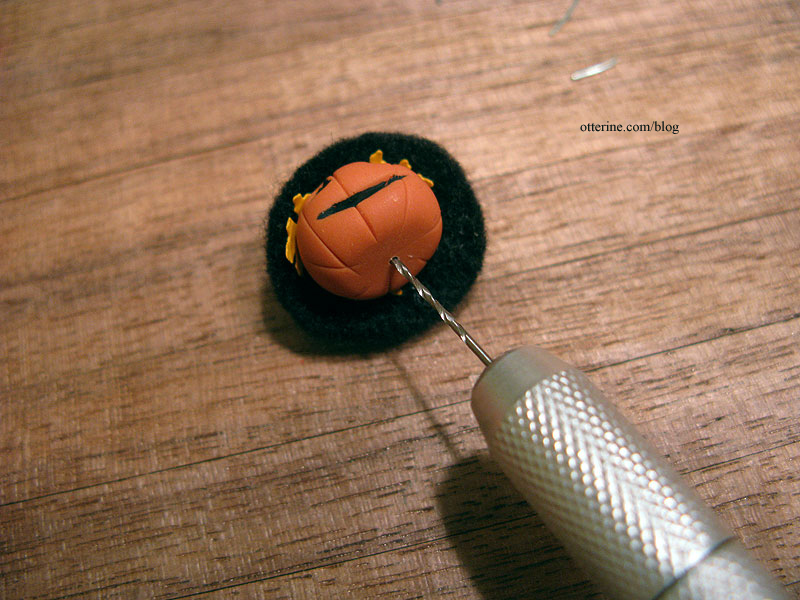
This next step is optional, but I find it adds stability. Using a small drill, make a tiny hole in the bottom of your pumpkin where you want it to attach to the neck and shoulders.
Glue a small bit of wire into the neck (I used a small length of jewelry wire I had on hand, but the wire from a twist tie would work just as well).
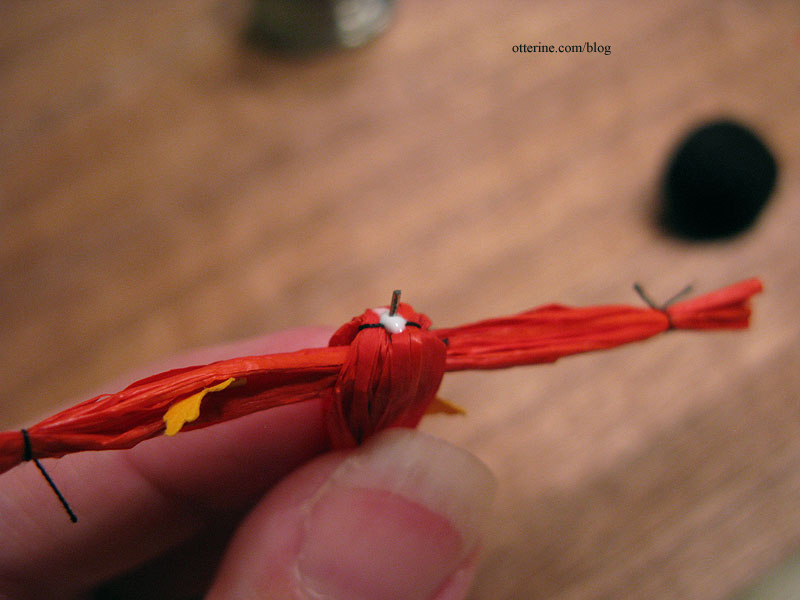
Glue the other end of the wire into the head at the neck and shoulders, adding glue between the head and the body as well. Gluing polymer clay to anything is often semi-permanent, so you may need to apply glue again in the future. Having the wire in place helps keep your scarecrow from turning into the headless horseman even if the glue comes loose. :D
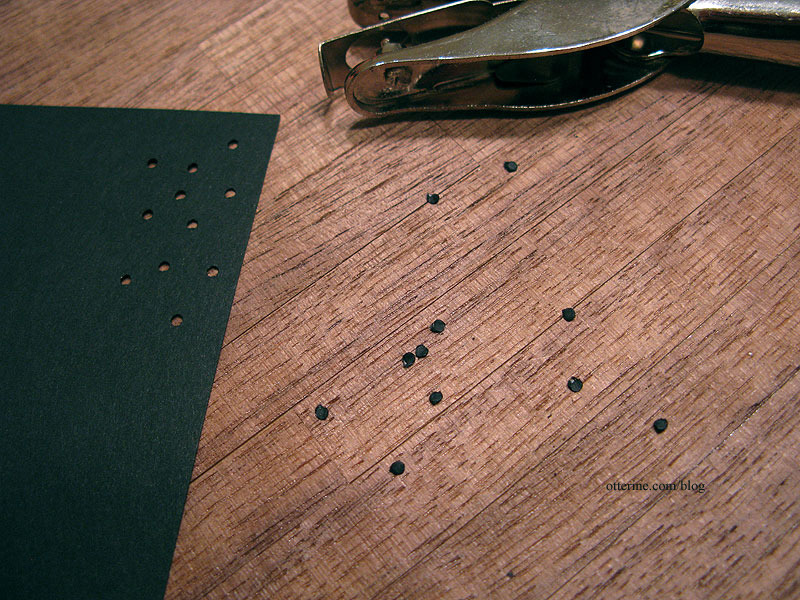
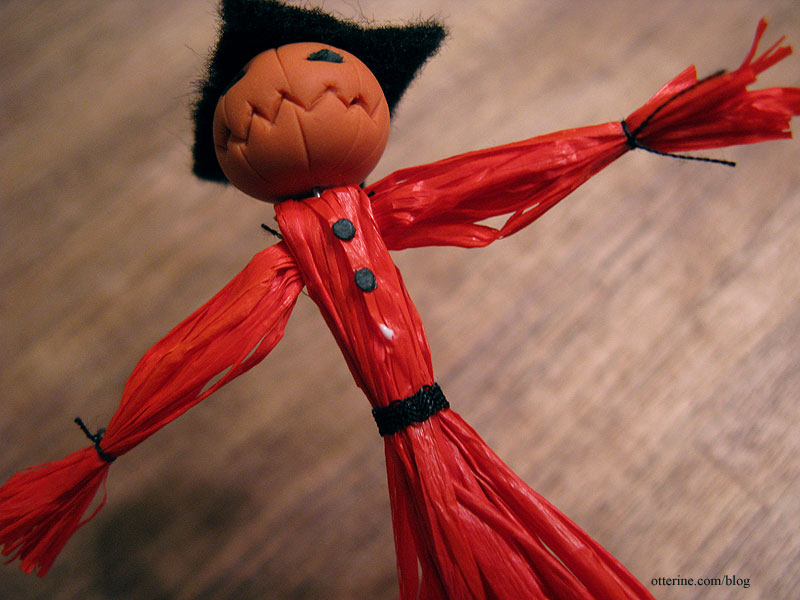
Punch out some 1/16″ circles from black paper. Glue on as buttons to the front above the waistband. You could also use paint for the buttons but be sure to set it aside and let dry completely before handling.
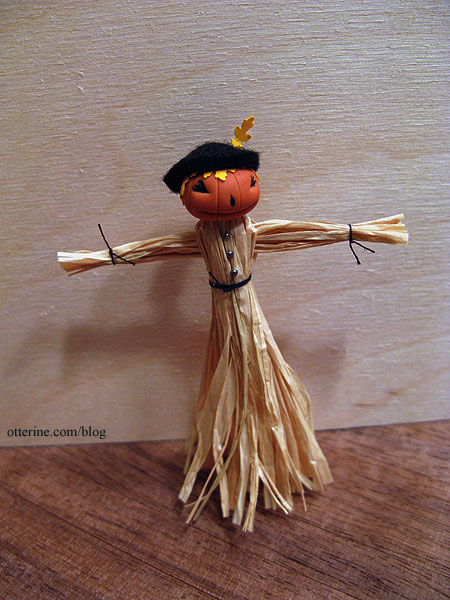
Here’s an example using natural raffia (I used a larger bundle for this one to have a full skirt). For the skirt, I left the raffia below the waist untied and trimmed the bottom edge for a clean look. I used small half beads for the buttons and put a leaf on her hat. Isn’t she pretty in her smart cap? :D
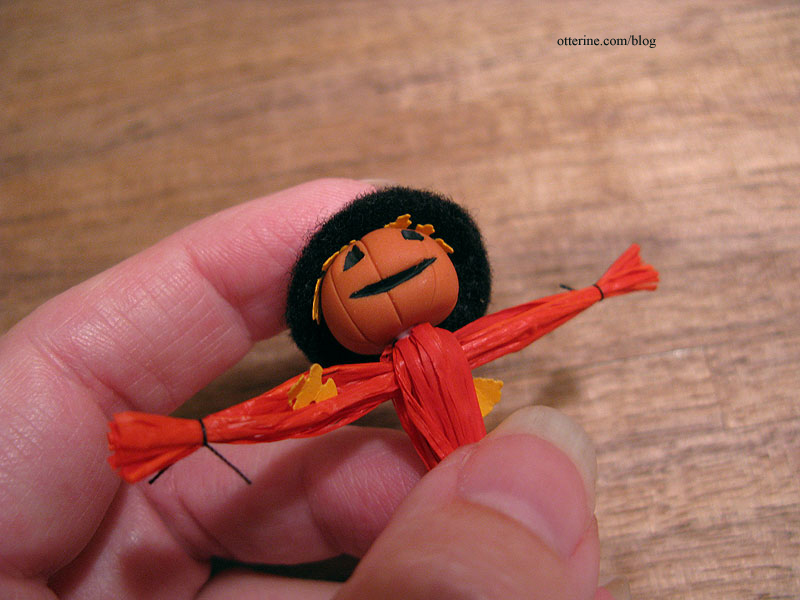
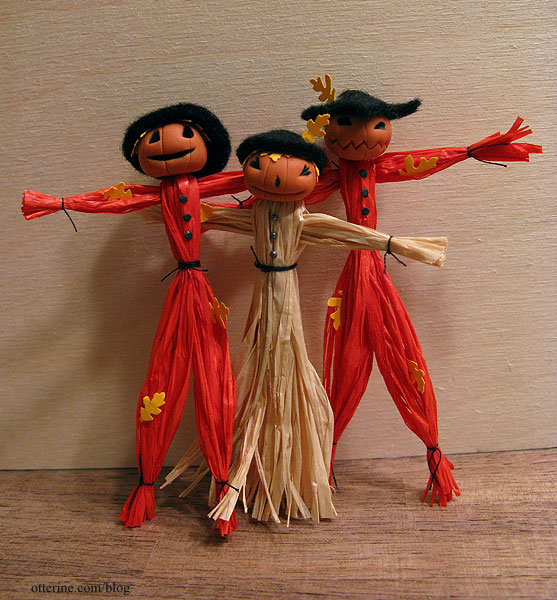
And, there you have it…a merry scarecrow (or three) for your autumn or Halloween display!
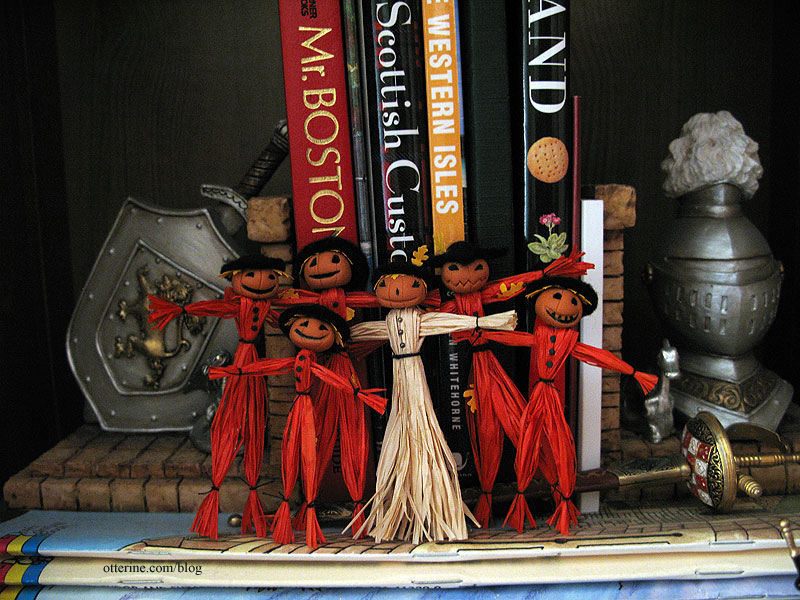
I have a few of these made for sale in my etsy shop, too.
Categories: Miniatures
August 22, 2012 | 0 commentsBishop Show – Aug 2012
Technically, it’s still summer but the fall Bishop Show just came through this weekend. I had a small budget, stuck with it and even came home with money to spare. :D
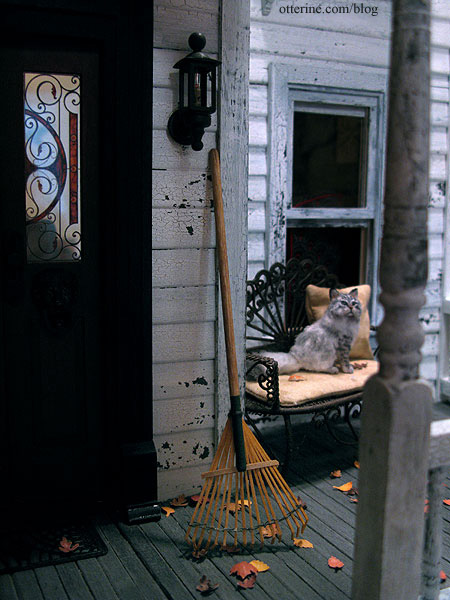
I bought a lovely rake by Sir Thomas Thumb. I had found a leaf rake before, but this one is just so much more realistic.
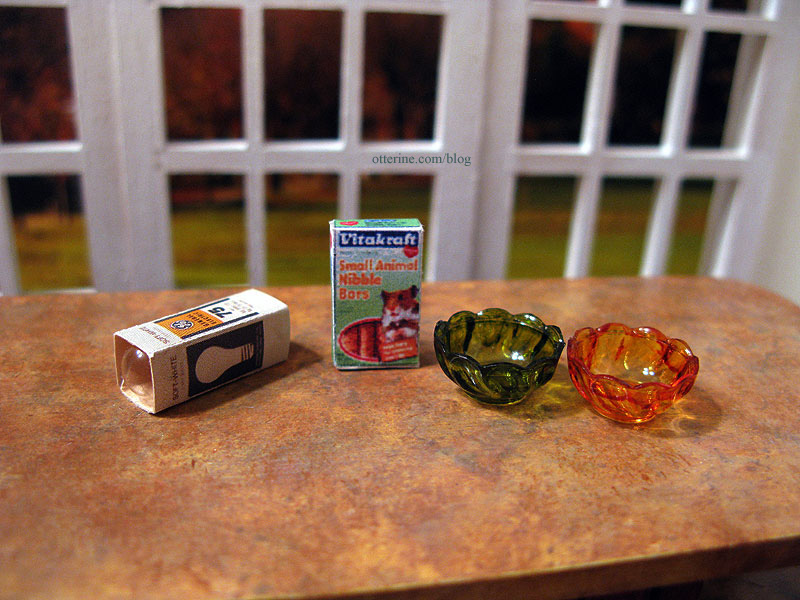
Next is a mix of minis including a package of light bulbs and a box of hamster treats by Wright Guide Miniatures. The two colorful bowls are by Barbara Anderson Miniatures and were very reasonably priced for the good quality.
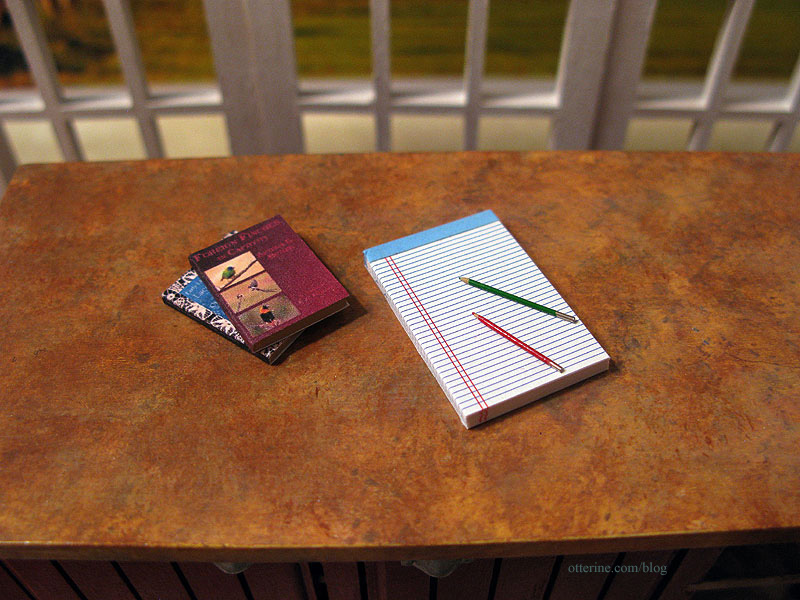
The best item I found while rummaging through a box of miscellaneous minis, which can often yield great items for next to nothing. These are the best pencils I’ve ever seen in mini, and they were only $1.50 each. I searched that box for so long and found only these two – a red one and a green one. The vendor was Small Talk.
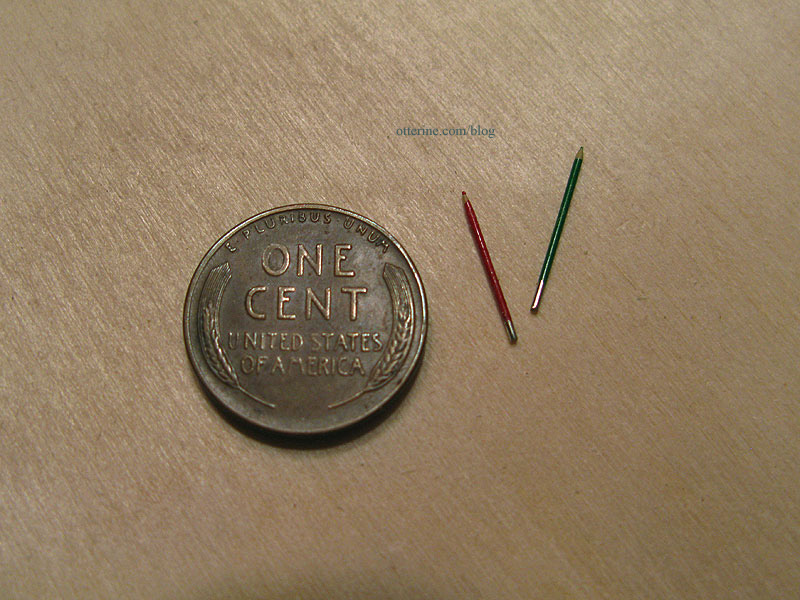
They are so tiny! :D
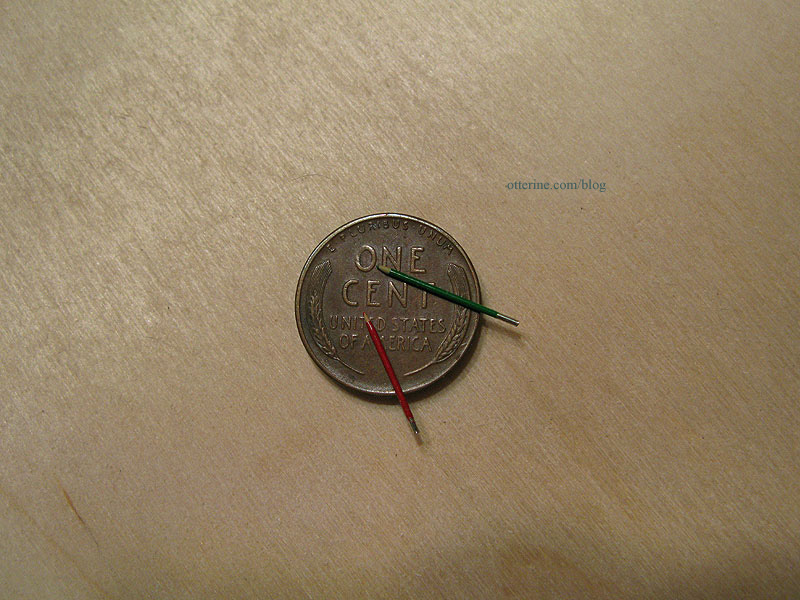
I had this notepad in my mini stash, and the pencils make it look too thick for proper scale. Ha ha! The books are borrowed from the Heritage.
Another find in the box was a bit of knitting for grandma.
Categories: Miniature Shows and Shops
August 12, 2012 | 0 commentsNavajo rug – completed
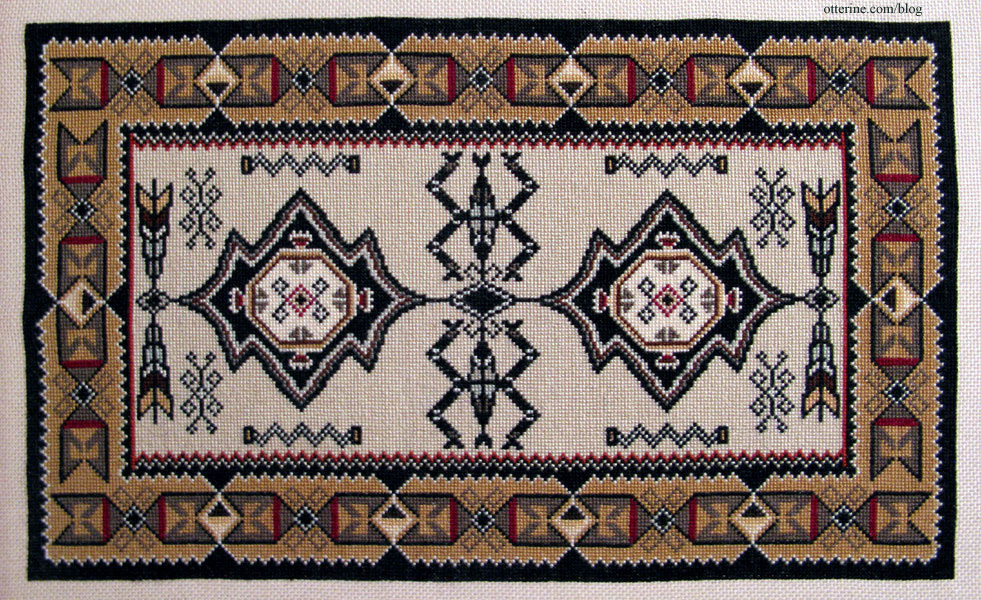
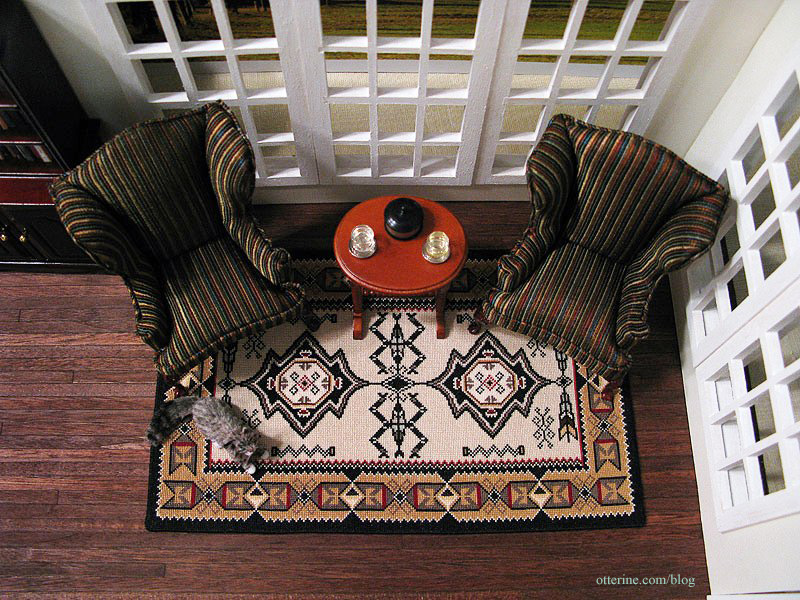
I finished stitching around the edges of the Navajo rug and completed the backing! As noted before, I didn’t count the finishing time, just the cross-stitch time. The stitching time was 189.5 hours, and the rug was stitched on 32 count Jobelan in parchment. The finished size is 5 3/16″ x 8 7/16″.

I had estimated stitching time to be 204 hours, so I am pleased to have finished ahead of schedule by 14.5 hours.
This project was based on a contemporary Navajo original weaving, shown here with Steve Getzwiller.
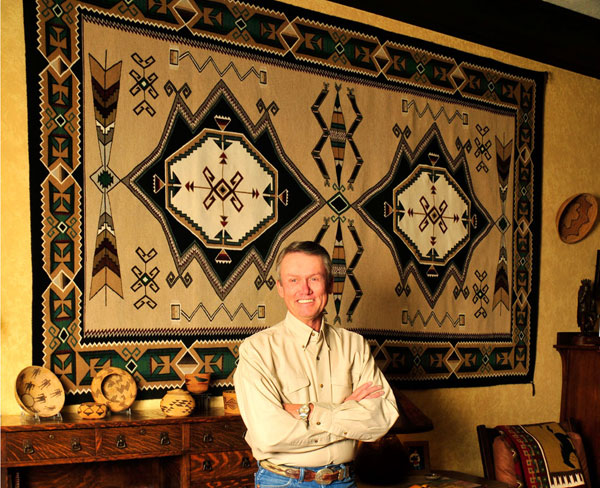
Natalia Frank did a wonderful job of charting it for me (see below photo), and I send a huge thank you to Natalia, who is not only a gifted artist but a very classy lady. I made some minor alterations to Natalia’s chart for my final rug, including choosing my own coloration and changing some design elements such as the center medallions.
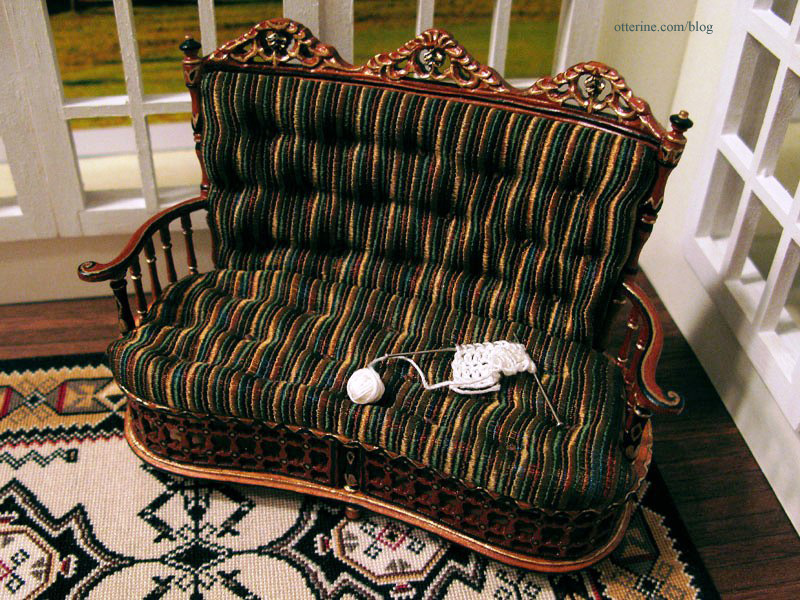
I’ve set up a quick scene to show it in a room setting. I don’t know if any of these pieces will stay with the rug in its future home, but it gives a good view of the texture and scale.
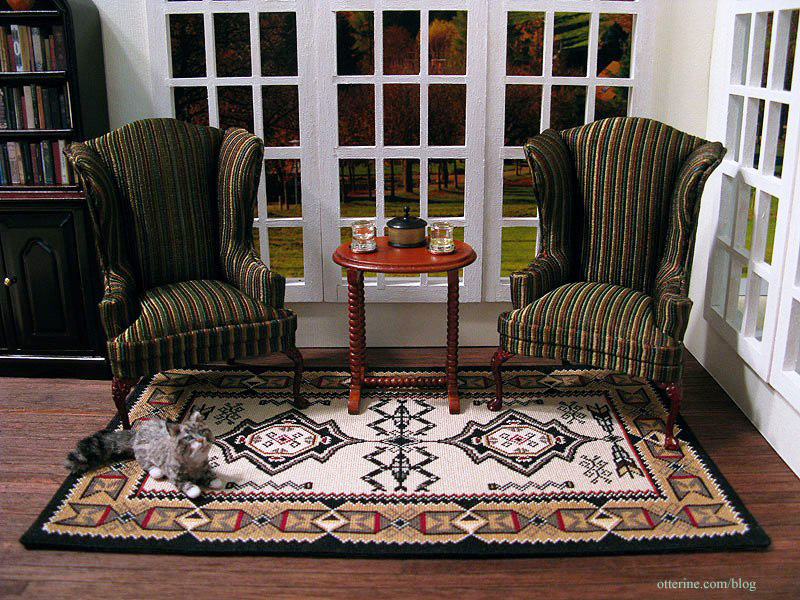
Anyone care to join me in the sitting room? I’ve poured us each a Scotch.
Categories: Needlework - French knot rugs
August 11, 2012 | 0 commentsWoodrow
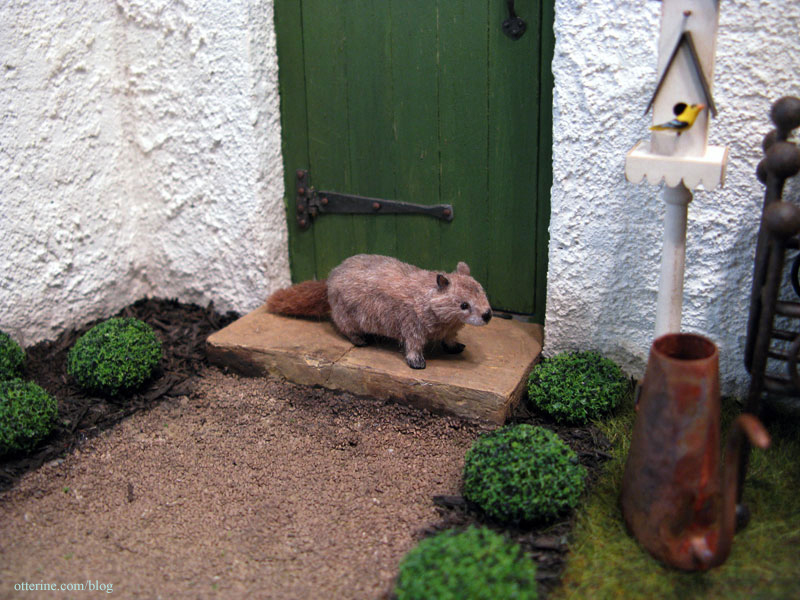
In a manner of speaking, it’s Groundhog Day. I’m officially addicted to the beautifully made animals by *Reve*, and my newest tiny friend is a handsome groundhog. Since groundhogs are also known as woodchucks, the name I’ve chosen for my new friend is Woodrow. :D

His home is a future build.

Update: now that The Aero Squadron Lounge is public, I can show you my favorite picture of Woodrow so far.
Categories: Animals and birds
August 7, 2012 | 0 comments


NOTE: All content on otterine.com is copyrighted and may not be reproduced in part or in whole. It takes a lot of time and effort to write and photograph for my blog. Please ask permission before reproducing any of my content. Please click for copyright notice and Pinterest use.


