

Heritage – roof shingling, part 1
Continuing work on the roof. I will be using the same Greenleaf speed shingles as I did for the portico, though the roof will be remarkably intact. Either that, or grandma has had enough sense not to let the main roof go without repairs.
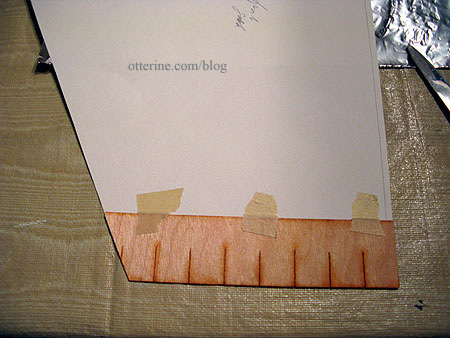
Back before I assembled the roof pieces, I had traced each piece onto drawing paper. These templates will now come in handy to measure out the speed shingle strips.
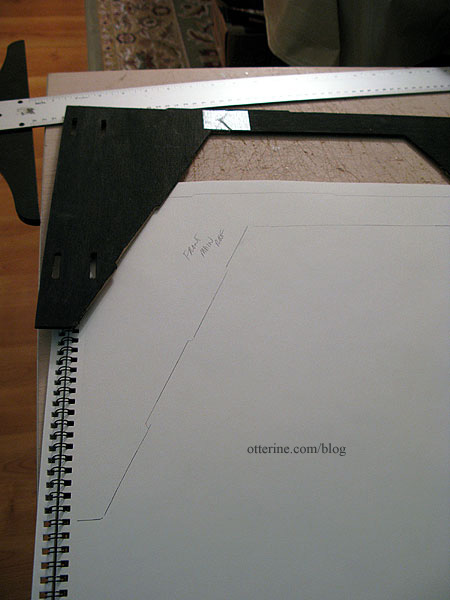
I cut the front gable template to fit.
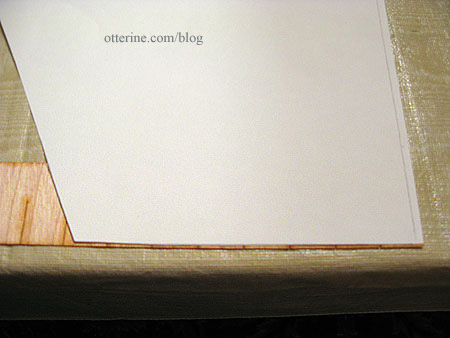
Starting at the bottom, I cut the first shingle strip to fit the template.
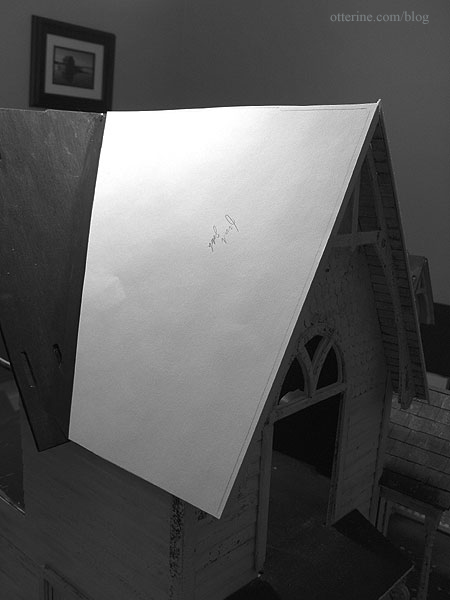
I tested it out on the house to make sure I was off to a good start.
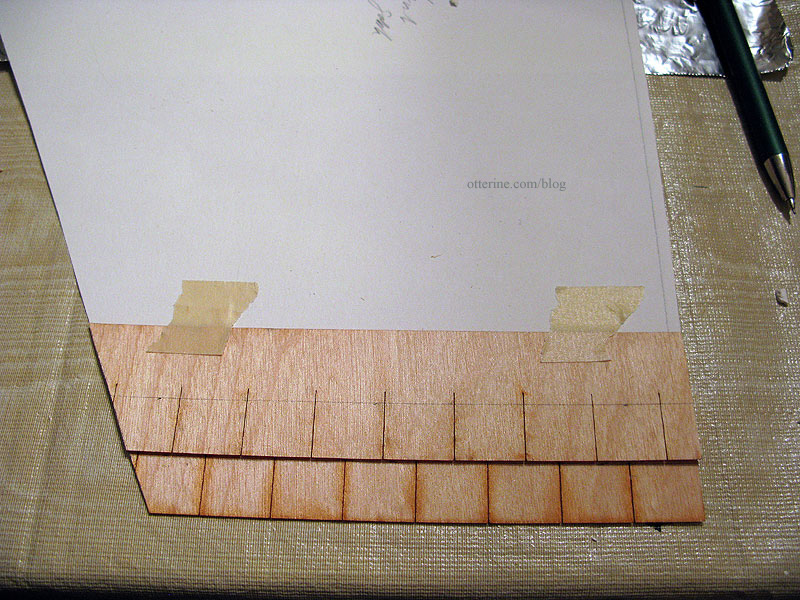
I won’t be gluing the shingles to the template but rather to the house directly, but I will cut the shingles using the template first.
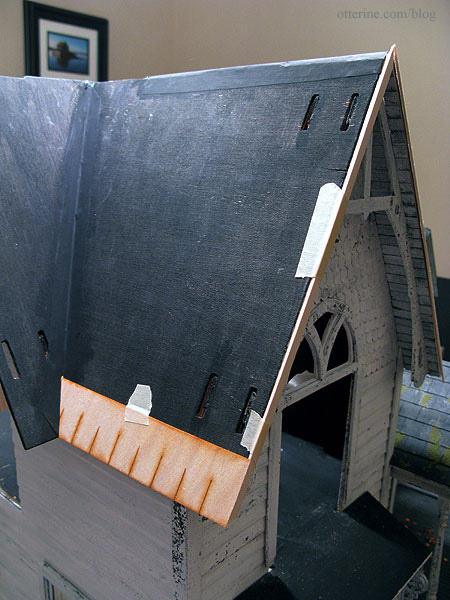
Instead of following the tops of the laser cut lines, I am leaving a little less of each shingle exposed – 5/8″ to be precise. This is what I had done for the portico since it seemed to scale down the singles to a more realistic proportion for this particular house.
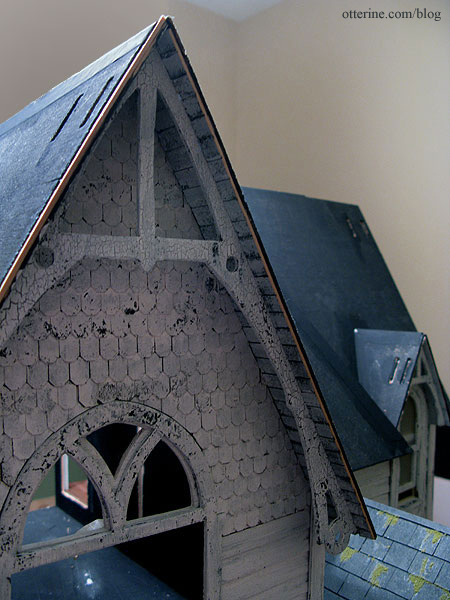
To add some visual interest, I inserted a few rows of diamond shaped shingles between the rectangular ones.
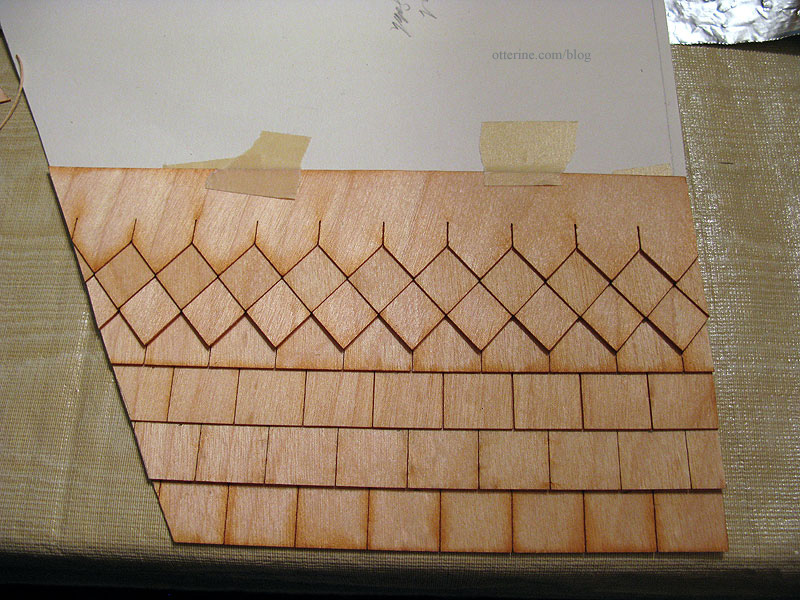
I added the second set of diamond shingles near the top, and I think it creates a lovely balance.

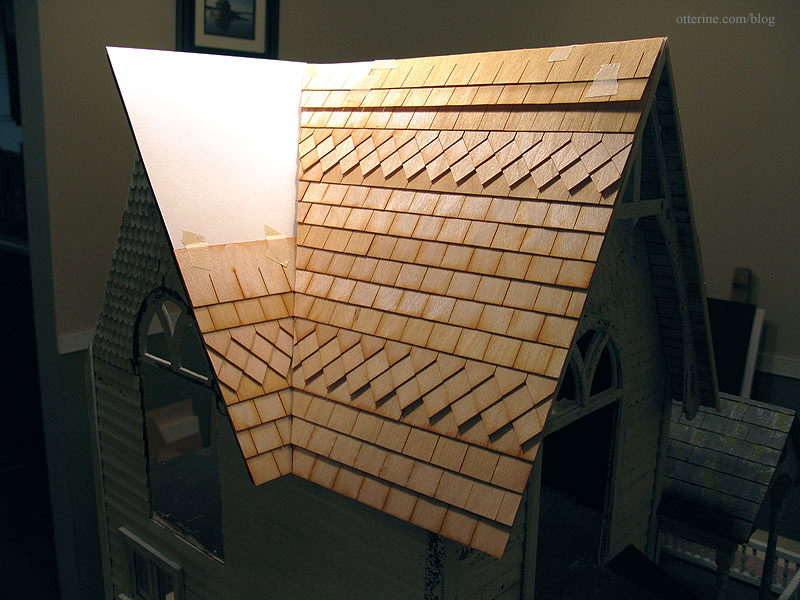
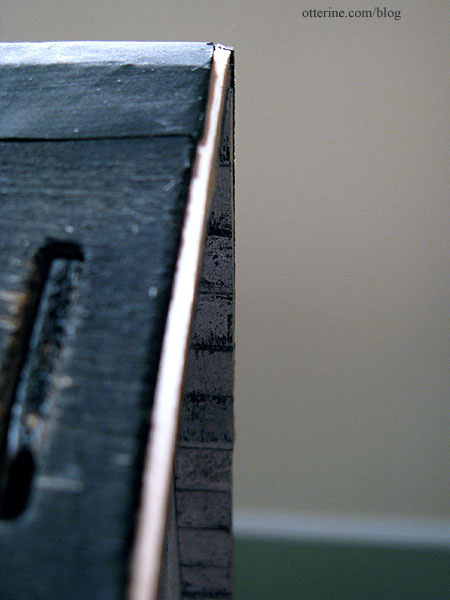
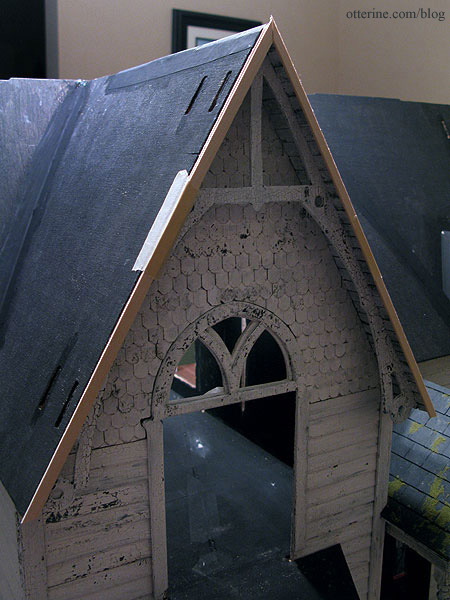
Next up was the left side of the front main roof. I cut my template and adjusted the fit behind the front gable template. All shingles will remain taped in place until I get the proper layouts completed, at least for adjacent panels. Once I get this side panel done, I can start gluing these two sections to the roof.
I took into consideration the front trim that will be added to the side gable and began applying shingles to the left front template.
I think I’m on roll now!
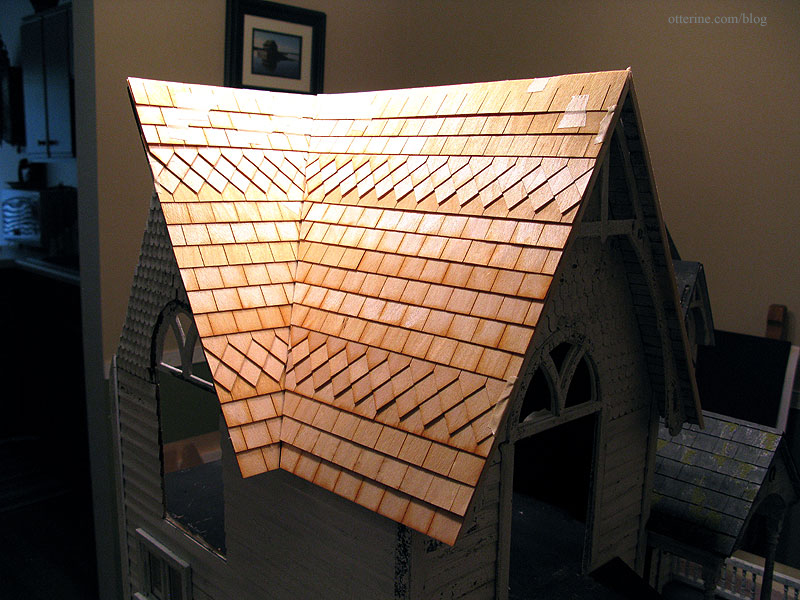
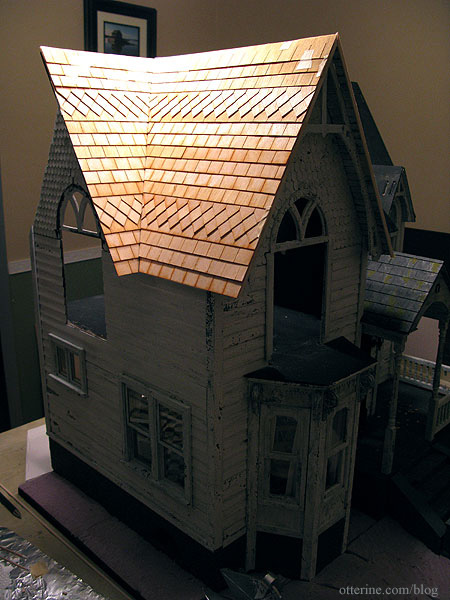
It looks a little unbalanced without the back portion of the side gable in place, not to mention the bright tones of the natural wood against the worn appearance of the house itself. I think it’s going to be marvelous and a little spooky once the dark colors are on.
I need a break from shingling for a bit. :D Good thing there is plenty to do.
Categories: The Haunted Heritage
September 29, 2012 | 0 commentsHeritage – roof assembly, part 2
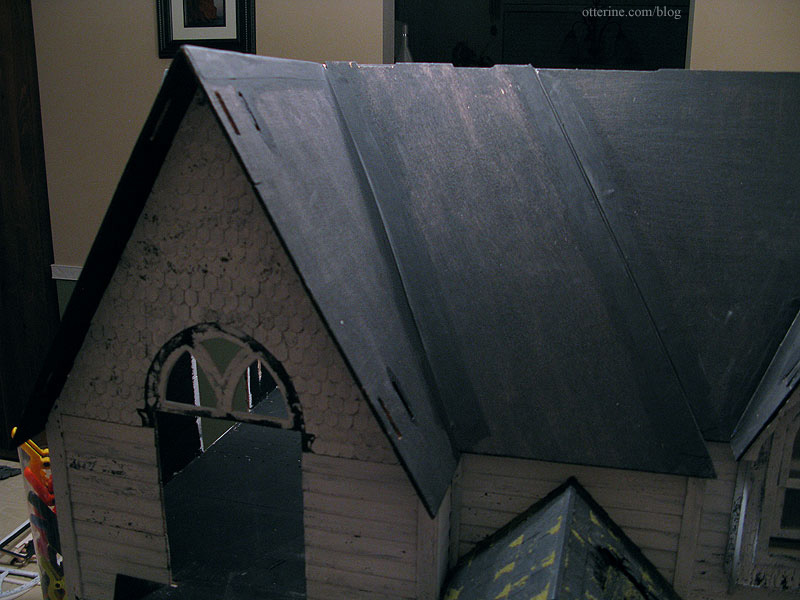
Continuing work on the roof. I have had the roof pieces glued in place for some time, except for the back piece which will need to remain removable until the interior has been completed. I also have to add the topmost piece, but that I will need to cut from plywood since the kit piece doesn’t fit at all. Luckily, the front can be shingled and mostly finished without worrying about the top and back just yet.
There were gaps between the roof pieces when I assembled that part of the kit. It was either operator error or old kit pieces, or a combination.
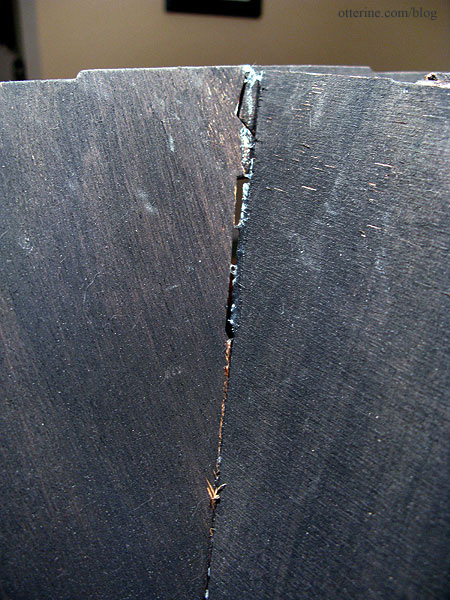
To reinforce the joins, I glued strips of Tyvek across the seams. Tyvek is the durable fiber paper that is used in FedEx envelopes, for instance. It’s thin enough to not interfere with the shingles and strong enough to add stability to the roof joins.
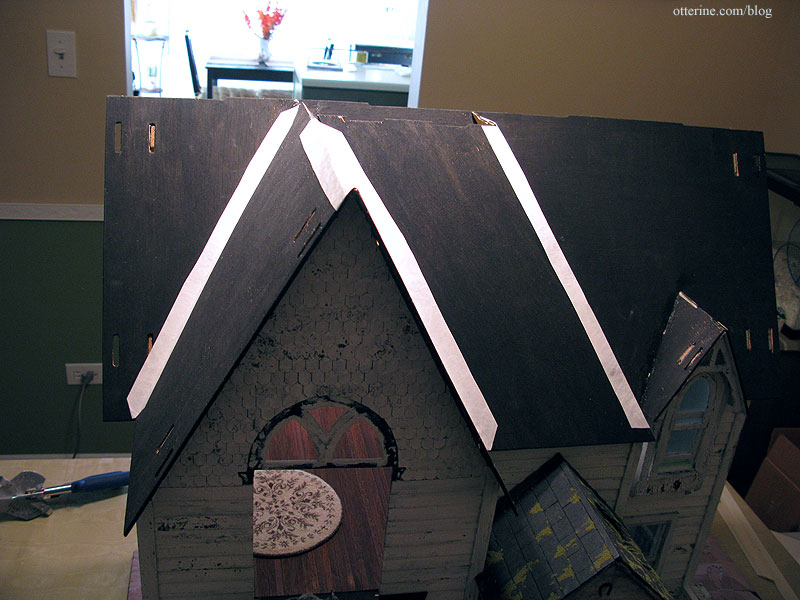
I painted over the reinforced seams in preparation for shingling. It already looks better!
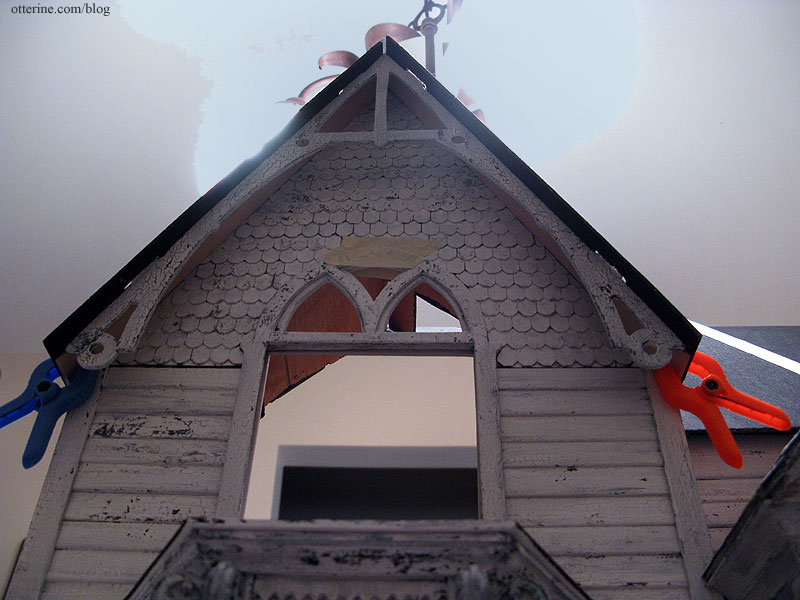
As I had done for the dormer window, I finished the eaves of the large front gable with trim wood scored to look like individual boards. I started with the space between the large gable trim and the house.
Apologies for the harsh lighting, but the house is turned on my work table in such a way that the light is in an awkward spot. I’ve masked out the light’s more severe glare as much as possible.

I then attached the gable trim before finishing the front portion of the eave.
This will hide the various gaps and imperfections from the construction problems I ran into while putting on the roof.
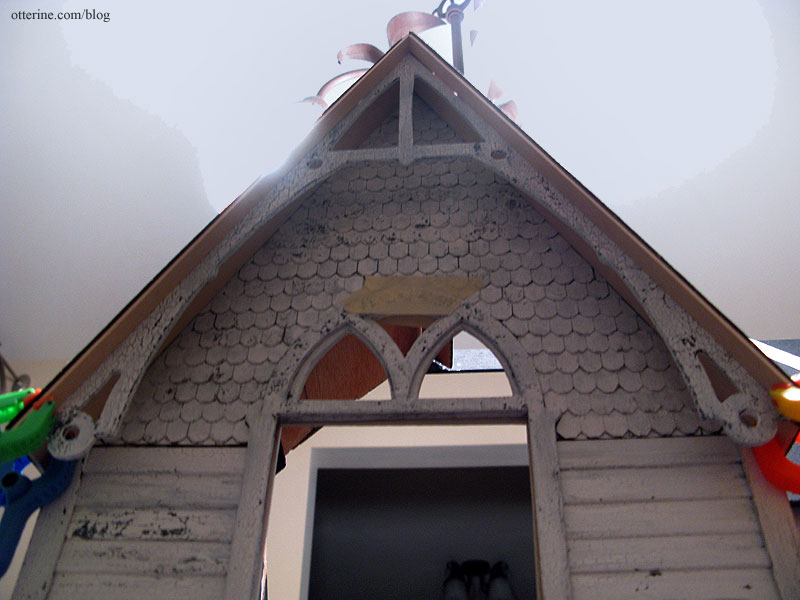
The side eaves can’t be finished until the interior is done, but this finished gable brings a lot of life to the front of the house.
For the dormer eave panels, the scored detailing was lost after painting. To solve that problem for the front eave, I used the awl to score the previous lines again after painting. It helped bring back the board detail. I love the way it looks!
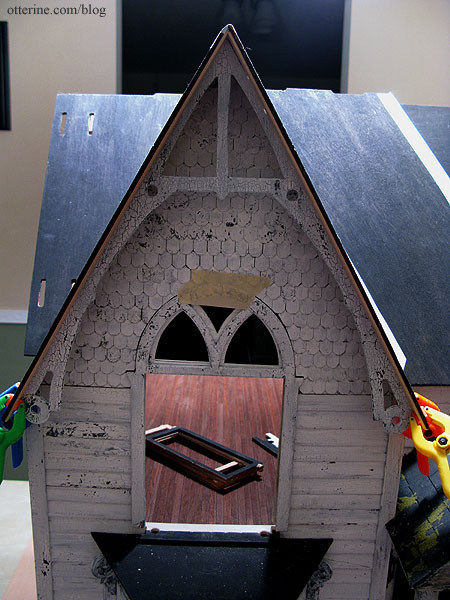
I shaved the right front to even out the eave panel with the roof panel. On the left side, I had to add wood to make the two sides even. I then shaved the excess from the added wood to make a smooth edge.
I cut trim from 1/4″ x 1/16″ strip wood to finish the front edges of the eave. These will be finished and glued in place after the roof is complete.
I’m ready to start shingling! :D
Categories: The Haunted Heritage
September 29, 2012 | 0 commentsHeritage interior staircase, part 5
Continuing work on the interior staircase. When I cut the balcony and the adjacent stair opening, I left enough room to add a stringer. This completes the look of the baseboard trim up the staircase and addresses the slight warp in the pocket door wall that the stairs follow.
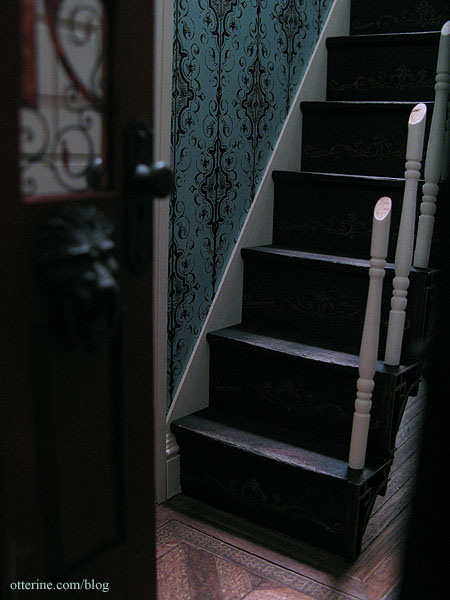
I used 1/16″ thick basswood sheet to make the stringer, tracing the outline of the stairs flush with the back and lower front. I added a little extra to the top to trim the stairs. I painted the visible part of the stringer Vintage White by Folk Art and the back edge black.
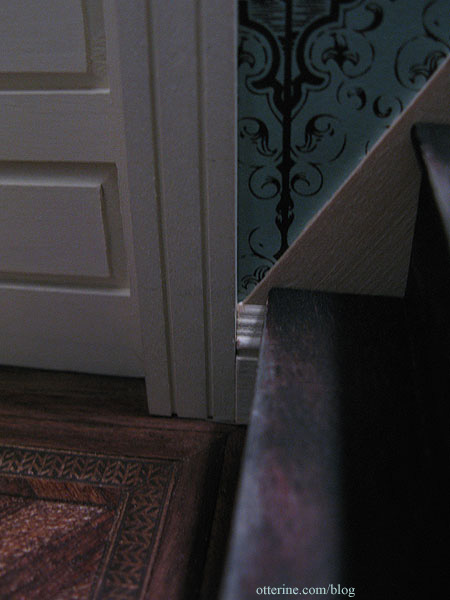
At the base of the stairs, the stringer meets the baseboard trim. Here the stringer is shown before finishing. This is one of my favorite views of this house that can be seen only with a camera.
I glued the stringer to the stairs to keep it in place.
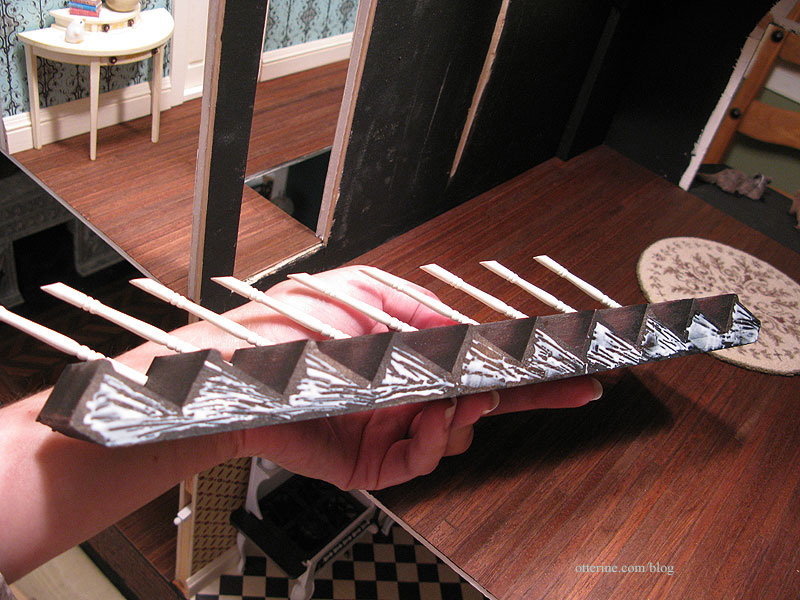
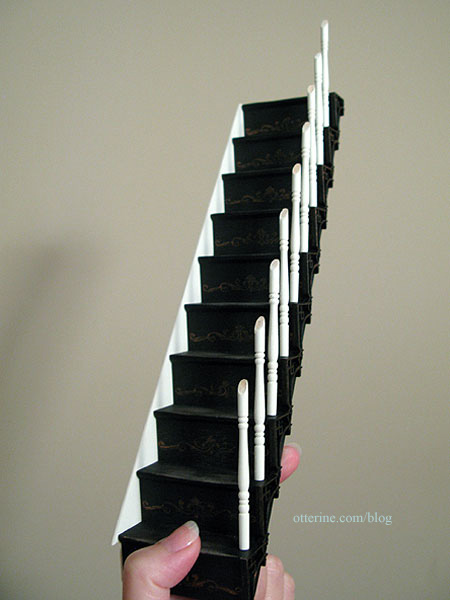
The stairs are still removable at this point, because I need to be able to work on the railing and newel posts. Oh, hello, Ophelia. :D
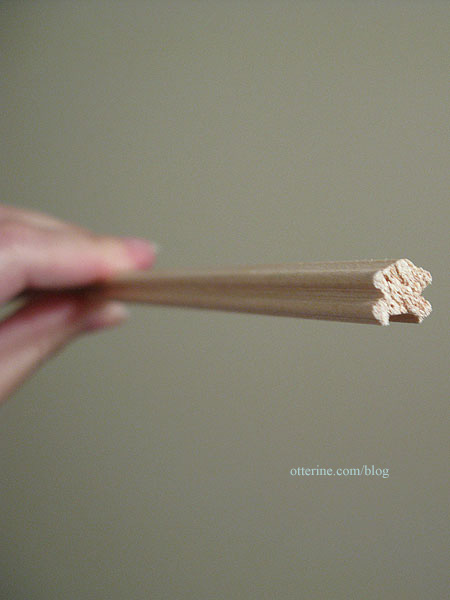
The railing supplied with the narrow staircase kit was obviously made for the flat balusters that came with the kit. The rounded spindles I used instead would not work with the supplied railing since the opening in the bottom of the railing was too narrow.
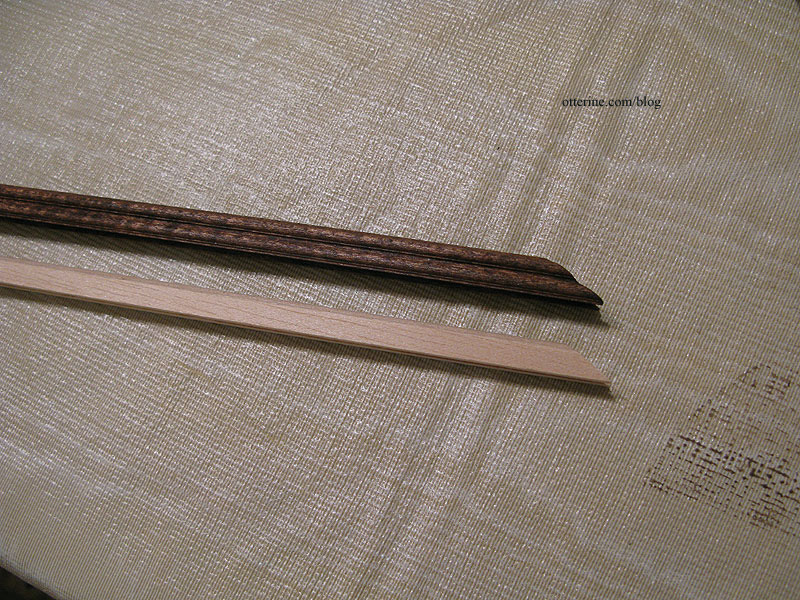
I bought replacement railing from Manchester Woodworks. This has a 3/16″ groove in the bottom, perfect for the tops of the spindles. I like the profile of this particular railing, too. It has a fancier look than the standard railing stock.
I like the look of white spindles with a stained railing, but I wasn’t sure if I should match the railing to the stairs or the flooring. Since the railing will continue around the upstairs balcony, I opted to match the railing to the floor and stained it Minwax English Chestnut.
When I stain or spray paint, I use a rubber glove to hold the piece (or the board with the pieces taped on). Saves me from soaking up chemicals through my skin, and there’s no clean-up involved. These gloves usually last through many applications, so I just set them aside to dry until next time.

I used the kit supplied railing as a guide to make the lower angle cut for the stair railing.
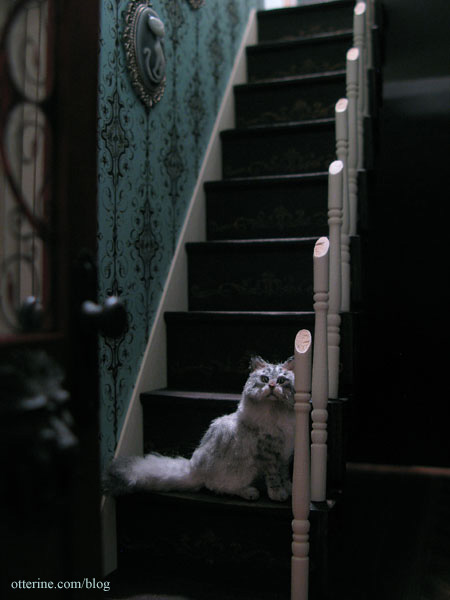
I fit the railing in place, leaving it long for now until I determine the length I need.
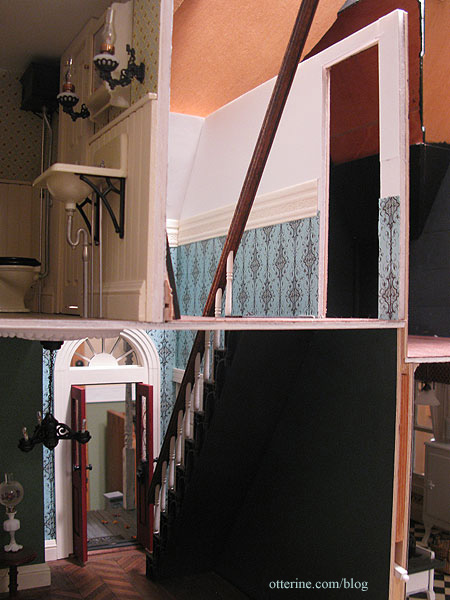
It fits perfectly over the angled tops of the spindles. It’s actually just sitting on them without any glue or wax. As hoped, the imperfections near the tops of the spindles are no longer noticeable with the railing in place.

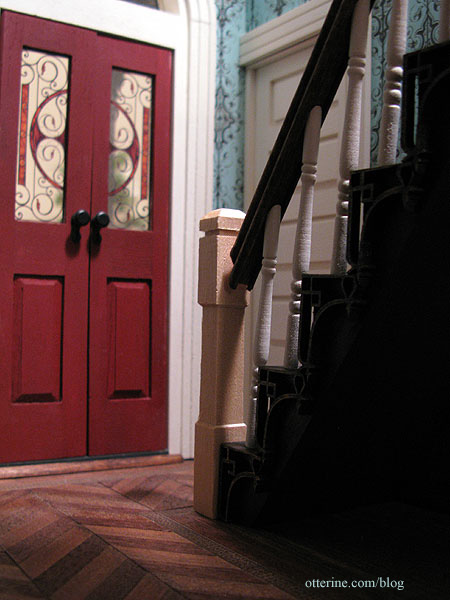
This is the square newel post that came with the narrow stairs kit. I like it because of its heavy visual weight. I will stain it English Chestnut to match the floor and railing. I think painting it Vintage White would make it stand out too much since it is a sizeable piece.
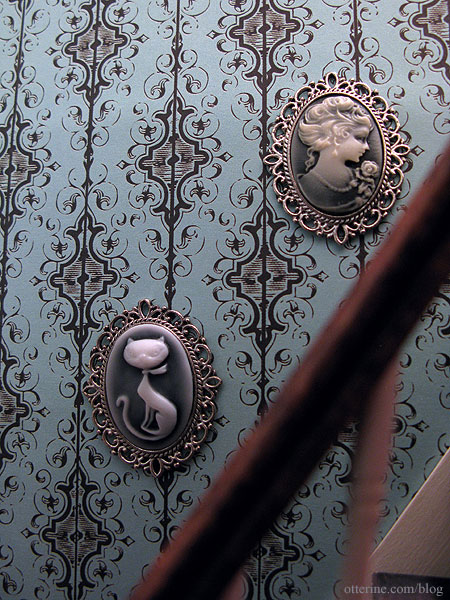
The cameos that will hang in the stairway are pendants from Fairy Tale Fantasies. One is a retro kitty and the other a beautiful vintage lady. I cut the loops from the tops to use them as framed art. I love their ghostly appearance.
Finishing the railing here.
Categories: The Haunted Heritage
September 26, 2012 | 0 commentsLet there be Fresnel lens light!
So, Jasper Inlet Light is slated for breaking ground probably when I retire from the day job. :D But, I’ve been thinking about the lantern room from the beginning, figuring that would be one of the more difficult things to do.
While I was searching around online for options, I stumbled across the Harbour Lights Fresnel lens collectible series from the early 2000s. Most or all are retired, from what I’ve gathered, but there is always the secondary market to consider. There were a few I liked from the series, so I started keeping an eye out for one.
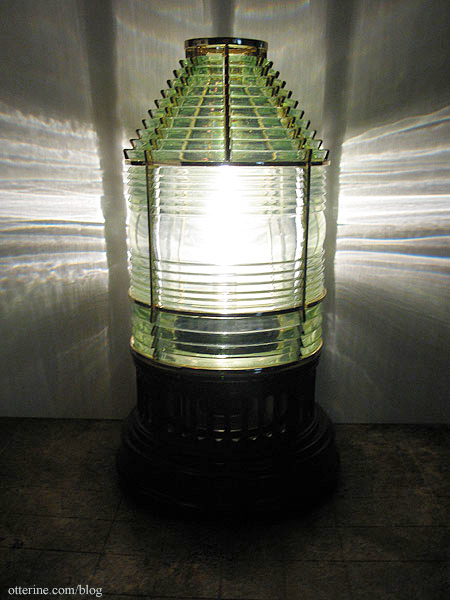
I lucked out and found this particular model new at City Lights Collectibles for a great price. This is the Third Order Beehive Fresnel Lens from Big Bay Point Lighthouse Michigan. It is roughly 8 1/4″ high including the wood base.
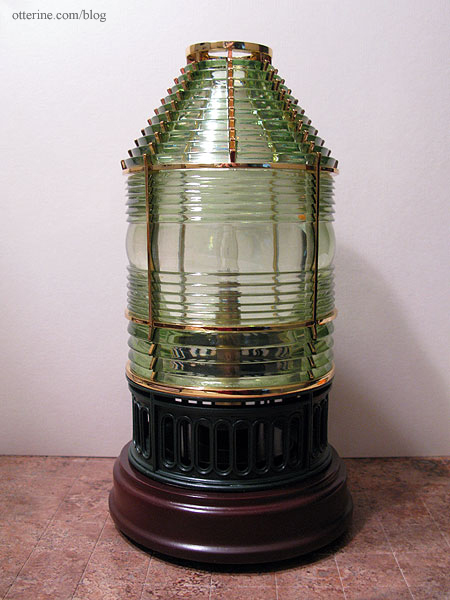
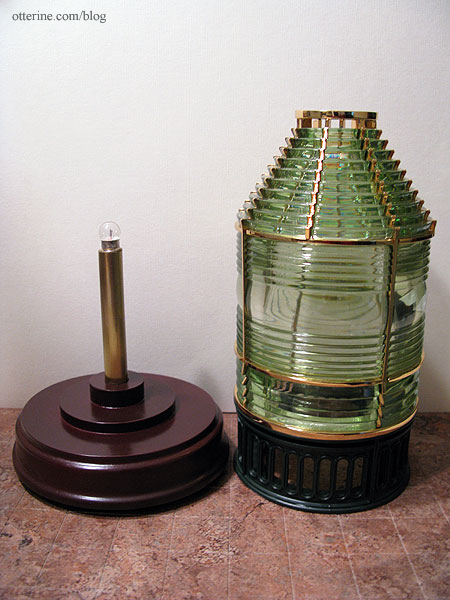
The glass itself measures 5 5/8″ tall. The glass portion is attached to the dark green plastic base, so the entire removable unit measures 7 1/8″ high. The model here is 5 3/4″ tall.
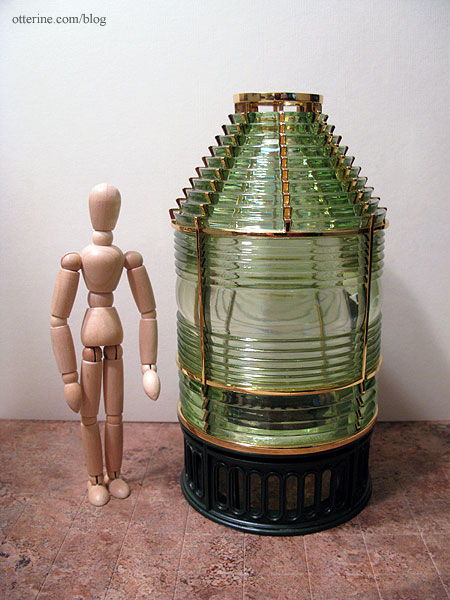
I found a reference stating that third order lenses are roughly 4′ 8″ tall, though I’m not sure if that means only the glass or the metal base as well. Even if this replica isn’t exactly 1:12 scale, I think it would make for a beautiful lantern room, which I’d likely end up scratch building to get the right fit. Greenleaf makes a 1:12 scale lighthouse kit, which might be worth looking into as well…it’s often easier to bash something than to start from scratch.
For size reference, here it is in the Heritage kitchen, which measures 8 1/8″ high by 10 1/8″ wide. I could easily make a lantern room 8″ square. If you’ve ever been in a lantern room of a lighthouse, you know how tight the quarters can be.
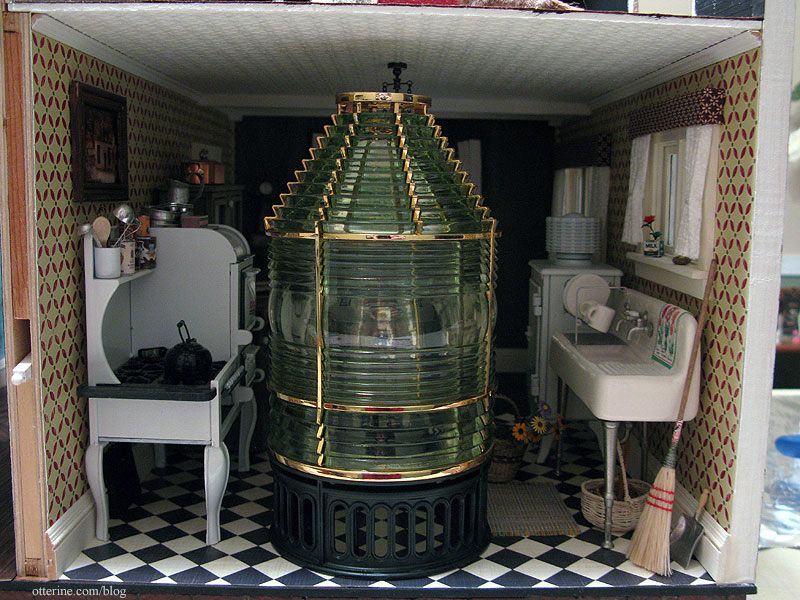
Yes, it lights. :D It’s a steady light, no flashing or rotating, but it’s lovely! I plan to set it out and enjoy it for its own beauty.
Because the glass and filigree base are removable, I can easily swap out the lighting mechanism. Cir-kit has a flashing beacon on the miniature market that would work wonderfully.
Categories: Jasper Inlet Light
September 25, 2012 | 0 commentsHeritage – bedroom swinging windows, part 2
I was able to use the kit pieces for the bay windows and ended up with two of the three working. Just like a real life old house – one window is painted shut, one window sticks and one won’t stay open!!! :D The dormer window in the bathroom is also original and working, though I had to scratch build the dormer itself. I had to replace the front and side regular windows with Houseworks components since the kit pieces were too far gone to salvage. I also added a casement window in the kitchen and a round window in the bathroom.
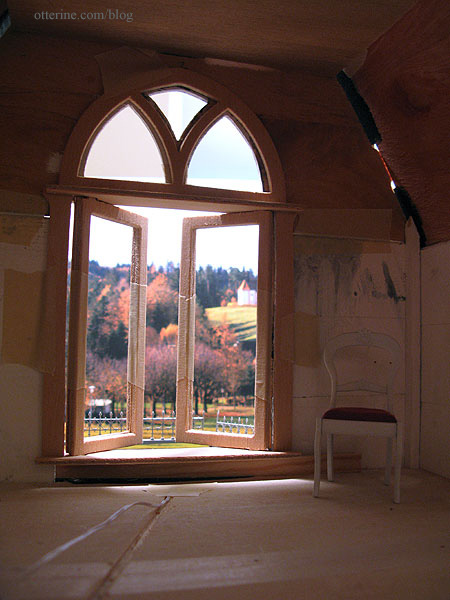
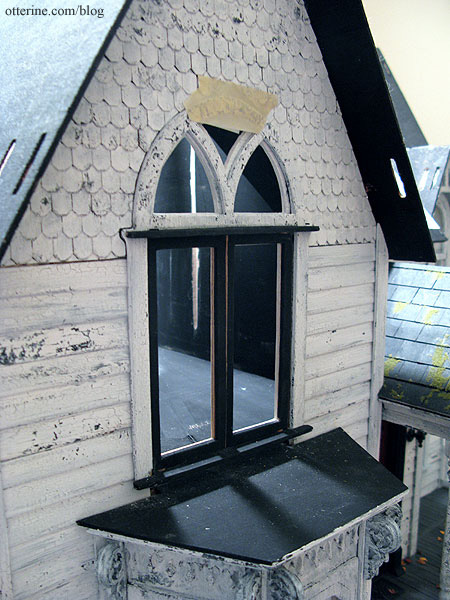
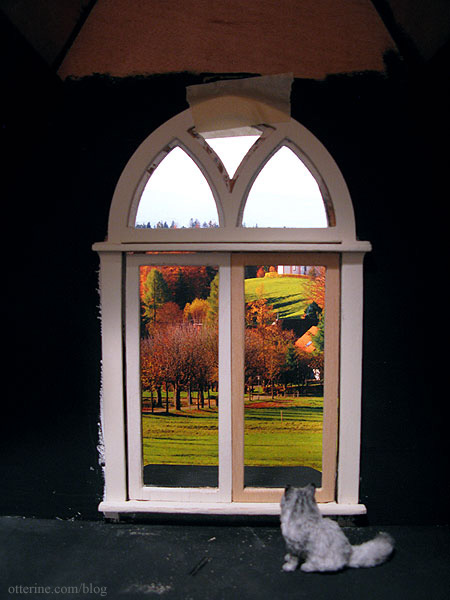
The remaining two windows are the floor to ceiling swinging windows in the bedroom. Here’s the last mockup I did for them back in March, but I have worked on finishing the parts in the interim.
The kit pieces were in relatively good condition, and I was able to use them. I had to do a little repair work and filling with spackling as I had done for the bay windows. I have a post on salvaging shoddy wood here.
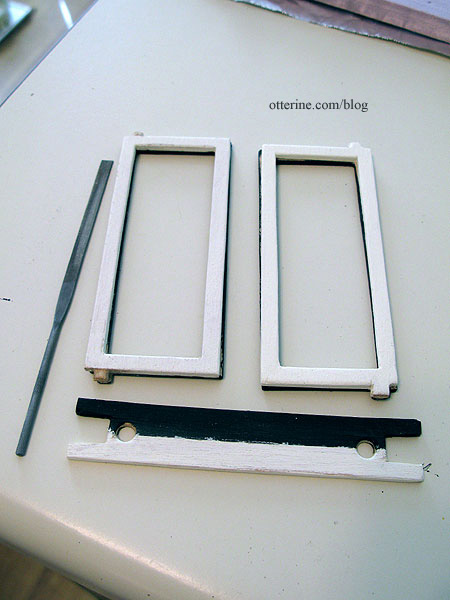
I primed and painted the interior Antique White by Folk Art, the color of all the interior trim. I primed the outside with black, the underlayer for eventual white crackled paint like the rest of the exterior.
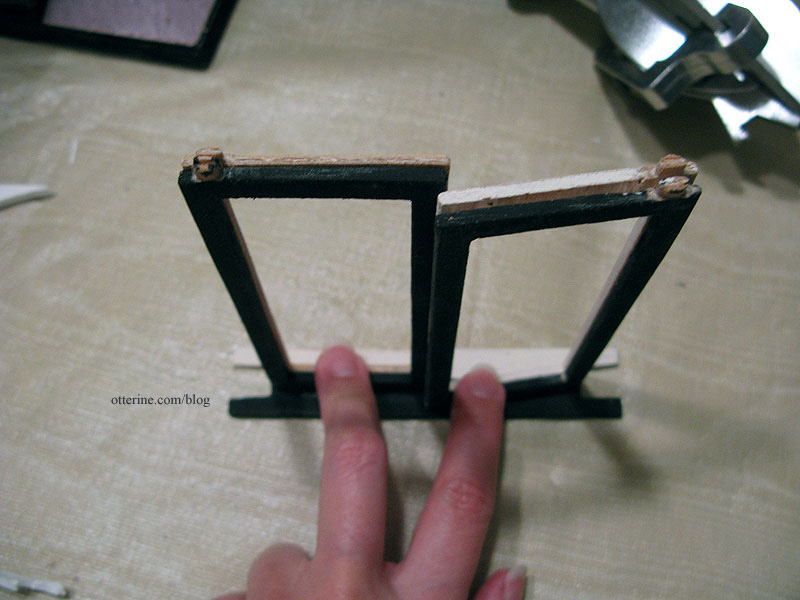
Each swinging window is made from an interior and exterior piece with an acetate window insert between them. I don’t plan to use the printed kit acetate but plain clear acetate instead.
The windows have square tabs at the bottom that are to be sanded into a round peg and fitted into the upper and lower supports of the window frame. I used a metal file, and it worked very well.
The holes and pegs are not a perfect fit, but as long as they work that’s good enough for me.

Again, there will be a little “chicken or the egg” to the process of installing these windows, which seems to be a major theme of this house. The interior wallpaper needs to be completed before the windows are installed, otherwise you’d have to cut around the fancy trim after the fact. But, I didn’t want to risk ruining the paper, so I am doing as much fitting and finishing as possible before I work on the bedroom wallpaper.
The main problem with these windows is that they don’t close due to overlap in the middle and there is too much excess wood to use the “sand to fit” method.
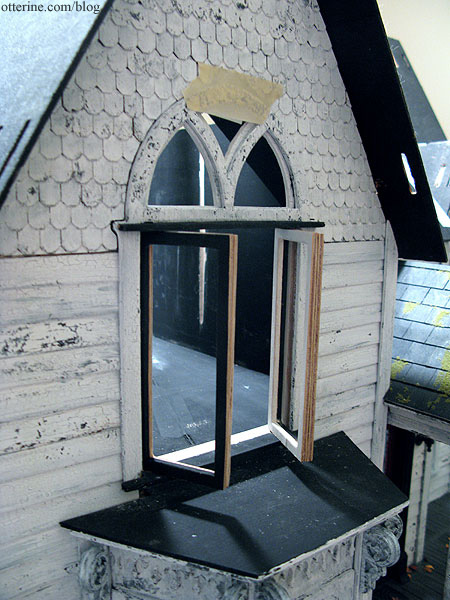
I managed to cut enough from the tops and the outer edge where the two windows meet in the middle to get this first one to close. It’s still tight, but I fear removing any more wood will just make it look lopsided. Good thing it’s an old, battered house, because I don’t know how I would get these original parts to turn out well otherwise.
There were originally three swinging windows – one in the bathroom and two in the bedroom. Since I eliminated the one in the bathroom when I added the chimney, I have extra parts to use in case of disaster. As you can see, I’ve already pulled one of the pinch hitters into play.
There will be open spaces all around the moving portions due to the nature of how the window is constructed. This bothers me for realism, but there really isn’t an easy way for me to address this. Even though I wanted the windows to function completely and close, I’ll likely display them open most of the time.
Continued here.
Categories: The Haunted Heritage
September 22, 2012 | 0 comments


NOTE: All content on otterine.com is copyrighted and may not be reproduced in part or in whole. It takes a lot of time and effort to write and photograph for my blog. Please ask permission before reproducing any of my content. Please click for copyright notice and Pinterest use.


