

Heritage – roof shingling, part 4
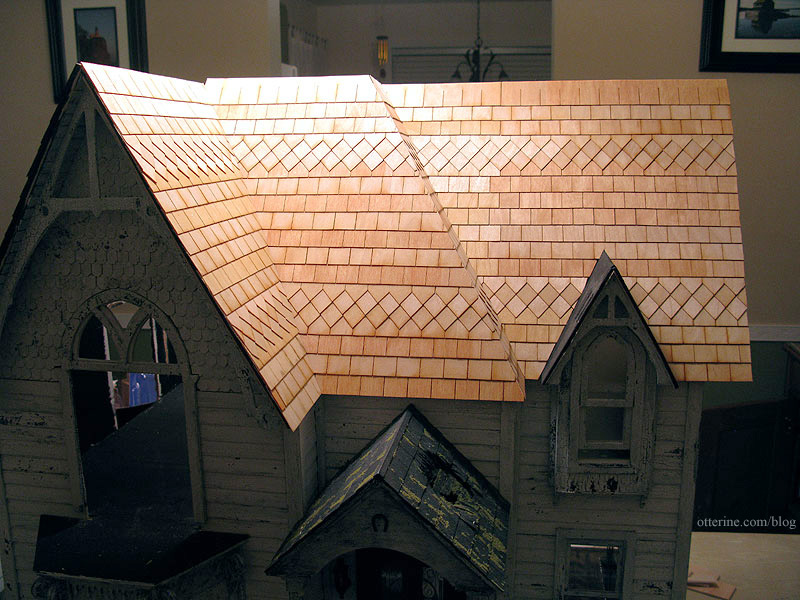
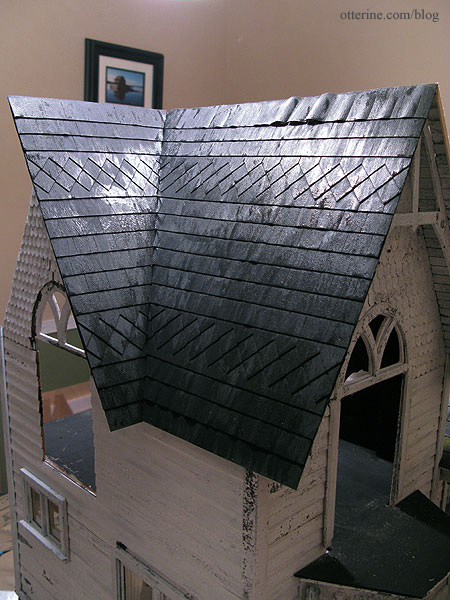
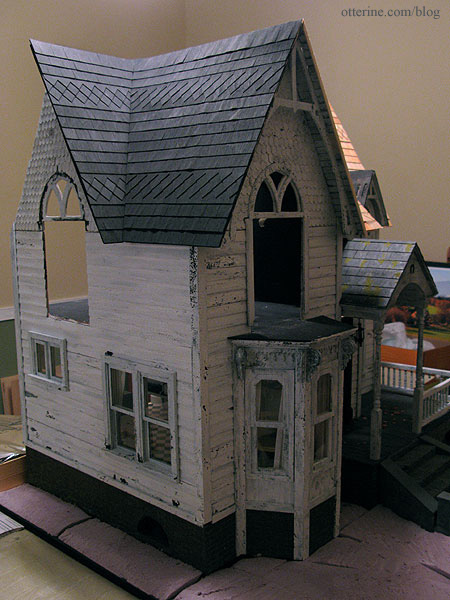
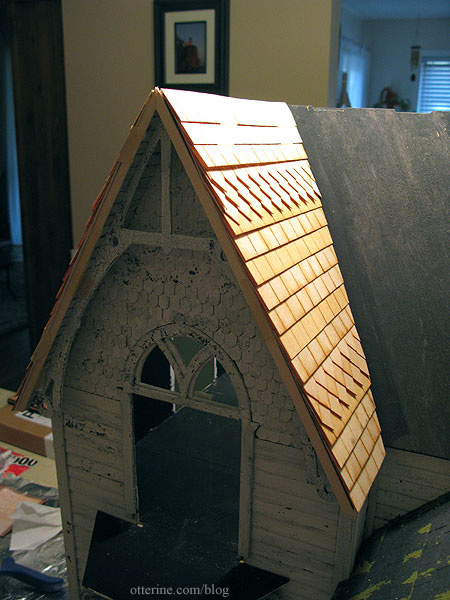
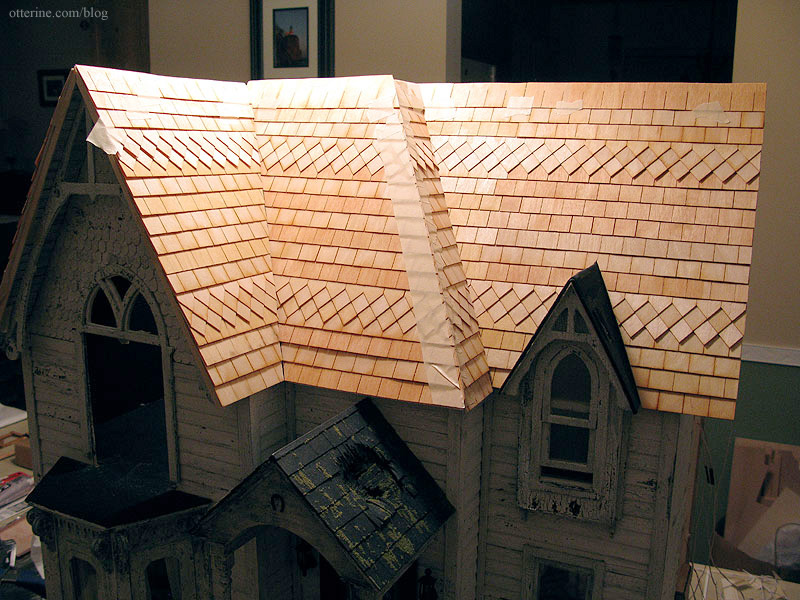
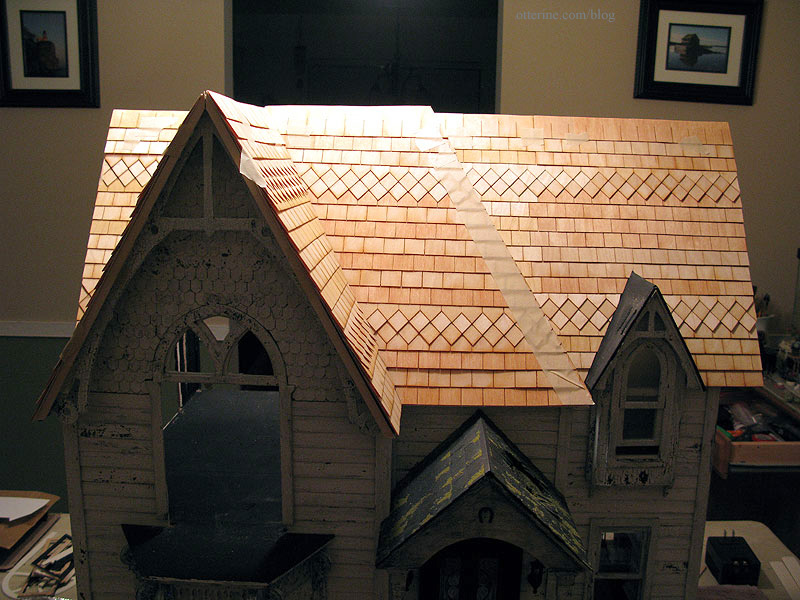
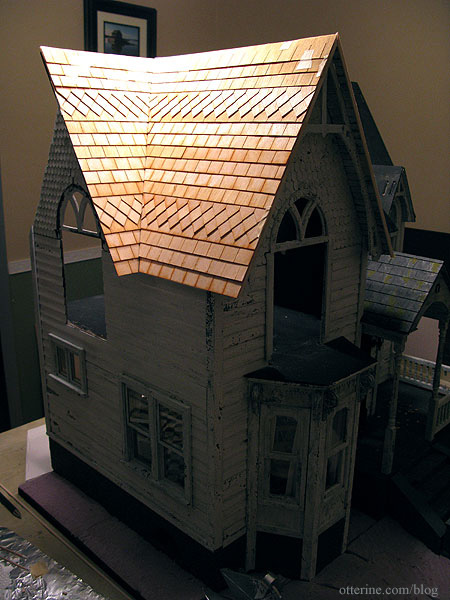
Continuing work on the roof. I finished applying shingles to the front of the house. I started with the right main front and then added shingles to the narrow piece in the middle that brings the roof forward over the portico. After those were in place, I added shingles to the center main front and then finally the right side of the front gable.
The only part remaining is the small dormer portion. I have just enough diamond shingles to finish the front, including the dormer window. I will need to order another batch to finish the back roof when I get to it.
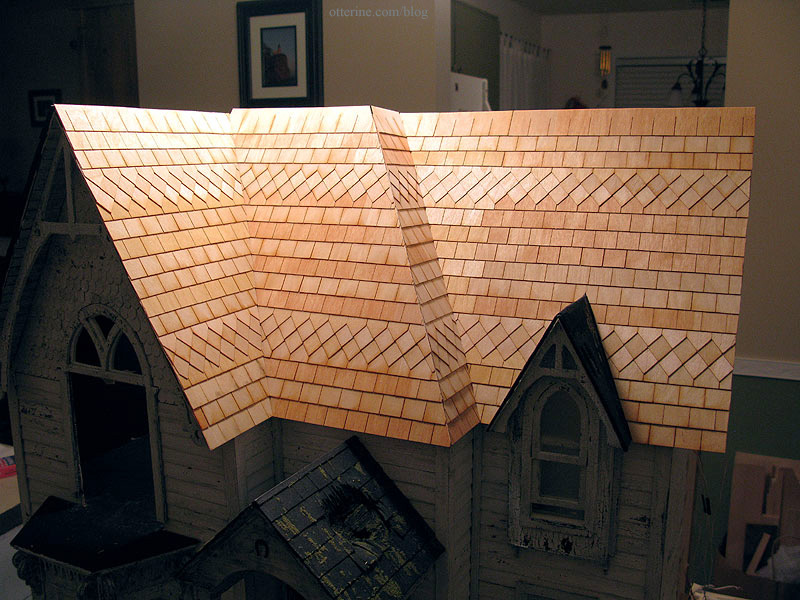
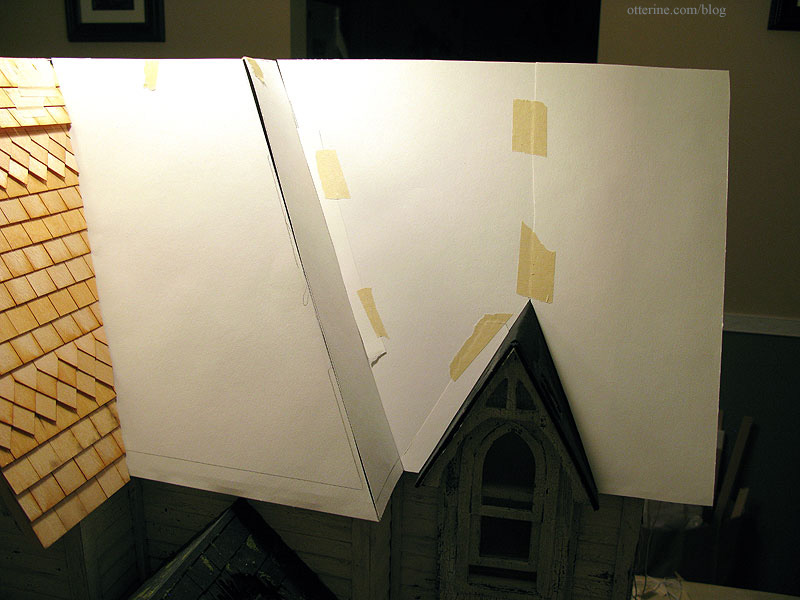
As you can see, the right side is higher than the left side and the gable. All this will be figured out once I get the top roof piece and the back roof in place. I suppose an uneven roof will work in my favor for a dilapidated house.
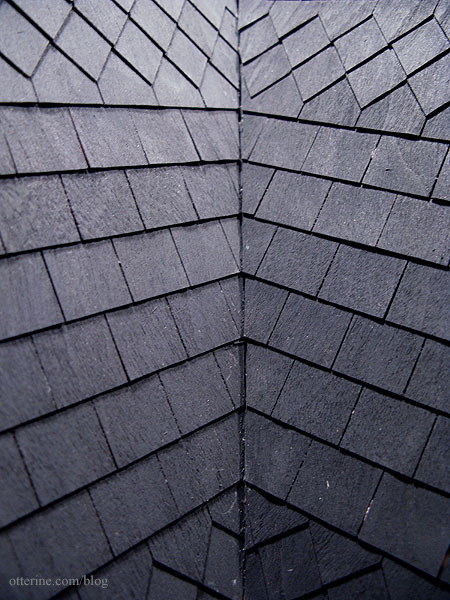
I added the black/brown/grey color wash, which seemed to cause less warping this time around. Here it is still wet from painting.
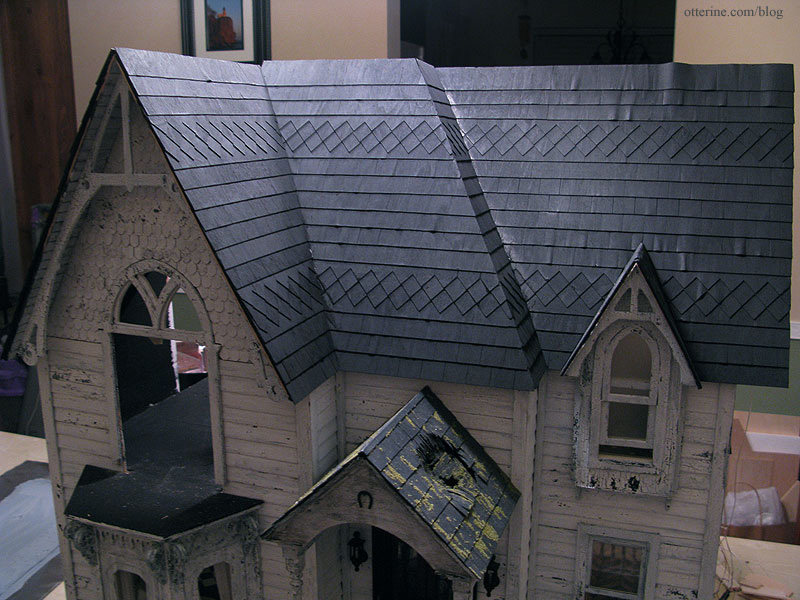
Most of the shingles from the first portion I painted have returned to their natural shape with only a few warped pieces here and there. Those, too, are acceptable for my old, rickety house. :D
Unfortunately, some of the shingles have shrunk from the inner corners, leaving gaps. I figured this might happen.
The usual dollhouse solution is to add strip wood, but I’m not sure if this would detract from the realistic illusion I have going so far. I have some very small strip wood that might blend in well enough once painted to match. It will make me feel like the roof is more polished without drawing a lot of attention.
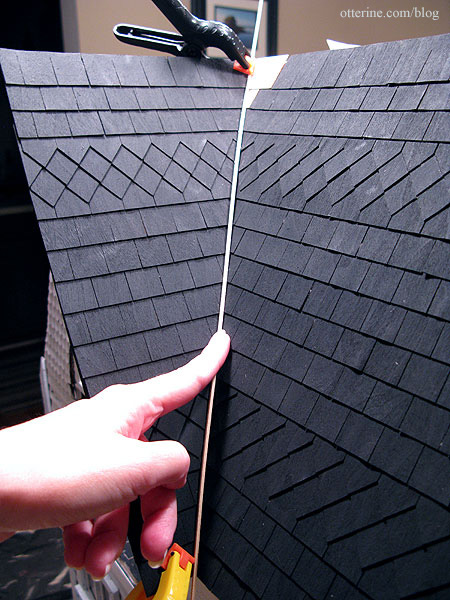
Another option would be to add a whole lot of moss in the crevices. I do plan to have a mossy old roof, after all. I could do both: add the thin strip wood and moss over it to make it less obvious.
Categories: The Haunted Heritage
October 8, 2012 | 0 commentsHeritage – roof shingling, part 3
Continuing work on the roof. I started gluing the shingles onto the roof using E-6000 glue, forgetting that it doesn’t work for wood on wood, at least it doesn’t for me. I switched to Quick Grip glue, which was much better. I started with the left front and left gable to make sure the process would work before gluing on the remaining shingles.
There was a little warping on the roof boards, so I took some of the shingle wood scraps to build up the area at the top.
Once the glue had dried, I used a paint wash of black, brown and grey to paint the base color on the roof. The paint buckled the shingles in some places but it wasn’t bad overall. It buckled most in the rows where I had used the E-6000 glue. I had used it on the last (top) row on the gable since I ran out of Quick Grip.
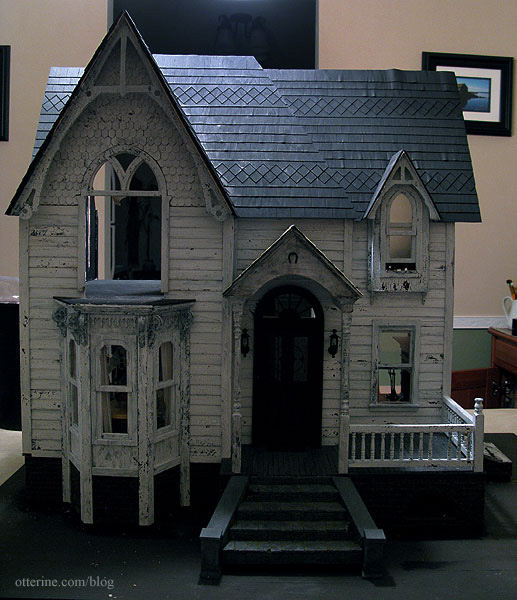
A few hours later, the buckling had calmed down. I love the look of a white house with a black roof!
I’ll let it dry while I continue with the shingle application on the rest of the roof and maybe the warped shingles will straighten out more. If not, I’ll figure something out, even if I have to iron the roof. :D
Categories: The Haunted Heritage
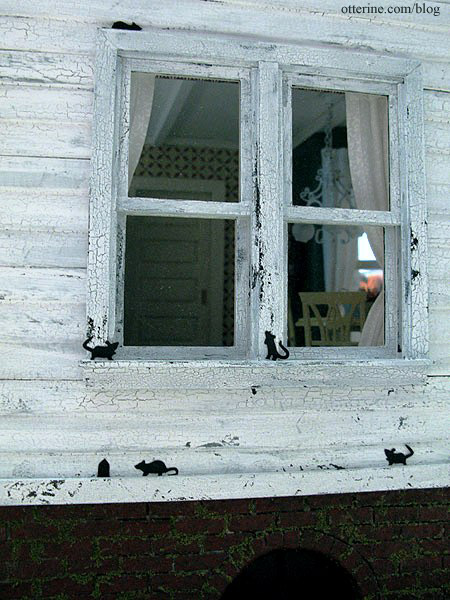
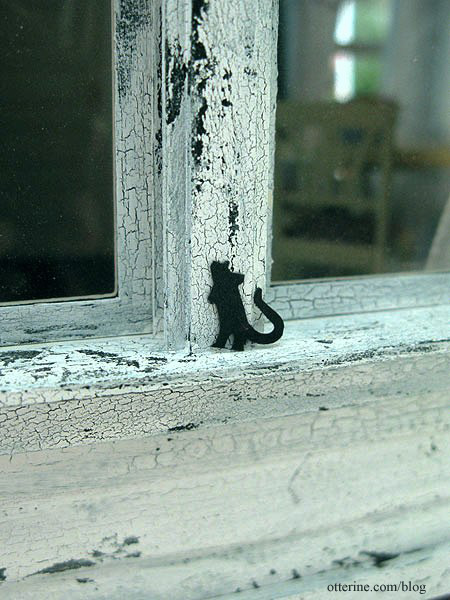
October 3, 2012 | 0 commentsMartha Stewart mini mice!
Last year, I bought a package of these clever mouse silhouettes for my condo. They are great fun to tape up around the house for Halloween. (No, this isn’t my condo.)

image by Martha Stewart This past week, I discovered that there was a similar Martha Stewart edge punch with some of the same mice!
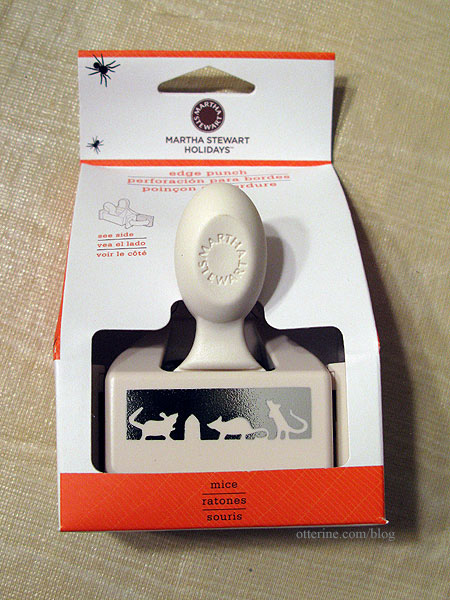
This packaging has such realistic spiders on it that it must immediately go into the recycling bin. If I half glance over and see those spiders, I will certainly jump. :O
You get three mice and one mouse hole per punch.
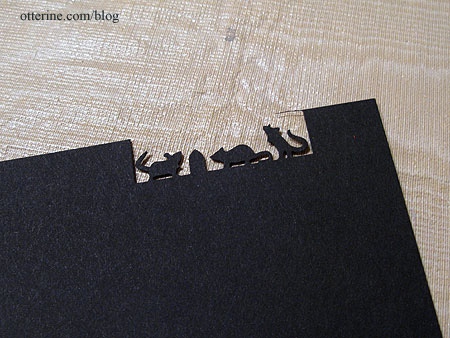
Now, I can decorate the Heritage, too! Eeeeeeeeeeeeeeeeek!
Ah, it’s the little things in life, isn’t it? :D
Categories: The Haunted Heritage
October 2, 2012 | 0 commentsHeritage – roof shingling, part 2
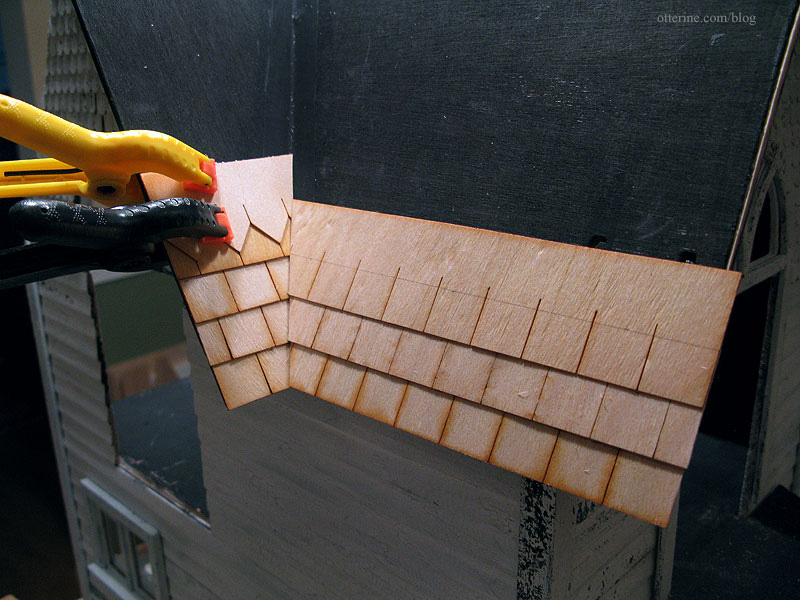
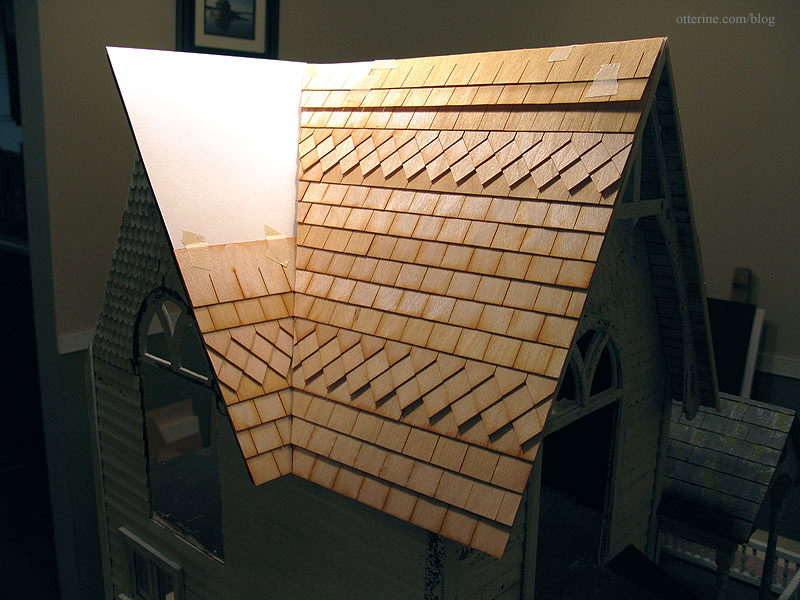
Continuing work on the roof. I finished the other side of the gable in the same manner as the first.
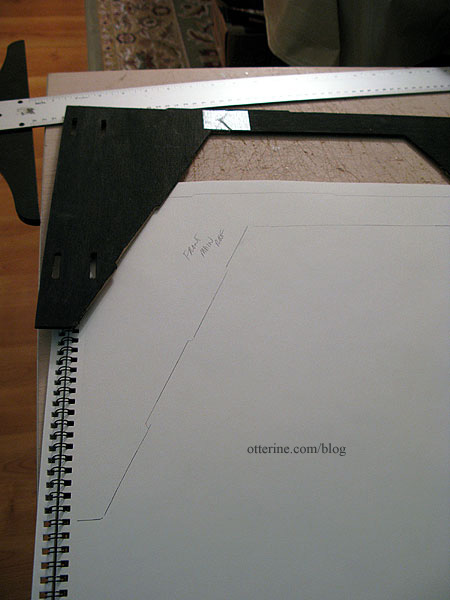
I then cut and adjusted my templates for the main front, side front and middle front pieces.
I started with the main front piece, following the same pattern.

I then finished the side front and middle front, leaving the outer edge of the middle front long. I will adjust that edge during the gluing process.
The middle front is where things are off the most with the roof alignment, which also translates into poor alignment of the shingle rows when following the template. This is the main reason I chose to cut all pieces before gluing the shingle strips to the house instead of first gluing the shingles to the templates and then the templates to the house. I can now apply each row and make sure the rows line up as precisely as possible. Of course, a few sagging rows might be appropriate for the Haunted Heritage. :D
I will cut and apply the dormer shingles after the house shingles are glued in place.
Categories: The Haunted Heritage
September 30, 2012 | 0 commentsHeritage – roof shingling, part 1
Continuing work on the roof. I will be using the same Greenleaf speed shingles as I did for the portico, though the roof will be remarkably intact. Either that, or grandma has had enough sense not to let the main roof go without repairs.
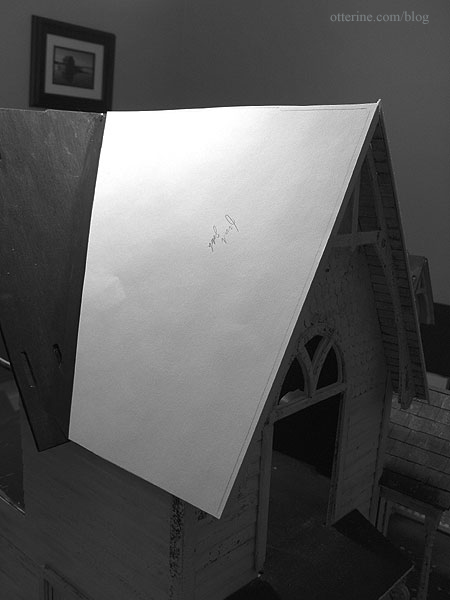
Back before I assembled the roof pieces, I had traced each piece onto drawing paper. These templates will now come in handy to measure out the speed shingle strips.
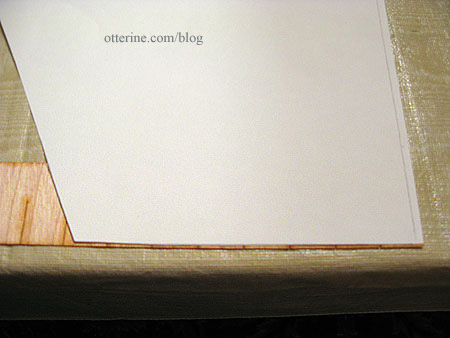
I cut the front gable template to fit.
Starting at the bottom, I cut the first shingle strip to fit the template.
I tested it out on the house to make sure I was off to a good start.
I won’t be gluing the shingles to the template but rather to the house directly, but I will cut the shingles using the template first.
Instead of following the tops of the laser cut lines, I am leaving a little less of each shingle exposed – 5/8″ to be precise. This is what I had done for the portico since it seemed to scale down the singles to a more realistic proportion for this particular house.
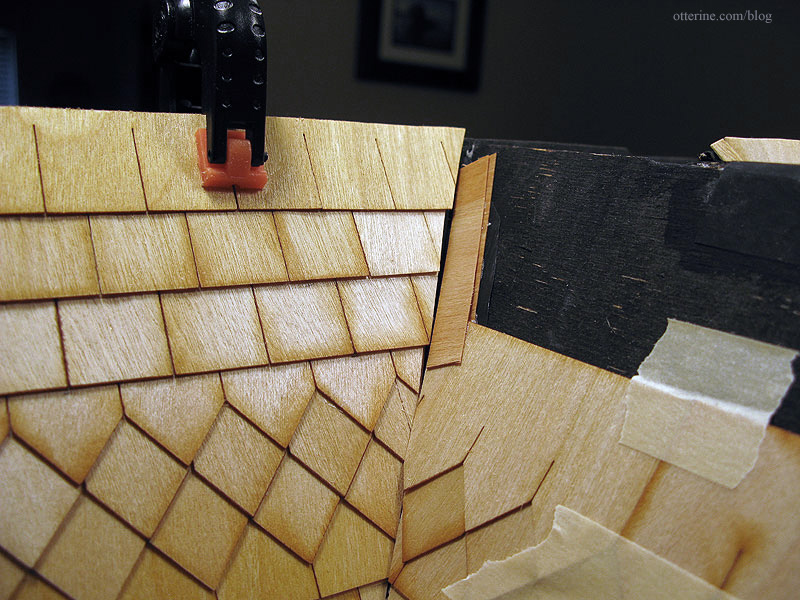
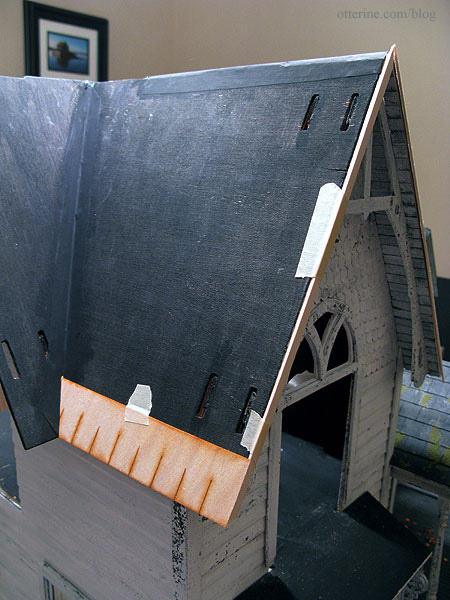
To add some visual interest, I inserted a few rows of diamond shaped shingles between the rectangular ones.
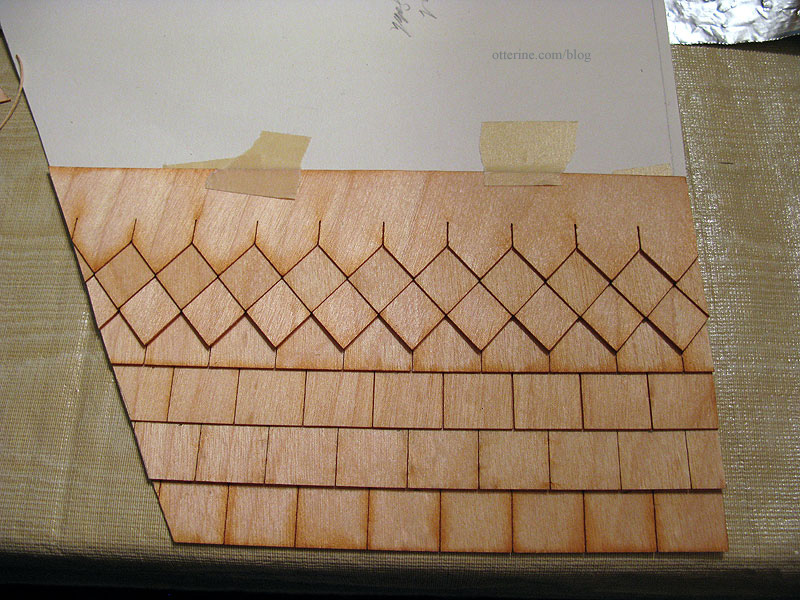
I added the second set of diamond shingles near the top, and I think it creates a lovely balance.

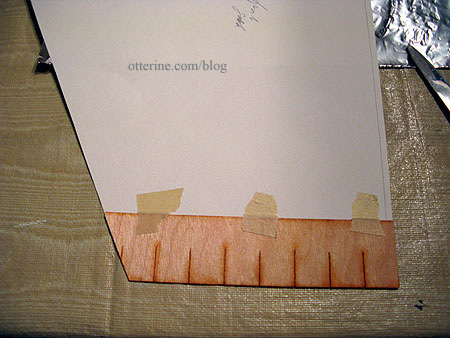
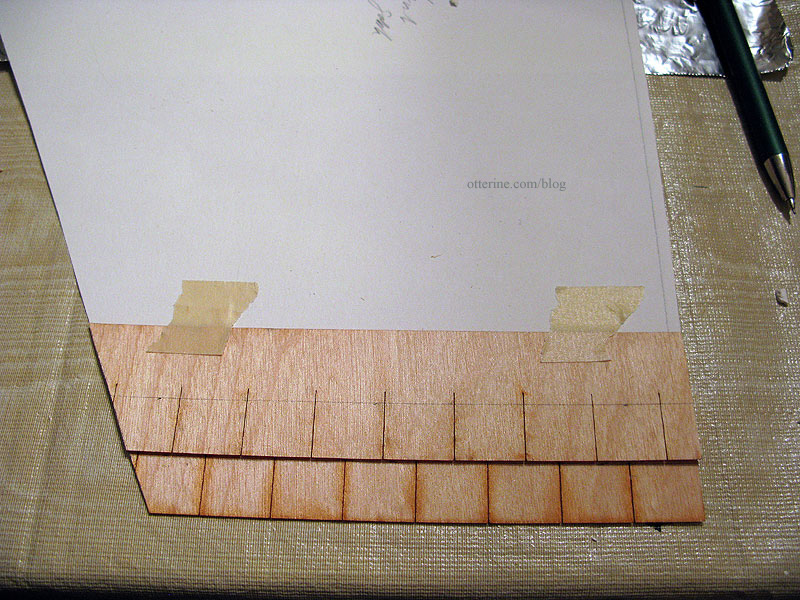
Next up was the left side of the front main roof. I cut my template and adjusted the fit behind the front gable template. All shingles will remain taped in place until I get the proper layouts completed, at least for adjacent panels. Once I get this side panel done, I can start gluing these two sections to the roof.
I took into consideration the front trim that will be added to the side gable and began applying shingles to the left front template.
I think I’m on roll now!
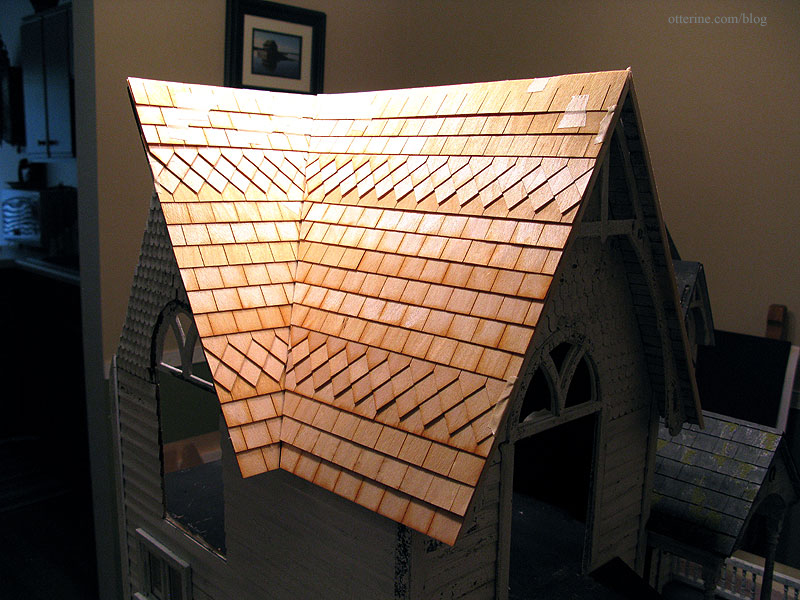
It looks a little unbalanced without the back portion of the side gable in place, not to mention the bright tones of the natural wood against the worn appearance of the house itself. I think it’s going to be marvelous and a little spooky once the dark colors are on.
I need a break from shingling for a bit. :D Good thing there is plenty to do.
Categories: The Haunted Heritage
September 29, 2012 | 0 comments


NOTE: All content on otterine.com is copyrighted and may not be reproduced in part or in whole. It takes a lot of time and effort to write and photograph for my blog. Please ask permission before reproducing any of my content. Please click for copyright notice and Pinterest use.


