

Unfettered
While buying supplies for The Artist’s Studio, I picked up a battery operated flickering firelight from Minimum World for The Aero Squadron Lounge.
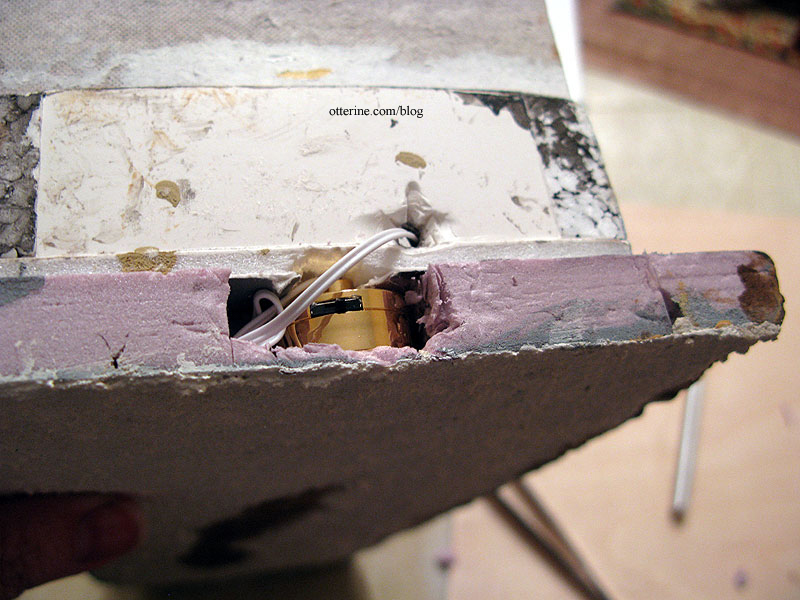
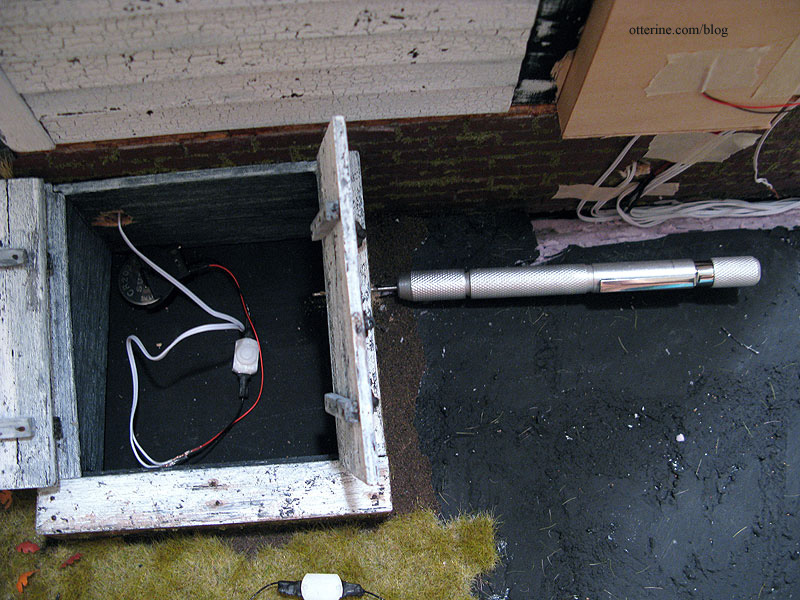
If you recall, I had hardwired the fireplace bulb, which hampers the removal of the removable fireplace.
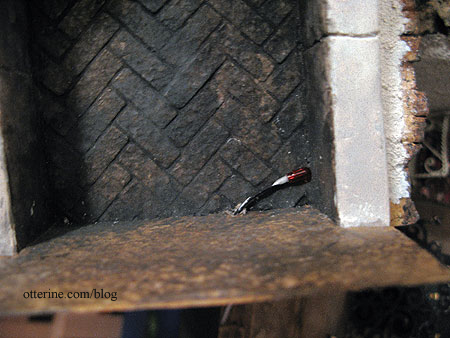
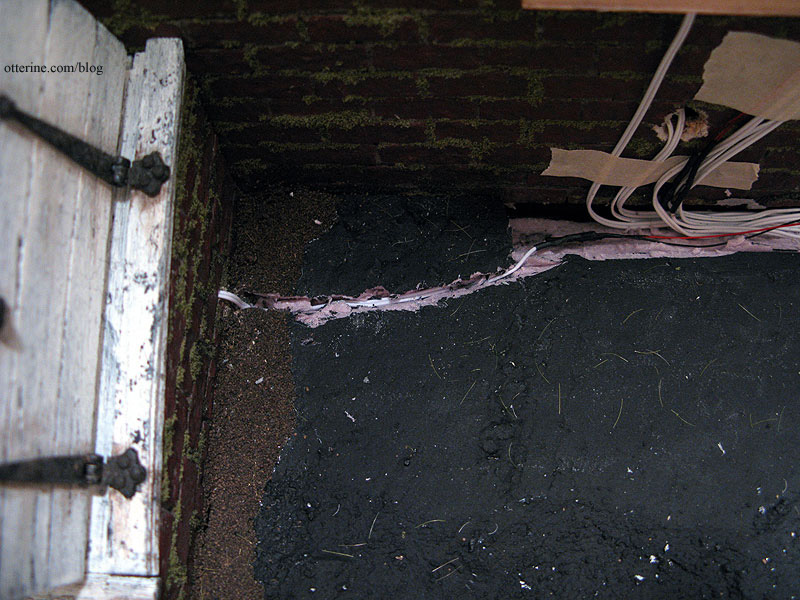
Close-up of the recess and fireplace wire.
I have to slip the bulb out of the hole drilled for it in order to truly remove the fireplace.
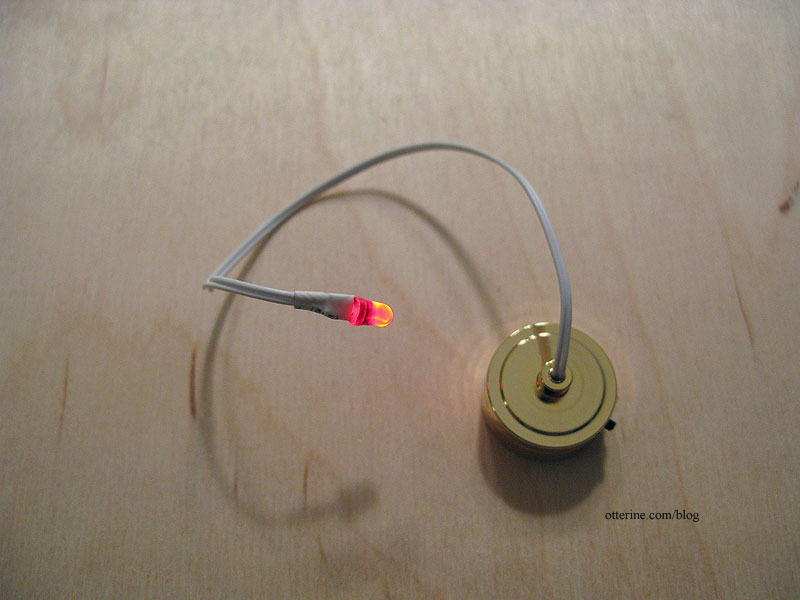
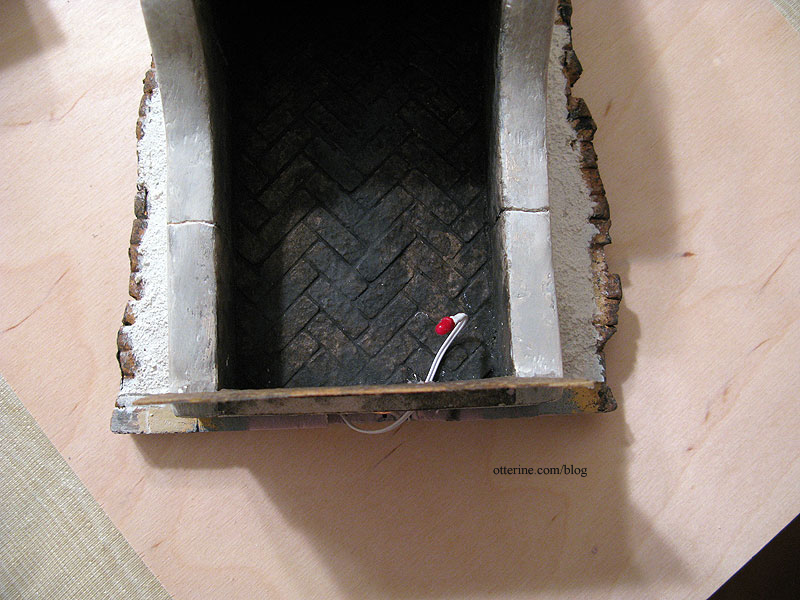
Before deconstructing any of the hard wiring, I made modifications to see if the new battery light would work for this instance. I fed the bulb and wire into the fireplace to see if the wire was long enough.

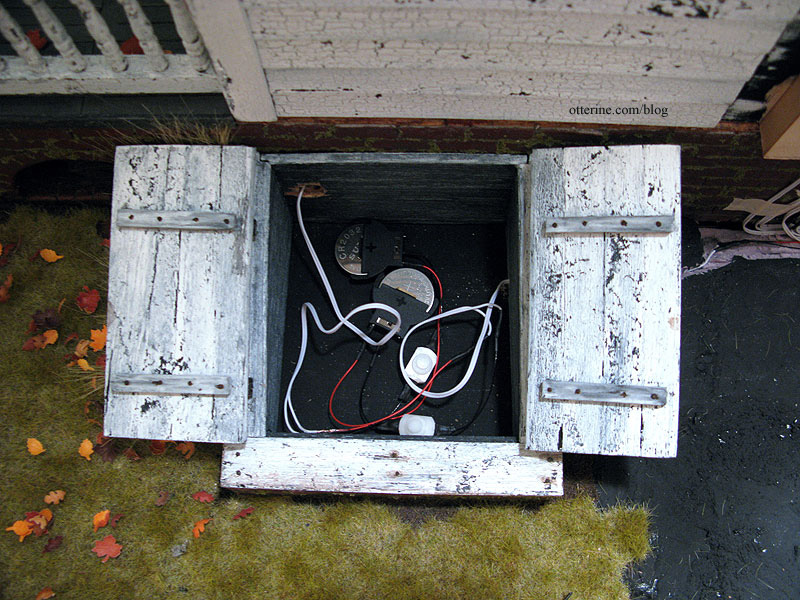
Since the back wall of the fireplace is made of foam, I was able to cut a space to house the battery mechanism, switch side down, as well as some excess wire.
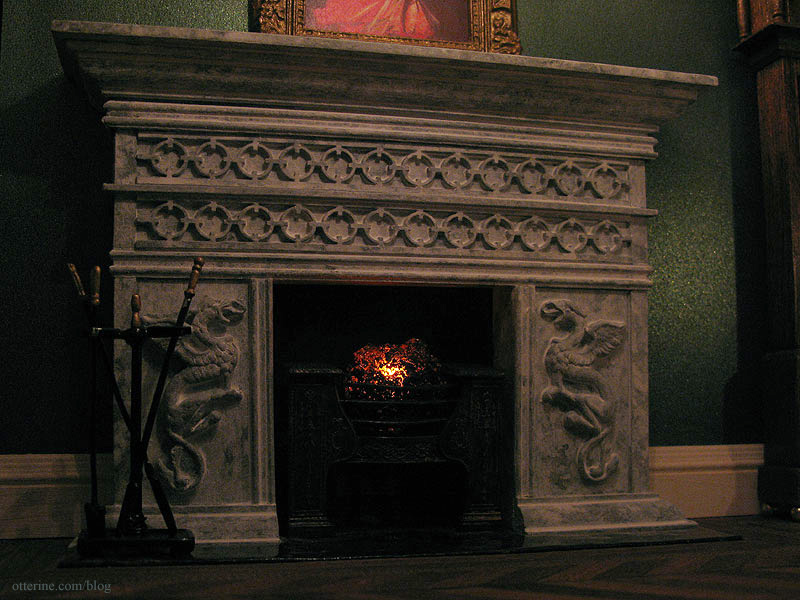
It worked! :D
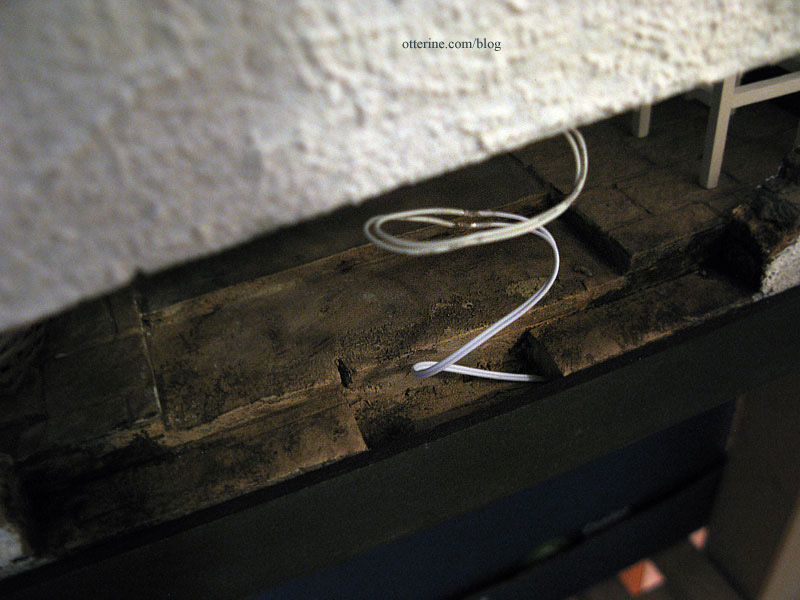
I will probably paint the wire black to blend in more, but it doesn’t really show with the fire screen in place.
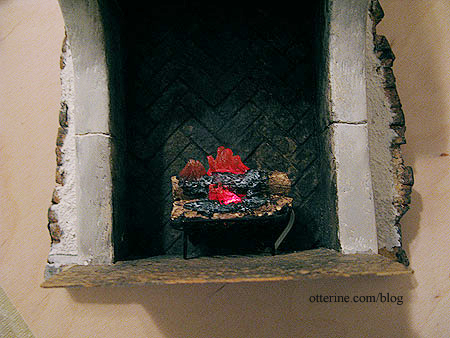
The flickering isn’t as smooth as the LEDs from Evan Designs that I used in the jack-o’-lantern, but it is bright enough and relatively convincing. Even a solid red bulb with this battery setup would be nice to have for fireplaces and stoves.
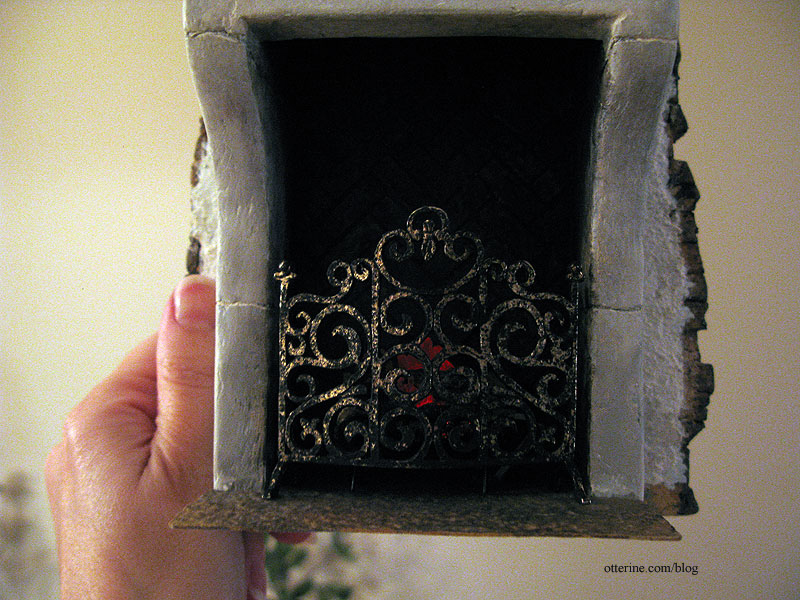
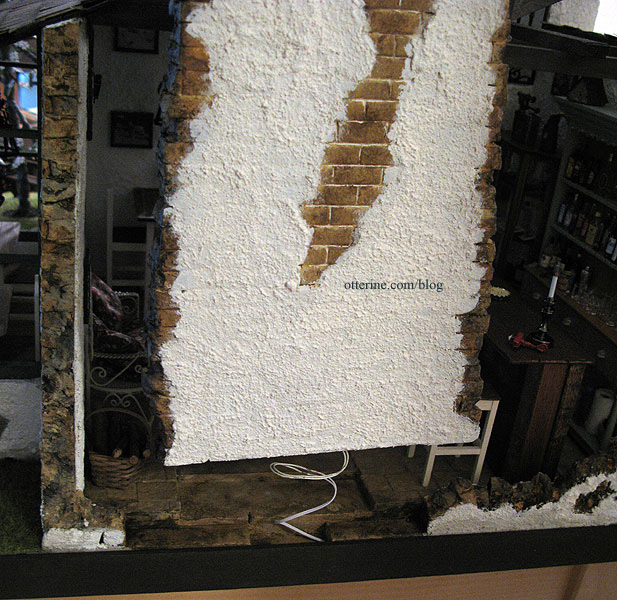
I decided to leave the hardwired bulb in as a backup since it is already in place, so I curled the wire and bulb into the recess made for it.

The fireplace with its new battery firelight sits perfectly in place and is now quickly and easily removable.
My final assessment is it’s a great light for easy access with the caveat that it does not have a completely realistic flickering motion for imitating fire. It is somewhat pricey, too, but overall I’m pleased with it and would likely use it again in the right situation. If I had enough room for full hard wiring, however, I would use the orange flickering LEDs from Evan Designs instead. Those are brighter and more realistic, but they have a larger battery adapter that’s not as easily hidden as this unit from Minimum World.
Categories: The Aero Squadron Lounge
December 26, 2012 | 0 commentsWiring…a necessary task
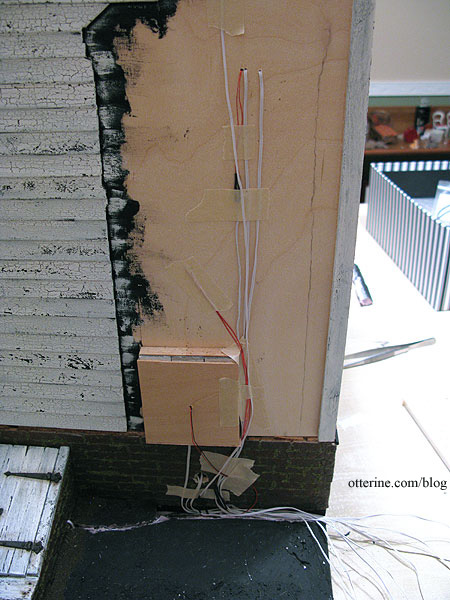
I’ve gotten far enough into the build that I need to start addressing the wires that will eventually be housed in the chimney. I have some wires lengthened and marked with masking tape so I know what is what.
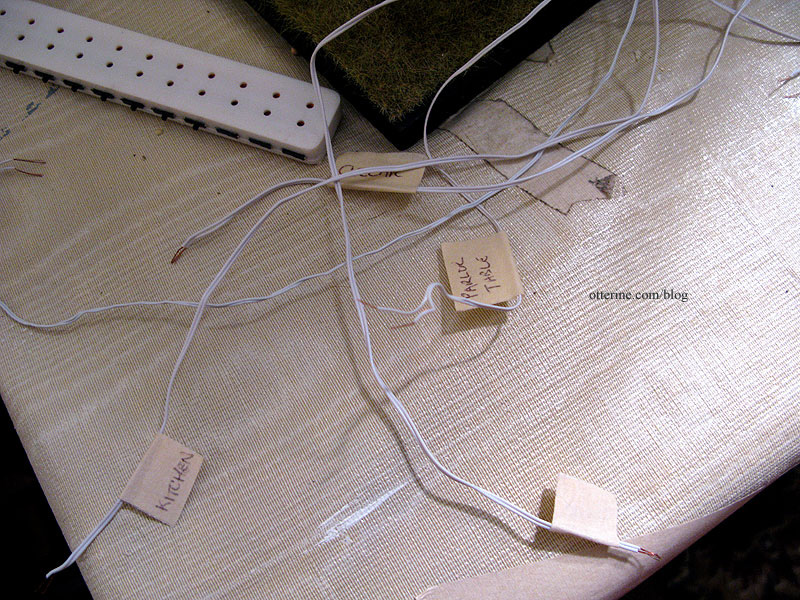
Others are just hanging around, too short, and I need to plug them in to see what happens. Haaaaa! What a mess….
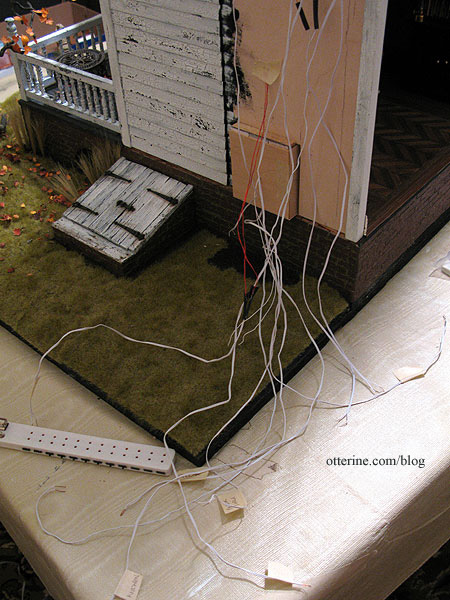
I decided to take some time tonight and remedy that issue. All the wires will come down the wall behind the chimney and that will require a track to the back of the baseboard. I cut the landscaping foam but kept the piece to later plug the channel over the wires.
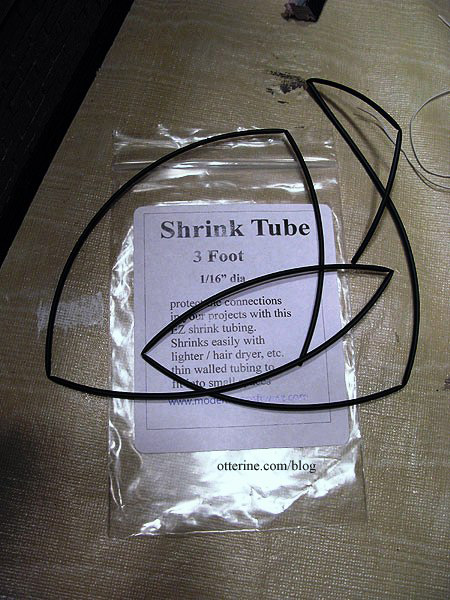
I use the tiny clear, pre-cut shrink tubes by Cir-Kit when when I need to keep the wire joins thin, usually within a channel inside the walls or floor boards of the building itself.

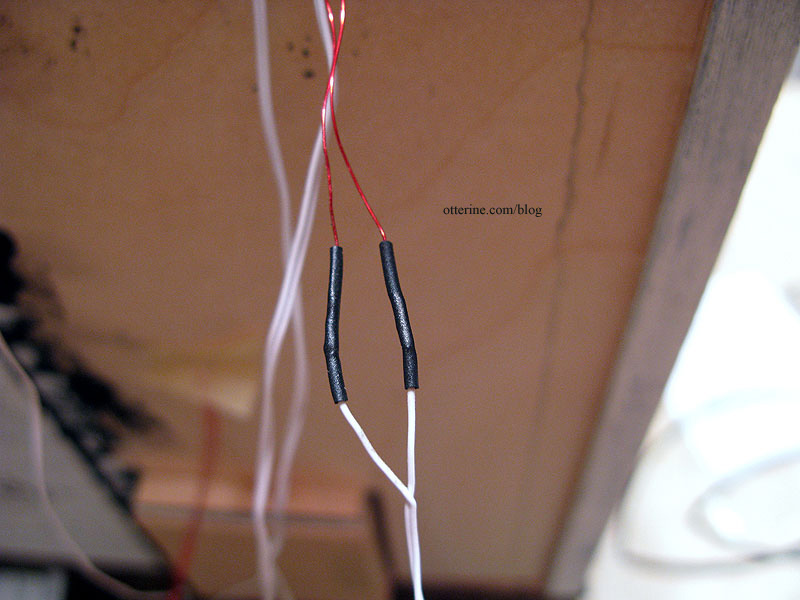
For the wires that join inside the chimney, the thickness of the wire joins doesn’t matter since they will be loose in the flue so I use shrink tubing from Evan Designs instead. This is a length of black tubing you cut yourself.
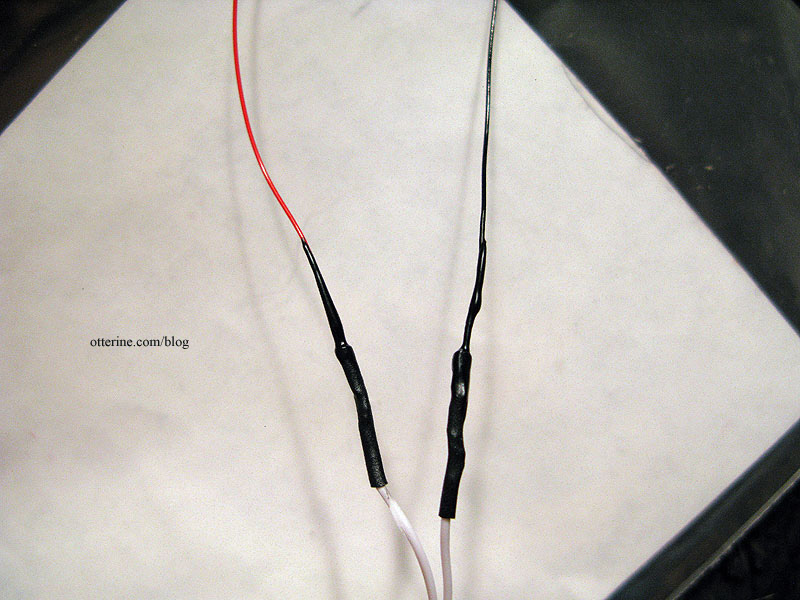
The result is comparable to the clear tubes just slightly thicker. I use a small lighter to shrink the tubing, putting the flame just close enough.
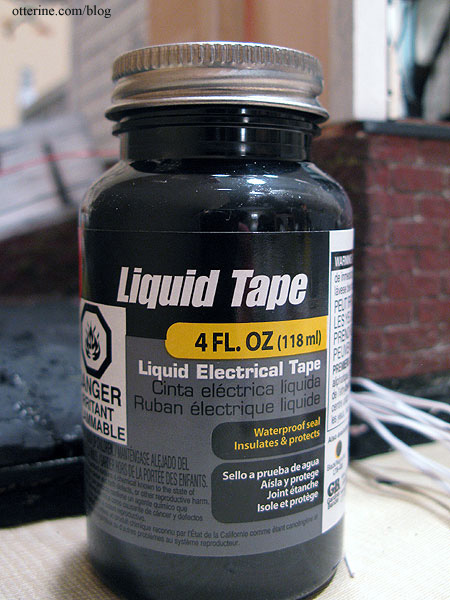
If you get the flame too close, you can use liquid electrical tape. This won’t hold wires together like a shrink tube, but it replaces any lost insulation.
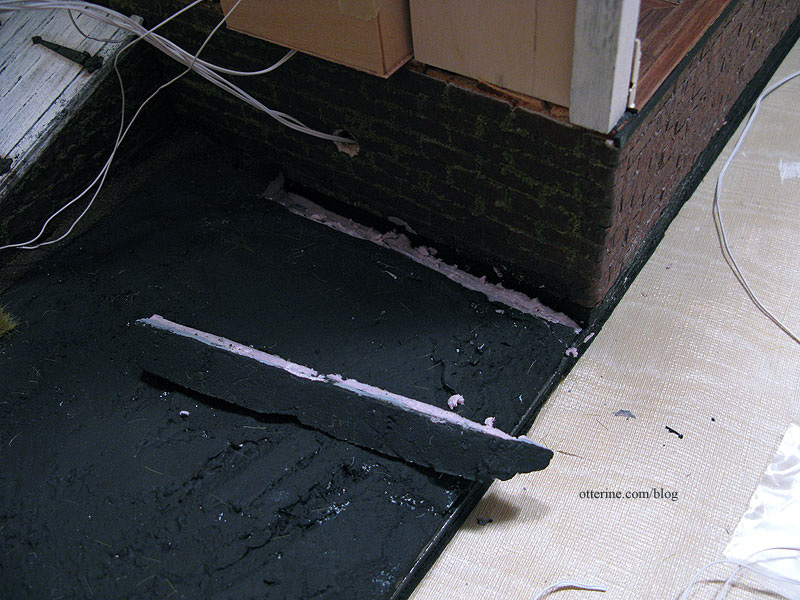
I decided to use a 3V flickering orange LED for the parlor fireplace, the same method used for the jack-o’-lantern on the front porch. I cut a channel in the landscaping foam and then drilled a hole into the cellar doors.
I wired the LED to a 3V battery adapter with a switch.
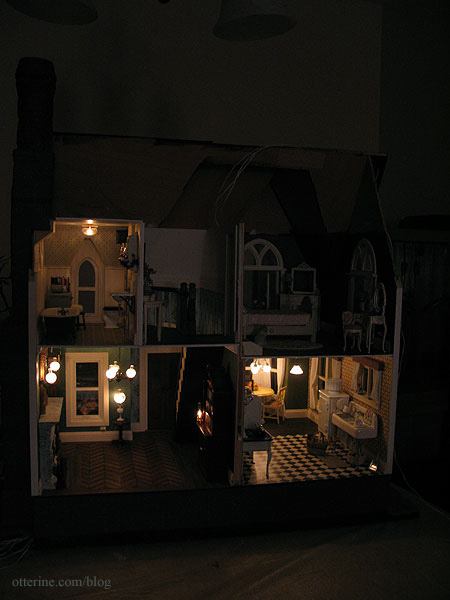
It’s a softer, more realistic light than the static red bulb. I love how spooky the fireplace looks in low light.
I taped the wires in place here and there to keep them tidy. Much better.
Once the remaining wires are in place, I’ll finish the landscaping and then add the chimney, but you can see the general idea of how it will look in the end. Having the chimney hiding the wires makes the Heritage completion seem like a solid reality.
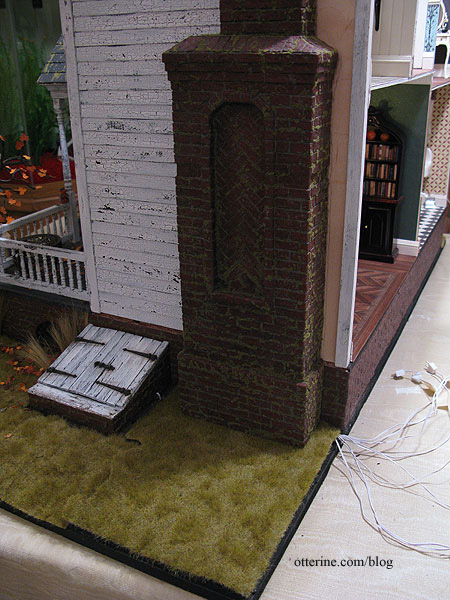
I even added the plugs at the ends of the wires. I use a 12-switch power strip, and yes, there are more than 12 lights to be plugged in at any given time. My transformer can definitely handle them all on at once, but I am more of a use-them-when-you-need-them type when it comes to lighting anyway. I could certainly add another power strip, but I don’t. And, yes, I know it’s already a bit of an octopus…ah, well, it works for me.
All this work is worth it once you see the soft glow of the light fixtures in place.
Categories: The Haunted Heritage
December 20, 2012 | 0 commentsThe Artist’s Studio – landscaping base and vintage lighting
I eliminated one layer of builders foam after adding a piece of 1/2″ thick plywood for the base. I’ve glued the layers in place and sculpted in a rough hill. The extra bit on the right side will be for the walkway up to the deck.
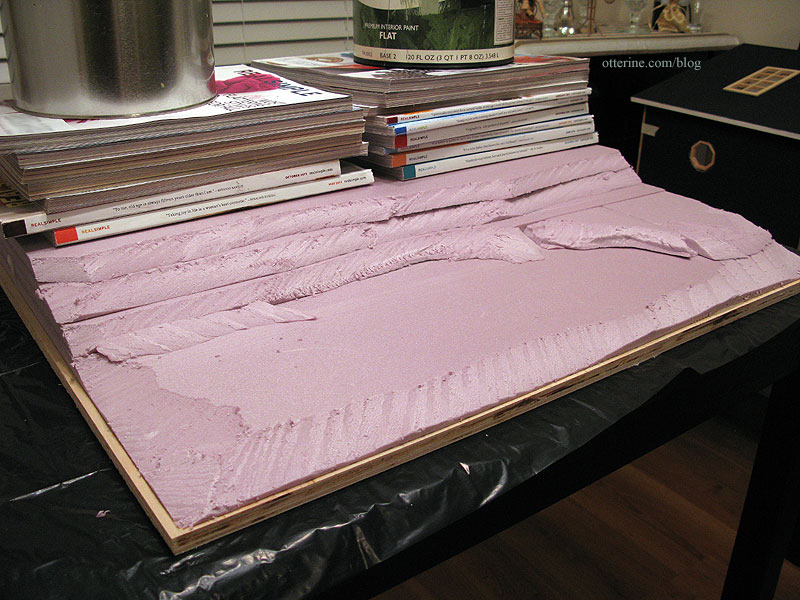
The plywood bowed upward in the middle, so I soaked the wood by running water over the board and then weighted the whole thing down to dry.
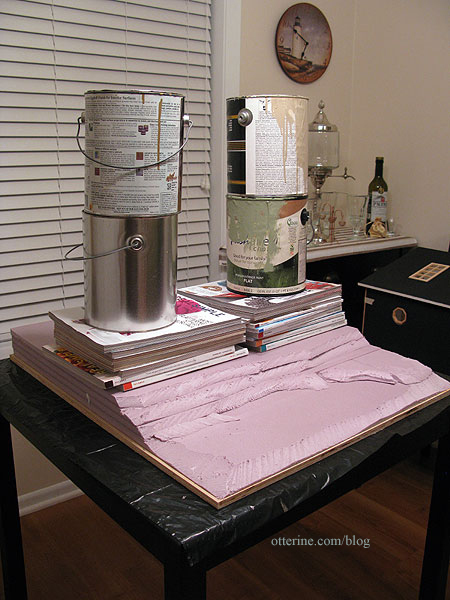
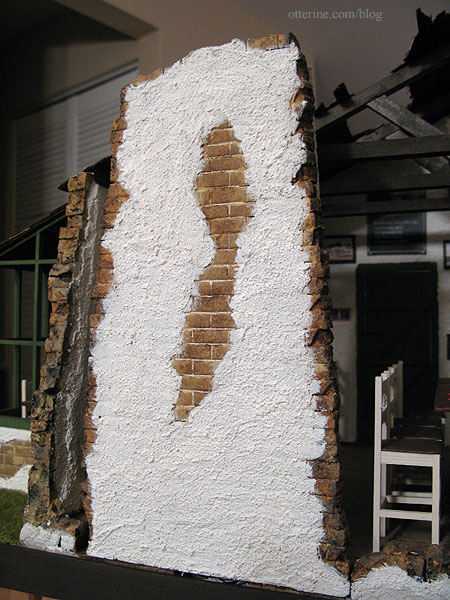
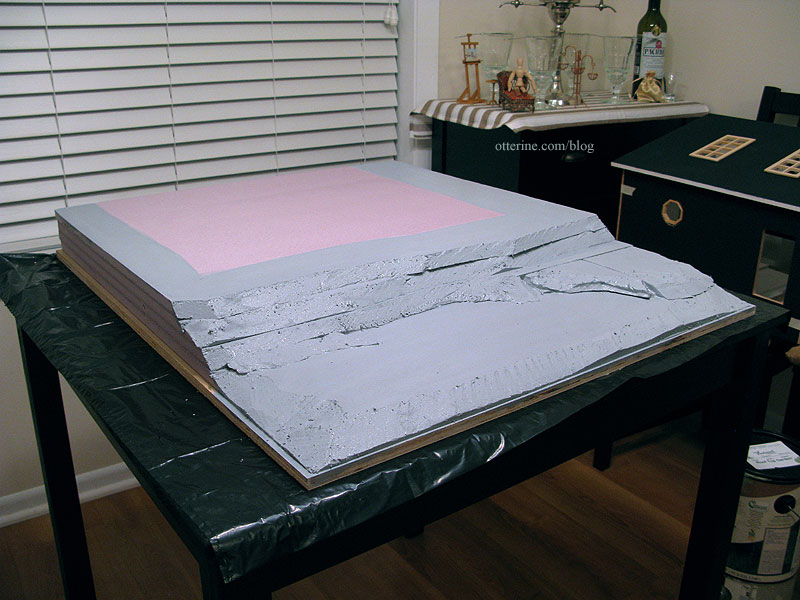
I gave the landscape a quick coat of gesso. The sides and back will be finished with faux retaining walls. I had the idea in mind already, but Lyssa’s fabulous Mt. Ollopa Lodge cinched it for me. :D The edge of the plywood base will have simple wood trim.
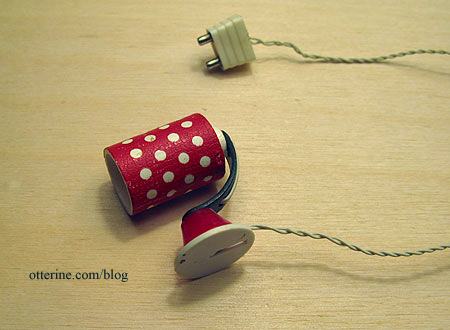
This light is an original Lundby red and white polka dot wall sconce that I removed my from childhood dollhouse. It shows its age, but I still think it’s great. This is what it looked like before rewiring.
As luck would have it, I recently found two others on eBay in roughly the same condition. I will rewire those as well and use all three in the Studio. I think they’ll be marvelous vintage additions to the eclectic vibe I’m going for.
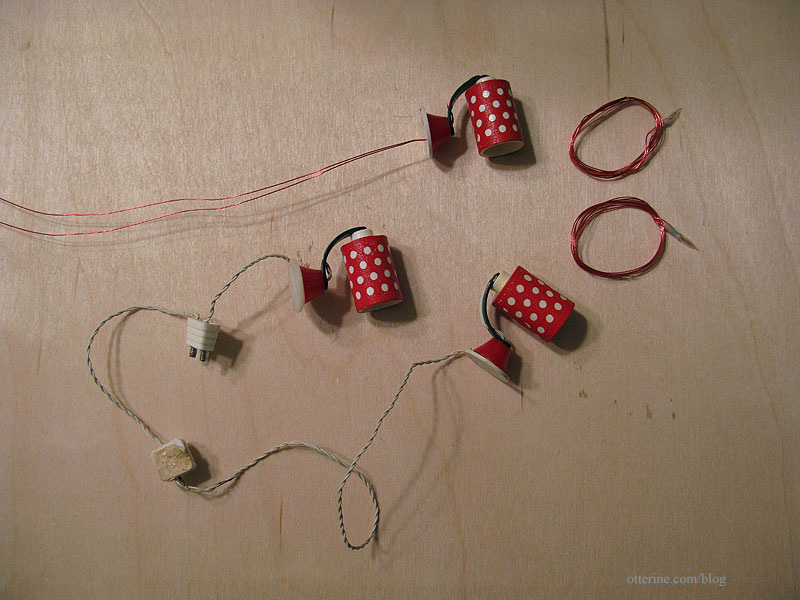
I prefer to use LEDs with long life or replaceable bulb units when I hard wire lights, but that wasn’t an option for these for a couple of reasons. First, the holes in the lamp where the wires feed were too small for the NovaLye LEDs I had on hand. I couldn’t use the ones from Evan Designs, because they have rectifiers along the wires (basically, little circuit boards). Those definitely wouldn’t fit. The screw type bulb socket I tried was too big, and the bi-pin bulb socket won’t work since there is no room inside the shade to manipulate the bulbs and the shade is not removable.
So, I am using the non-replaceable candle bulbs with varnished wires from the Chrysolite lamps I installed in the Heritage. Since those light kits came with removable shades, I switched the bulbs out for replaceable bulb candle sockets.
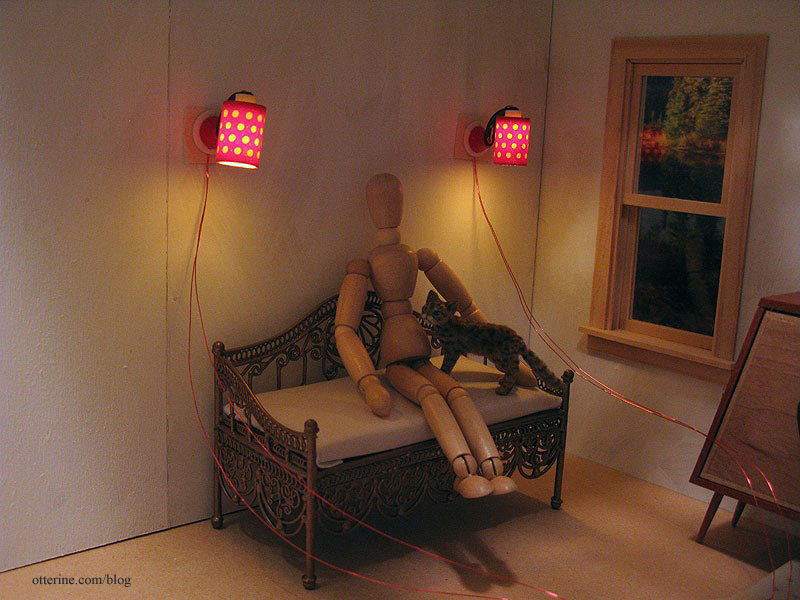
Additionally, these three lights will be installed on outer walls. What I will do is make the wire channels a little wider in one place so I can coil extra wire there. In case I ever need to replace the bulbs, I can remove the strip of siding on the outside and rewire it with a new bulb. It might sound like a pain, but it’s at least a plan. :DHere they are taped in place around the daybed.
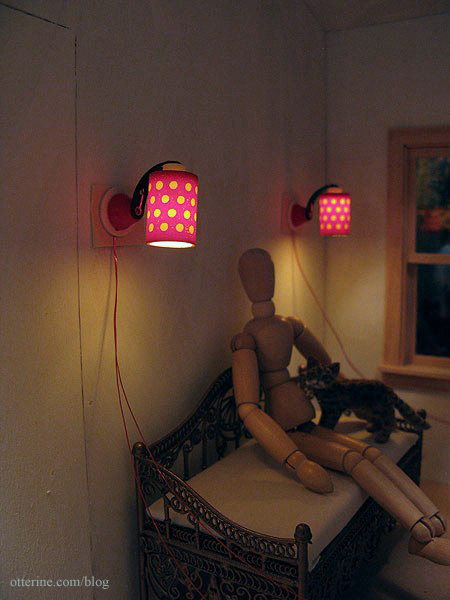
They are going to be fabulous mood lighting!
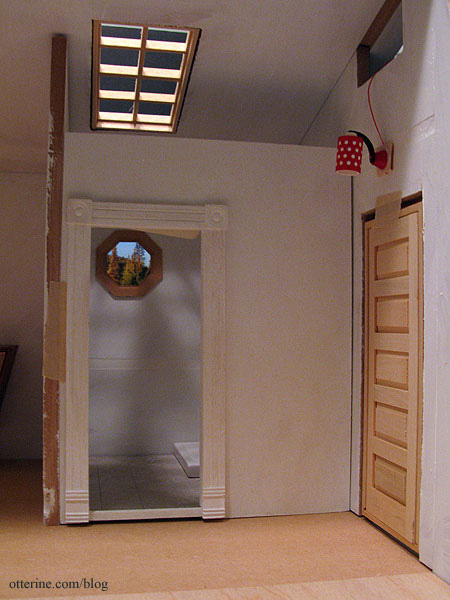
The other one will go above the front door.
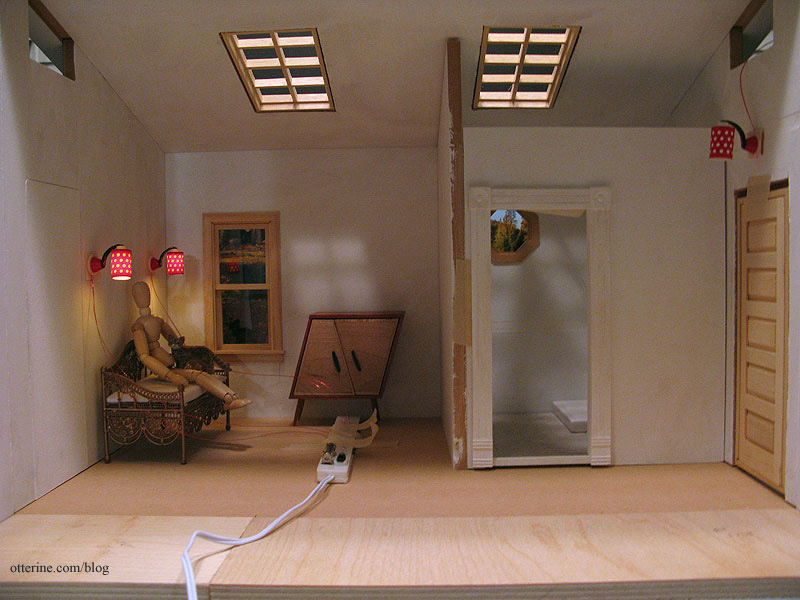
I love the way lighting transforms a miniature build even so early on. :]
Categories: The Artist's Studio
December 19, 2012 | 0 commentsHeritage – bedroom final trims
With the wallpaper installed, I cut the baseboard trim to fit around the room after putting in the front window. I later added the trim underneath the swinging window on the interior side.
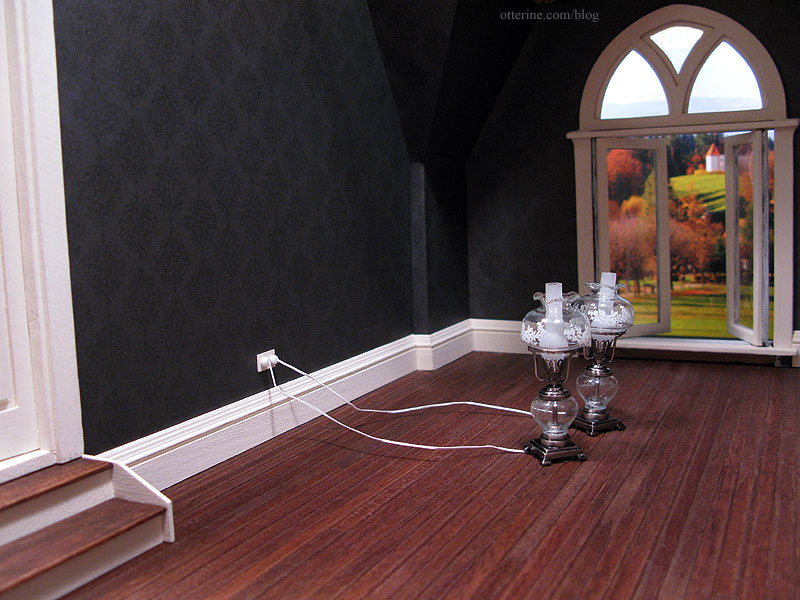
I added another baseboard heat register (my bash of a tutorial by Kris at 1 Inch Minis), this time by the window. Having it on the wall behind the bed would defeat the purpose of adding the detail at all, and the double outlet was already on the inside wall besides. The mismatched seam is definitely less noticeable, too. Hooray!
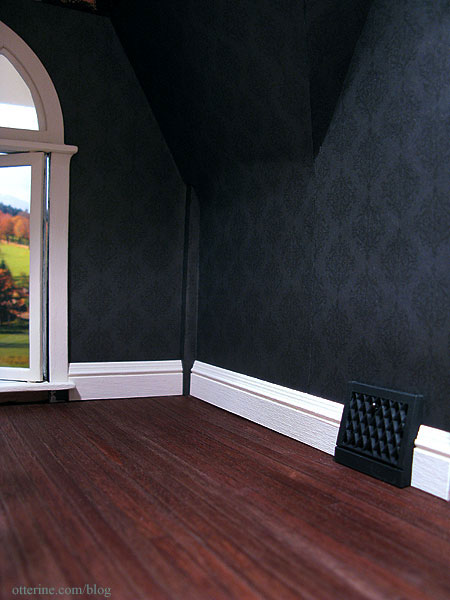
While I did cut the trim to follow the small outcropping on the left, I didn’t bother to cut the trim around the corner post in the back on the right. Cutting pieces that small tends to be more of an exercise in futility with limited results. Besides, a big dresser is going there. Cheating? Maybe. :D Less stress? Definitely!
The bedroom door has been finished, including door knobs from miniatures.com and keyholes from Bindels Ornaments. :D
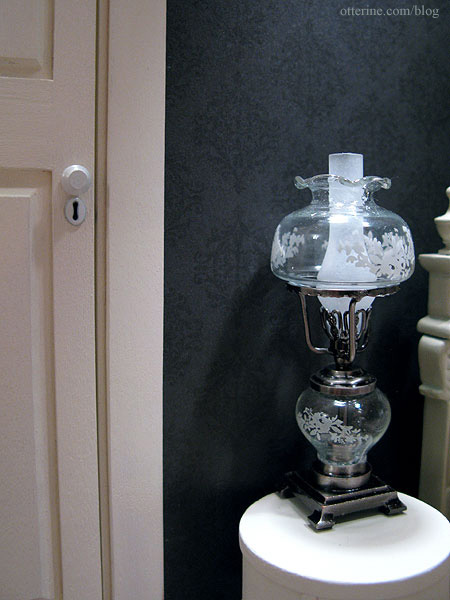
I glued the door in place and added the interior trim.
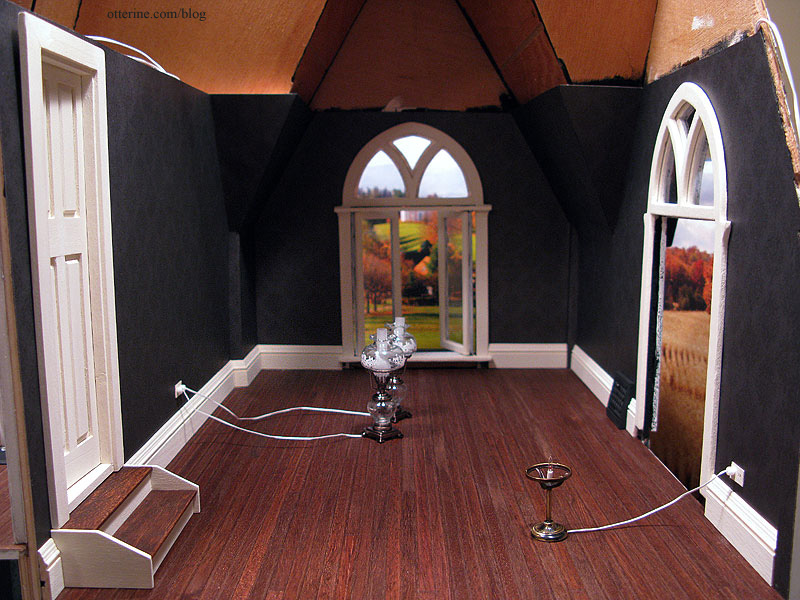
Here’s the furniture placement, though the dresser, bed and nightstands still need final finishing.
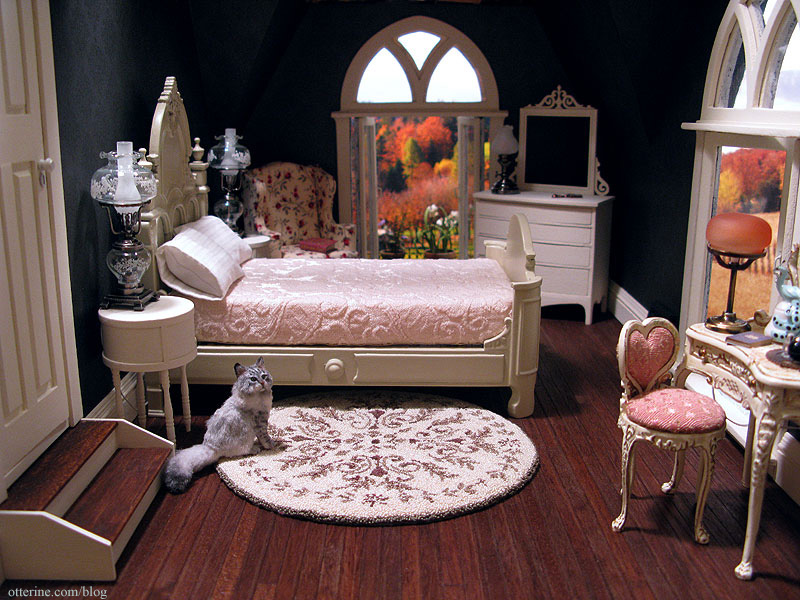
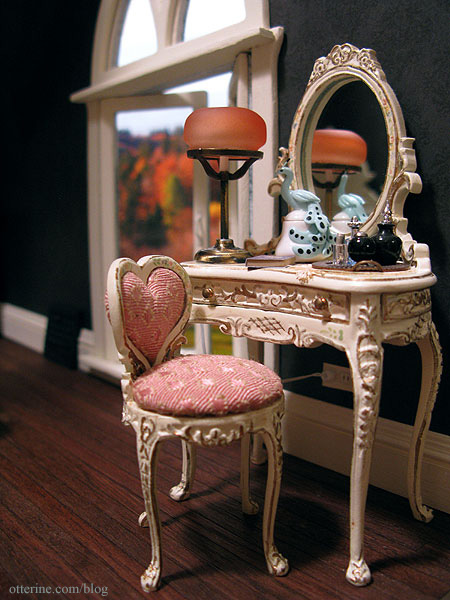
The Bespaq vanity and heart shaped chair fit perfectly in this corner.
We are ready for the ceiling!

Categories: The Haunted Heritage
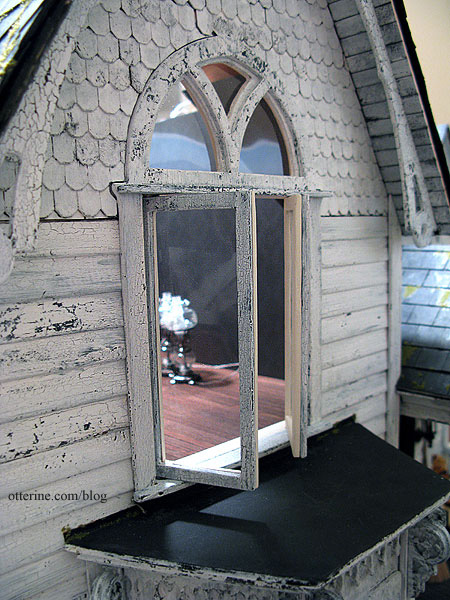
December 18, 2012 | 0 commentsHeritage – bedroom swinging windows, part 4
Completing work on the swinging windows. After touching up any exposed wood that might show in the side tracks, I glued the window interior trim pieces in place.
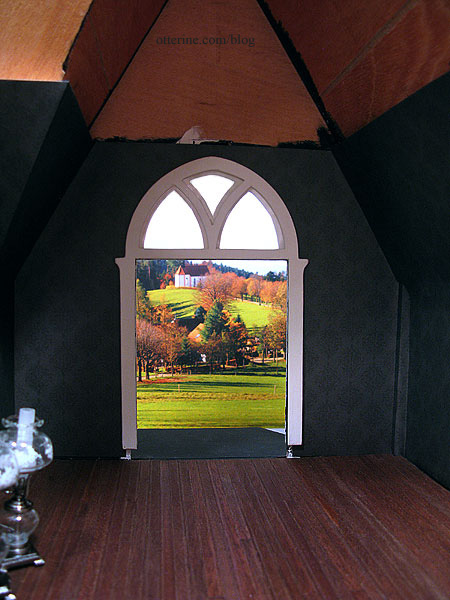
I rechecked the fit of the front swinging window pieces previously finished and installed the window. It doesn’t close all the way without some tension, so I’ll just leave it open. I couldn’t trim any more wood from the panes to make it fit without weakening the whole assembly, and I don’t mind them open.
I added the exterior trim to hold the window in place. There’s no glue here; it’s all held together with tension. That’s probably not a bad thing in case I ever need to adjust or repair it.
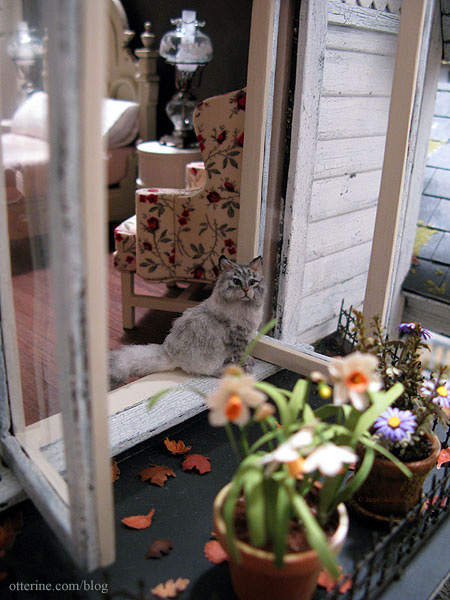
After finishing the bay window roof, I added some leaves and potted plants. The plant on the left is from Michelle of Little Rabbit Minis, and I made the potted daisies for The Aero Squadron Lounge.

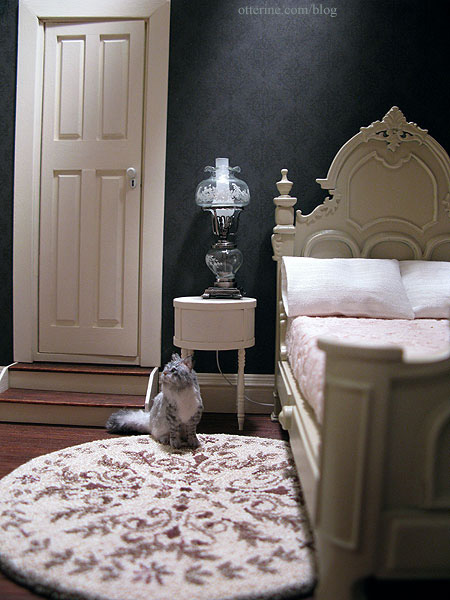
The lower trim has been added under the swinging window on the interior side here. Ophelia seems to be enjoying the view.
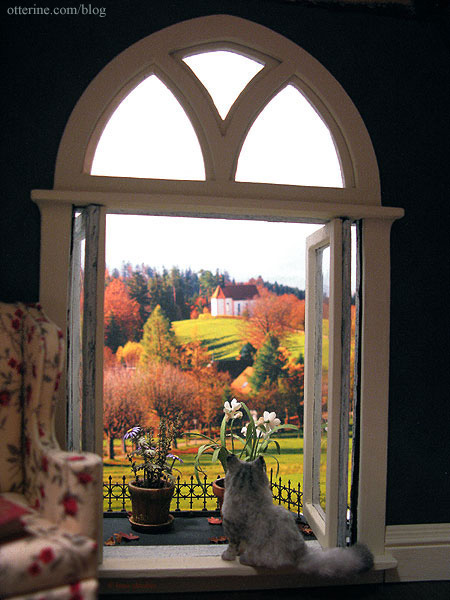
I get the feeling she spends a lot of time on the bay balcony. :D
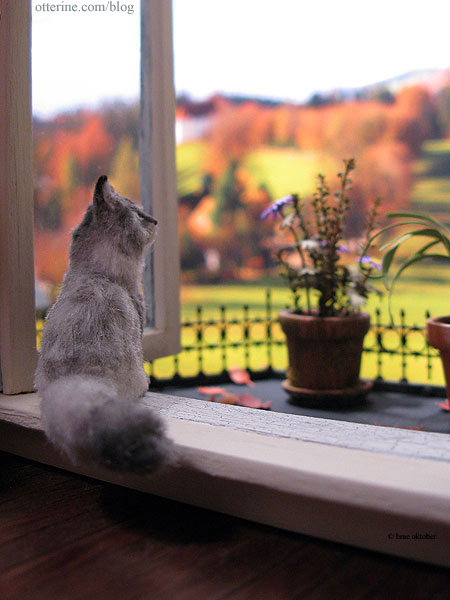
Pretty kitty.
I finished up the side swinging window and installed the trims to hold it all in place. The side gable finishing trims will be completed after the attic is completed and the back roof added.
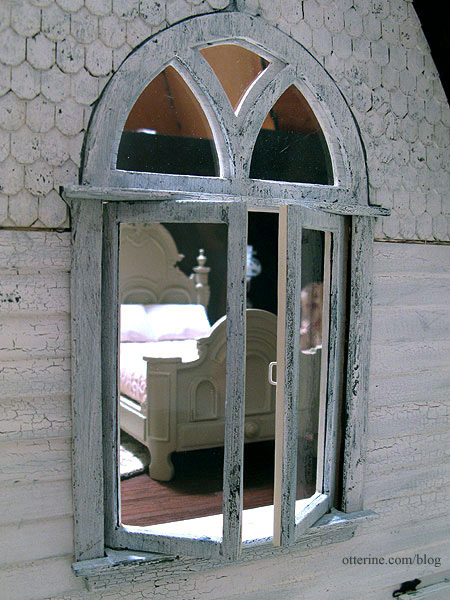
There were slight gaps just below the arch windows for both swinging windows, so I added thin pieces of trim to hide these.
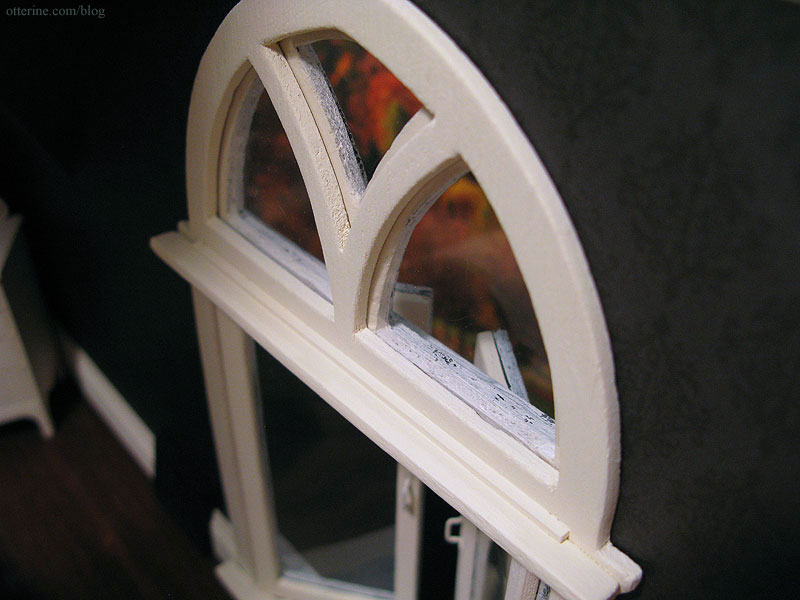
I also added window pulls. These were brass but have been painted Vintage White by Folk Art. Nothing says old house like painted over hardware.

Categories: The Haunted Heritage
December 17, 2012 | 0 comments


NOTE: All content on otterine.com is copyrighted and may not be reproduced in part or in whole. It takes a lot of time and effort to write and photograph for my blog. Please ask permission before reproducing any of my content. Please click for copyright notice and Pinterest use.


