

Grandma’s attic – faux slats and rafters, part 2
I continued working on the faux slats and rafters for the attic. Now, the front gable portion is small to work in, but it is manageable. Even so, I was not able to get in there to measure. I used the original gable template from the side gable and used that as an approximation. It worked very well.
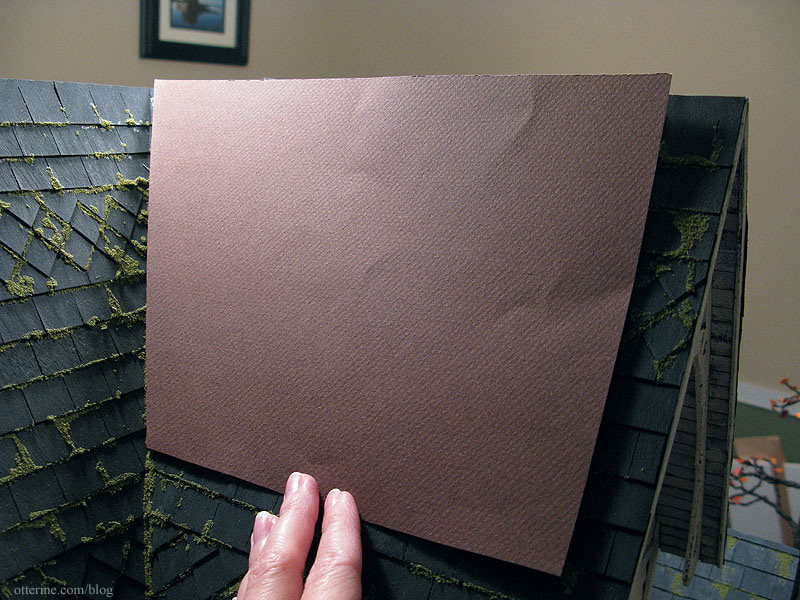
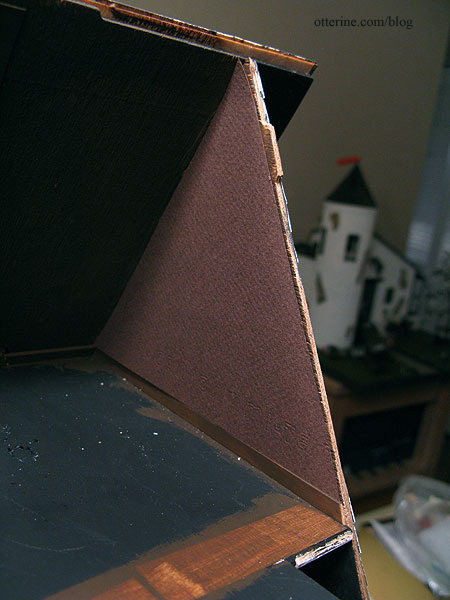
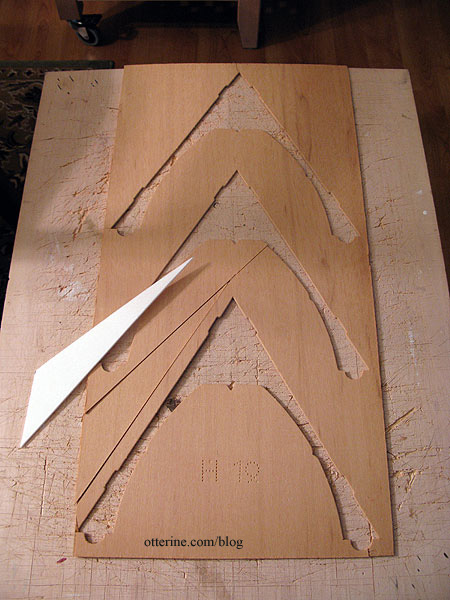
Since I used the roof templates to make other templates after the shingling was done, I had to start over with those. I made the front gable templates by placing the paper on the outside of the roof to get the basic shape and size. Note to anyone making a Heritage: make at least two templates of these roof pieces and keep them until you’re finished!
I then cut them down to fit.
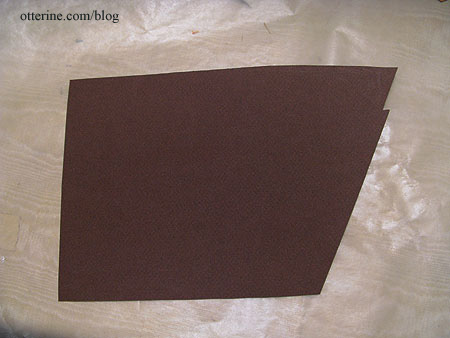
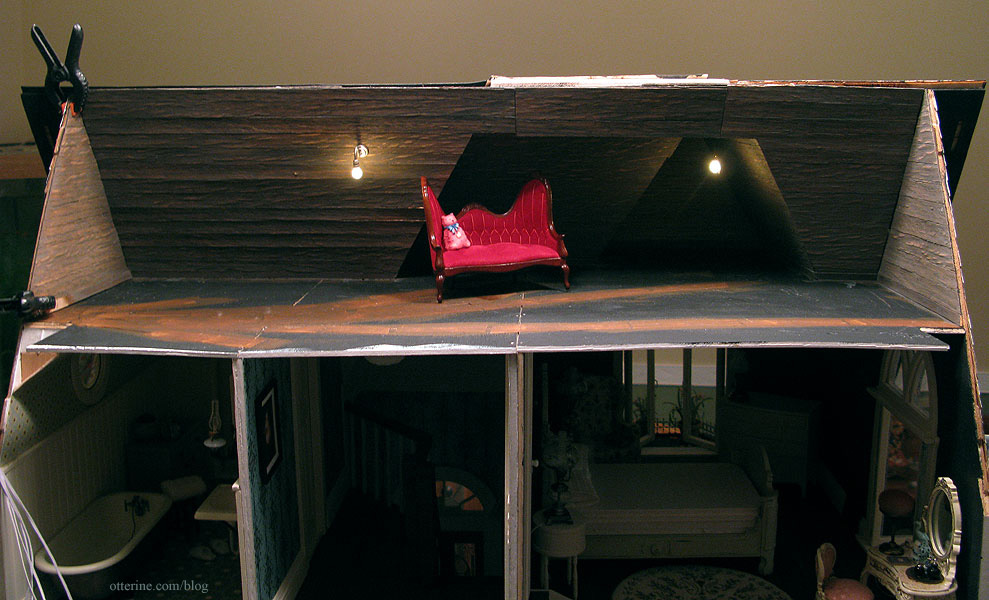
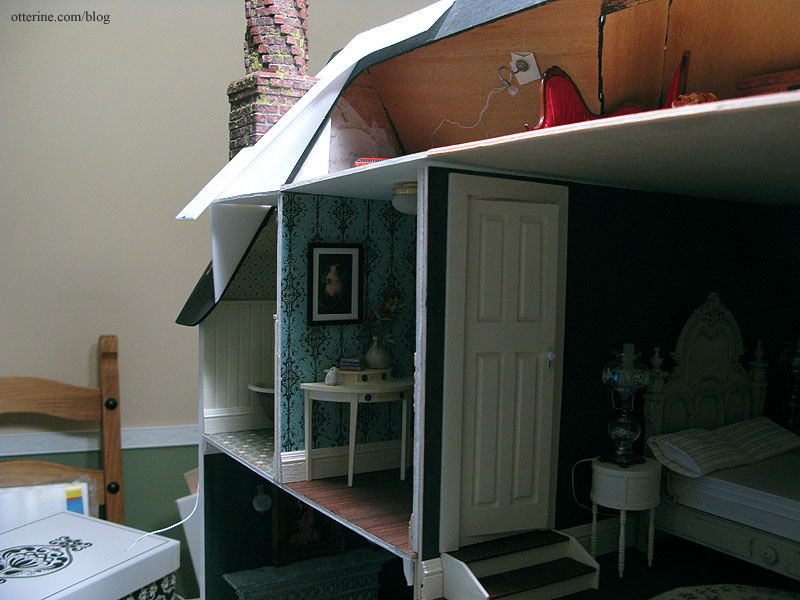
I added the wood, painted and measured the rafters. Here are the forward and right side pieces in place.
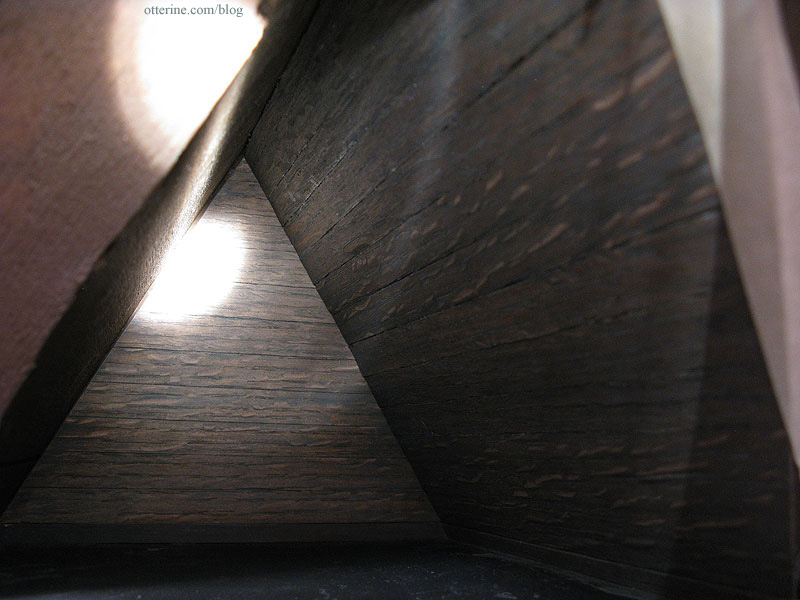
I didn’t remember to mark the rafters on the right side gable, but I did remember on the left side. It shouldn’t be much of a problem figuring it out from there.
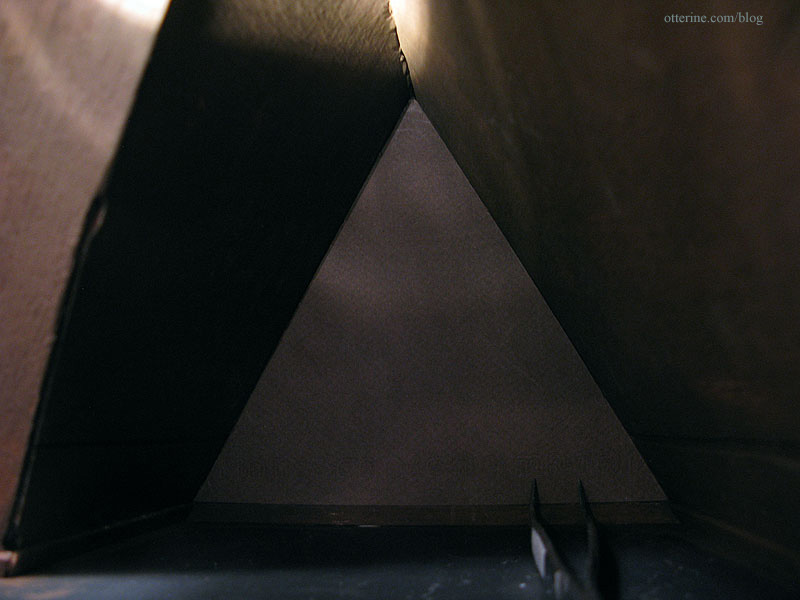
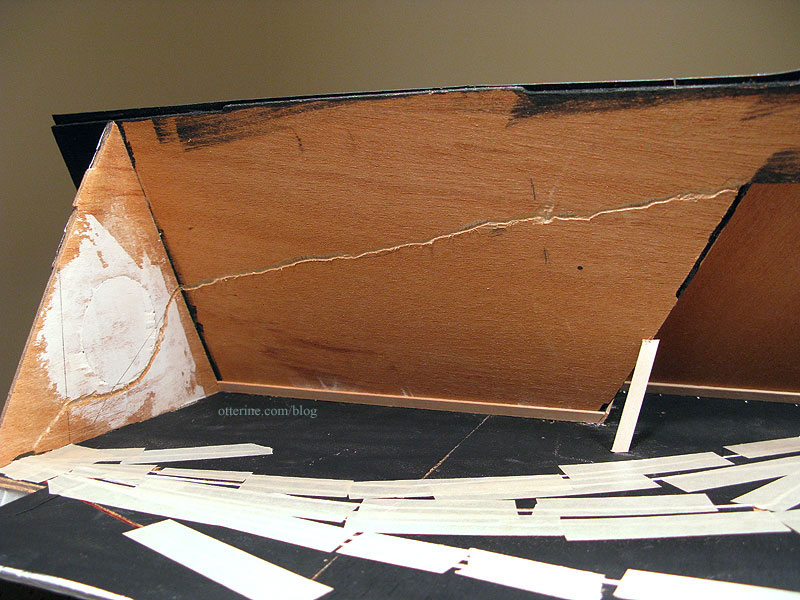
For the inside peak, I used a triangular piece of wood from my stash. This isn’t listed in the Heritage parts, so I am guessing it came from the old lost Dura-Craft kit. The piece I had is long enough to use both here in the gable and for the main span across when I get to that part.

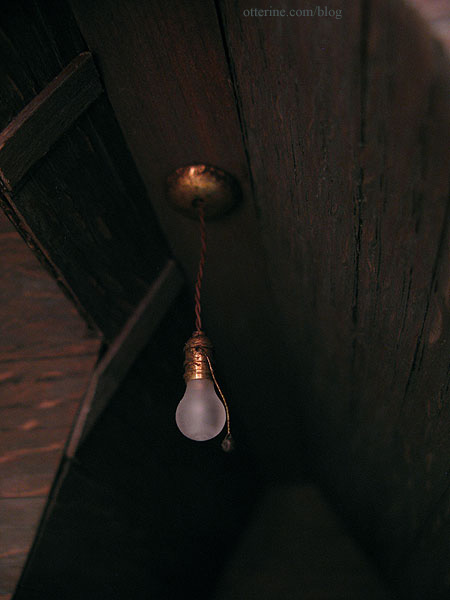
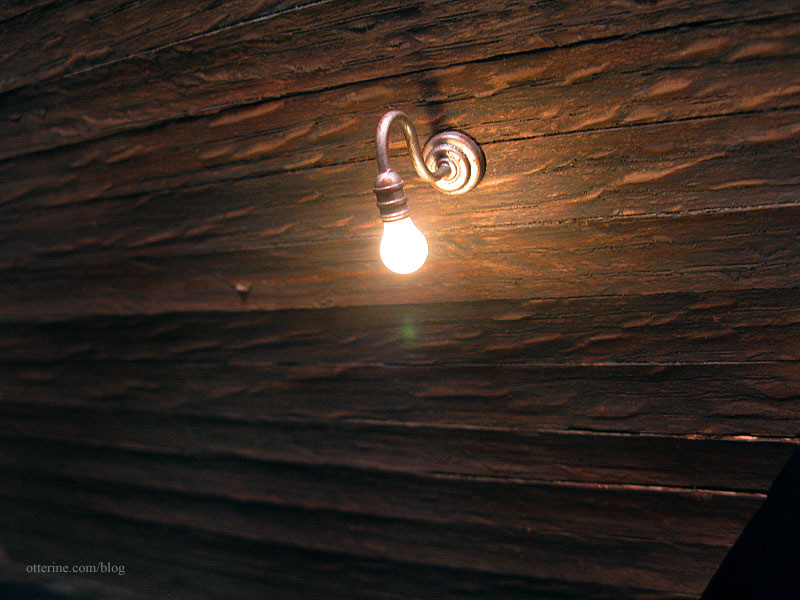
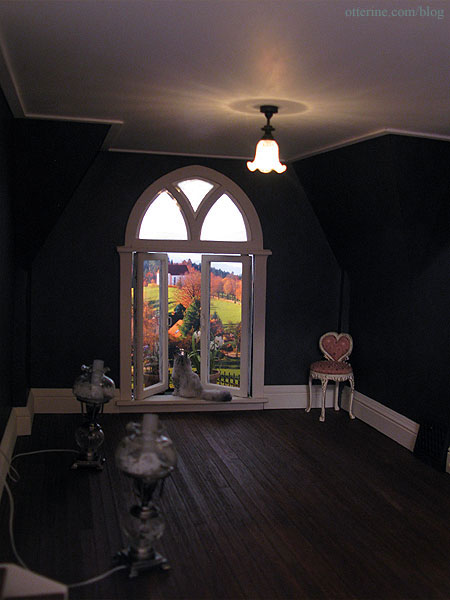
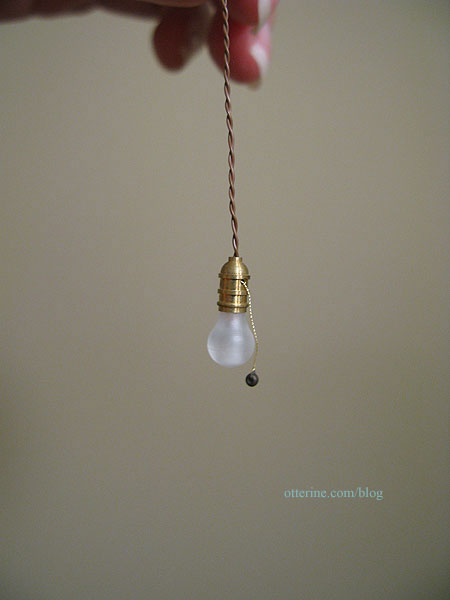
I painted it to match and then glued it in place. I installed the hanging light from The Lighting Bug and pulled the wire through. I aged the ceiling plate and socket with acrylic paint since it wouldn’t be handled at all.
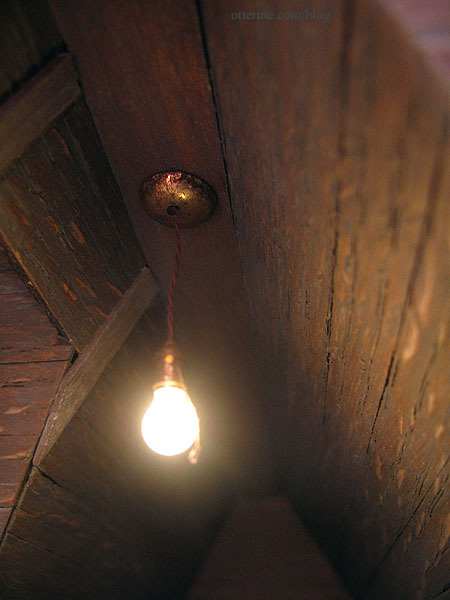
I love this light!!!! :D
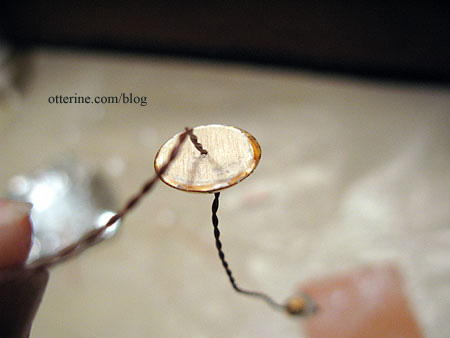
One tip for these. The ceiling plate is hollow, so I added a small Woodsies circle to steady the whole thing. The Woodsies circle is glued to the plate and the ceiling board.
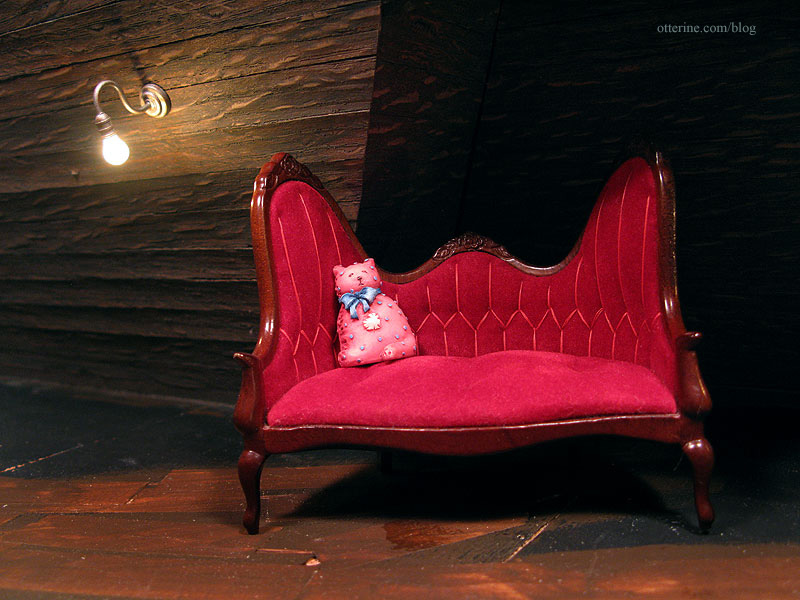
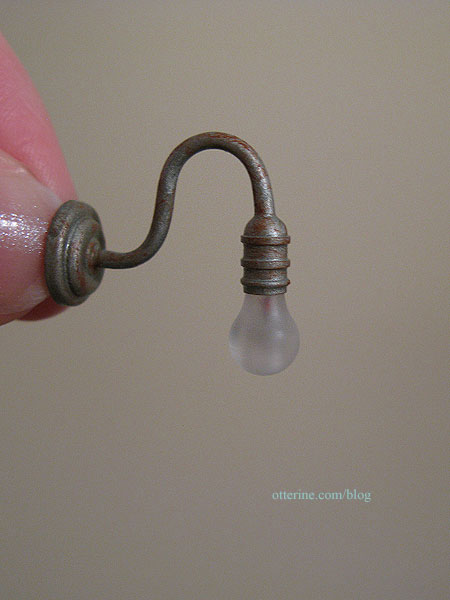
I finished up the rest of the front roof walls and installed the wall light, also from The Lighting Bug. The left side gable and its floor support will be installed after I get the attic chimney completed.

I love this light, too!!!! :D
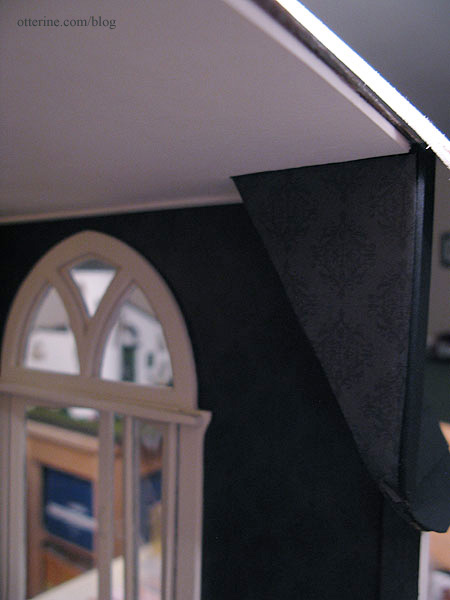
I think this rustic background will be perfect for the antiques and treasures stored here.
Rafters and detailing still to come…
Categories: The Haunted Heritage
January 5, 2013 | 0 commentsGrandma’s attic – faux slats and rafters, part 1
I’m mulling over the idea of using vintage newspaper to line the attic in the same manner as the attic in Baslow Ranch.
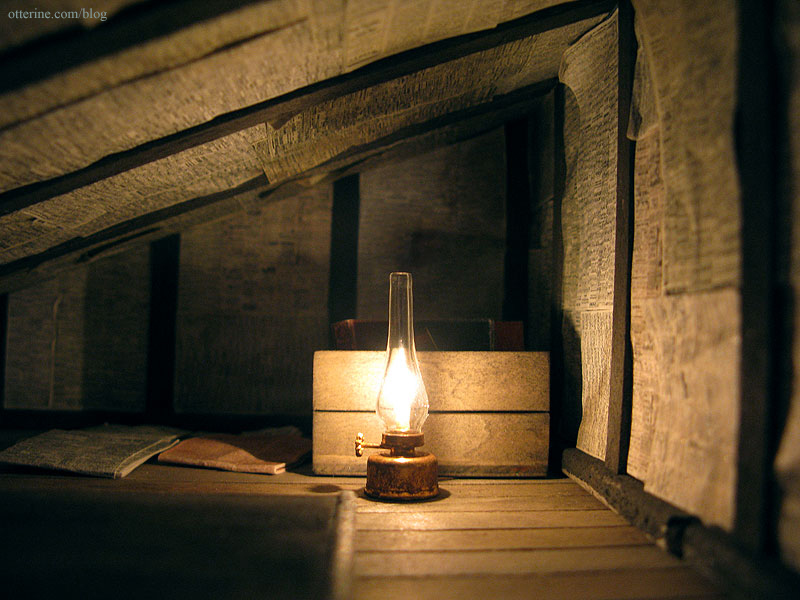
But, I also like the look of exposed wood in an old attic regardless of the energy inefficiency. Since I know what a newspaper covered attic would look like, I decided to try a wood slat attic. I can always cover it if I don’t like it, or do a combination of the two. :D
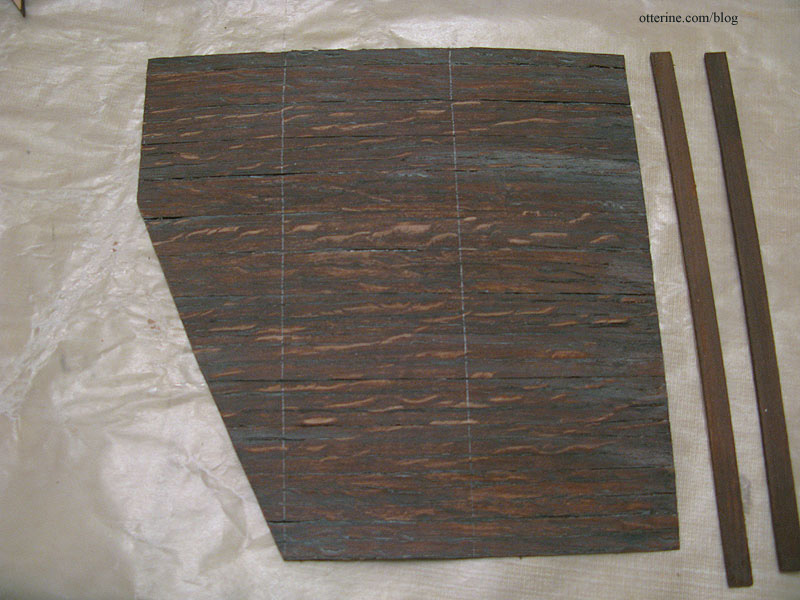
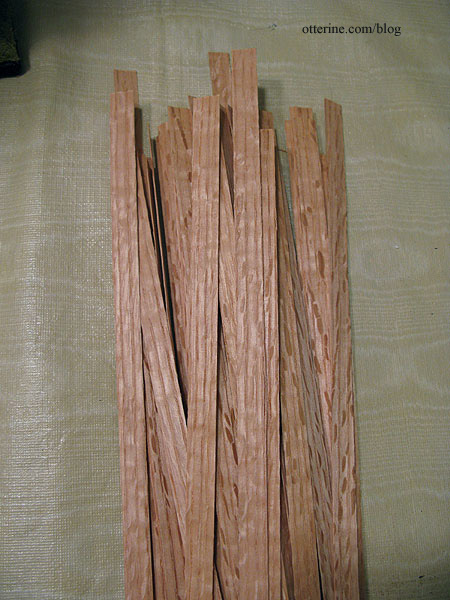
I used Dura-Craft wood flooring strips for the roof boards. These are pieces from both the old lost Dura-Craft kit and the Heritage.
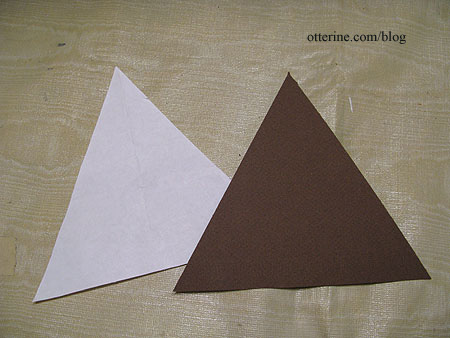
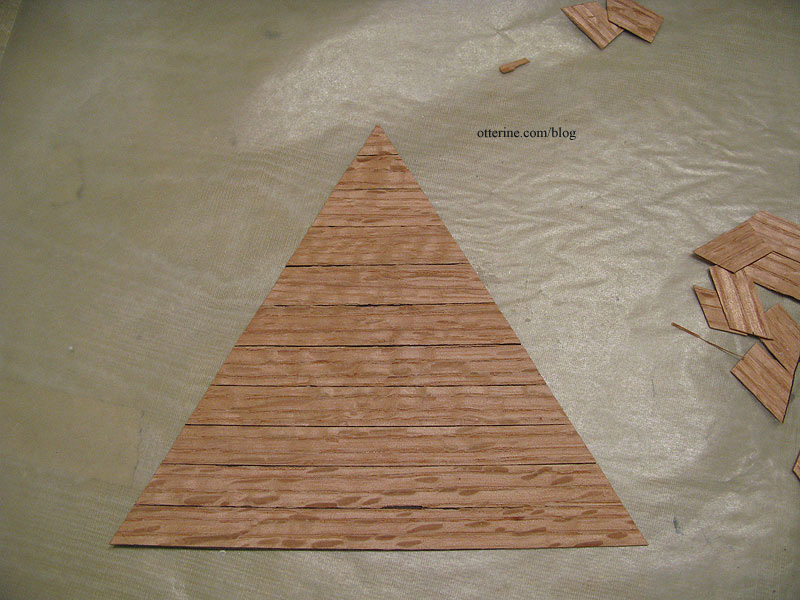
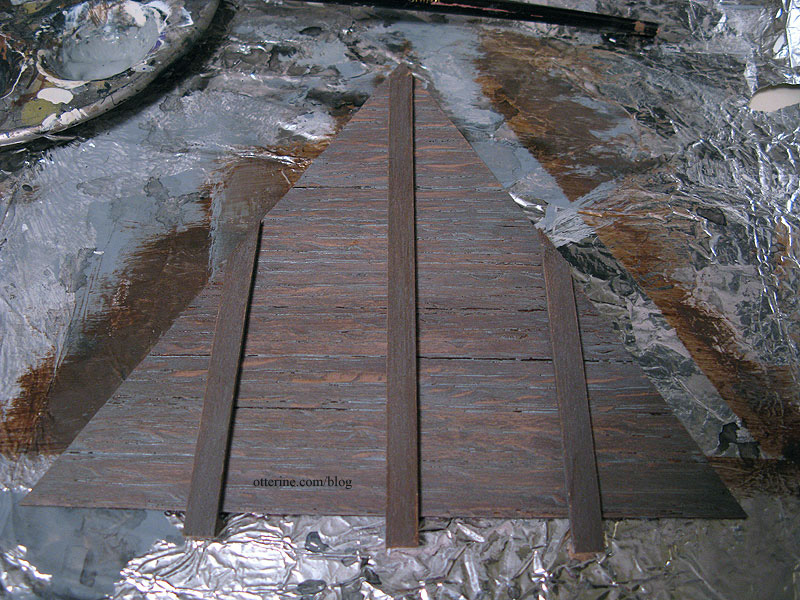
I started with the three gables that are roughly the same size and shape, because they are the smallest and simplest pieces. If I didn’t like the result, I wouldn’t have wasted much time. I made a regular paper template of the side gable and then made the final template from dark brown paper in case it showed through.
I glued wood strips to the back of the template, leaving them long.
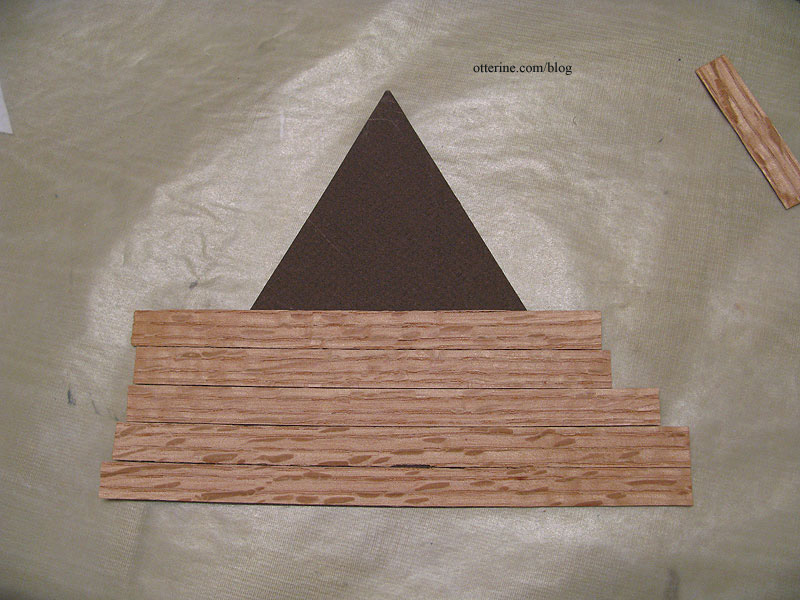
I then cut around the template.
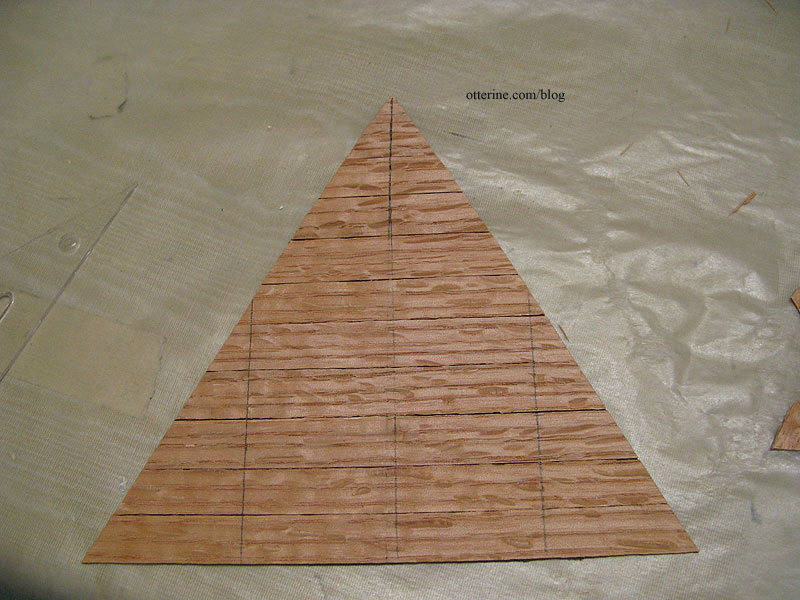
I checked the fit and then marked the visual center and the location of the two side supports.
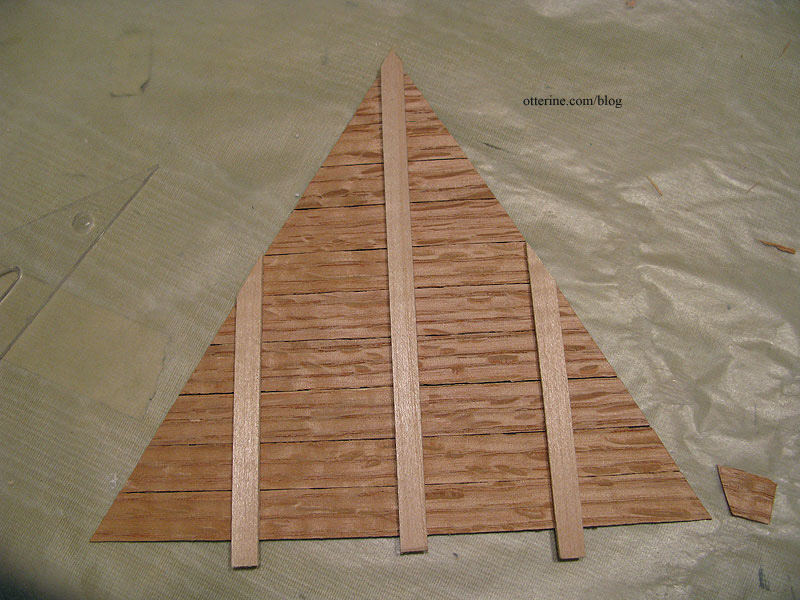
I cut rafters from 1/16″ x 1/4″ strip wood. If this were an actual roof, the rafters wouldn’t be flat, but I wanted mainly the look of an attic more than an architectural model.
I decided to add color before installation in case I needed to press the boards flat as they dried. I stained the wood by mixing Staining Antiquing Medium with Asphaltum, both by Americana. It was a rich color I will definitely keep in mind for future use, but it was too new and warm for an old attic. I added a stain of Staining Antiquing Medium mixed with Neutral Grey by Americana. It toned down the brown.
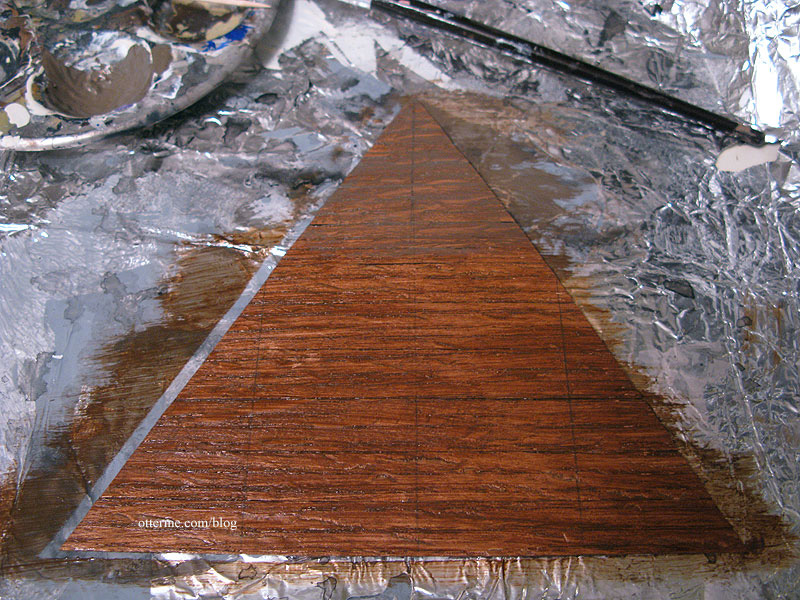
But, it wasn’t “dusty” enough, so I added a third stain of Staining Antiquing Medium mixed with Slate Grey by Americana. Very nice! Of course, I had to add this grey layer to the support boards I had primed brown previously.
Once dry, I checked the fit again and then glued the main piece in place. I won’t glue in the rafters until I get the rest of the walls done and the floor installed, but I propped them up with mini hold wax.
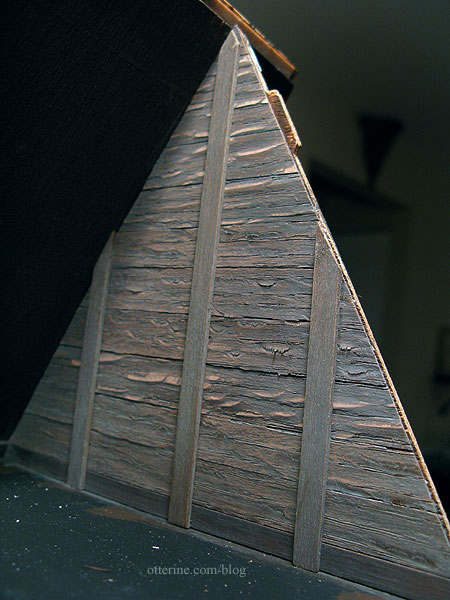
I absolutely love the way this looks! I didn’t sand the boards or the rafter pieces, and I think that really solidifies the rough-hewn look. Hooray!
Categories: The Haunted Heritage
January 4, 2013 | 0 commentsGrandma’s attic – prep work
To help keep the ceiling board in place and (relatively) level, I glued in wood supports along the attic floor. These were cut very rough to keep with the look of an attic.
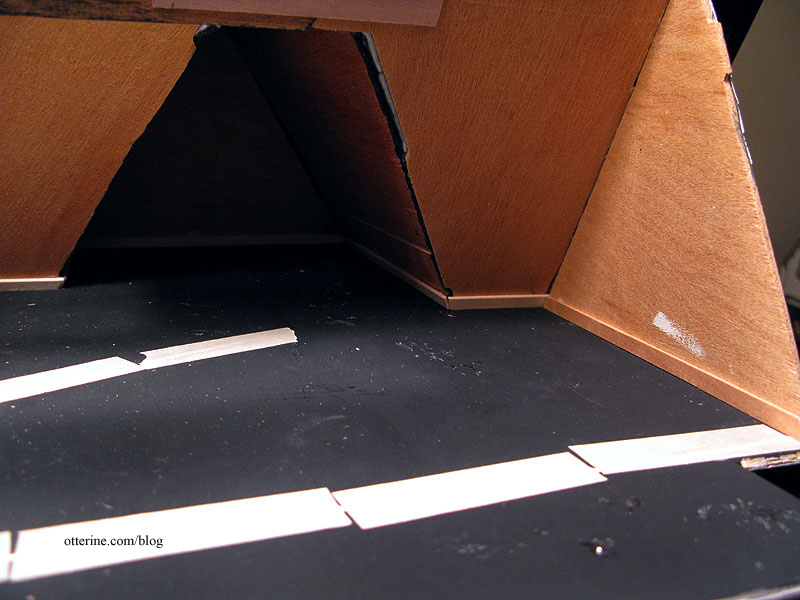
I cut a new plywood piece for the flat roof since the original kit piece was beyond warped and didn’t fit at all. It won’t be glued in place until I finish the interior of the attic.
I used my new Dremel to cut my first wire channel in place! How exciting! It’s not pretty, but it doesn’t have to be. It took two minutes and was easier than it would have been with the utility blade. With practice, I’ll be steadier with it. I made the channel around the circular patch where I first cut the round window. I didn’t want to weaken the patch. As you can see, there is no floor support on the side gable. That will be put in place after I get the attic portion of the chimney installed.
I then primed the attic walls and supports with Asphaltum by Americana. It’s already starting to look like a cohesive room.
Categories: The Haunted Heritage
January 3, 2013 | 0 commentsHeritage – bedroom ceiling, part 2
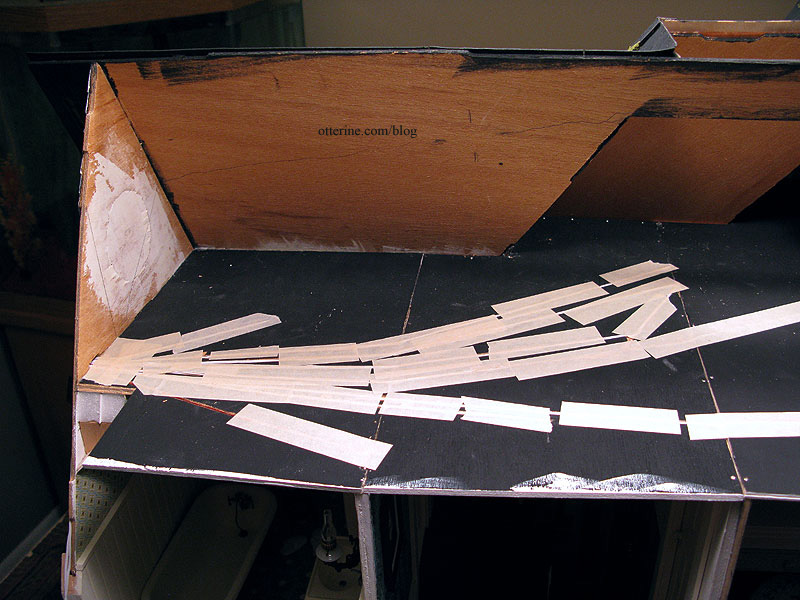
Continuing work on the bedroom ceiling. Since I’ll be installing flat trim around the bedroom ceiling to help disguise any gaps, I traced the walls onto the unpainted ceiling board.
I then cut strip wood following these guidelines. I might have to do some adjusting during the actual installation, but this should give me a good approximation of lengths and angles. Much easier than trying to cut them in place later.
I painted the bedroom ceiling side with two coats of white paint, sanding once in between. I primed the attic floor side with black paint. I pressed the board to dry flat overnight to combat some warping in the plywood.
I glued the bedroom ceiling board in place first. The bedroom interior wall likes to lean into the hallway, so I had to hold it in place during the process. I added some straight pins for stability, cutting down the length as needed. I drilled pilot holes for them to keep the wood from splitting.
I glued in the hallway ceiling board that had been painted and prepped ahead of time. I taped the electrical wires into their respective channels, though I still have to lengthen a few of them on the outer wall to reach the power strip.
The ceiling line overall is a little crooked. Apparently, the bathroom and bedroom interior walls are slightly off in measurement from one another and the parlor ceiling has started to sag. It’s a good thing this is meant to be an old house. Haaaa! And, I’m hoping you will all be so wowed by the interior that you’ll ignore this problem. I have plans for finishing the back edges of the interior walls and floors to help disguise any warping. More on that later.
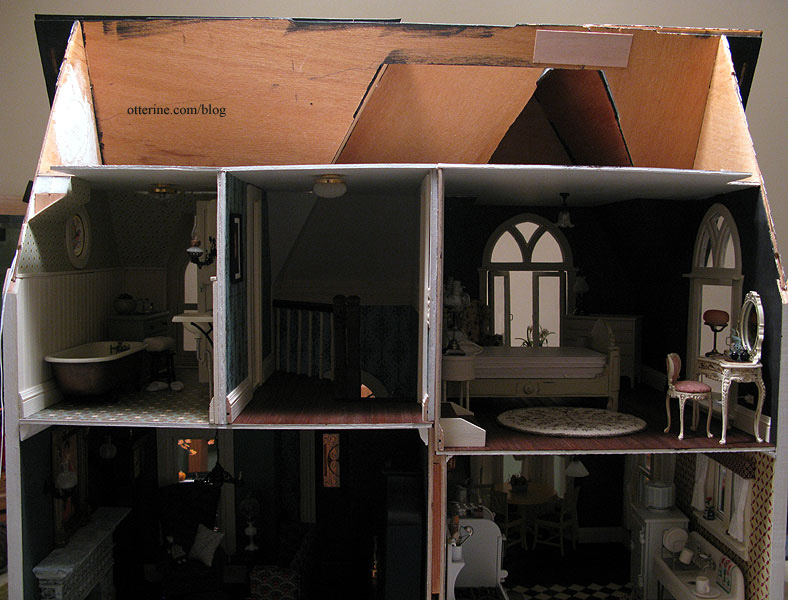
I’ve had a lot of challenges with this build, so I’ve taken these types of shortcomings in the final result in stride. I’ve learned a lot on this build, and I do love the way this house is turning out.
Update: After working on the back roof, I was able to finish up the bedroom ceiling trim. It’s a simple, flat strip wood trim, but it really brings it all together. It hides the slight gaps as well as the tabs and slots in the front and outer walls.
I cut and installed the final amount of bedroom wallpaper (I hadn’t yet added the flat ceiling trim around this corner to complete the room when I took this picture). There was a slight gap between the roof board and the gable wall, so I also added a thin strip of trim (painted black) along the angled wall that you can’t see unless you put your head inside the room.
Categories: The Haunted Heritage
January 2, 2013 | 0 commentsHeritage – back roof dormer, part 1
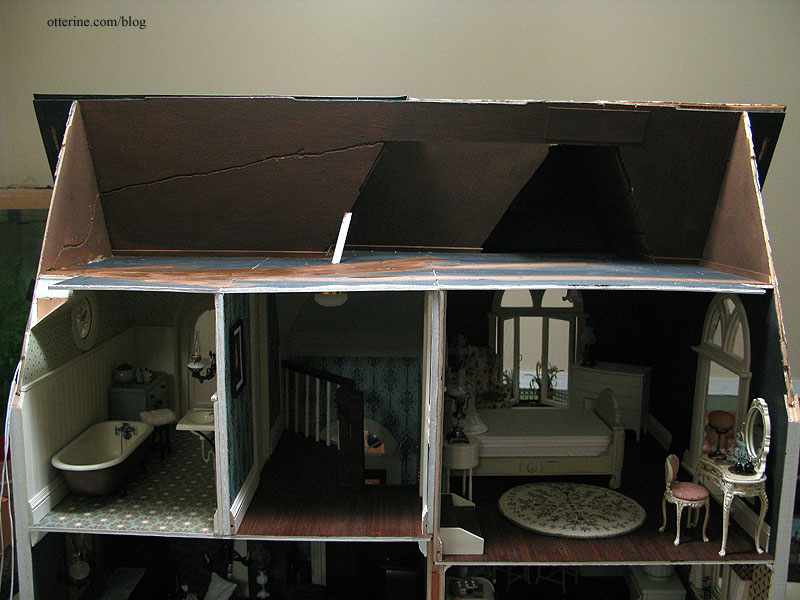
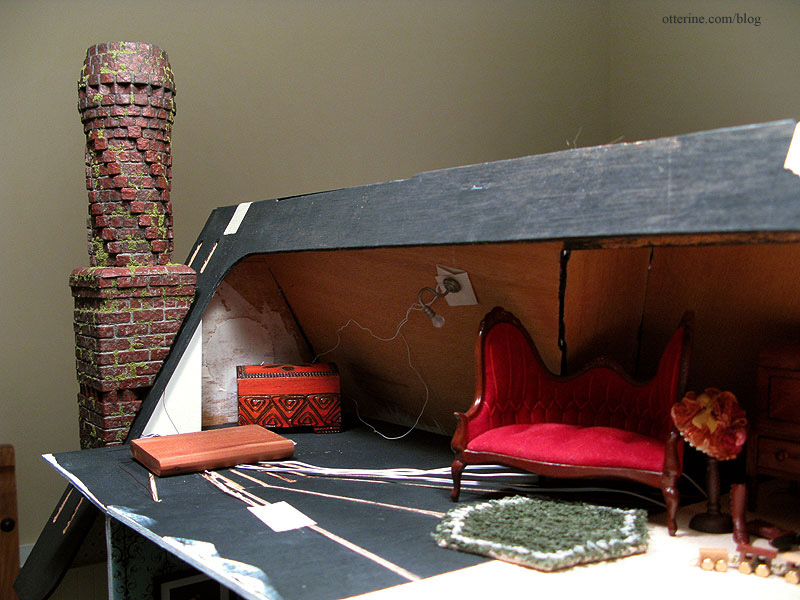
Grandma’s attic will be an eclectic array of novelties, antiques and storage. It is also mainly open and will require minimal lighting.
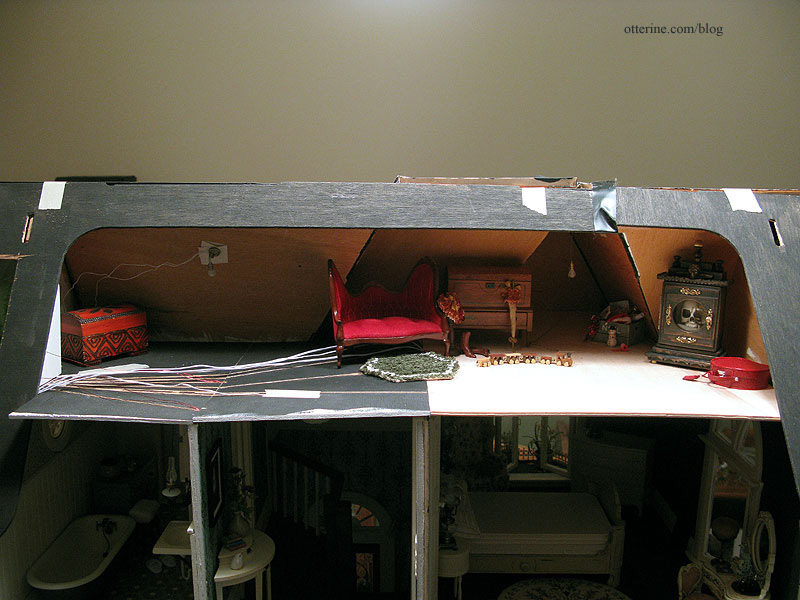
I bought two Lighting Bug lamps for the attic. One is the hanging kind with the pull chain. Love these! There will be more of these in my future builds. :D
The other is a similar fixture with the bare bulb, but it has a wall fitting.
On the left side of the attic, there will be the interior portion of the chimney currently only a foam core base. There will also be a faux trap door like the one in Baslow Ranch where the scrap wood is placed on the floor. I’ve positioned the light so grandma can see what she’s doing up there.
As I’ve said before, in my world, grandma is able to navigate those pull down attic stairs easily, walk about the attic without hitting her head and sit comfortably for hours in a space that doesn’t appear to have any airflow for the warmer months or heating for the colder ones.
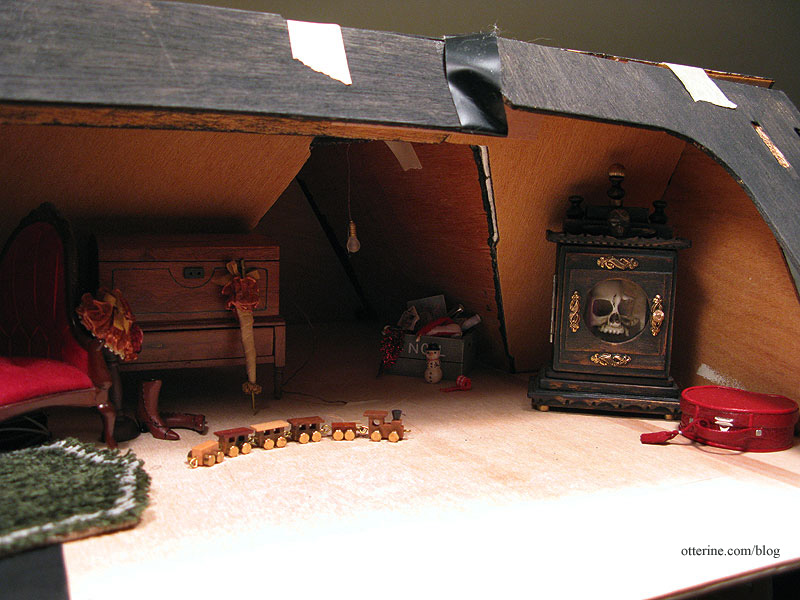
On the right side, there will be the forward storage area and Tony’s brilliant catacombs clock case. It’s up to you to decide who is in the case. :O I’ve put the hanging bulb at the opening to the front storage area. I think that will cast a nice glow into the space.
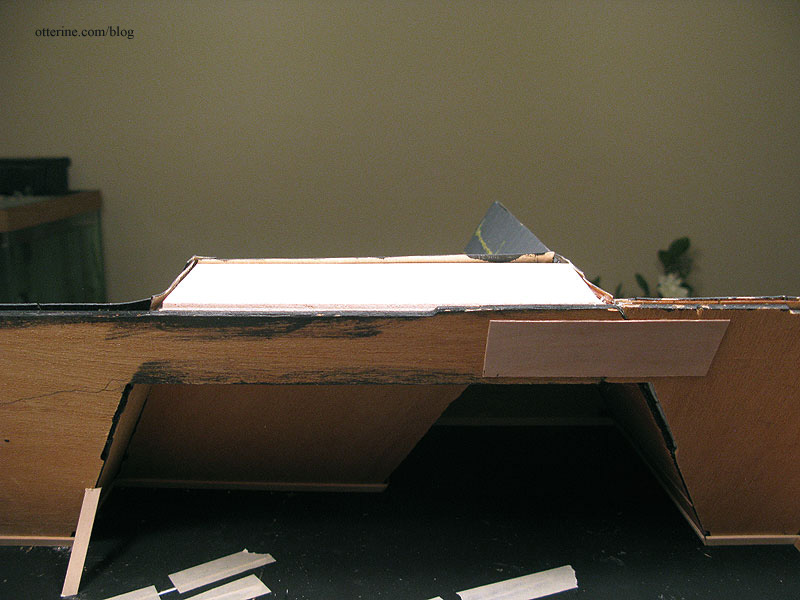
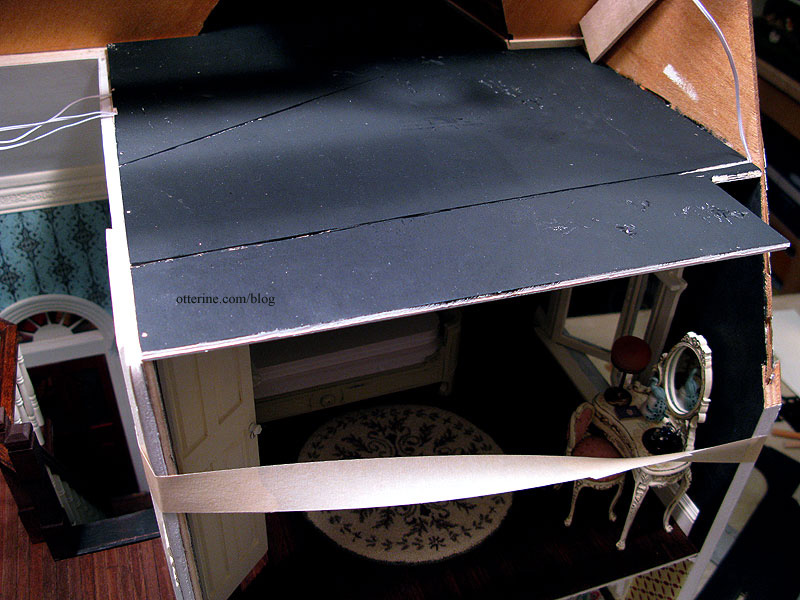
This is where the architectural issue comes into play. When I added to the ceiling boards in the back, I effectively eliminated the sloped ceilings on the second floor, except at the outer side gables. The bathroom vanity cabinet, hall table vignette and bedroom door would not have been possible had I kept the angled back walls that followed the slope of the roof.
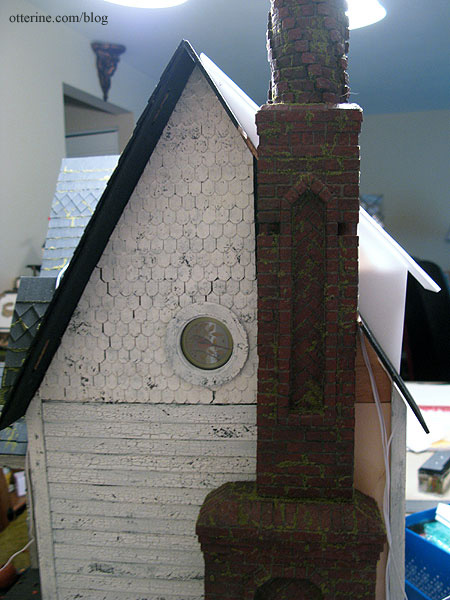
However, when viewed from the side, these outcroppings are visible.

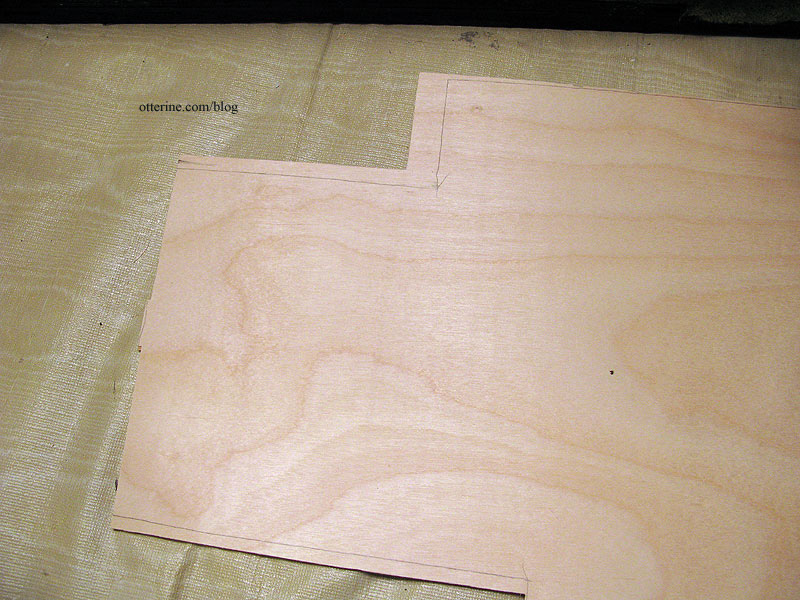
To remedy this problem, I’ve added a quick mockup cut from Cellfoam 88 (the same piece I used for the bedroom ceiling board – reduce, reuse and recycle!). This adds a triangular vertical wall that would be sided to match the house and an additional roof board to finish the back opening.
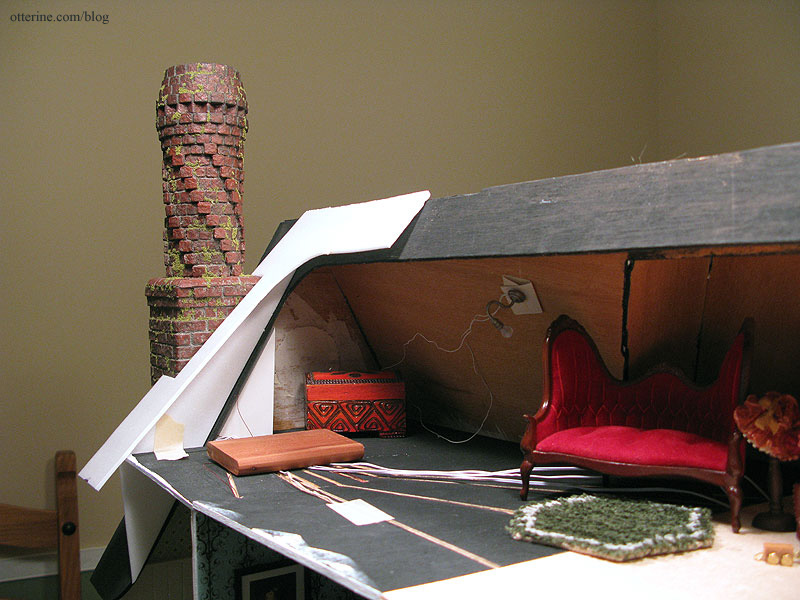
From the side, the bathroom wall is no longer visible. I think adding this outcropping makes architectural sense since it is in the back portion of the house and a viable renovation that could have been done at some point. It won’t be visible from the front, so it won’t detract from the Carpenter Gothic aesthetic.
I’ll have to do more wallpapering in the bathroom and bedroom to cover the new corners, but that should be straightforward enough. :D
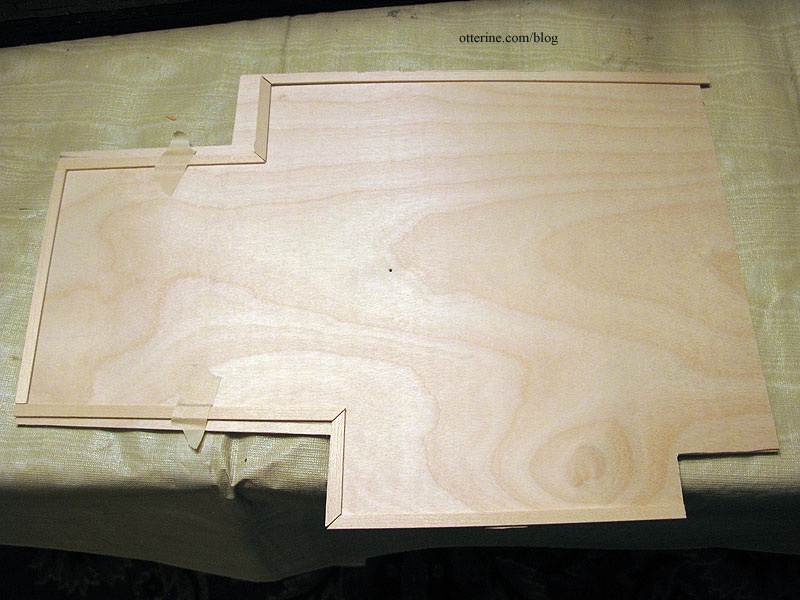
I then cut the new pieces for the roof addition but won’t install them until after the back roof is on.

I used the spare wood from a Heritage part sheet that held the gable trims. :D Waste not, want not.
Categories: The Haunted Heritage
January 1, 2013 | 0 comments


NOTE: All content on otterine.com is copyrighted and may not be reproduced in part or in whole. It takes a lot of time and effort to write and photograph for my blog. Please ask permission before reproducing any of my content. Please click for copyright notice and Pinterest use.


