

Heritage – back roof dormer, part 3
Continuing work on the back roof dormer. Since I last posted about the dormer walls, I’ve added the aged paint treatment to them.
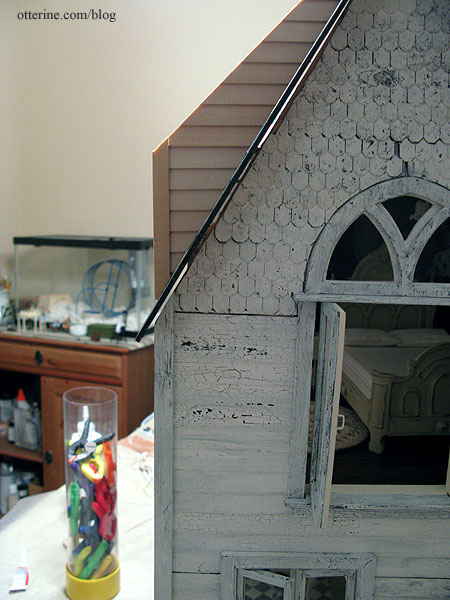
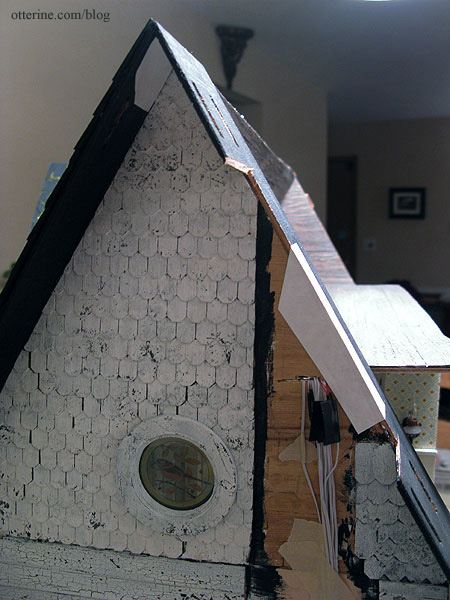
Before gluing the roof addition wall onto the roof, I adjusted the template for the shingles. I can’t place any thickness under the chimney portion, so I marked where the shingles will be. This is going to be an interesting bit of shingling.
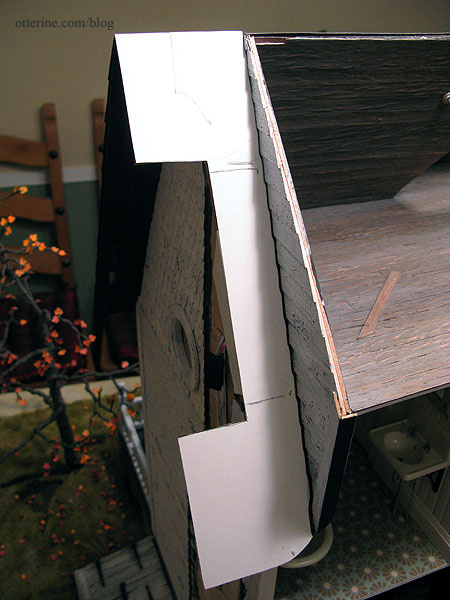
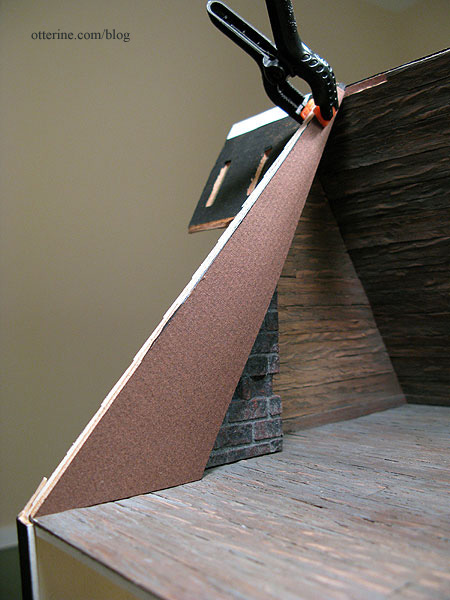
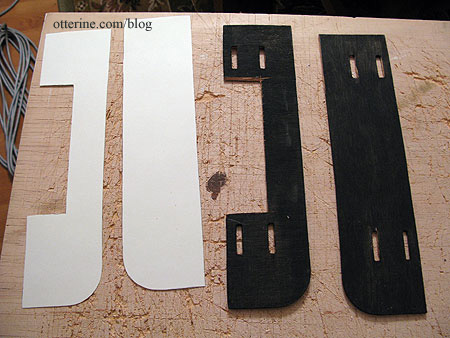
The lower portion of the left side roof addition completes the bathroom outer wall and the upper part is an attic wall. I primed the top black and the bottom white. A warp in the bathroom ceiling board developed on this corner when I installed the attic flooring. I held the ceiling board down with masking tape while I mapped out my plan.
First, I drilled a bunch of holes in the ceiling board where it would be glued to the roof addition wall. I cut the ends from straight pins to make headless pins and glued them into the drilled holes.
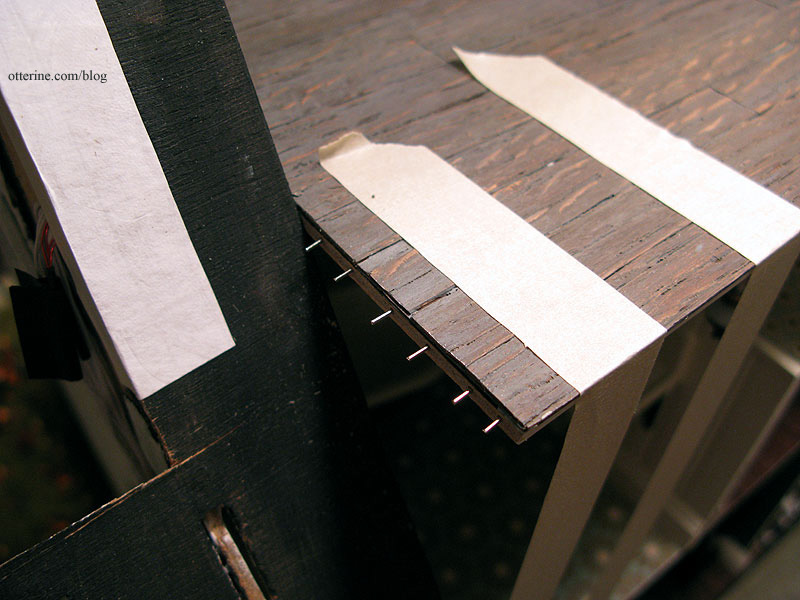
To mark the same spots on the roof addition wall, I dabbed some black paint onto the end of each pin and lightly pressed it to the wall. I drilled holes to match and tested the fit but didn’t get a photo.
I drilled three holes in the roof board to stabilize the join with the roof addition wall. I marked where these would be along the wall and drilled holes into the roof addition wall. I cut the pins to fit.
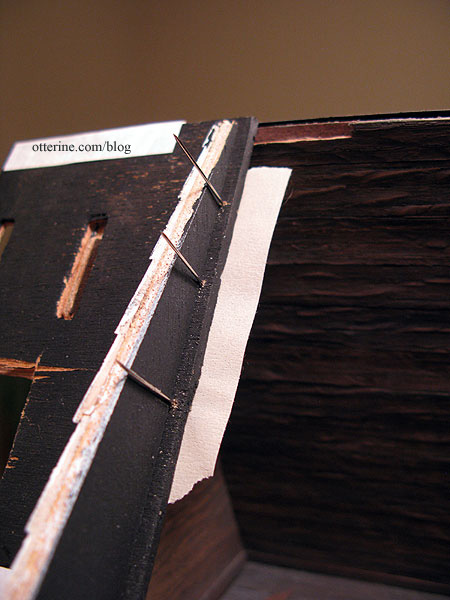
I added another pin in the bathroom along the roof board. I removed the longer pins from the roof board and spread glue where the pieces would meet. I pressed the wall into place along the short pins in the ceiling board. I then inserted the longer roof pins into the predrilled holes. This wall is solid!!! Hooray! :D
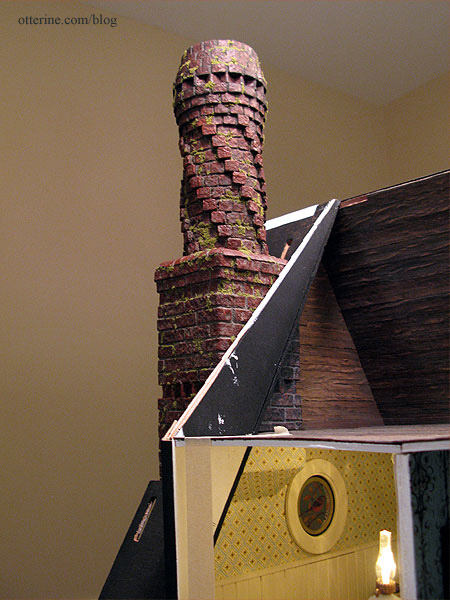
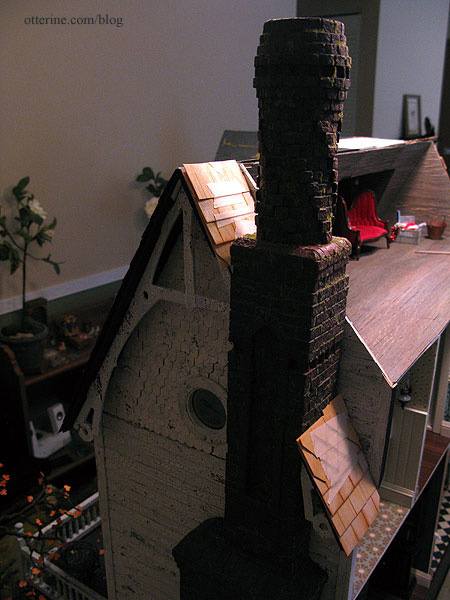
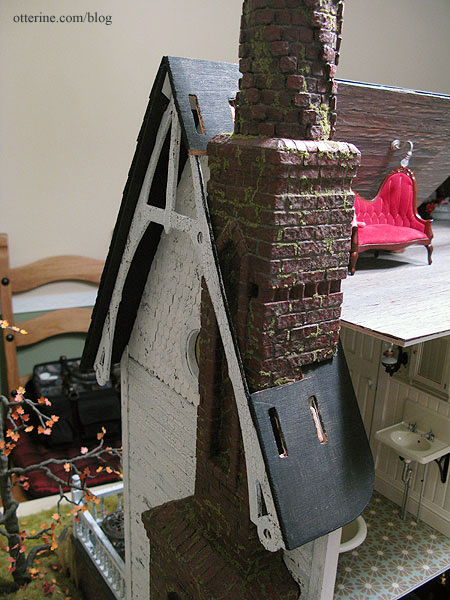
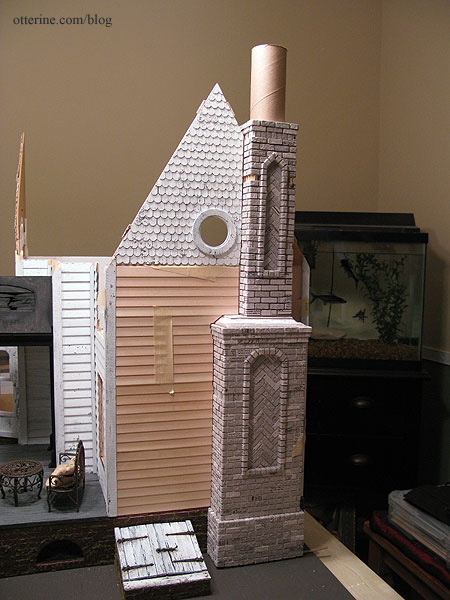
The below photo shows the exterior main chimney, the attic chimney and the covered chimney section in the bathroom. When viewed together, they create the illusion that the chimney is a solid structure with the house built around it.
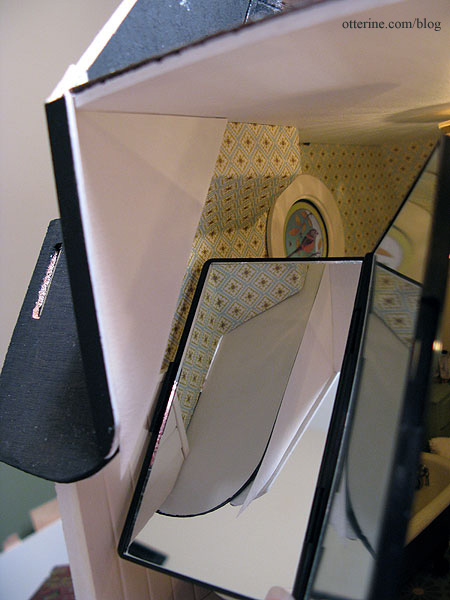
I made templates for the two areas where the roof board and the roof addition wall show in the bathroom. I had to check the fit of the interior one with a mirror because there is no way to see in there otherwise. I also used the mini bathroom lights as work lights. :D
I then made a template for the attic wall. This will have the same slat treatment as the rest of the attic.
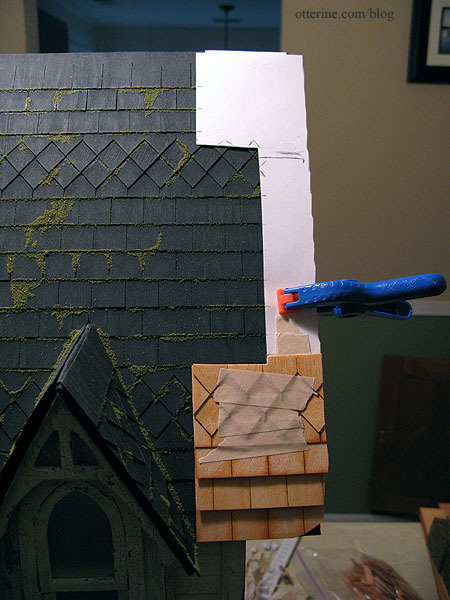
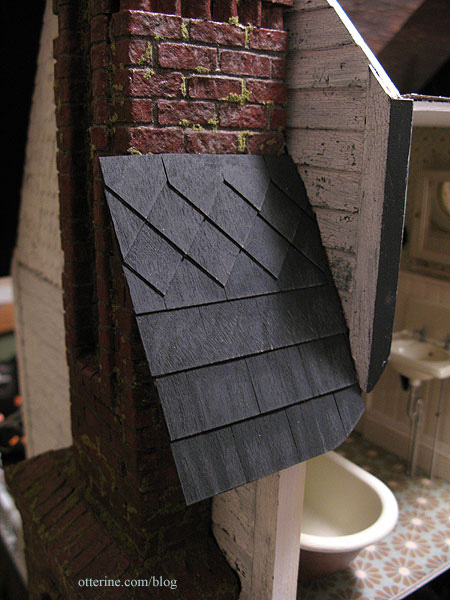
Back to the roof template for shingling. I started at the bottom and followed the same square and diamond pattern I had done for the front roof. Once that section was cut and fitted around the chimney, I clipped it to the front roof to mark where the shingles would align.
I finished the shingling and fitting on the template following these markings. I’ll adjust that top row of diamond shingles on the lower half to be straight across when I do the final shingling.
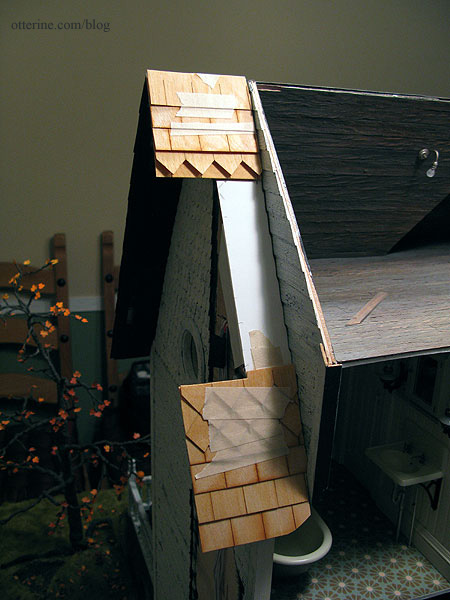
Looks like it worked! :D
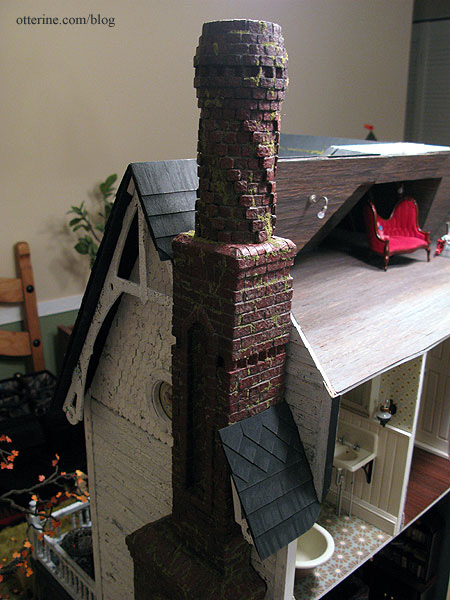
After gluing the shingles to the roof board, I painted the new roof with a blend of black and grey, then sanded the surface slightly to wear down the finish.
I still need to add the moss and address the flashing on the chimney, too. (From my limited research, I believe chimney flashing is usually under the shingles on the sides, but we’ll just ignore that.)
Categories: The Haunted Heritage
January 13, 2013 | 0 commentsHeritage – chimney side gable trim
Unlike the front and left side gables, the chimney gable on the right posed problems with the gable trim. The chimney sticks out further than the roof edge and therefore blocks the space where the gable trim is intended to be.
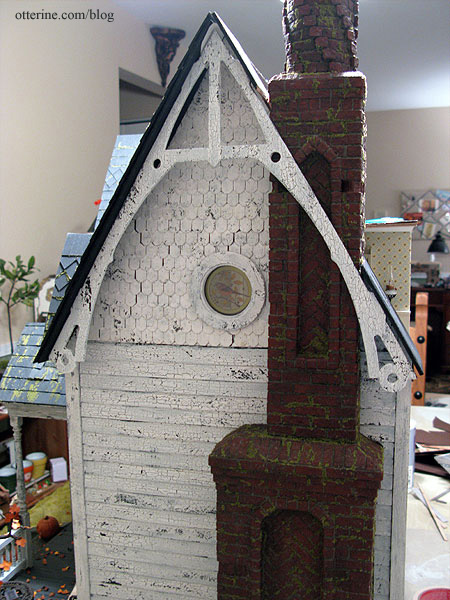
The gable trim’s tabs should align with the slots on the roof.
Whenever I have a situation like this, I try to find at least one real life example of a solution. In this case, I found one from Eastern Kentucky University. This shows the gingerbread trim added on either side of the chimney. Works for me! And, yes, had I thought this through earlier, I might have made adjustments to the roof boards, the chimney or both.
I lined up the whole gable trim piece with the chimney in place (but still removable). I marked the break on the main part first and made a few cuts to get a good fit. I had to adjust the tabs on the gable trim to fit better. Once I had that portion figured out, I measured and cut the smaller piece on the other side. Success!
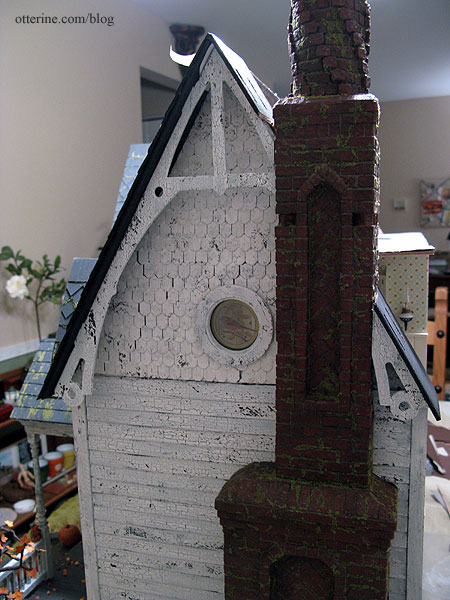
Completed chimney gable here.
Categories: The Haunted Heritage
January 12, 2013 | 0 commentsHeritage – back roof dormer, part 2
Continuing work on the back roof dormer. There’s a good deal of chicken or the egg happening with the attic and its new roof addition. Before I can glue the back roof pieces on, I need to finish them as much as possible. It is close to impossible to work on these areas once in place, because you effectively have to work backwards and without a clear view.
Since I will be cutting a new U-shaped back roof piece, I cut the original side roof pieces flush with the roof addition side walls.

I made a template of these pieces to help me with the interior attic boards and exterior roof shingles.
The roof addition side walls needed siding on the outside, which is easiest to apply when you can press the pieces flat to dry. I used scraps of the 1/2″ lap Houseworks siding I had used for the replacement side wall. To finish off the edges to match the rest of the house, I used 3/8″ corner molding for the back edges. I thought regular siding made more sense than matching the shingled gable since this is an architectural feature in the back of the house and not a decorative feature seen from the front.
I glued on the back roof piece for the left side and reinforced the joins with Tyvek where I could.
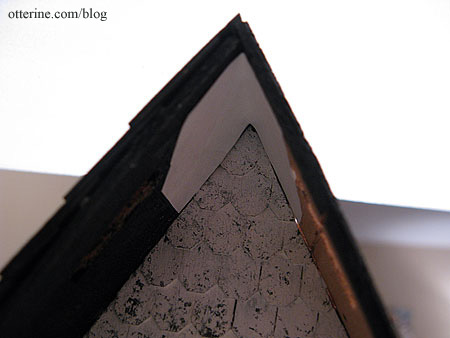
I did the same thing at the inside peak of the gable. Had I not finished the front roof previously, I would have added the Tyvek over the roof ridge instead.
Categories: The Haunted Heritage
January 11, 2013 | 0 commentsReplacement side wall siding completion
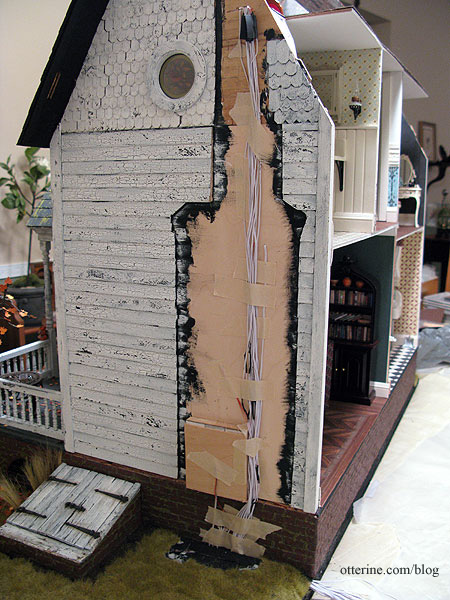
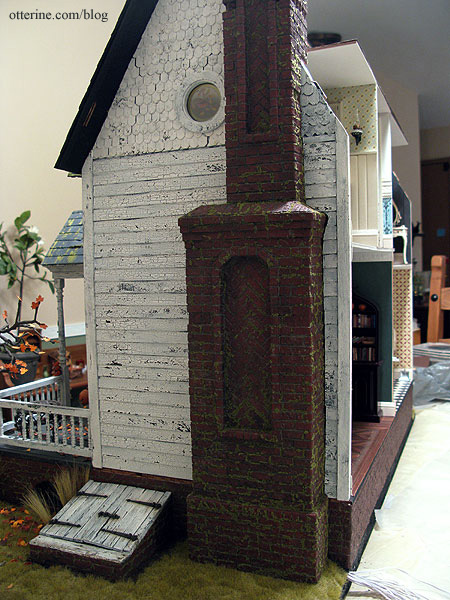
Remember how carefully I planned the siding around the chimney?
Yeah, well, it was somewhat a waste of time because it no longer lines up. I’ll need to edge the chimney with trim, which won’t detract from the realism.
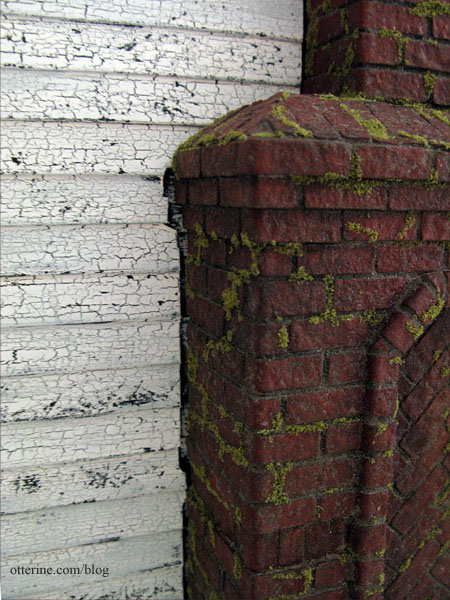
But, before I can glue the chimney in place, I do need to finish up the rest of the siding for the wall and the gable. Since it would be a better fit if the gable shingles were under the chimney and the wall siding outside the chimney, that was the way I proceeded.
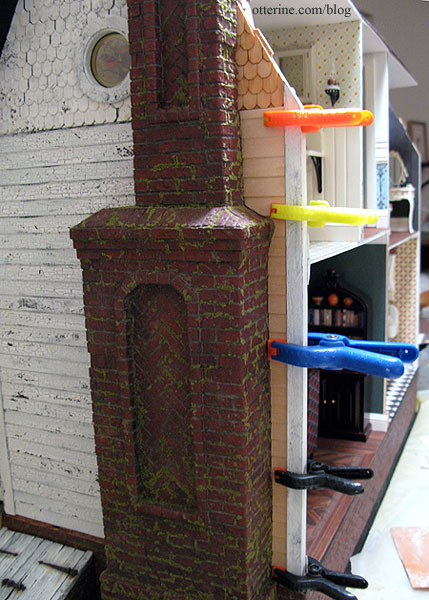
I painted and aged the siding and gable shingles to match the rest of the house.
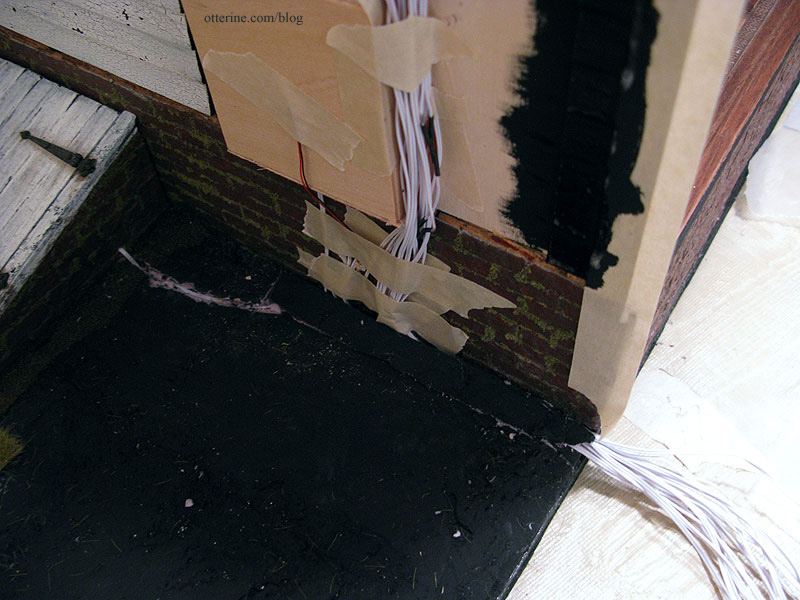
I replaced the sliver of builders foam to cover the mass of wires at the base. I didn’t glue it…just pressed it into the groove.
I painted the wire from the flickering LED in the fireplace and finished up the landscaping on this back corner. Well, there’s more to be added here and there, but the grass is in place.
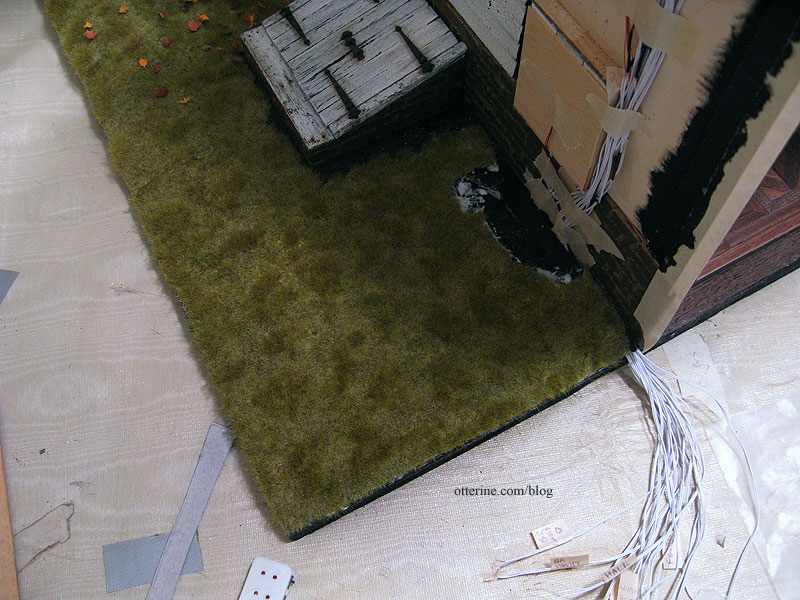
The chimney will cover the bare spot. :]
Categories: The Haunted Heritage
January 9, 2013 | 0 commentsHaunted Heritage chimney, part 10
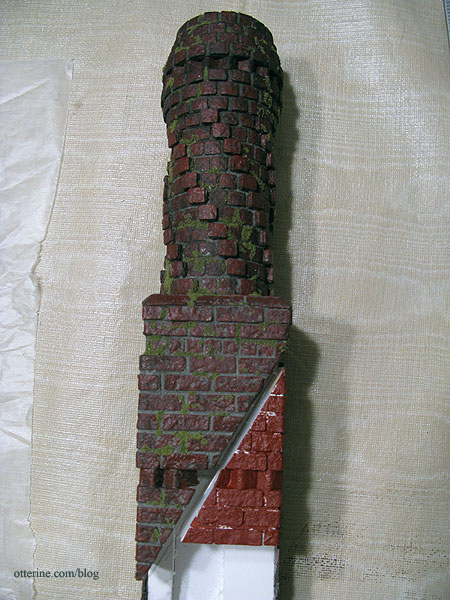
Continuing work on the chimney. I’ve bricked the interior chimney section. I will add trim around the bottom to disguise the fact that it will sit on top of the attic flooring.

It won’t really be seen side by side with the main chimney, but I did match up the rows of bricks. :D Here it is with its initial coat of Liquitex Burnt Sienna.
After grouting and aging the interior chimney piece, I installed the attic wall board and the chimney piece. The main chimney is still removable. Once the dormer wall is in place you won’t be able to see how well it all lines up, but I have this photo to prove it. :D
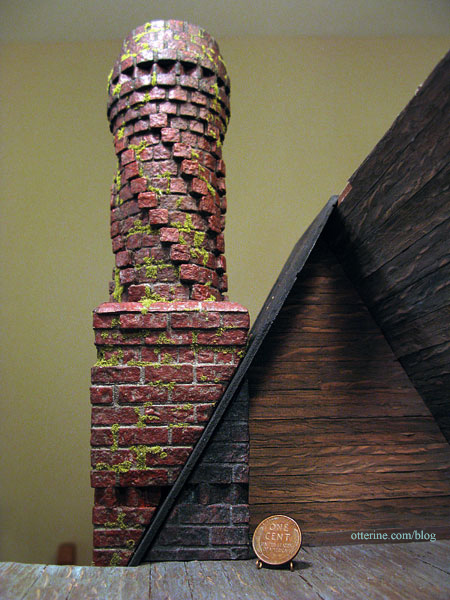
The below photo shows the exterior main chimney, the attic chimney and the covered chimney section in the bathroom. When viewed together, they create the illusion that the chimney is a solid structure with the house built around it.
Categories: The Haunted Heritage
January 8, 2013 | 0 comments


NOTE: All content on otterine.com is copyrighted and may not be reproduced in part or in whole. It takes a lot of time and effort to write and photograph for my blog. Please ask permission before reproducing any of my content. Please click for copyright notice and Pinterest use.


