
The Artist’s Studio – Daybed, part 1
The daybed I’ve been using in The Artist’s Studio is one that I had in my collection and wasn’t necessarily meant for this space. I painted it burnished copper to coordinate better with the other furnishings.
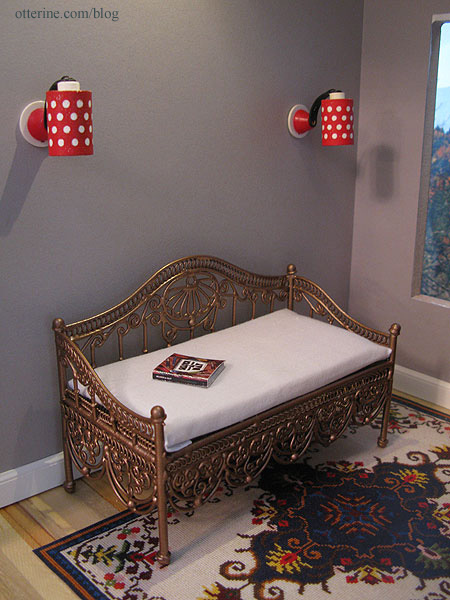
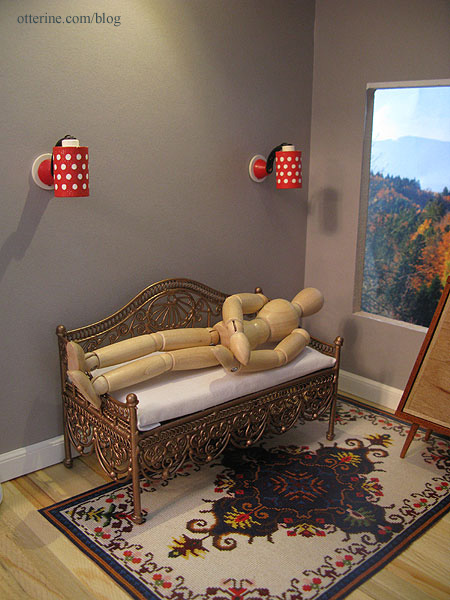
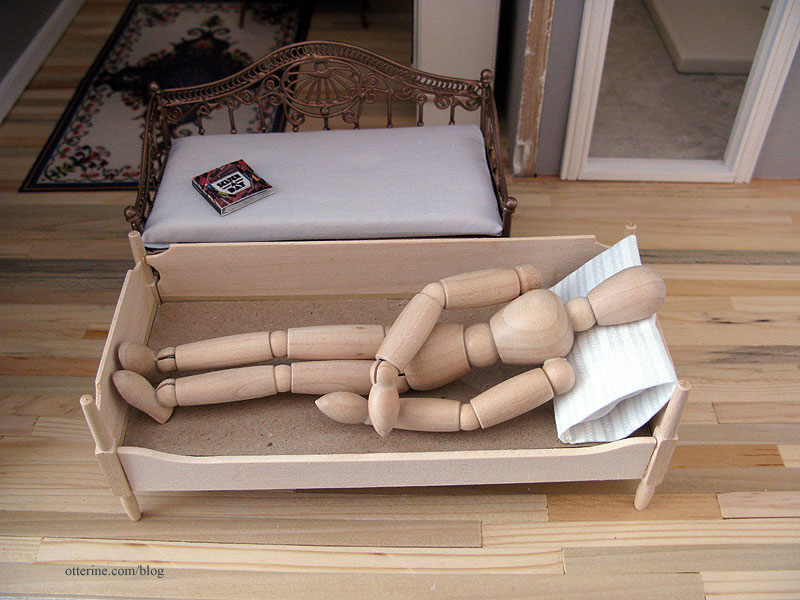
The problem with it is that even though it’s a good size for the room, it’s not really a daybed so much as a settee. My model can’t comfortably recline on it.
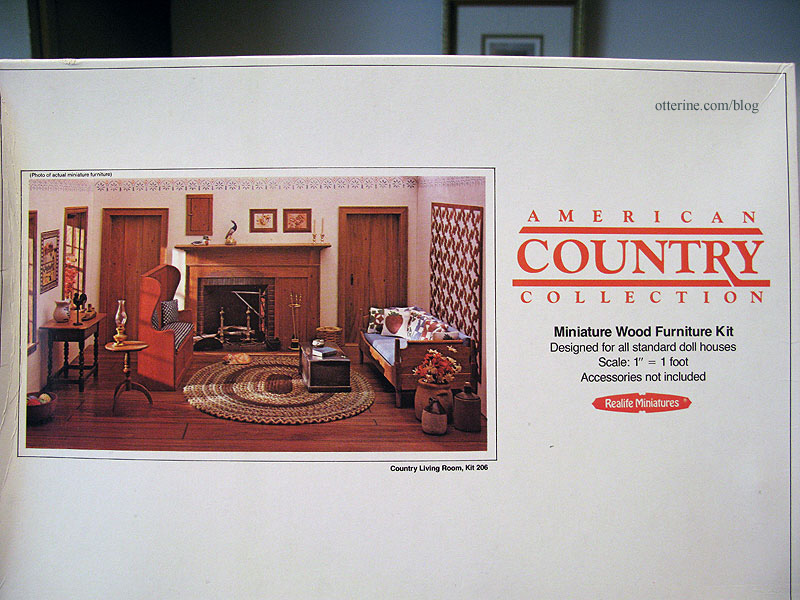
I have a sofa kit in my collection of furniture kits that might work better. It’s from the Realife Miniatures Country Living Room kit.
I’ve wanted to build this sofa for awhile now, so today I put it together. I’ve been spoiled by House of Miniatures and precision laser cut kits. The fit is sloppy in places, but paint will take care of that!
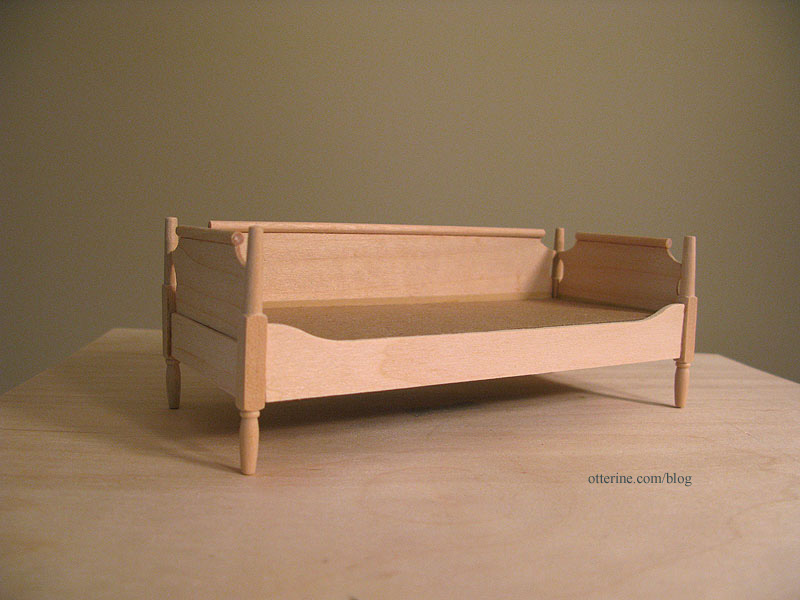
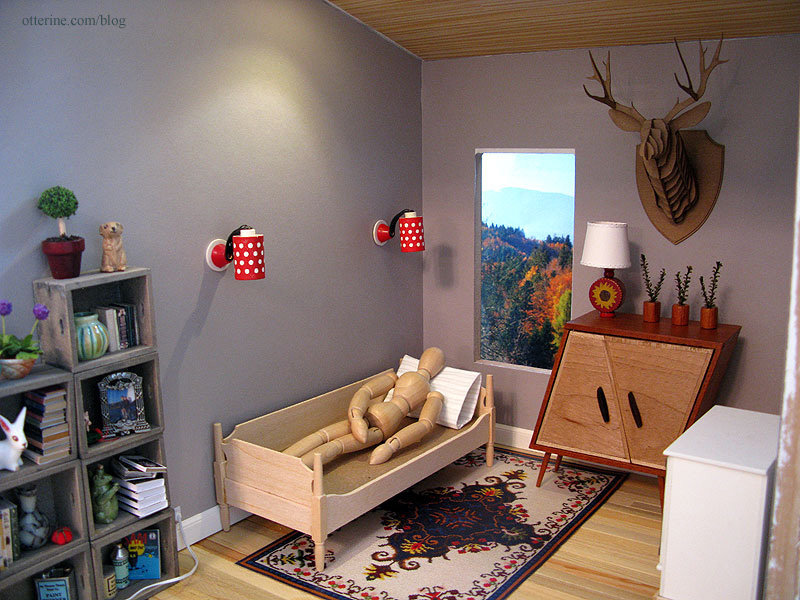
This sofa is lower but wider than the original settee, and my model seems much more comfortable.
It fits well in the space, too. :D
Categories: Furniture, The Artist's Studio
February 24, 2013 | 0 commentsThe Artist’s Studio – Wood stove, part 3
For the brick surround for the wood stove, I started by squaring up my rough paper template and marking the center of the floor and back pieces.

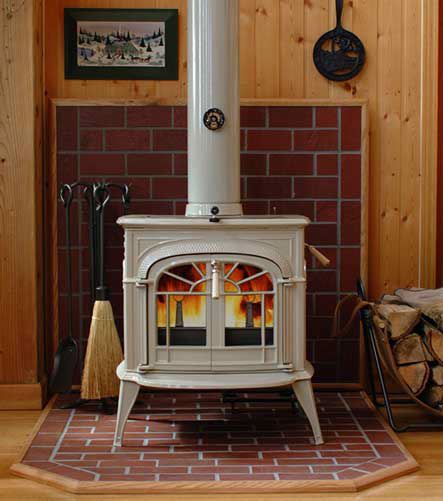
As a reminder, here is my inspiration from hearth.com showing a partial brick wall. Now that I study it, these might be brick colored stone tiles instead. But, I still like the look of it.
I cut egg carton bricks 1/4″ x 3/4″ – my usual choice for brick size. I started with the floor template since it has the cropped corners. I glued bricks to the template in a pleasing pattern, adjusting the template to fit.

Before going ahead with the inside brickwork, I tested the fit of the new shape of the floor template. Perfect! :D

I bricked the interior portion of the floor template and then completed the wall template. I checked the fit of both pieces in the Studio.

The red brick coloration in my inspiration piece looks so lovely that I decided to mimic that with my bricks using Liquitex Burnt Sienna. I grouted with Andi Mini Mortar and then touched up the paint and added a dark grey wash to darken the mortar.

I have the pieces held in place with mini hold wax at the moment. I need to install the stove lighting before I can glue the brick surround in place.

So far, the stove is working out well. :] I think those feet are crying out for a footstool. Haaaaaaaaa!

In other news, Jasper said he’s willing to help with the deck when I get to it. To that end, we’ve started with scroll saw lessons.

Categories: The Artist's Studio
February 23, 2013 | 0 commentsThe Artist’s Studio – cardboard deer mount
One of the fun things about making The Artist’s Studio is that I get to put interesting things in it. An artist needs inspiration and what better way to do that than to surround oneself with unusual works of art?
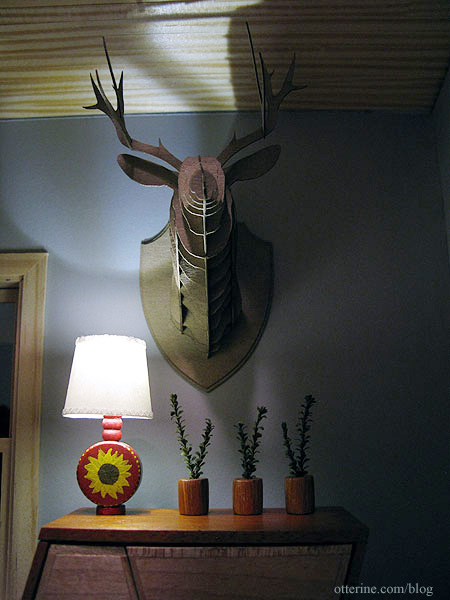
This cardboard deer head was made from a laser cut kit from Amazing Miniatures. It was very easy to assemble. I didn’t use glue other than to attach the two plaque pieces together and to hold the deer to the plaque. The rest is fitted together using the laser cut slots in the design.
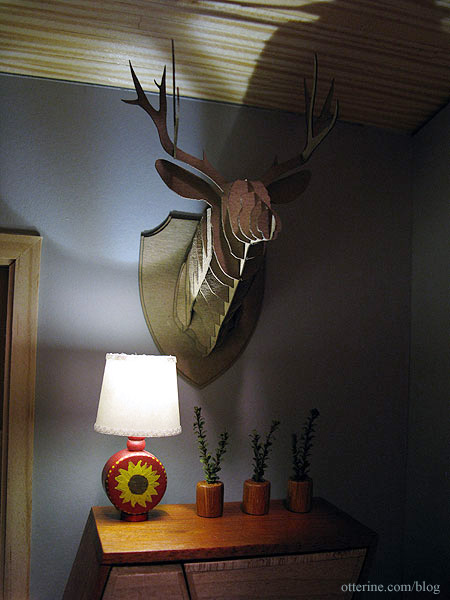
It adds a certain novelty to the Studio, don’t you think? :D
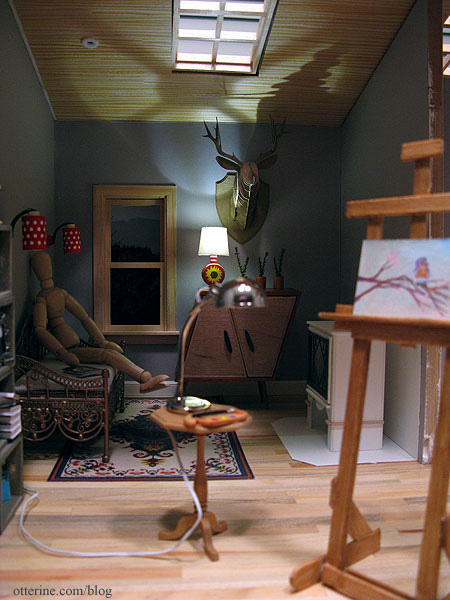
Categories: Miniatures, The Artist's Studio
February 22, 2013 | 0 commentsLet there be (more) Fresnel lens light!
I got a good deal on the other Harbour Lights Fresnel lens I was seeking for Jasper Inlet Light. Click here to the see the first one I bought. This is the 3 1/2 Order Fresnel lens.

It’s hard to say which I like better, so it will just depend on which one fits best. As with the first, the brass and glass model is detachable from the wood base. This one does something the first one didn’t – it flashes! :D

My artist’s model here is 5.75″ tall, equivalent to someone 5′ 9″ tall. The light on the base is 7 1/8″ tall. The brass and glass portion is 6″ tall, 5 1/4″ wide and 3 3/4″ deep.

In other news, I bought a set of old Houseworks windows #5027. It was a good deal for the lot, but I now have more than I need. If you are interested in them, send me an email. I’ll pass on the good deal to you!

They come in their original boxes. (These have now been spoken for, thank you!)

Categories: Jasper Inlet Light
February 21, 2013 | 0 commentsThe Artist’s Studio – Wood stove, part 2
Continuing work on the wood stove. I glued the back and sides around the foam core base. I cut another piece of foam core for the top and taped in place (no glue yet).

I added the foam core lining to the sides and back. I tested my small fire, and it still looks like there is a lot of space on either side.

I borrowed the fire from The Aero Squadron Lounge, which is glued to its holder, and it seems a better fit side to side.

I cut a thin frame for the window to make the door.

I glued the window into the frame, using super glue gel to attach the diamond insert. I will use the scrap of mat board to cut an acrylic window for the door later in the build.

I glued the front to the stove, still leaving the upper foam core piece separate.

I added a thin layer of spackling along the joins to smooth any small gaps.

I cut a top for the stove and glued it to the top foam core piece.

This will now serve as a locking lid for the stove. I can’t glue it as a solid unit until I get the stove painted and the flickering LED installed.

I added thin wood trim around the base and a narrow ledge under the door for detailing. I’m still thinking about whether I want to hinge the door or just glue it on with faux hinges. I’m planning to use a battery operated flickering LED for the fire, so I shouldn’t have to access the interior. Right now, I have it held on with mini hold wax. I will paint it separately, either way.

I added a lower tray made from foam core covered on the sides with mat board. I am guessing that detail on the original might be a tray that collects ashes?

I will use the round dowel that came with the HBS Loft kit to serve as the stove pipe, but I am going to wait to cut it until after the stove is finished and I have the final placement marked in the Studio. I might leave it whole and cut an opening in the ceiling, using the extension above the roofline as a chimney. Seems Cora has figured out where the warmth is coming from.

Yeah, I love it so far! :D

Categories: The Artist's Studio
February 20, 2013 | 0 comments
NOTE: All content on otterine.com is copyrighted and may not be reproduced in part or in whole. It takes a lot of time and effort to write and photograph for my blog. Please ask permission before reproducing any of my content. Please click for copyright notice and Pinterest use.


