

The Artist’s Studio – Retaining wall, part 1
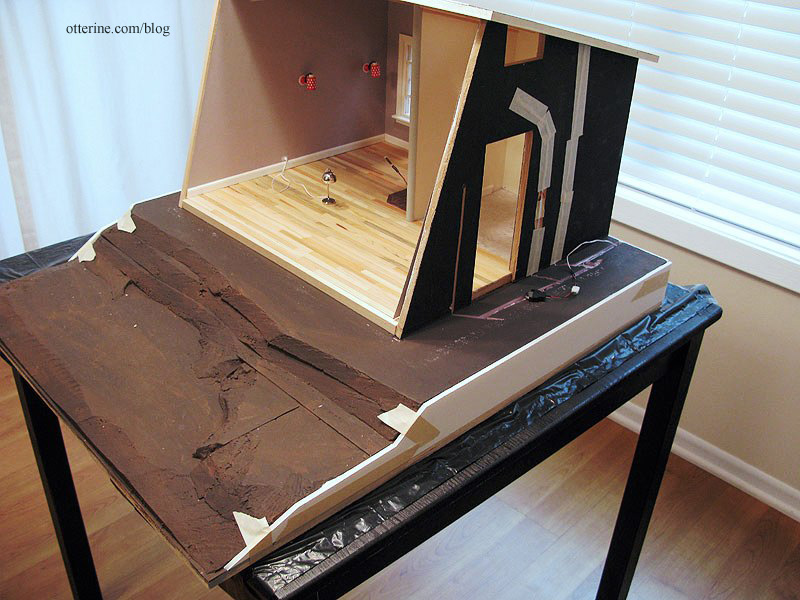
I had left enough space around the builders foam to add a retaining wall. I think the retaining wall is a nice way to finish the edges since I built up the land in order to have the leaf deck.
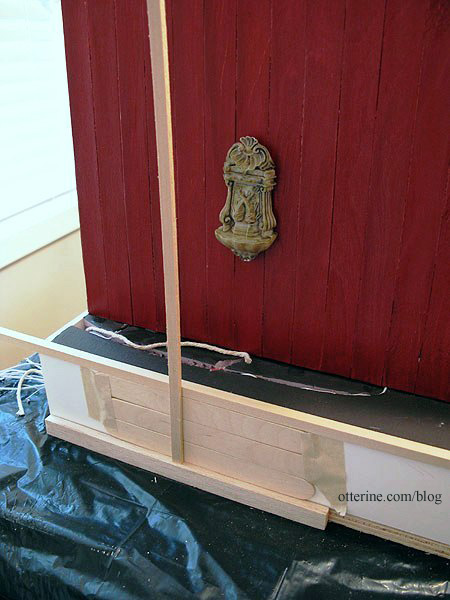
Since the foam layers are uneven, I cut strips of foam core board to act as filler and an even surface for the wood boards that will make up the retaining wall. Before gluing the foam core board in place, I added shims in a couple of places where needed to make the walls level. It already looks cleaner.
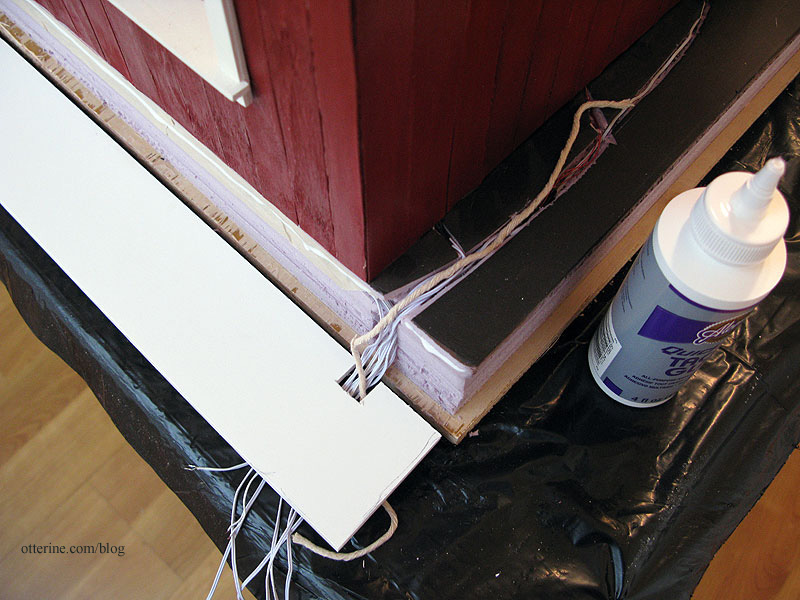
For the back piece, I cut a hole for the wires to exit the back.
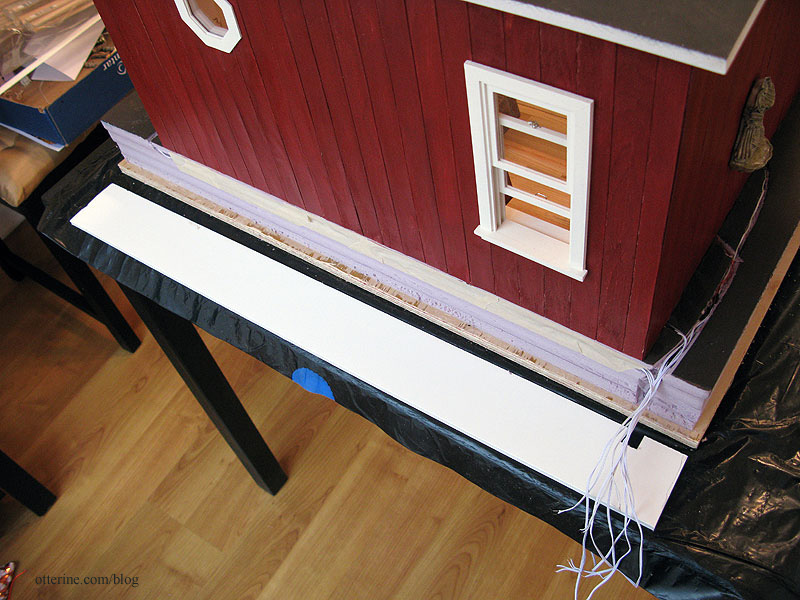
I added a length of twine from the back opening to the top side of the landscaping area. This will allow me to feed through any wires for landscaping lights I might want to add later, before the final landscaping covers this wiring channel.
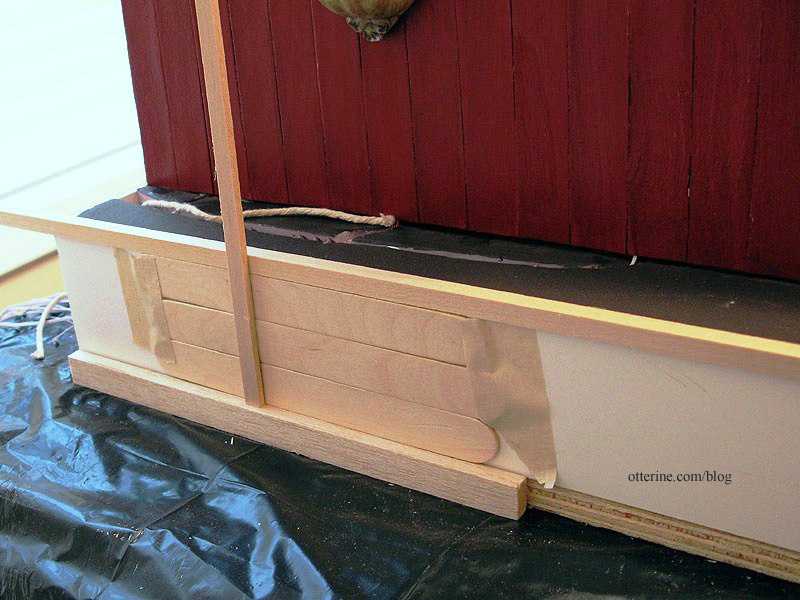
I will add 1/4″ x 1/2″ trim wood around the base to finish the rough plywood edge. On top of this will sit three horizontal rows of planks. I’ll use Woodsies sticks that measure 6″ x 3/4″ x 1/16″. A box of 300 sticks was $5 before using my 30% off coupon. They have rounded edges, so each one will need to be cut.
On top of the horizontal planks, I’ll use 1/4″ corner trim. This will give the look of a solid beam on top of the wall. For the vertical posts, I will use 1/8″ x 1/4″ bass wood.
I need to pick a stain color, though I’m already thinking something dark so it won’t compete with the Studio or the leaf deck. Perhaps walnut….
Now it’s time to cut a whole mess of sticks!!! :D
Categories: The Artist's Studio
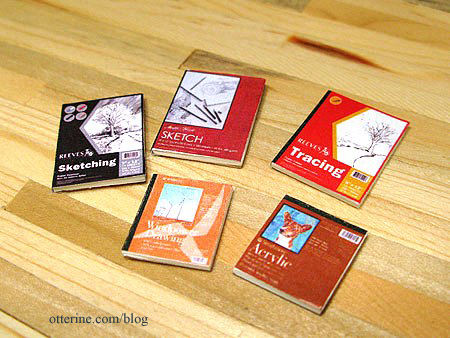
March 30, 2013 | 0 commentsArtist paper pads
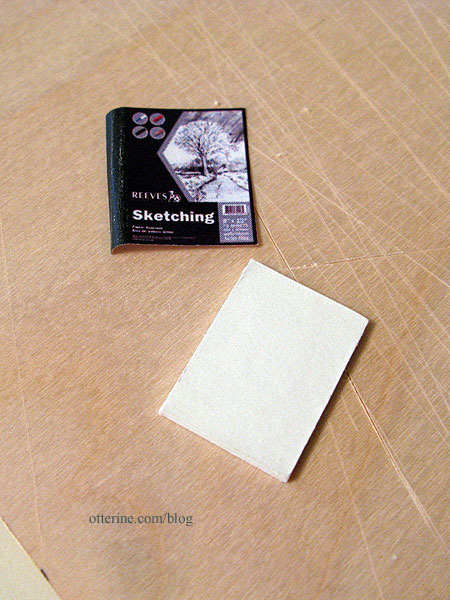
I found images of actual covers online and printed them with black rectangles on the binding edges. I always print two of each hoping to end up with one of each. :D

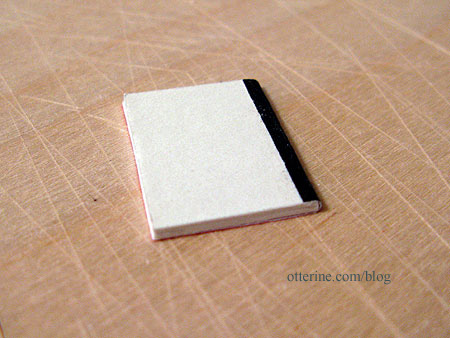
I cut white mat board to use as filler. I glued the covers onto one side of the mat board, leaving the black portion long and unglued.
I glued thin cardboard to the back of the mat board.
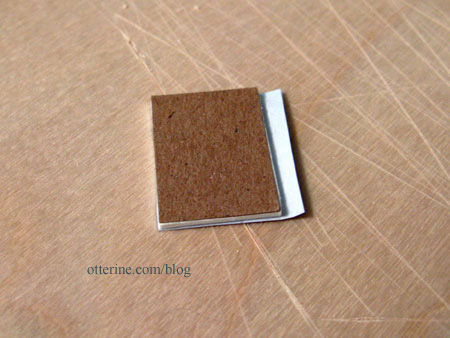
I folded the black portion over the edge and cut it to fit. Once glued in place over the cardboard, it gives the illusion of a bound edge. :]
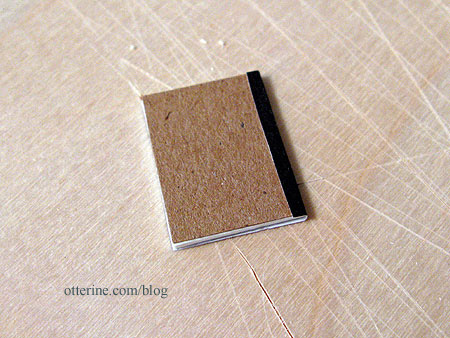
I’ve also seen them with a white backer, so if you don’t have thin cardboard you can skip that step.
I’ll make a number of other artist materials, but these are a good start.
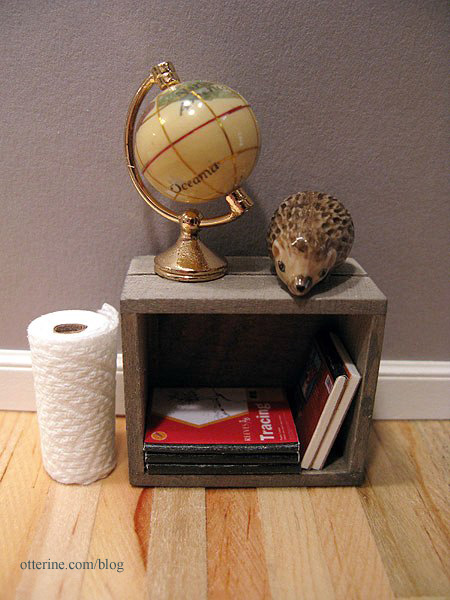
Into the crate they go. Lyssa makes the best paper towel rolls. :D
Categories: Miniatures, The Artist's Studio
March 24, 2013 | 0 commentsThe Artist’s Studio – Window wall, part 1
As a reminder, here are the two projects that inspired the basic shape of The Artist’s Studio: Rooftop Artist’s Studio by The Thomases, seen in the second gallery in this link and Nell Corkin’s Summer Studio, created in tiny 1:144 scale.
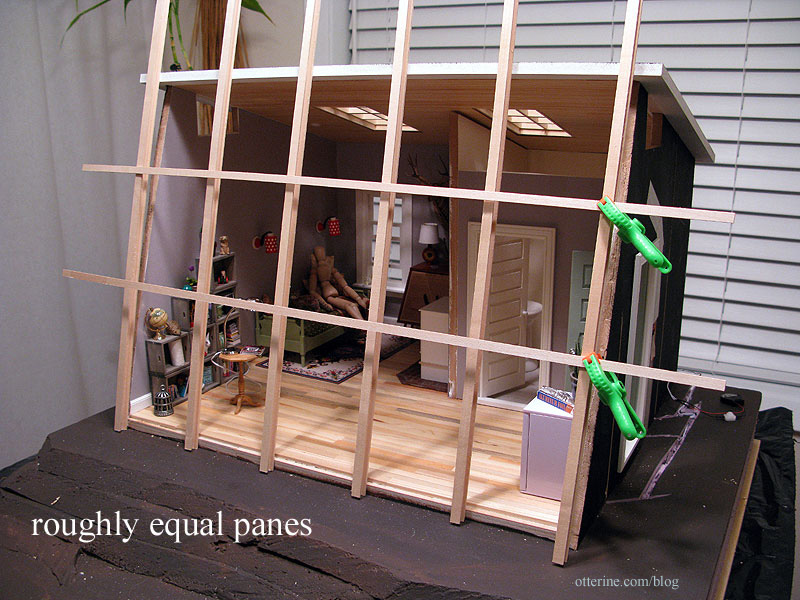
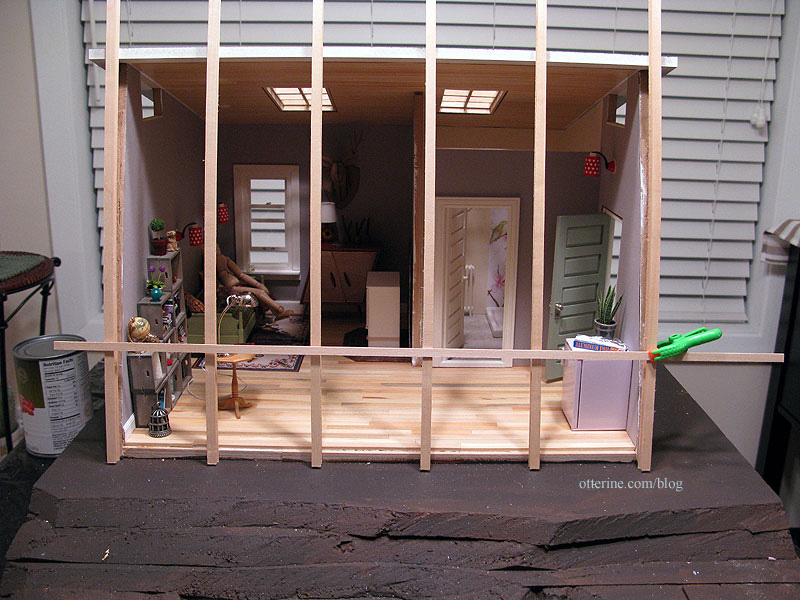
Using some spare strip wood, I mocked up four versions for the front window to see what worked best. These photos were taken before a lot of the recent work was completed, so it might look a little off. :D
Wide vertical sections with roughly equal panes
Wide vertical sections with three sizes of panes
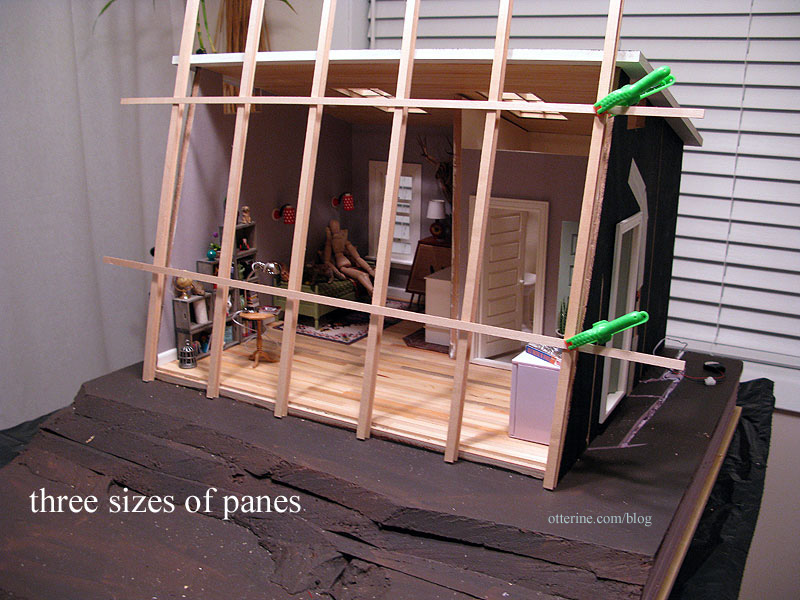
Wide vertical sections with tall upper panes
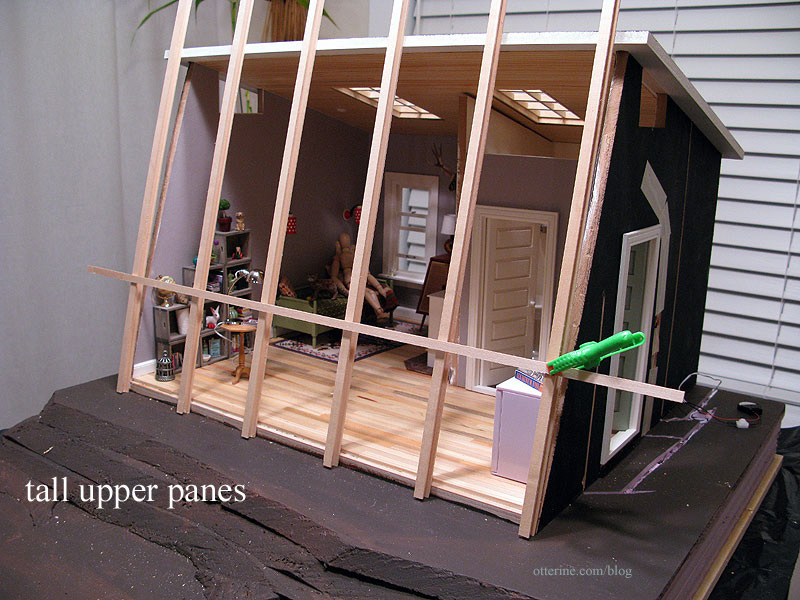
Narrower vertical sections with tall upper panes

The building will be red, and I was planning on painting this window Warm White. This window will also be removable. I took a friends and family vote, and they chose the wide vertical sections with tall upper panes, and I concur! :D
I think it’s a good balance with visual interest without being overwhelming.
Now to actually build the thing… :\
Categories: The Artist's Studio
March 22, 2013 | 0 commentsSwap with Jane of MiniFanaticus
I’ve loved Jane’s minis since she first started blogging about them. She makes wonderful minis from clay, especially food. All of the dishes are mine, and Jane was kind enough to leave everything loose so I could play…er…arrange as I pleased.
Look at these tiny gumdrops and mints!!!
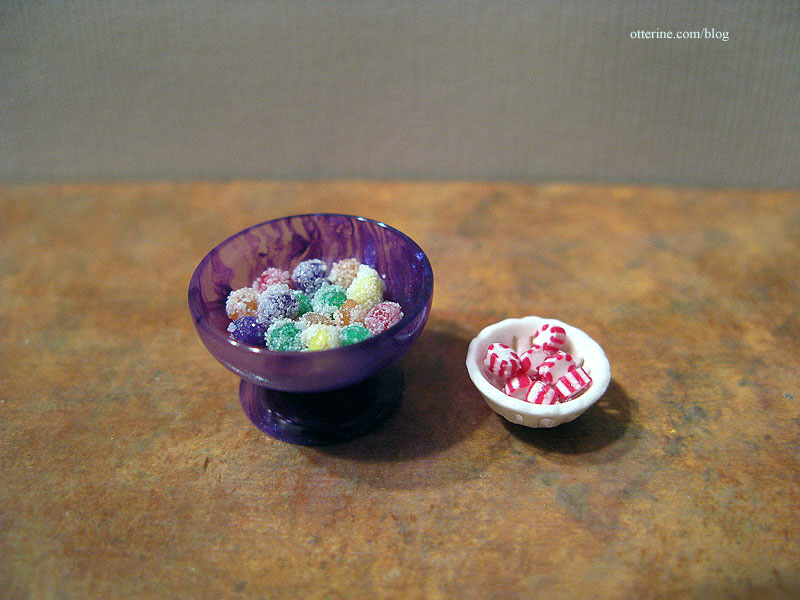
Can’t you just taste the granulated sugar? Feel the refreshing tingle of mint?

Her sweets are so detailed and realistic.
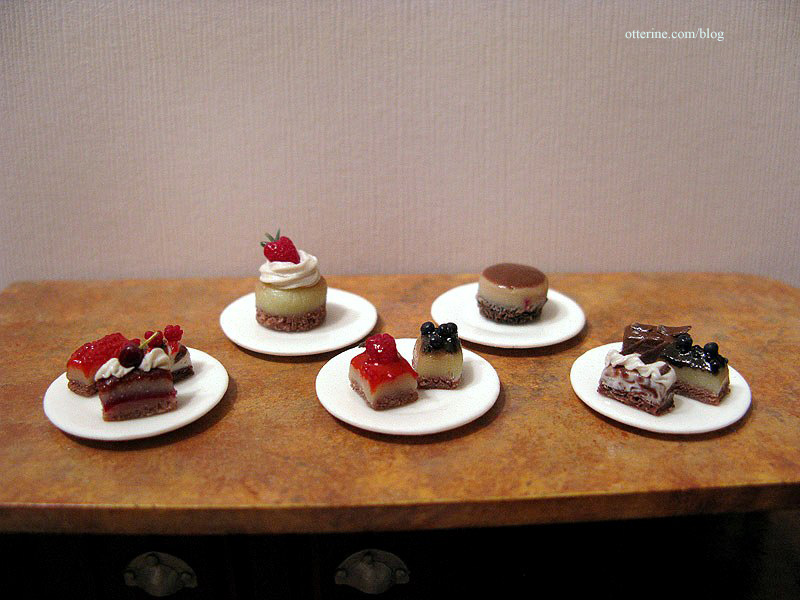
Each layer has just the right color, translucence, texture and sheen. Look how perfect that tiny cherry is! Even its little stem.
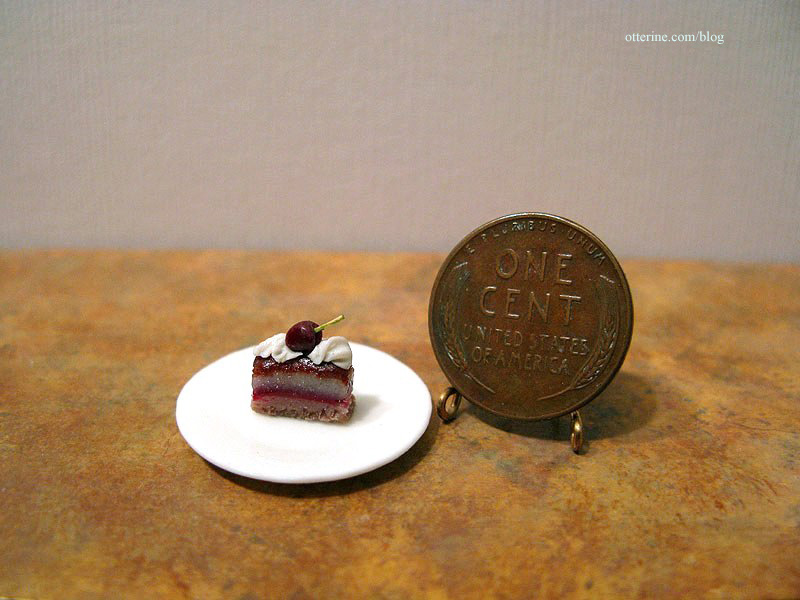
I’m seriously going to have to take a trip to the local bakery if I keep staring at these.

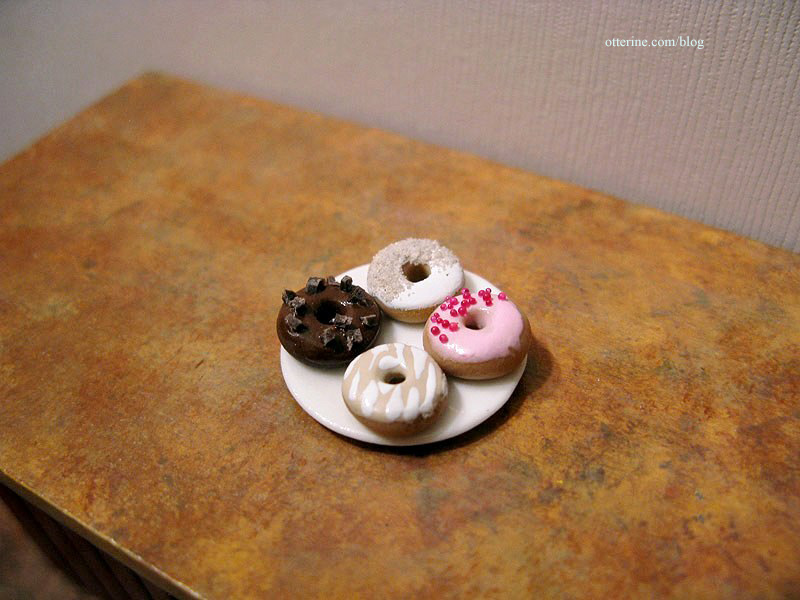
And, let’s not forget the donuts!!! :O Mini sugar buzz.
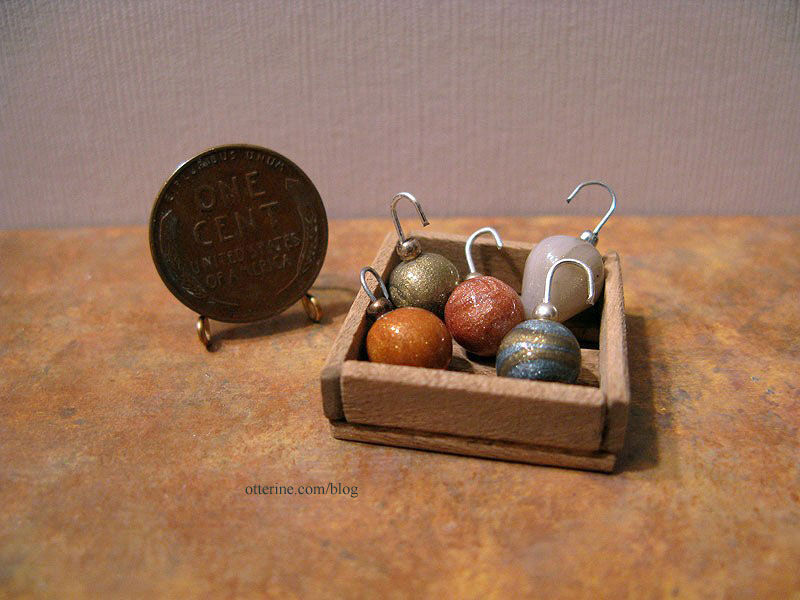
These ornaments will find a home in grandma’s attic until next Christmas. :] I borrowed the milk crate from The Aero Squadron Lounge to keep them from rolling off the table.
I don’t want to post what I’ve sent her in return — I want her to be surprised, though she did give me an idea of what she needed for her builds. Thanks so much, Jane!!!
Categories: Miniatures
March 20, 2013 | 0 commentsThe Artist’s Studio – Firewood
I cut some firewood for the wood stove and walnut firewood box. There was an old farmhouse near my parents’ place in a local suburb. I don’t think anyone around here appreciates an old white farmhouse like I do. I suppose there could have been structural issues with this particular one, but I still think it’s a shame when a bunch of suburban cookie cutter McMansions take over old, beautifully detailed houses.
Anyway, they did save most of the trees on the lot but cut down the largest of them. I was horrified when they did it. Again, the usual thing around here is to cut down every old tree, build a house then plant new tiny trees. They cut this one down because they failed to take its location into consideration when planning the garage. I went over there after the damage was done and grabbed a branch from the ground.
That branch has been waiting for just such a project as the Studio…

I sawed tiny logs from the main branch with a tiny saw. :D The branch is quite dry, so I was able to just snap the smaller pieces apart.

I split the larger pieces using a chisel and rubber mallet. What interesting grain patterns! It smells good, too.

Some of these pieces will fit under the wood stove (pardon the primer).

I love the textures and colors.

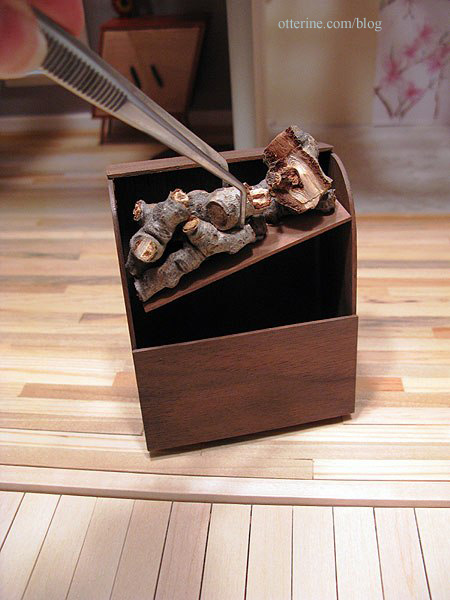
Since the firewood box will hold the battery and switch for the wood stove and I don’t want to have to rearrange firewood each time, I made a fake wood stack that can be lifted out of the firewood box.
I added small scraps of walnut 3/4″ high to hold the wood stack above the battery and switch (not yet added).

I cut a flat piece of walnut smaller than the opening of the firewood box and set it inside.

I glued a stack of firewood to this new base and the logs to one another until I had a good layout.

I left four logs loose so I can arrange them on top at random. No one would be the wiser just looking at the firewood box. :D

Whenever I want to operate the switch, I just lift out the wood stack. It lifts out without the aid of tweezers, but my big hand blocking the view would have defeated the purpose of a photo. :D
Here are all the pieces together.

A fitting memorial for a beautiful tree in front of a beautiful house, both of which are no more.
Categories: The Artist's Studio
March 18, 2013 | 0 comments


NOTE: All content on otterine.com is copyrighted and may not be reproduced in part or in whole. It takes a lot of time and effort to write and photograph for my blog. Please ask permission before reproducing any of my content. Please click for copyright notice and Pinterest use.


