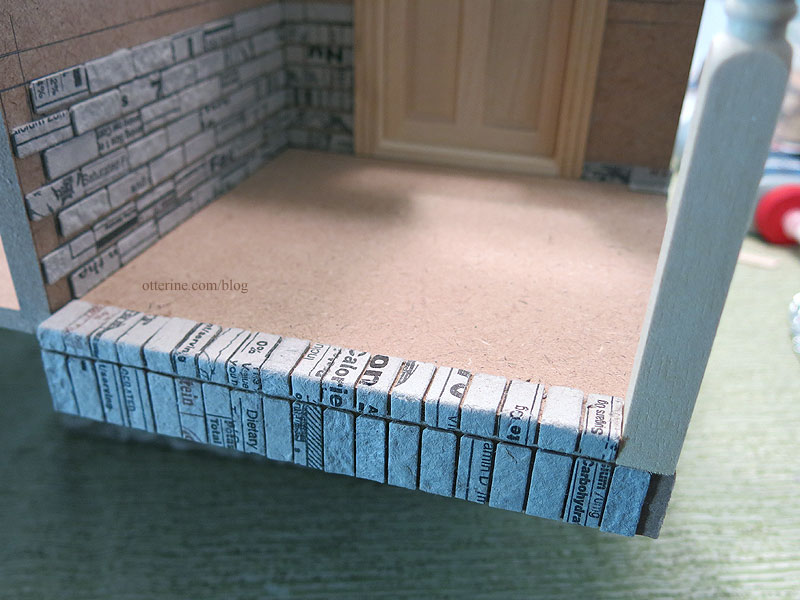
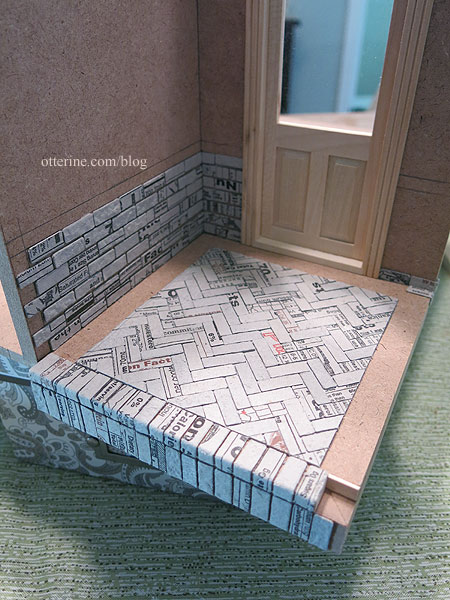
I’m going with a brick base again, so I was back to the egg carton brickwork. For the porch landing, I wanted a straight brick border with a herringbone center. I started with the front step, using vertical bricks on the riser. I couldn’t find a true example of this in real life from a quick image search, but it doesn’t look terribly out of place. I just didn’t want to carry the horizontal rows from the front and side walls around the porch step. I’m replacing the porch post with a Houseworks turned post, so I had to fill in the space a little with strip wood.
For the herringbone center, I printed 1/4″ square graph paper. The bricks don’t align to the grid perfectly as you glue them in place, but it is the best tool for keeping things relatively on track from row to row. I spaced these very close since this is a walkway and I wanted to minimize the grout. A welcome mat and plant pots are great for masking any inconsistencies.
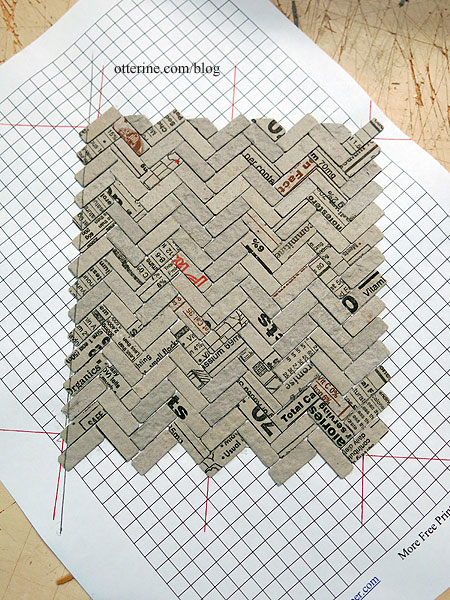
Once I had the herringbone pattern glued to the paper, I cut a template to determine the best layout.
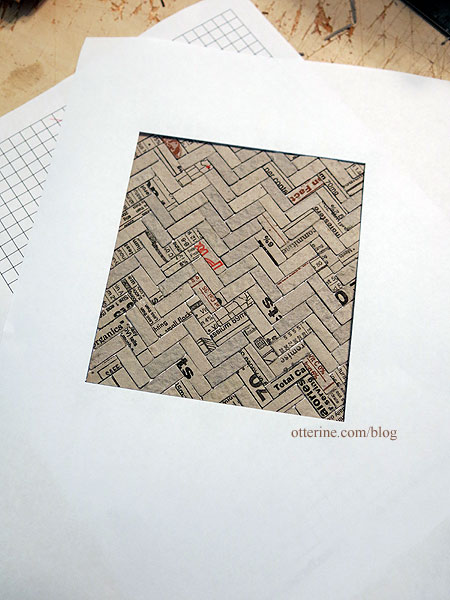
I marked the border, cut the herringbone section and glued the paper to the porch. Then I could finish the straight border. I also planned to have a brick walkway later in the landscaping phase.
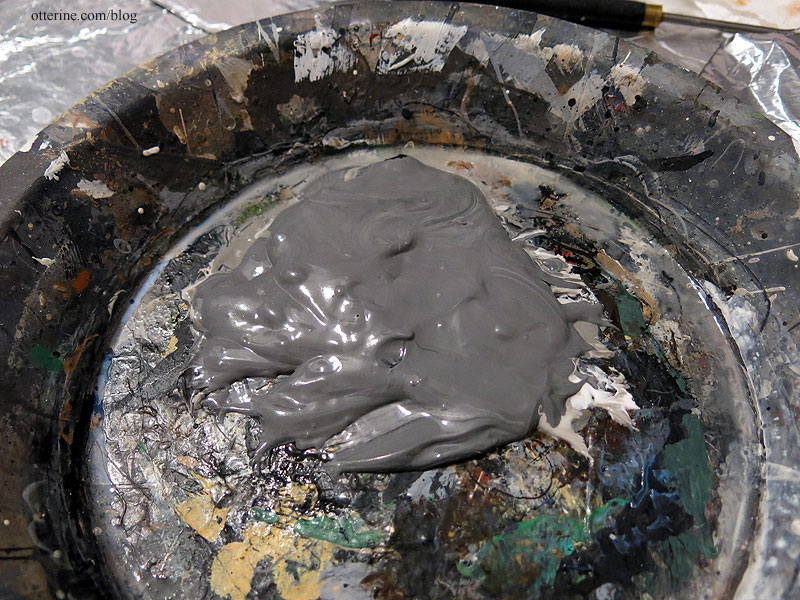
For the grout, I mixed spackling, neutral grey paint, black paint and Aleene’s Quick Dry glue. I added the glue just in case the paint made the spackling too thin to stay put.
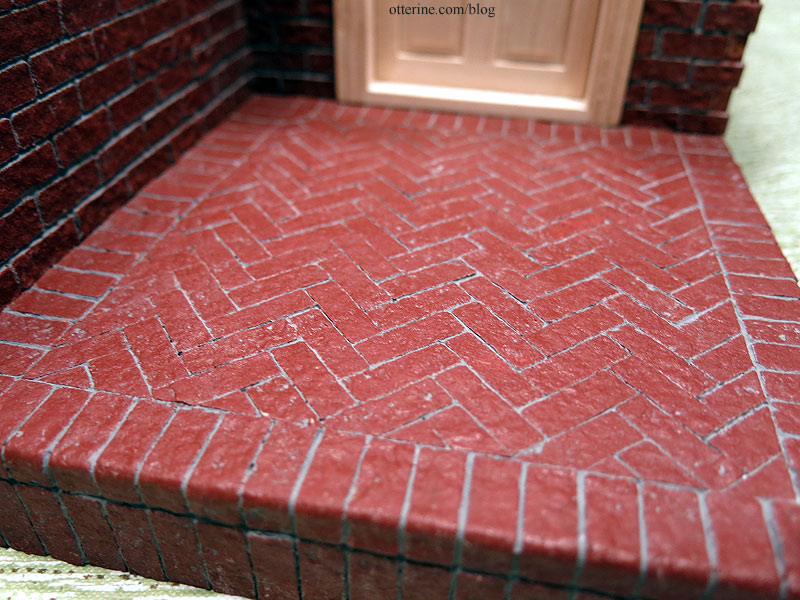
The grey looks great with the Liquitex Burnt Sienna painted brick, but I will still add some subtle aging washes later.
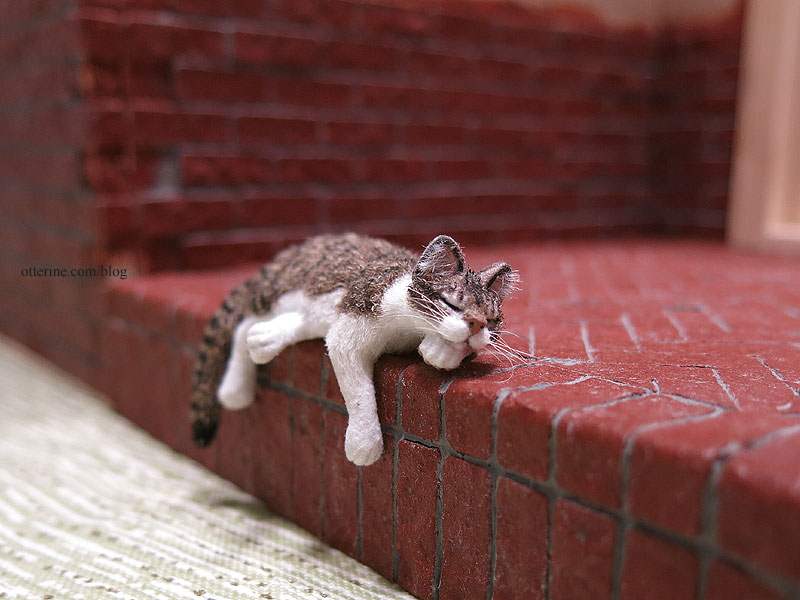
Finn is back to napping. :D
