
NOTE: All content on otterine.com is copyrighted and may not be reproduced in part or in whole. It takes a lot of time and effort to write and photograph for my blog. Please ask permission before reproducing any of my content. (More on copyright)
Categories:

Half Clocked – herringbone brick porch
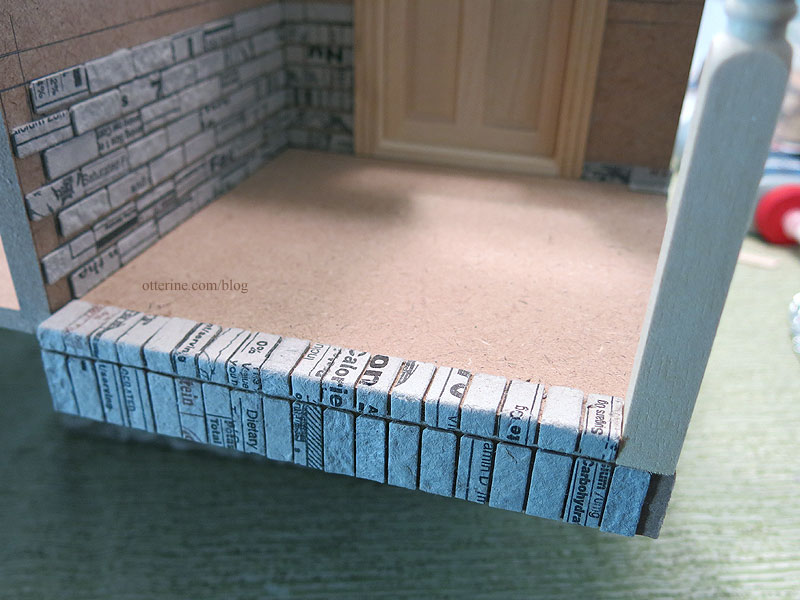
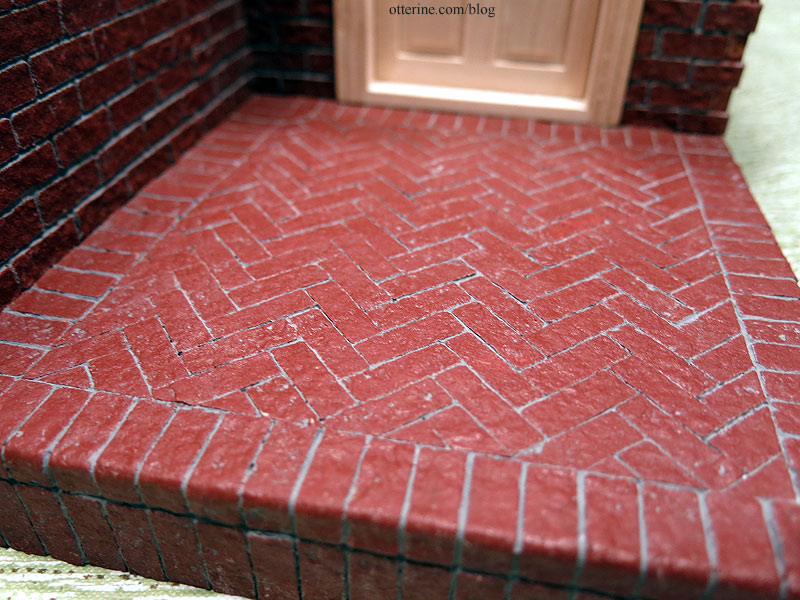
I’m going with a brick base again, so I was back to the egg carton brickwork. For the porch landing, I wanted a straight brick border with a herringbone center. I started with the front step, using vertical bricks on the riser. I couldn’t find a true example of this in real life from a quick image search, but it doesn’t look terribly out of place. I just didn’t want to carry the horizontal rows from the front and side walls around the porch step. I’m replacing the porch post with a Houseworks turned post, so I had to fill in the space a little with strip wood.
For the herringbone center, I printed 1/4″ square graph paper. The bricks don’t align to the grid perfectly as you glue them in place, but it is the best tool for keeping things relatively on track from row to row. I spaced these very close since this is a walkway and I wanted to minimize the grout. A welcome mat and plant pots are great for masking any inconsistencies.
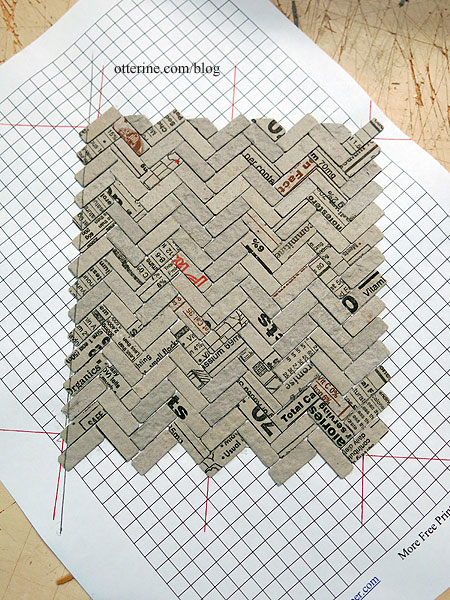
Once I had the herringbone pattern glued to the paper, I cut a template to determine the best layout.
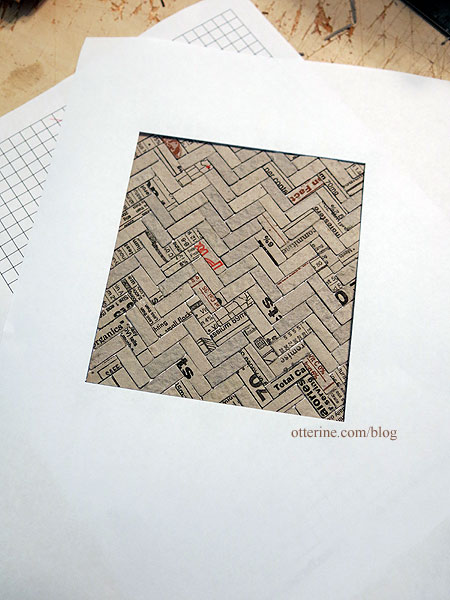
I marked the border, cut the herringbone section and glued the paper to the porch. Then I could finish the straight border. I also planned to have a brick walkway later in the landscaping phase.
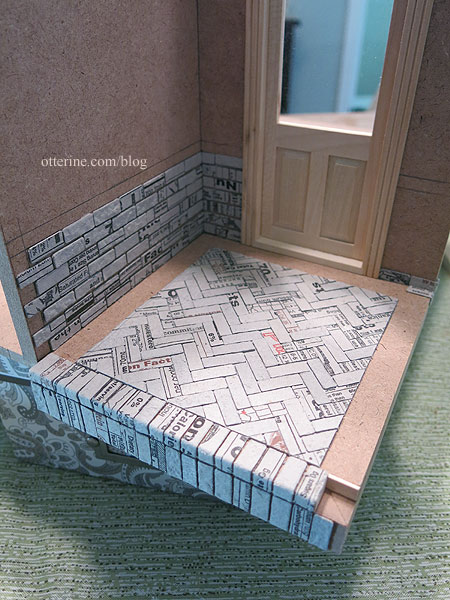
For the grout, I mixed spackling, neutral grey paint, black paint and Aleene’s Quick Dry glue. I added the glue just in case the paint made the spackling too thin to stay put.
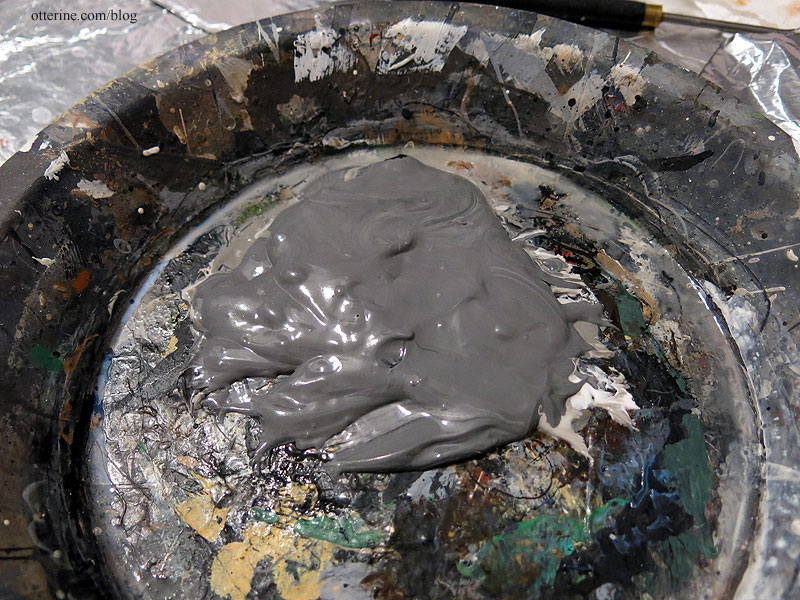
The grey looks great with the Liquitex Burnt Sienna painted brick, but I will still add some subtle aging washes later.
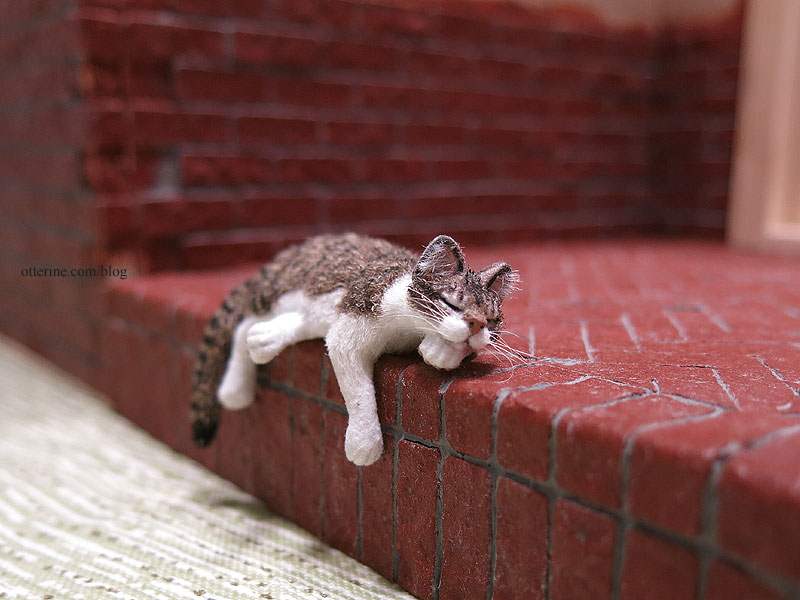
Finn is back to napping. :D
Categories: Half Clocked
August 22, 2018 | 0 commentsHalf Clocked – back wall and insert wall
Since I want to glue the roof in place and have the back open, I needed to figure out how to hinge a wall. Nothing is glued in place just yet so I can engineer on the fly. I have cut 3/8″ square basswood support beams for the back sides and new beams for the ceiling. I’ll likely be cutting the back wall as one piece, so the beams will give it something to abut when closed.

I’m also making a small room up front under the gable. I cut a 1/4″ thick plywood board to fit the space and then planned my trims and door. I’m using a Classics narrow door since other interior doors looked too big proportionally.

A blog reader asked about how I cut the skylight holes, so here is a link to an old post I did on making cuts without power tools. I still use this method a lot, and it works really well on mdf especially. Here are the cuts in process.

However, now I often finish the cut with my scroll saw to get a cleaner final cut. The scroll saw can and does wander, but these holes are fully enclosed by the door or window they house, so it’s not a huge deal.

On the other hand, if you use a component that is smaller than the existing hole, you need to fill it. I typically use strip wood.

Since I want the door to open into the main room, I needed to pad the edges of the door casing (here’s an old post on that technique). I didn’t need it to be neat since this side of the door won’t be seen. I’ll make any minor adjustments once I’m ready to install the insert wall.

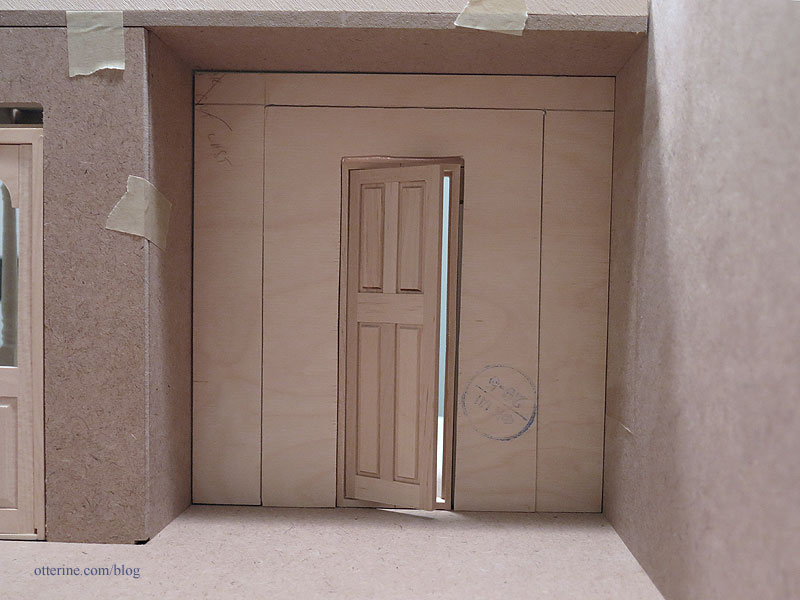
I want to be able to access the front room more than the narrow door will allow, so I will be making the insert wall removable. This is a bit of hassle since I don’t want the board to have gaps all around it nor do I want to continually risk scuffing the floor and ceiling moving it around. So, I will cut the wall into two pieces – one will be a permanent part of the structure and one will be fully removable with the door acting as the handle. This will make a lot more sense once I get the trims cut and in place, but here is the plan in dry fit. The outer side panels and upper panel will be permanent, but the door and its two adjacent panels will be one removable unit.

I mulled over this design a few days, and changed it slightly for the final. After measuring multiple times to make sure I had a suitable plan for the removable wall, I marked and cut my insert board using my scroll saw. Again, I tried to get the cuts as straight as possible, but the trims will disguise any imperfections.

The trims will be cut after I have installed the frame portion and the wallpaper (on order), but this is now the plan. It seems a better balance than the initial plan.

It will be a larger opening in the end (sorry for the poor quality on this pic, but the camera kept focusing through the opening).

Should work well. :D
Categories: Half Clocked
August 5, 2018 | 0 commentsHalf Clocked – kits in progress
I’ve been working on some stash kits to fill the HC build. I have a birdhouse from Art of Mini.

And, two new old stock kits – Shenandoah Designs tiered server and House of Miniatures trestle table.

Sanding them took the most time, but I have them built and ready for finishing.

I hate assembling any three-legged stand, but they look so nice I just swear through the process to get it done. I inevitably get glue all over, so I almost always end up painting these types of bases.

I’m not sure of colors yet, though I do really like the aged military green shown on the birdhouse kit cover. I might end up going with that for this piece.

The trestle stand was a pretty clean assembly glue-wise, so I might use some stainable wood filler for the few gaps and end up staining this piece.

Categories: Furniture, Half Clocked
June 10, 2018 | 0 commentsMiss Lydia Pickett Cottage Clock – part 7
Completing work on the Miss Lydia Pickett Cottage Clock in 1:12 scale by Robin Betterley’s Miniatures.
A dear blog reader suggested the face didn’t look right, and I thought it was just me who felt that way – or because the hands weren’t on yet. So, I decided to print two more versions with smaller dials. You’ll see this revised face for the rest of the build. Instead of digging out the pasted face, I just added another cardstock circle to bring it forward a bit more and pasted the new face over the top. I applied a thin layer of Delta Ceramcoat Satin Varnish as a sealer for the paper face and previously applied artwork adapted from The Graphics Fairy.
The hands are Susanne Russo brasses, a lovely find of new old stock at a local show. The package indicates the color is black, but they are brass. One side was tarnished, so I used that for my clock.

I drilled winding holes as accents, lining them with a bit of paint. I added tiny bits of black wire at the top and bottom to allow the acrylic to float over the hands.

I cut the middle face trim to accommodate an additional 3/16″ hinge.

There’s a small nail for the knob. I dabbed these with Taupe Metallic by Folk Art to match the other detailing. Since the hinges don’t function, the paint won’t matter. Now it looks like you can open the glass to wind the clock.
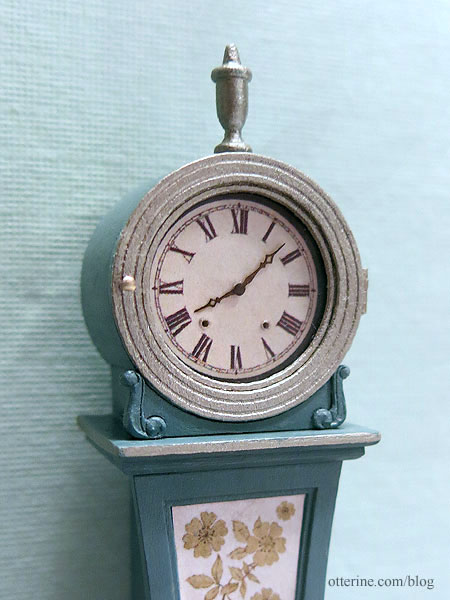
The acrylic that came with the kit had an imperfection that was large enough to bother me. Instead of digging out the Cricut, I managed to cut a new insert by hand. :D

I added a small keyhole from a Classics door knob set and fashioned a key from a laser cut brass hook from The Ironworks.

This is one of my favorite details. :D

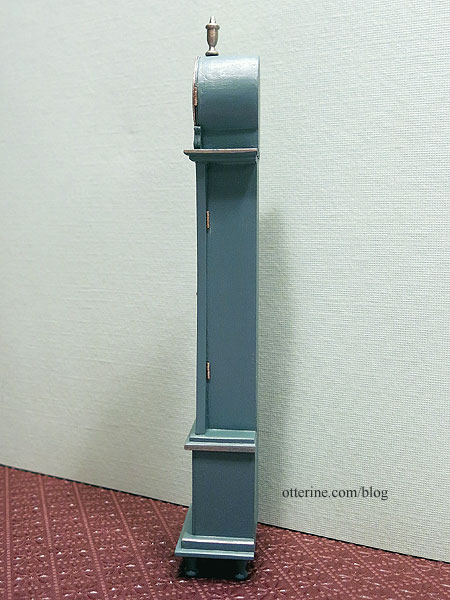
Here you can see the door hinges on the body.
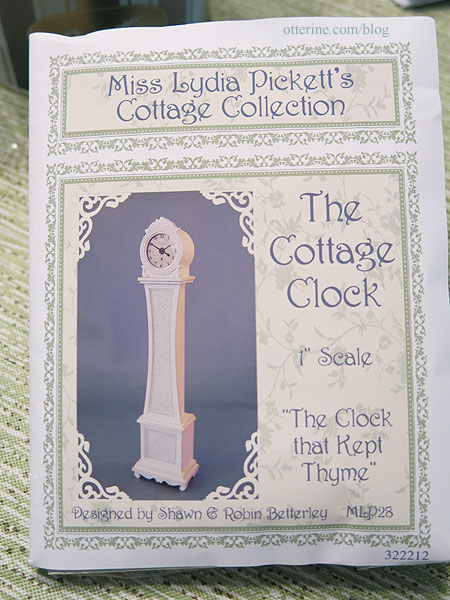
Here’s a reminder of what the kit photo suggested for finishing.
And, here is my finished version. :]
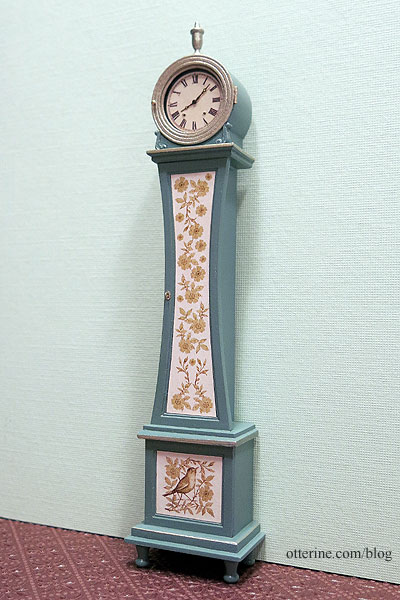
I had a lot of fun with this kit and wish they were still available.

Categories: Half Clocked
May 23, 2018 | 0 comments
NOTE: All content on otterine.com is copyrighted and may not be reproduced in part or in whole. It takes a lot of time and effort to write and photograph for my blog. Please ask permission before reproducing any of my content. (More on copyright)


