
NOTE: All content on otterine.com is copyrighted and may not be reproduced in part or in whole. It takes a lot of time and effort to write and photograph for my blog. Please ask permission before reproducing any of my content. (More on copyright)

Custom built wine rack
I am so brimming with excitement over how this turned out that I just needed to share. :D This wine rack is attached to a Houseworks cabinet, so I built a box from 1/8″ thick bass wood to mimic the structure of that cabinet. I painted just the lead edges of the inside as well as the entire exposed side of this addition.
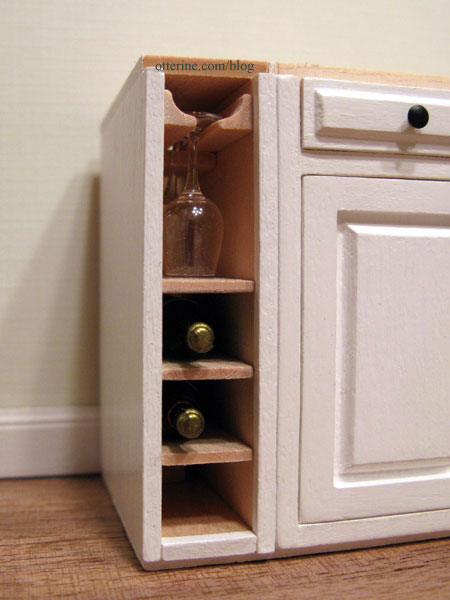
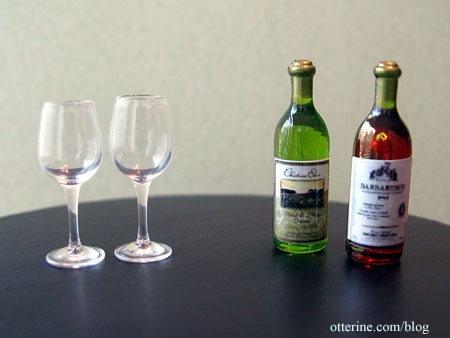
Inside, I have a place to hang wine glasses and to store three bottles of wine. I bought these items at the Bishop show even though they were a little large for scale. I think they work wonderfully here since they aren’t sitting next to anything else that would give away that fact.
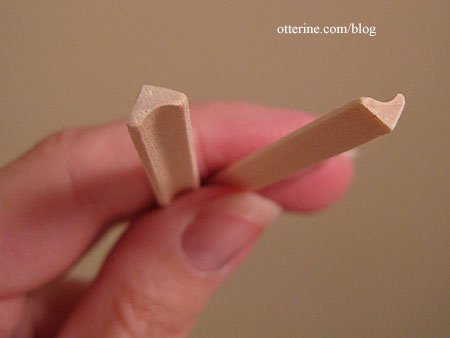
I made the glass holder from mini cove molding…it was actually a sample from a dollhouse wood supplier. There was exactly the amount I needed for this project. Score!
To keep the glasses from sliding too far back, I glued in a block right behind where the second sits. I left the holder and the shelves in natural wood.
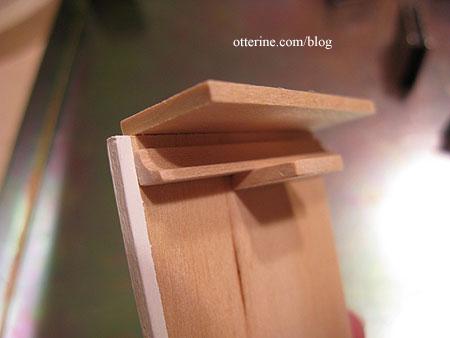
Each shelf is made from 1/16″ thick bass wood. Just as with the glass holder, I put in a stopper to keep the bottles from sliding back too far.
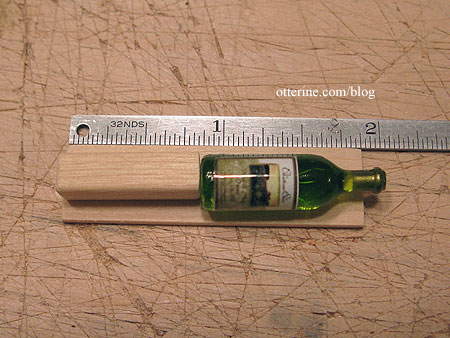
To keep the shelves in straight while the glue dried, I used a 3/8″ post as a spacer.
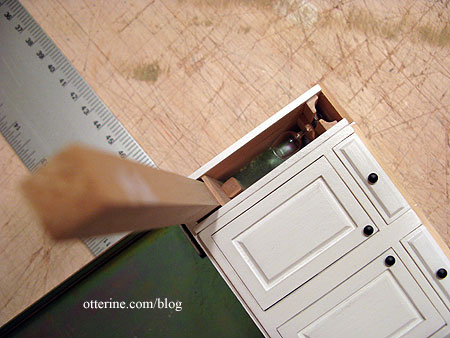
Now, who wants a glass of wine? :D
Categories: Baxter Pointe Villa, Furniture
June 12, 2011 | 0 commentsDoor to _____?
So, say you need access behind a wall, what do you do? You build a door to get there. :D
I started with a piece of 1/32″ thick bass wood cut to the size of the door I needed (my wall in this example is 1/16″ bass wood). Around this, I drew a rectangle in the area where I wanted the opening.
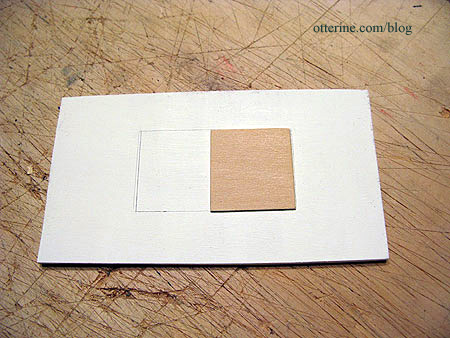
On one side of the rectangle, I cut an opening smaller than my door.
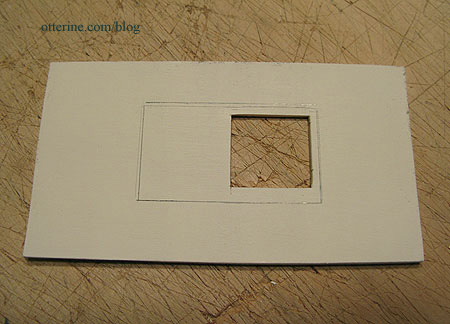
I painted the inner edge of the cutout.
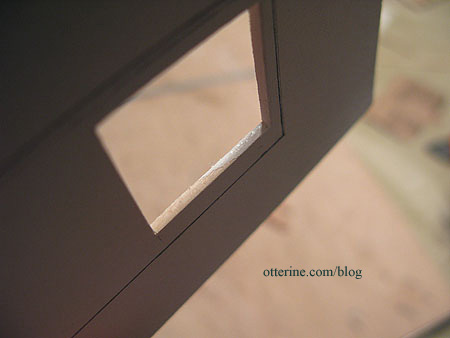
Since I plan to wallpaper this wall, I needed to cut a template for the rectangle I drew earlier.
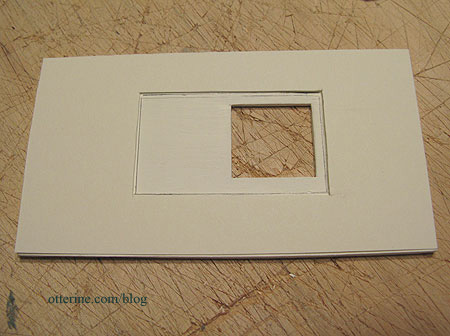
Using 3/16″ framing strip wood, I cut a frame to fit the rectangle to cover the wallpaper edge.
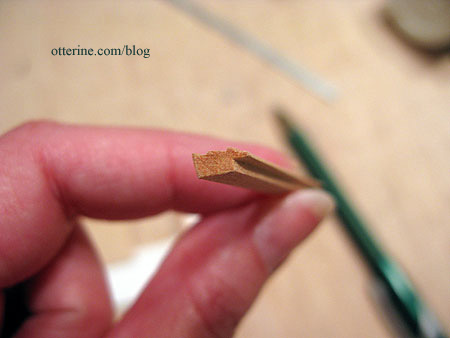
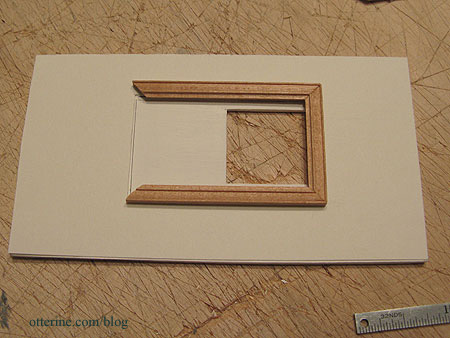
I used a gluing jig to keep my frame square.
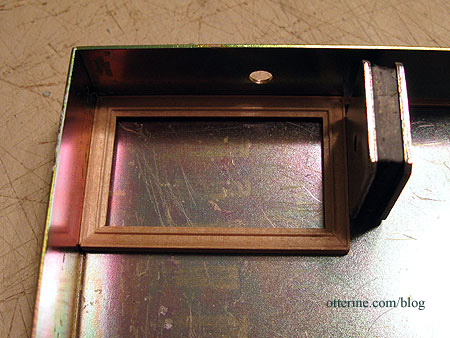
On the lead edge of the door, I drilled a hole to fit a small wood knob.
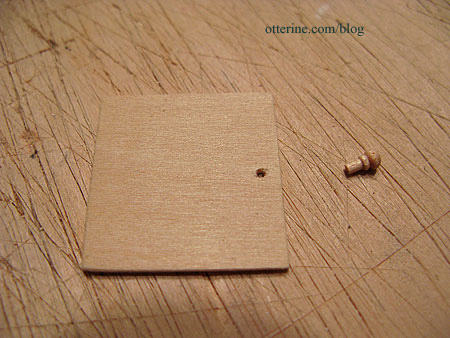
I left the excess on the back side of the door since this serves as a door stop.
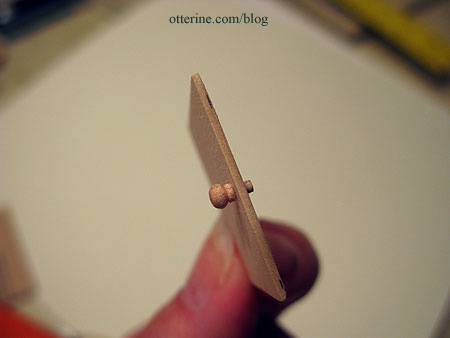
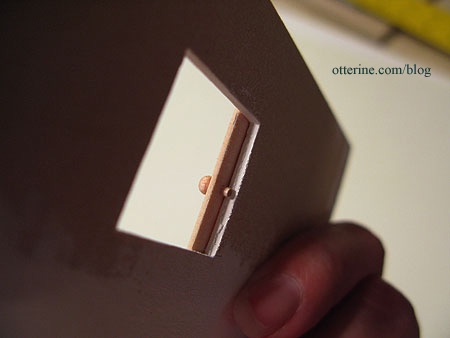
I checked the fit of the frame over the door to make sure it would slide easily.
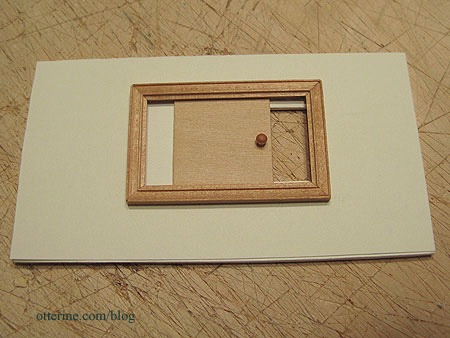
I then painted the door and the outer frame. I kept the paint thin and out of the inner track of the frame completely so it wouldn’t interfere with the door functionality.
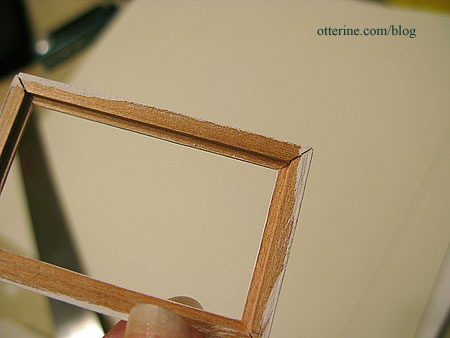
Where does this door lead?
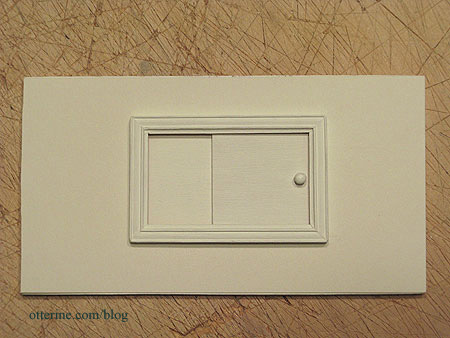
You’ll need to wait until July 4th! :D
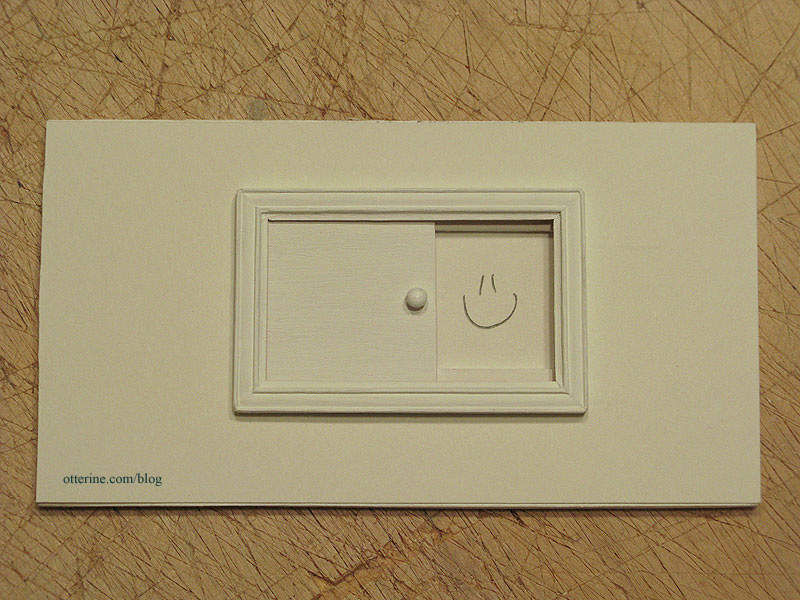
Update: The door is a means to feed the fish!
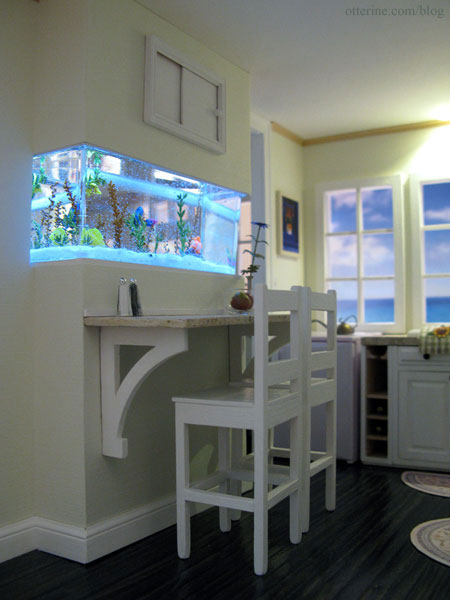
Would this be at all practical in real life? Nope. But, I wanted to put something in the kitchen that appeared to be an access point for the aquarium. In reality, this entire wall panel would likely be removable. :D
Categories: Baxter Pointe Villa
June 10, 2011 | 0 commentsBaxter Pointe Villa – chimney
Where there’s a fireplace, there must be a chimney! This is my first time building one of these, and so far it hasn’t been bad, just time-consuming.
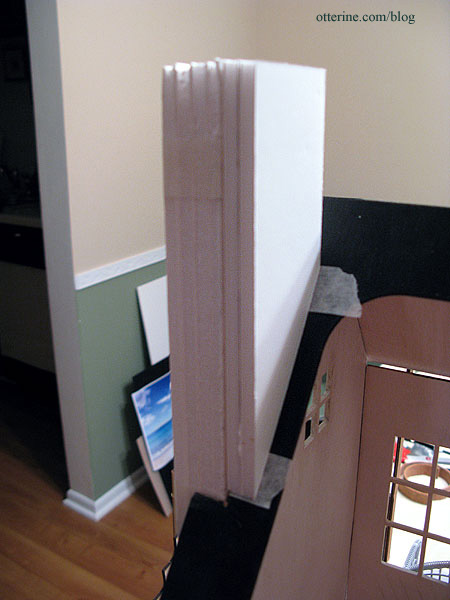
I built the base from foam core board layers glued together and loosely taped to hold the shape while the glue dried. This is actually the second base I built for this project, and the final one. The first one was a bit too narrow and more of a mockup to see how it would look in general.
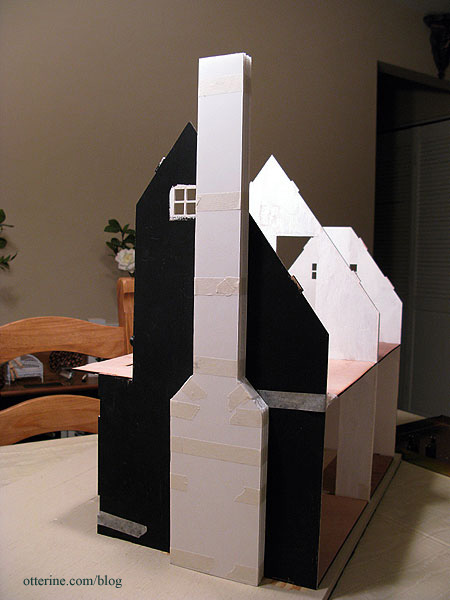
It has a hole built to fit around the firebox. The skinny channel in the middle is to disguise later electrical wiring for the upstairs rooms.
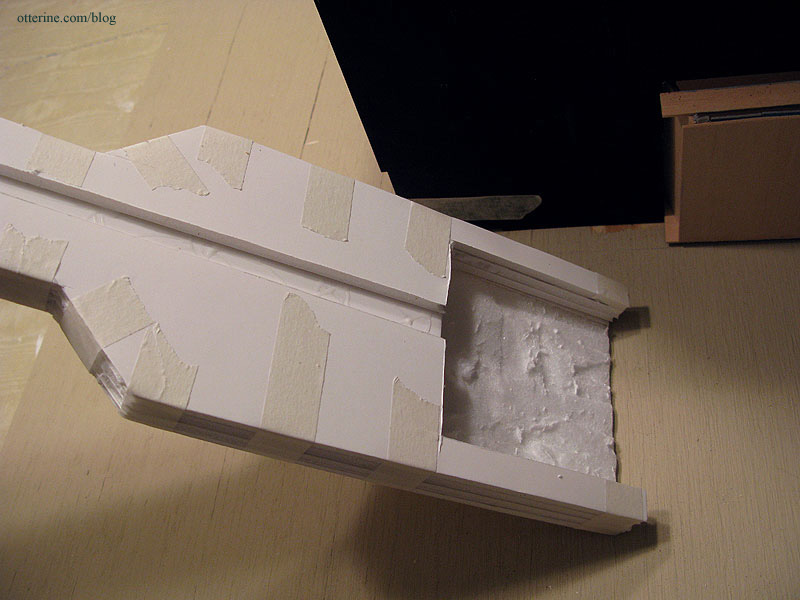
And sits behind it like so.
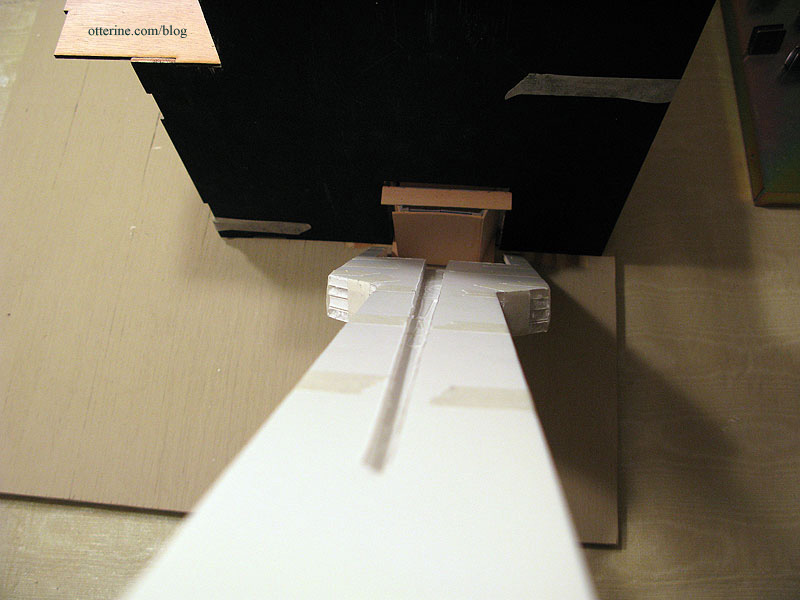
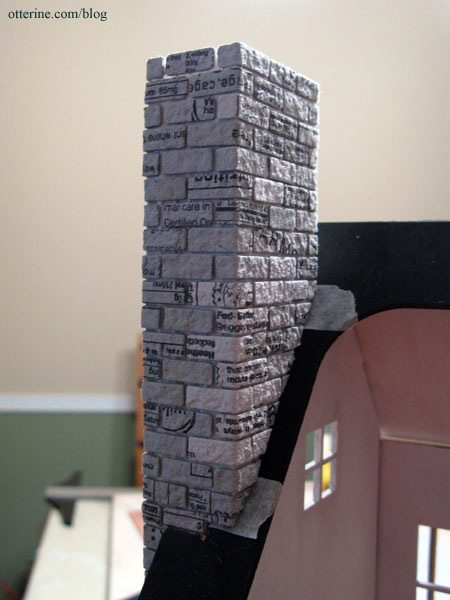
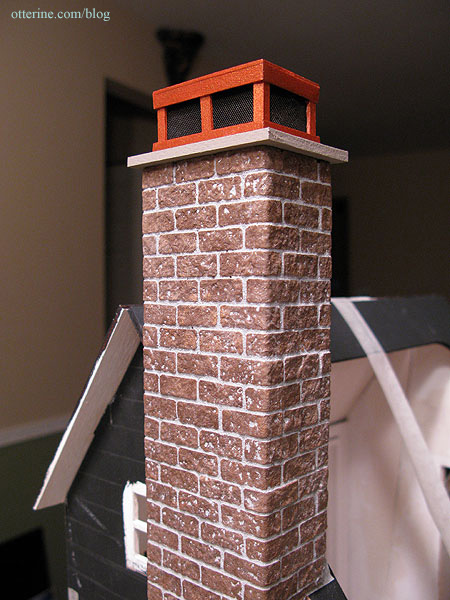
I’m using egg carton bricks for this as well, though I’ve cut them a tad smaller than I did for the firebox (1/4″ x 11/16″). I actually did some math on the final foam core base before cutting it out so I would have the right dimensions for my bricks. The bottom is equal to six complete miniature bricks across the bottom edge.
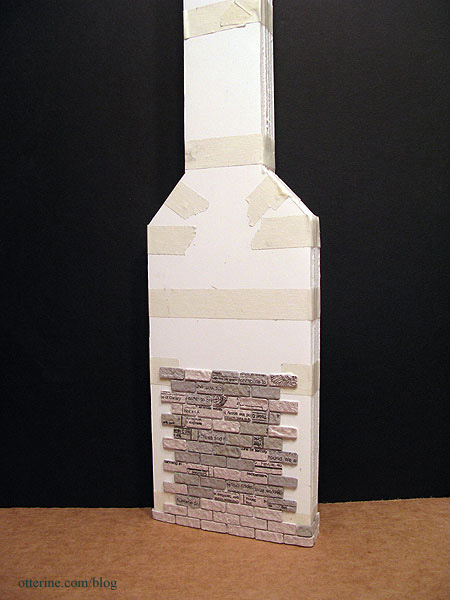
I cut longer egg carton pieces to wrap around the edges to give the appearance of three dimensional brick.
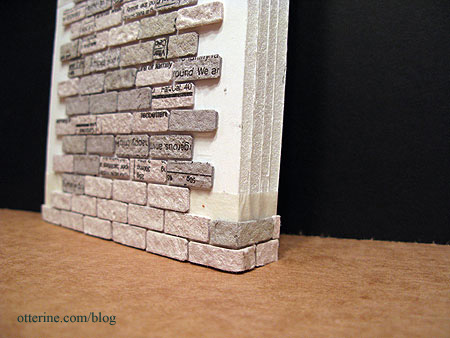
Have I mentioned I love egg carton bricks? :D Yes, they are a lot of work and very time-consuming, but they just give such an awesome result.
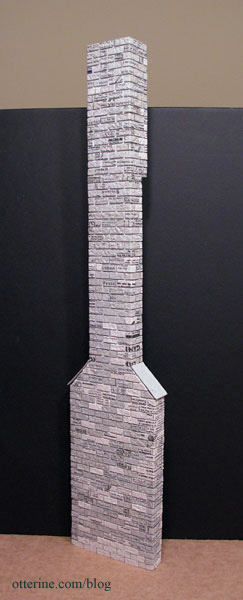
I had to cut away the roof to make room for the chimney.
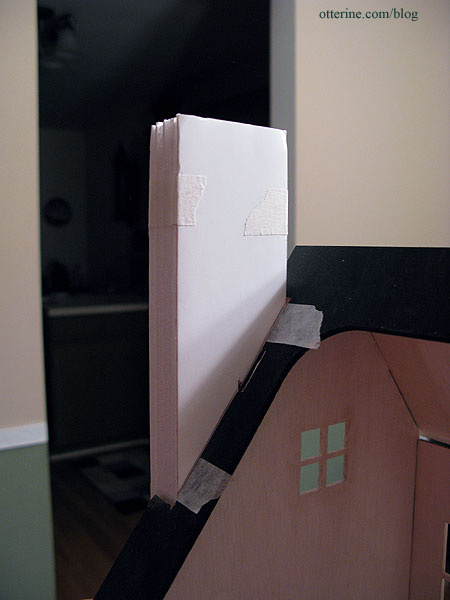
I then cut two additional pieces of foam core board to finish the chimney on top of the roof.
Getting level and complete coverage of bricks around this top section was challenging but so worth it. :]
This next part was later damaged and is no longer part of the build. After the chimney been painted and grouted (I used Mini Mortar), I made a topper.
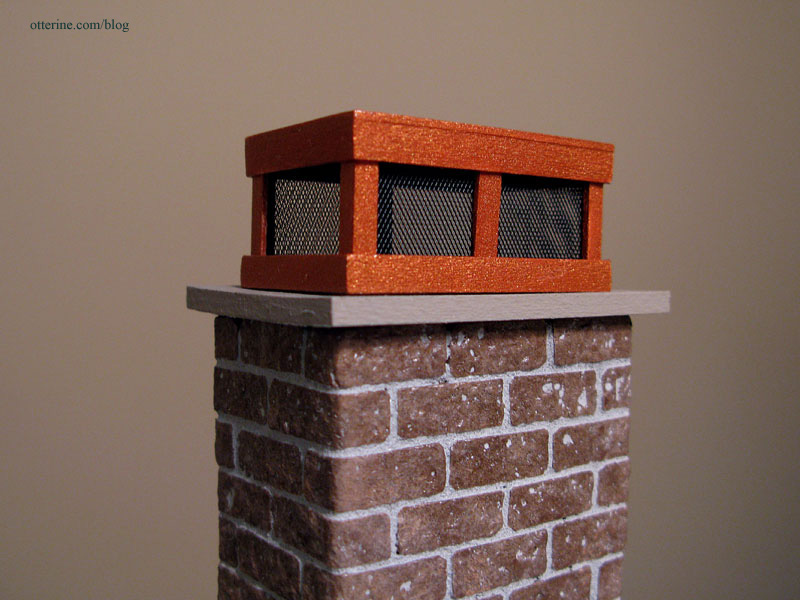
I did a quick google search for chimney toppers and found a fabulous photo from Mountaintop Construction. I decided to emulate the style using wood and aluminum mesh. First, I cut a piece of 1/8″ thick basswood to serve as a base.
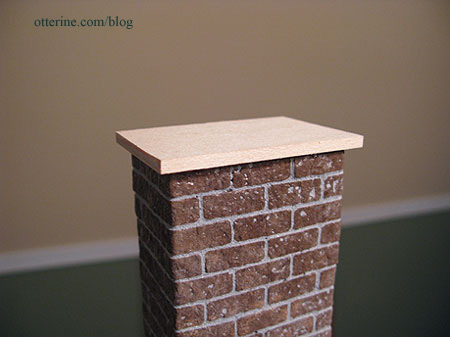
I painted it with a mixture of Slate Grey by Americana and Mushroom by Folk Art. I then painted the inner portion black. When looking into the topper, I wanted it to look like there was a chimney opening.
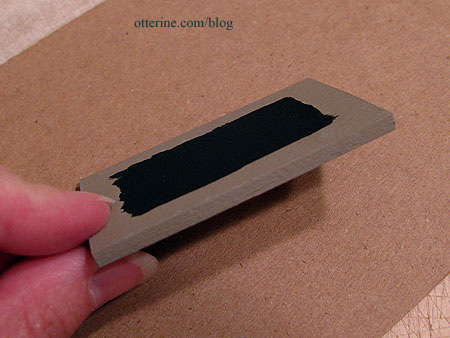
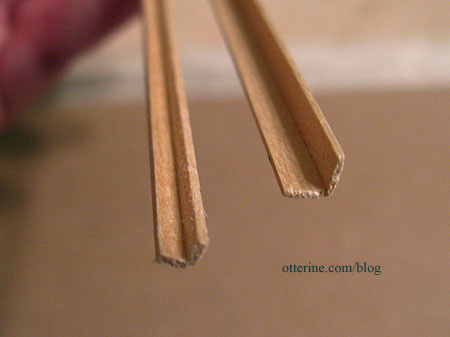
To build the actual topper, I started with 1/8″ and 3/16″ bass wood corner trim.
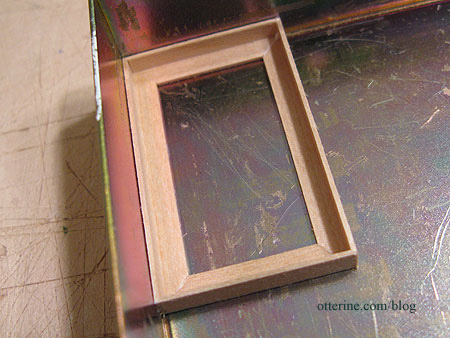
I used an Easy Cutter to make 45° cuts in the 3/16″ corner trim to form two frames.
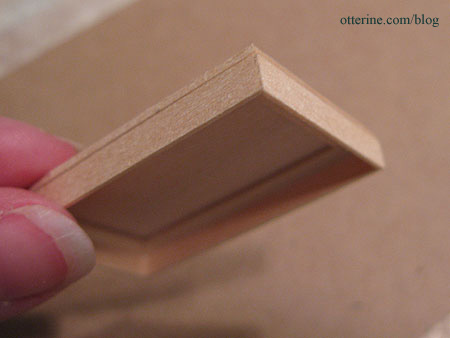
I cut a cover for one of the frames from 1/16″ thick bass wood and glued it on top.
I cut 3/4″ lengths of the 1/8″ corner trim and glued them into the four corners of the frame.
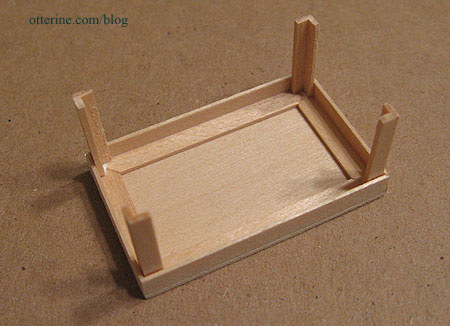
I then added 3/4″ lengths of 1/16″ x 1/8″ strip wood in the center of each side of the frame.
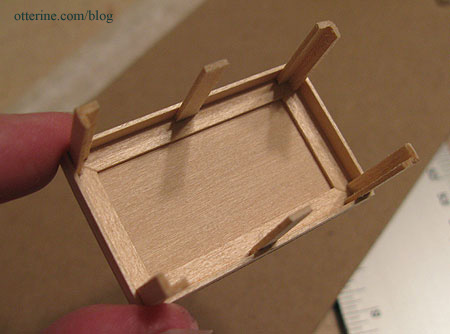
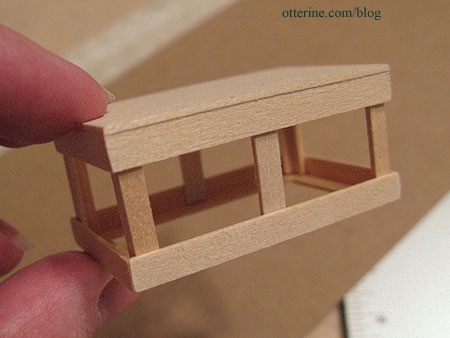
While the glue was still drying, I checked the fit of the bottom frame to make sure the corner pieces were straight and level but did not glue the two assemblies together.
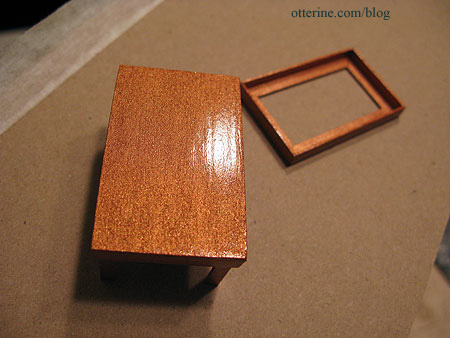
I painted both the upper and lower portions Pure Bronze by Apple Barrel. It was a little glitterageous after the first coat, so I sanded that down before putting on a second coat. Once the paint was dry, I finished it off with three coats of Delta Ceramcoat Gloss Varnish.
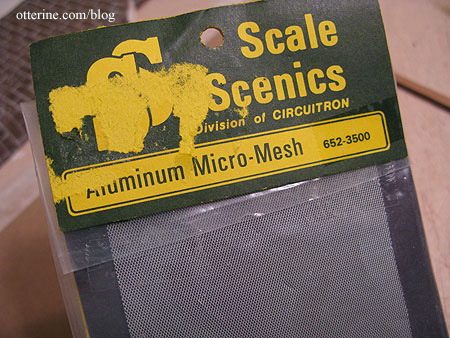
The aluminum mesh I used is by Scale Scenics. It’s old stock I bought at the recent Bishop Show in Chicago. Sometimes it pays to dig through dusty bins of old miscellaneous materials. :]
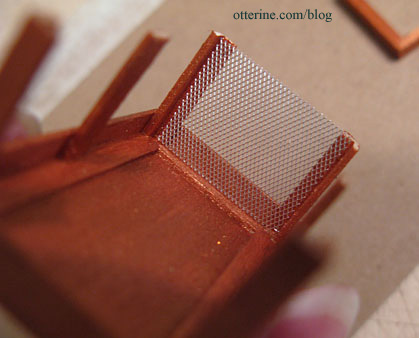
I cut the pieces of mesh to fit inside the assembly.
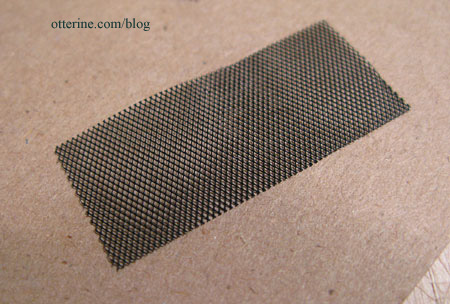
I then spray painted them flat black.
I glued the painted mesh pieces inside the frame at the corners and sides.
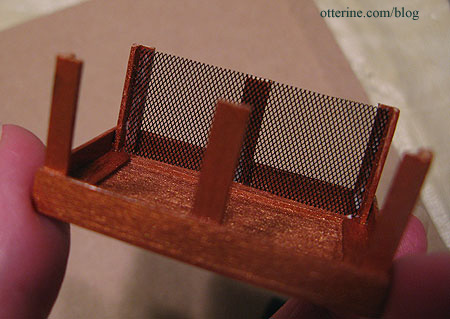
Then I painted the inside black.
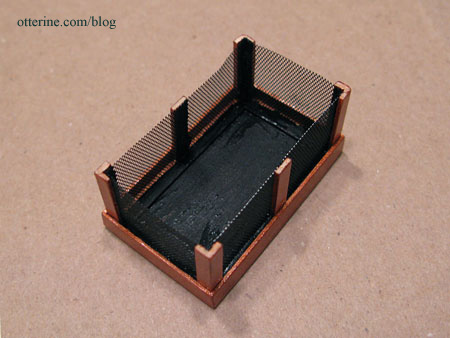
I glued the bottom frame onto the assembly.
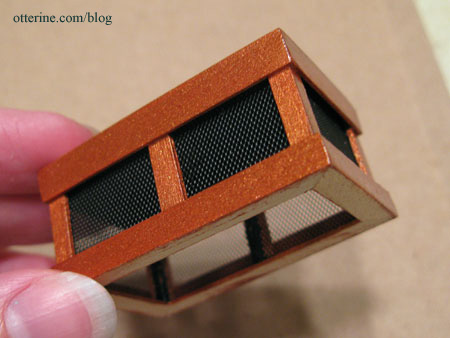
And, finally…I glued the topper on top of the chimney. :]
Categories: Baxter Pointe Villa
May 22, 2011 | 0 commentsOld World Tile review
I’ve seen this brand of flooring online, but it is very pricey. The various descriptions state the tile sheets come with a stylus for detailing the grout lines and end up looking very realistic. I’ve not seen any photos of it installed in a dollhouse or room box, though. I think perhaps the retail price of $25 per sheet (plus shipping) is a bit steep to buy it without knowing how it will work out.
Well, I ended up finding an unfinished sheet on eBay for a fraction of the cost, though it didn’t come with the stylus indicated. I figured it was worth a try.
It’s a very high quality printed paper that you adhere to an included white board with spray adhesive. The grout lines are raised on the print.
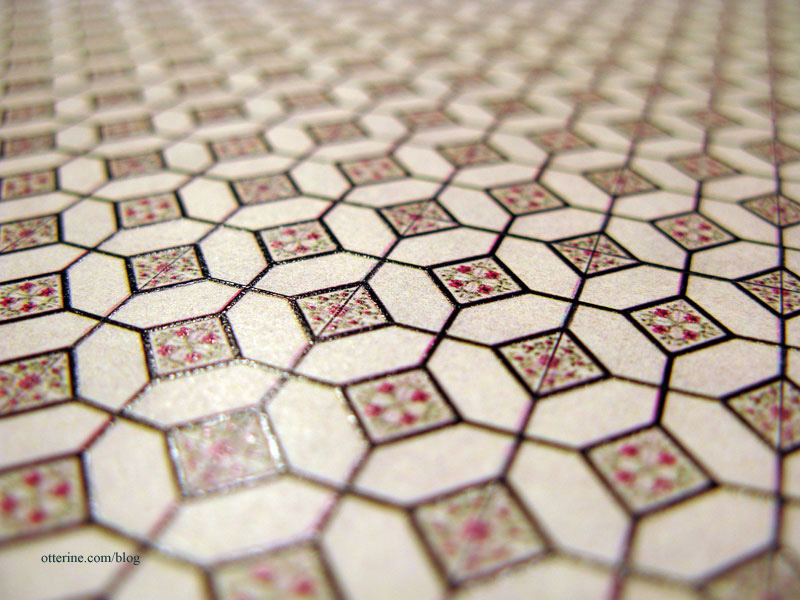
The instructions are very precise, including exactly which products to use for the assembly and finishing of the flooring. I cut my board to my room size and used scraps to try out the sealing process.
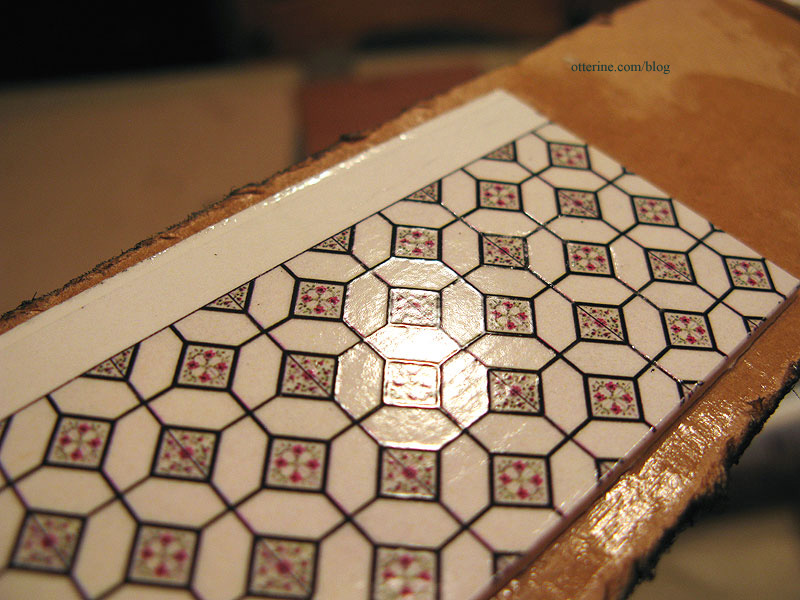
The manufacturer suggests up to five coats of Delta Ceramcoat Gloss sealer applied with a brush. Here is the sample I did following those instructions.
I also covered a sample by brushing on one coat of Triple Thick Gloss Glaze by Americana. Here is the sample with that product.
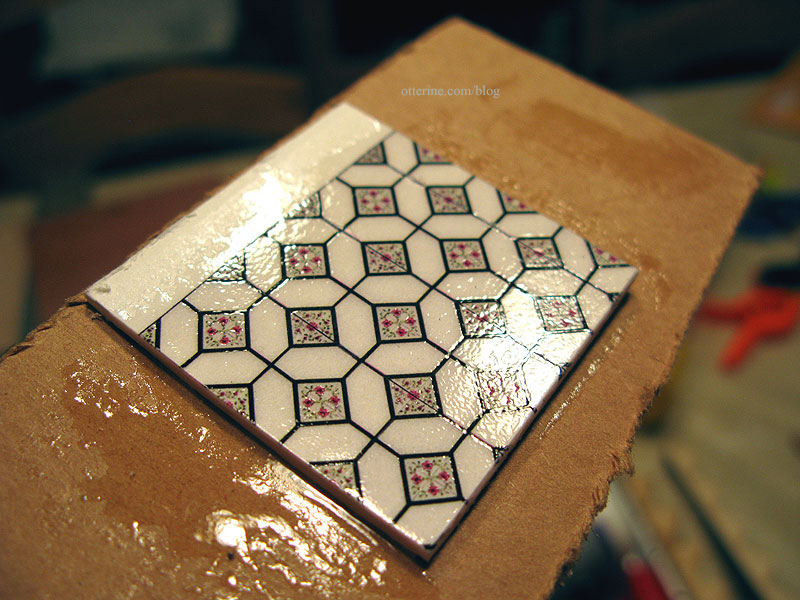
I think I’d need more coats of the first sealer to equal the results I got with the one coat of Triple Thick Gloss Glaze, and there are no brush lines with the Triple Thick. It evens out as it settles and dries. I rather like that it looks like sheet linoleum, too!
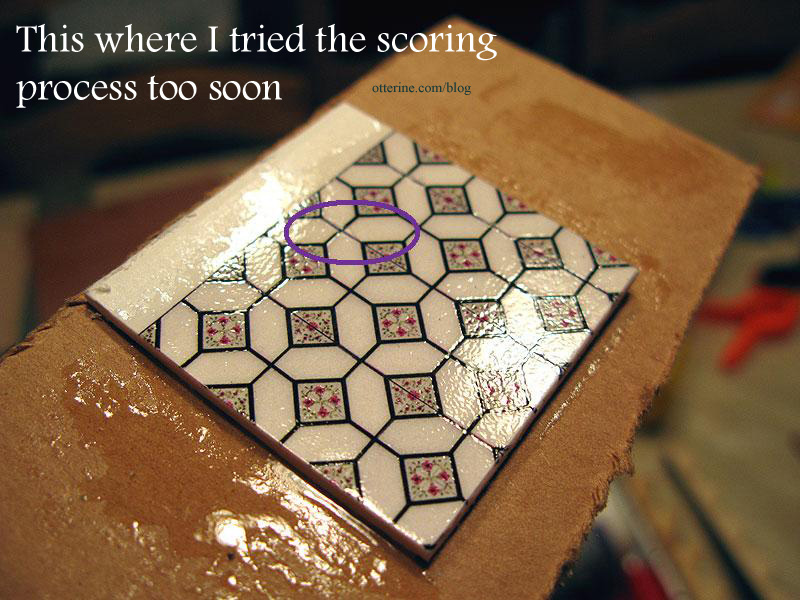
You are then supposed to use the stylus to lightly score along the lines, indenting the finish but not the paper to create the look of recessed grout lines. I tried the scoring process with my own stylus but found it didn’t really work for me. It marred the finish even though I wasn’t pressing hard at all.
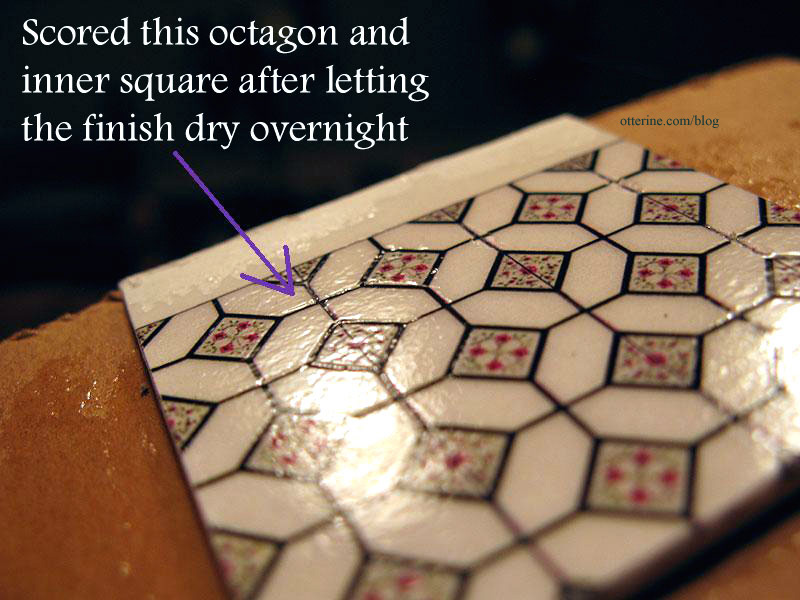
I thought perhaps I hadn’t let the finish dry long enough so I tried it again the following night. It worked without lifting the sealer but I honestly didn’t think it added anything so fabulous to merit the amount of work it would take to trace all of those tiny lines. And, any mistakes would be irreversible. So, I am opting for the Triple Thick finish without the scored lines.
With this particular sheet, I was able to do one room of flooring with enough left to do a tiny room for another project, or perhaps a backsplash, counter or serving tray.
It really is a beautifully made and realistic flooring, but I still think $25 per sheet is too much regardless of including a stylus that could just as well be sold separately. You really wouldn’t need a new stylus included each time you bought a piece of flooring from this product line.
Categories: Baxter Pointe Villa
May 13, 2011 | 0 commentsVintage Millie August furniture kits
I found these two kits at a local hobby store that was having a moving sale. The fabric seemed a bit rough for scale, though the finished photos on the kits looked wonderful.
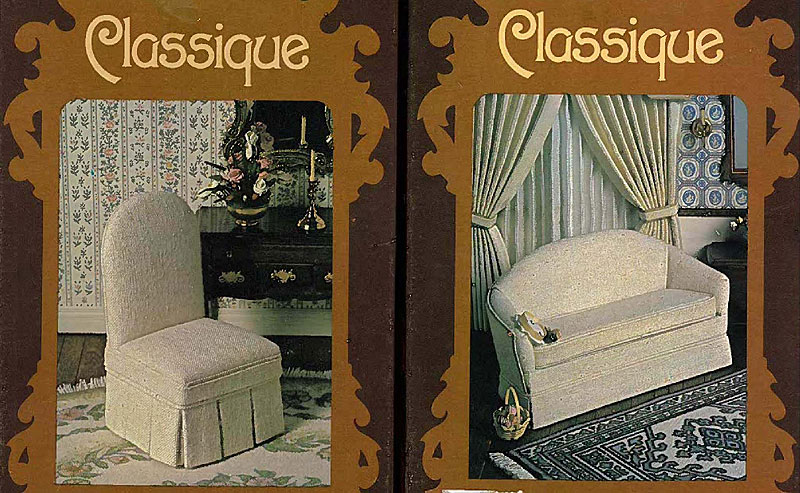
I had some ivory muslin in my fabric stash that seemed softer, but I stuck with the original fabric in the end and was glad I did. :D
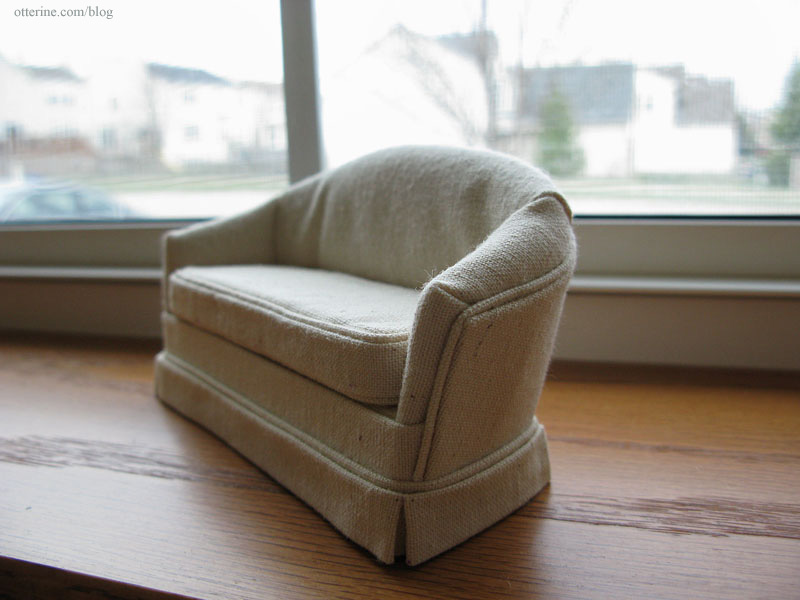
My general impression was these kits are very thorough and have excellent detailed instructions, though there were parts that had no illustrations when you could have used some. I chose to make a photocopy of the pattern pieces before cutting them just in case I had to start over with my muslin fabric. I also copied the figure drawings so I didn’t have to keep flipping the paper over between the instructions and the drawings, which happened to be on opposite sides from one another.
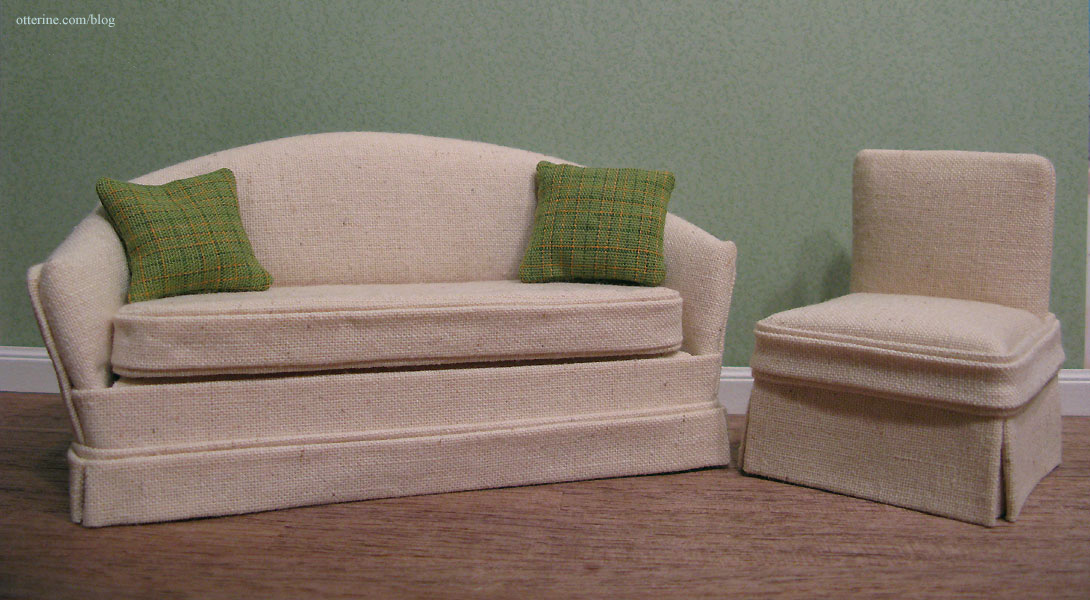
I tackled the couch first, and it went well from the start. Since the kit was old, the foam had yellowed significantly, so I lined the sides and front of the couch with natural muslin before adding the finished fabric. I didn’t want to take the chance that the yellow would show through once the couch was complete.
The most challenging part was creating the welting, or cording, but it’s the one element that really adds to the realism of the piece. Real life sized upholstered furniture has this detailing and it was worth the frustration and effort to get it to work.
All in all, the couch took me the better part of a day to put together, so I haven’t gotten to the chair just yet.
I added some green plaid pillows.
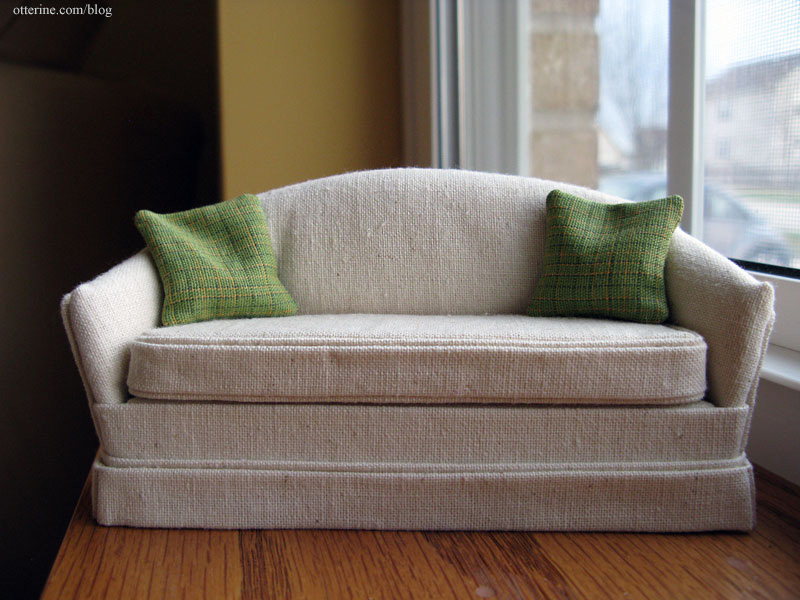
The kit has you build the couch as you would build one in real life size. I learned a lot putting this kit together and will put these skills to use the next time I make an upholstered item.
Ara, who has a blog called Addams Family Mini-Mansion, uses a small wood artist’s model when she builds custom furniture. I thought this was a brilliant idea, so I bought a couple myself from Barnes & Noble to use when either making kits as in this case or for when I get around to scratch-building more furniture. They are 5 3/4″ tall, so they equate to a person about 5’9″, which is perfect for getting the proper scale of things. They don’t articulate all that well, but they do a good job for me since I have no actual dolls to put in my miniature dwellings. :]

For the chair, I found the instructions to be a little lacking in comparison to the couch, so I was glad I finished the other kit first. It helped me figure out what to do when I wasn’t sure about the directions. The couch didn’t have an exact side chair counterpart, but I thought this would work well as an alternative. But, I didn’t want it to look like a vanity chair so much as a comfortable modern chair.
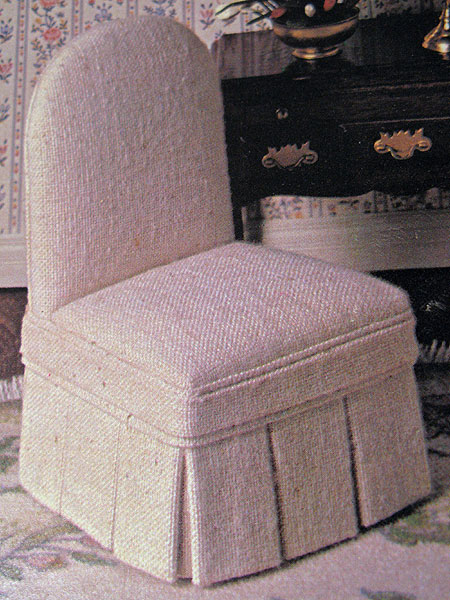
To that end, I cut off the top curve on the back.
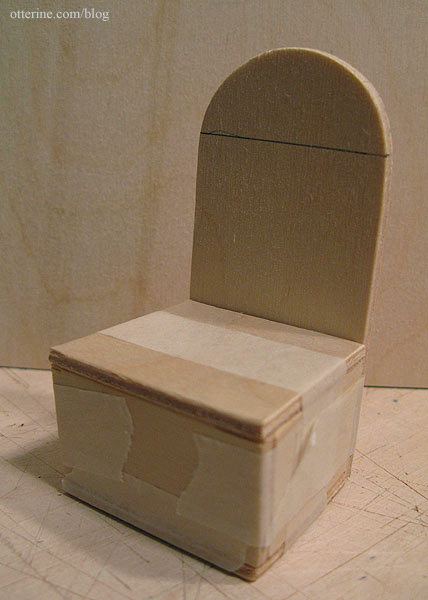
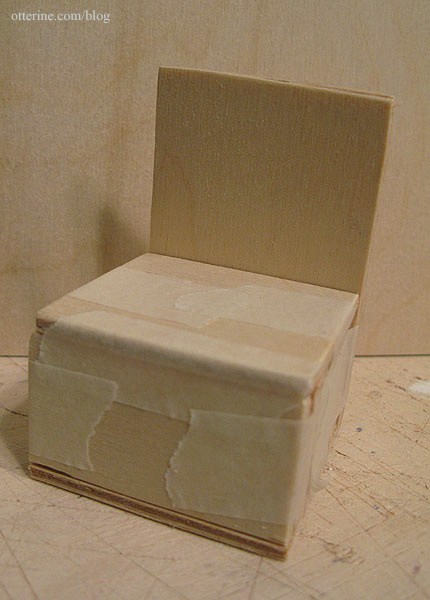
Initially, instead of doing the multiple pleats around the chair, I mimicked the skirting I had done for the sofa to tie the two pieces together.
It turned out okay, but I felt it didn’t have the same polish as the couch. The problem was that the original design took all the extra fabric from pleated skirts into consideration and therefore the seat was cut large. I didn’t cut the seat down when that step came around not thinking about this end result…so my skirts ended up looking too thin for the overall lines of the chair. I didn’t care for the bulge in the middle.
My only real option was to remove the outer trim and the skirts and cut new pieces from the spare fabric included in the kit, because removing the seat assembly to cut it down would have meant tearing the whole thing apart. Not at all tempting.
I still didn’t want the multiple pleats, but I had to assemble one to see how thick it was. Once I had that measurement, I was able to figure out how much thickness I needed to add around the base to make up for the lack of the pleats. I added 1/16″ thick balsa wood around the sides and front.
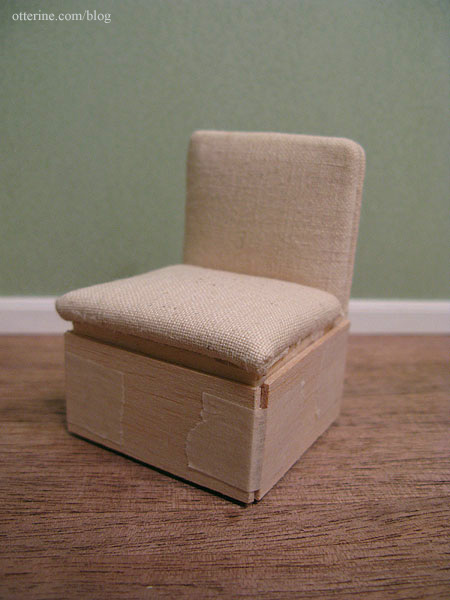
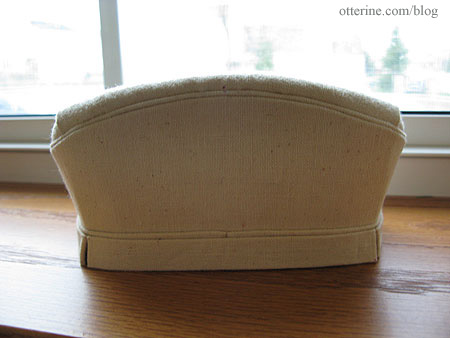
I cut new corner pieces, skirts and the thin finishing trim. I was able to salvage one piece of trim from the first go around, but it was a little short in the back once fully assembled…but we won’t look at the back. I reassembled the skirts and trim and ended up with a much better result.
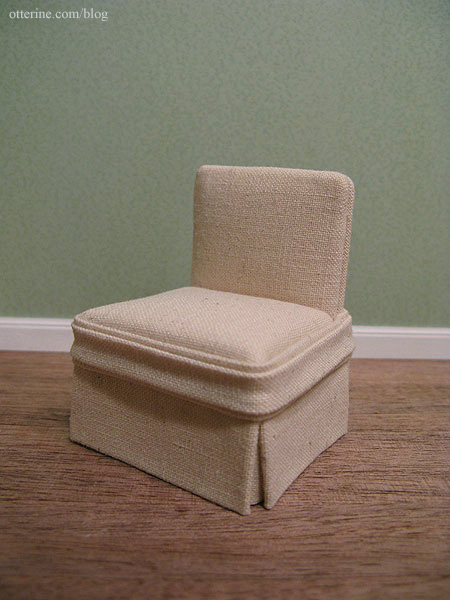
I still like the couch better overall, but the chair fits with the couch nicely enough, I think.
Categories: Baxter Pointe Villa, Furniture
April 10, 2011 | 0 comments
NOTE: All content on otterine.com is copyrighted and may not be reproduced in part or in whole. It takes a lot of time and effort to write and photograph for my blog. Please ask permission before reproducing any of my content. (More on copyright)


