Where there’s a fireplace, there must be a chimney! This is my first time building one of these, and so far it hasn’t been bad, just time-consuming.
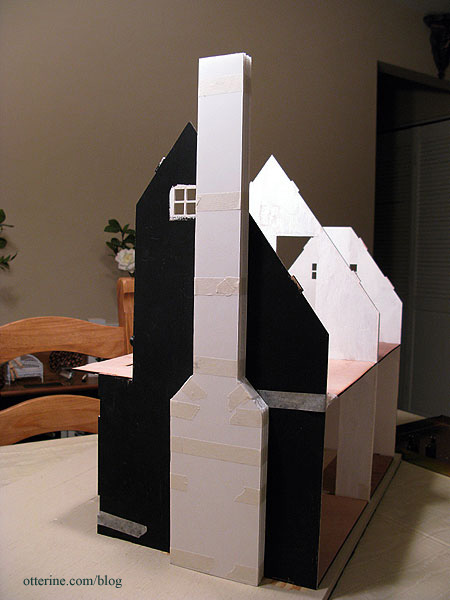
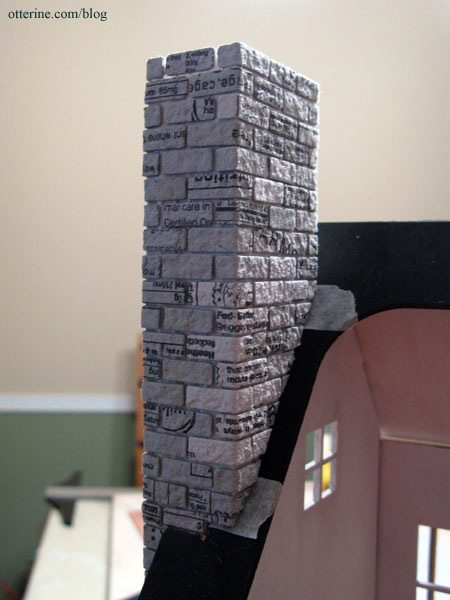
I built the base from foam core board layers glued together and loosely taped to hold the shape while the glue dried. This is actually the second base I built for this project, and the final one. The first one was a bit too narrow and more of a mockup to see how it would look in general.
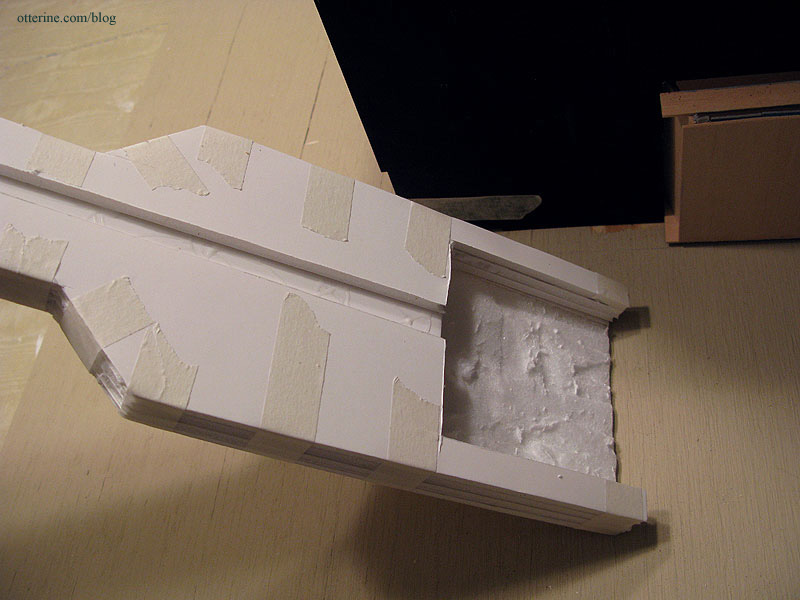
It has a hole built to fit around the firebox. The skinny channel in the middle is to disguise later electrical wiring for the upstairs rooms.
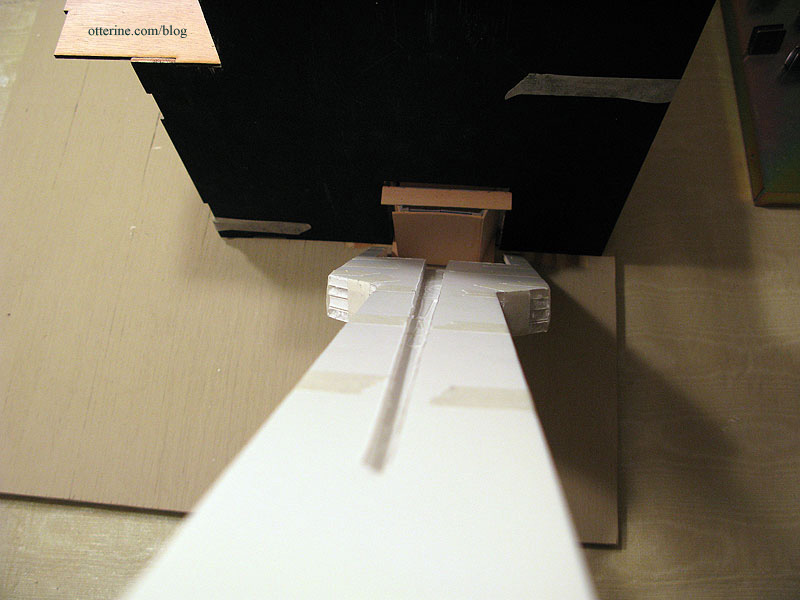
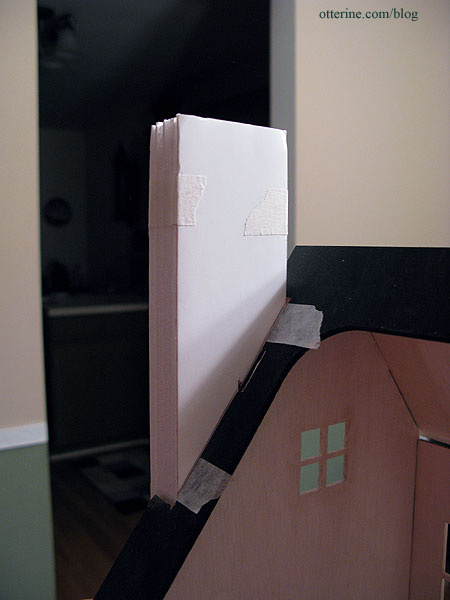
And sits behind it like so.
I’m using egg carton bricks for this as well, though I’ve cut them a tad smaller than I did for the firebox (1/4″ x 11/16″). I actually did some math on the final foam core base before cutting it out so I would have the right dimensions for my bricks. The bottom is equal to six complete miniature bricks across the bottom edge.
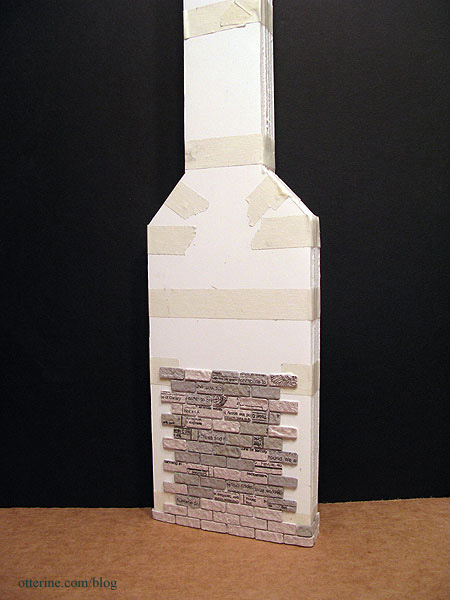
I cut longer egg carton pieces to wrap around the edges to give the appearance of three dimensional brick.
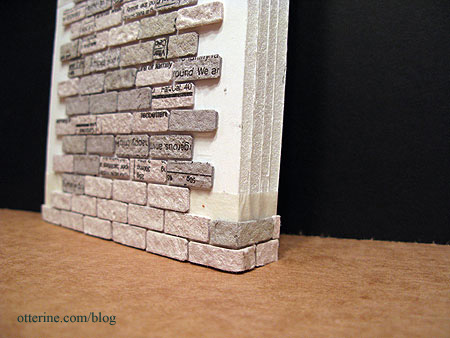
Have I mentioned I love egg carton bricks? :D Yes, they are a lot of work and very time-consuming, but they just give such an awesome result.

I had to cut away the roof to make room for the chimney.
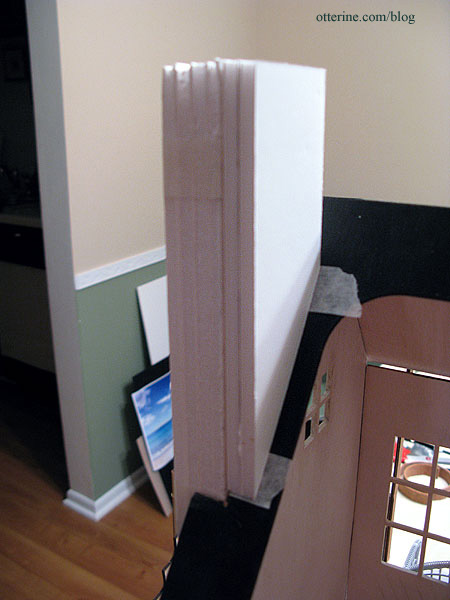
I then cut two additional pieces of foam core board to finish the chimney on top of the roof.
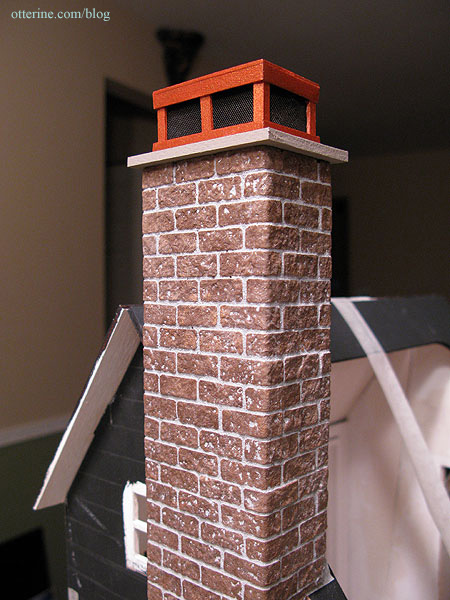
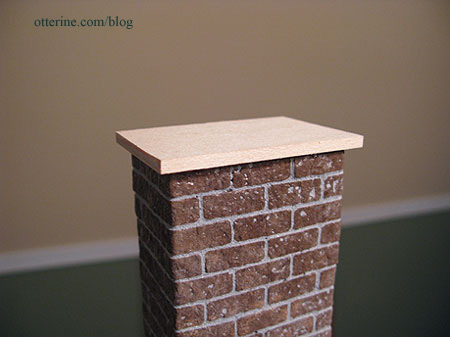
Getting level and complete coverage of bricks around this top section was challenging but so worth it. :]
This next part was later damaged and is no longer part of the build. After the chimney been painted and grouted (I used Mini Mortar), I made a topper.
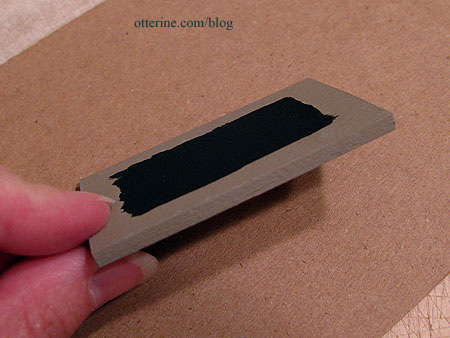
I did a quick google search for chimney toppers and found a fabulous photo from Mountaintop Construction. I decided to emulate the style using wood and aluminum mesh. First, I cut a piece of 1/8″ thick basswood to serve as a base.
I painted it with a mixture of Slate Grey by Americana and Mushroom by Folk Art. I then painted the inner portion black. When looking into the topper, I wanted it to look like there was a chimney opening.
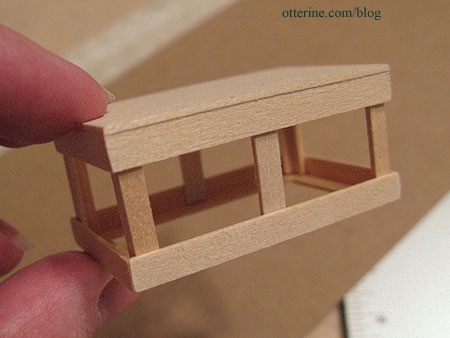
To build the actual topper, I started with 1/8″ and 3/16″ bass wood corner trim.

I used an Easy Cutter to make 45° cuts in the 3/16″ corner trim to form two frames.
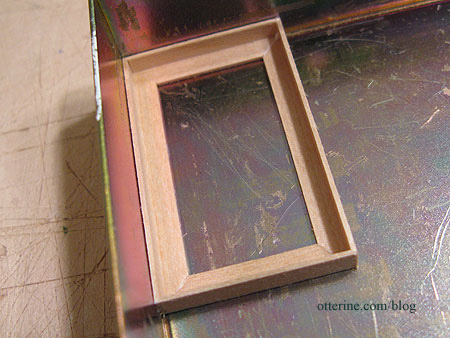
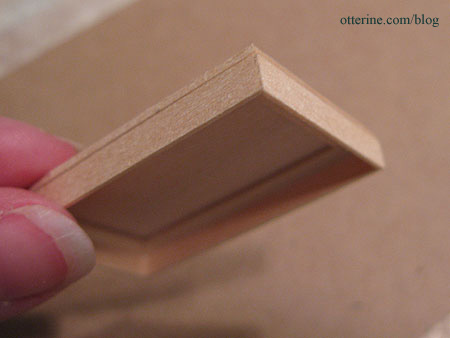
I cut a cover for one of the frames from 1/16″ thick bass wood and glued it on top.
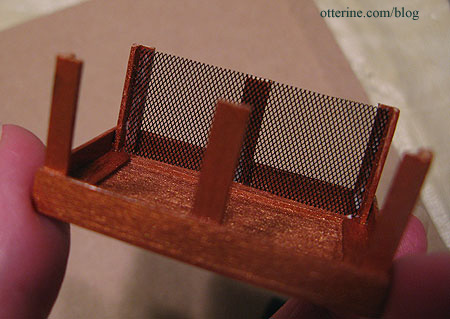
I cut 3/4″ lengths of the 1/8″ corner trim and glued them into the four corners of the frame.
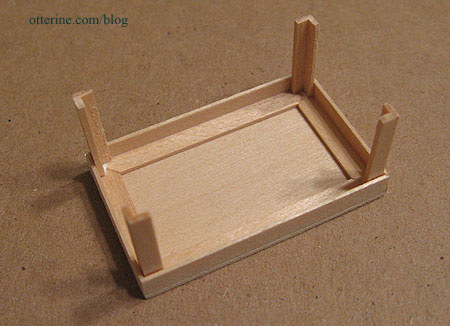
I then added 3/4″ lengths of 1/16″ x 1/8″ strip wood in the center of each side of the frame.
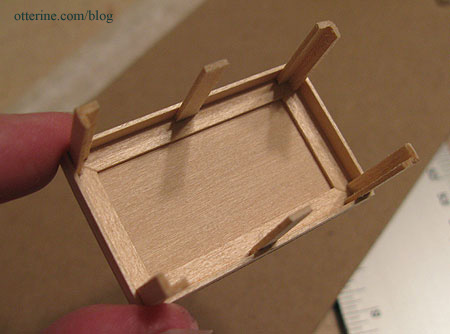
While the glue was still drying, I checked the fit of the bottom frame to make sure the corner pieces were straight and level but did not glue the two assemblies together.
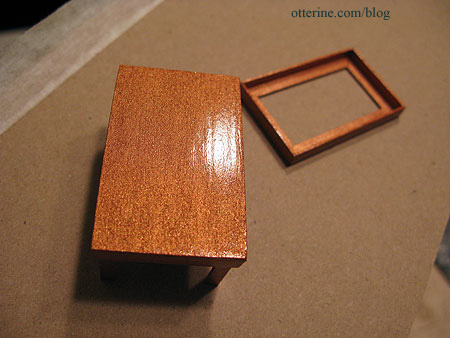
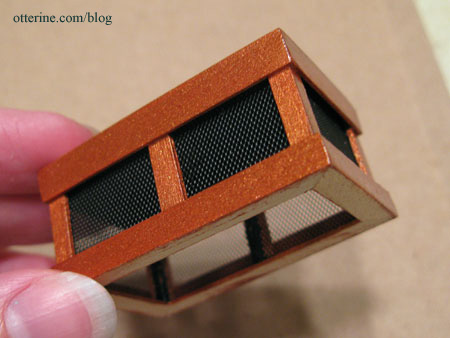
I painted both the upper and lower portions Pure Bronze by Apple Barrel. It was a little glitterageous after the first coat, so I sanded that down before putting on a second coat. Once the paint was dry, I finished it off with three coats of Delta Ceramcoat Gloss Varnish.
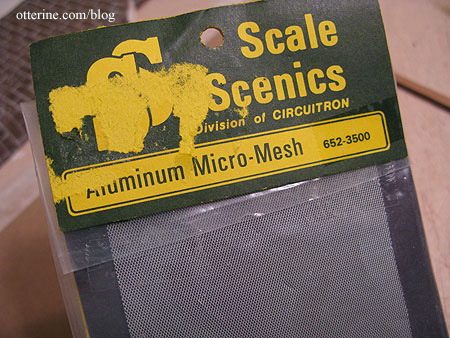
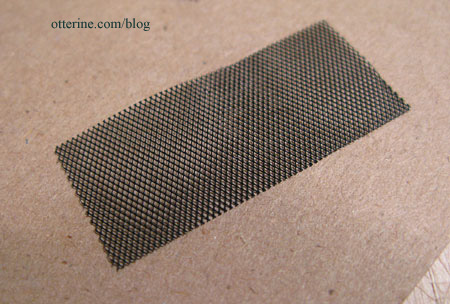
The aluminum mesh I used is by Scale Scenics. It’s old stock I bought at the recent Bishop Show in Chicago. Sometimes it pays to dig through dusty bins of old miscellaneous materials. :]
I cut the pieces of mesh to fit inside the assembly.
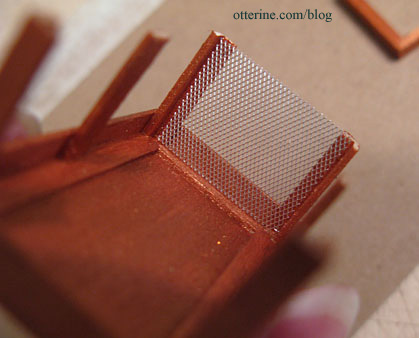
I then spray painted them flat black.
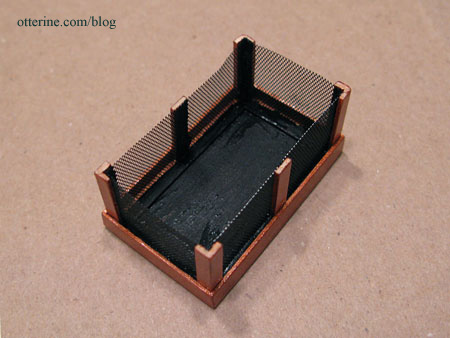
I glued the painted mesh pieces inside the frame at the corners and sides.
Then I painted the inside black.
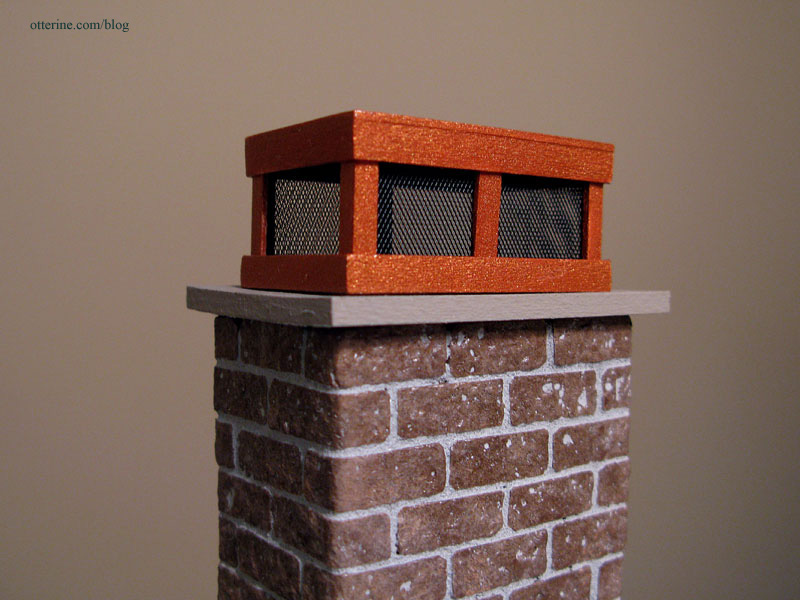
I glued the bottom frame onto the assembly.
And, finally…I glued the topper on top of the chimney. :]