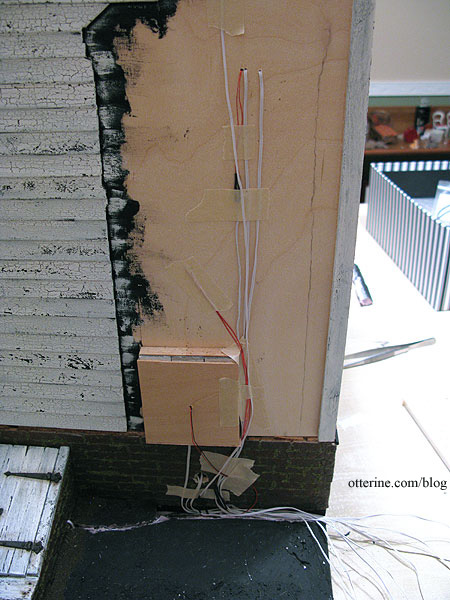
I’ve gotten far enough into the build that I need to start addressing the wires that will eventually be housed in the chimney. I have some wires lengthened and marked with masking tape so I know what is what.
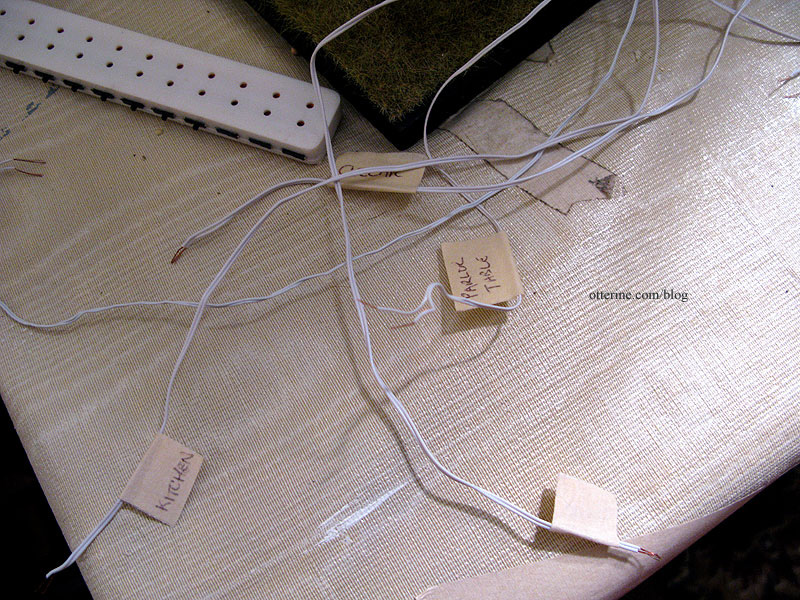
Others are just hanging around, too short, and I need to plug them in to see what happens. Haaaaa! What a mess….
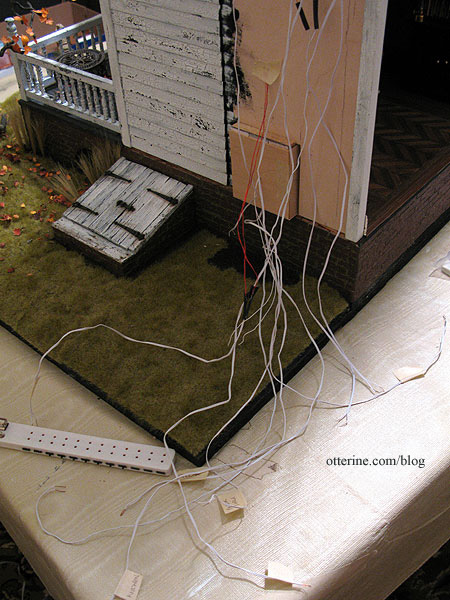
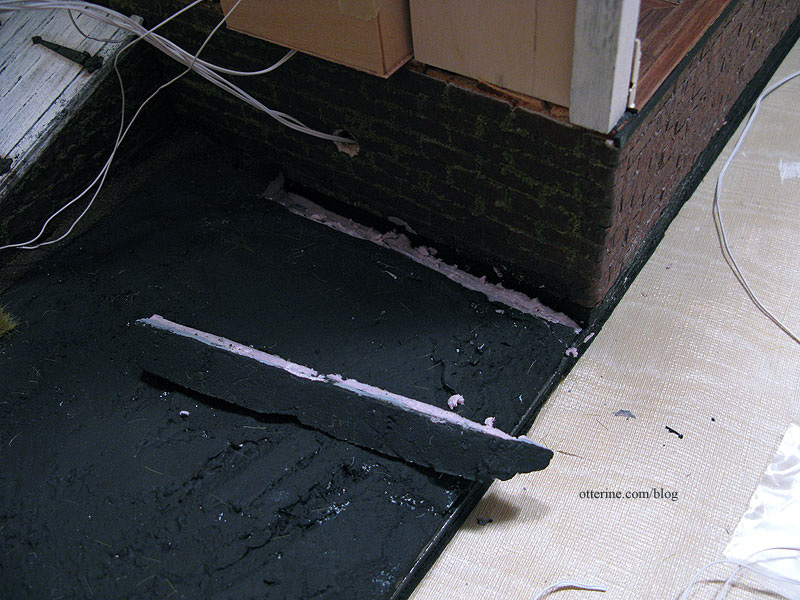
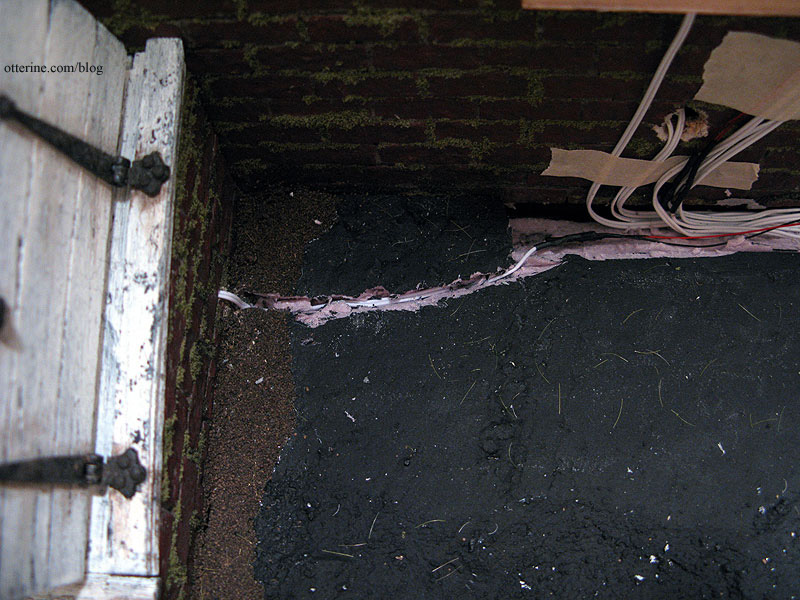
I decided to take some time tonight and remedy that issue. All the wires will come down the wall behind the chimney and that will require a track to the back of the baseboard. I cut the landscaping foam but kept the piece to later plug the channel over the wires.
I use the tiny clear, pre-cut shrink tubes by Cir-Kit when when I need to keep the wire joins thin, usually within a channel inside the walls or floor boards of the building itself.

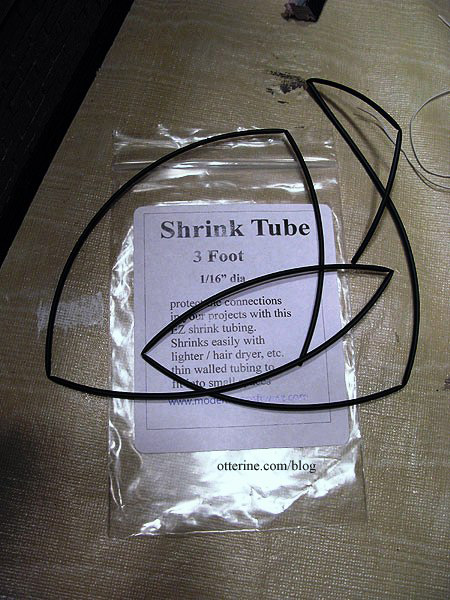
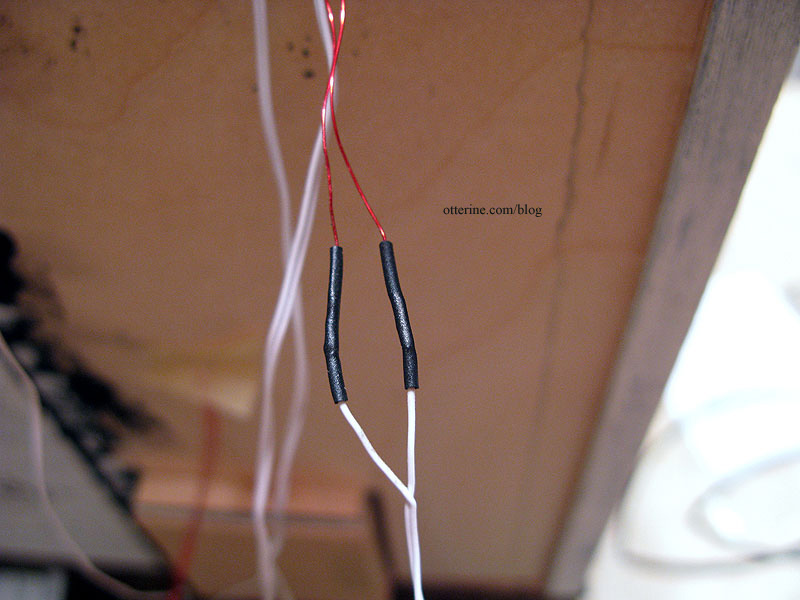
For the wires that join inside the chimney, the thickness of the wire joins doesn’t matter since they will be loose in the flue so I use shrink tubing from Evan Designs instead. This is a length of black tubing you cut yourself.
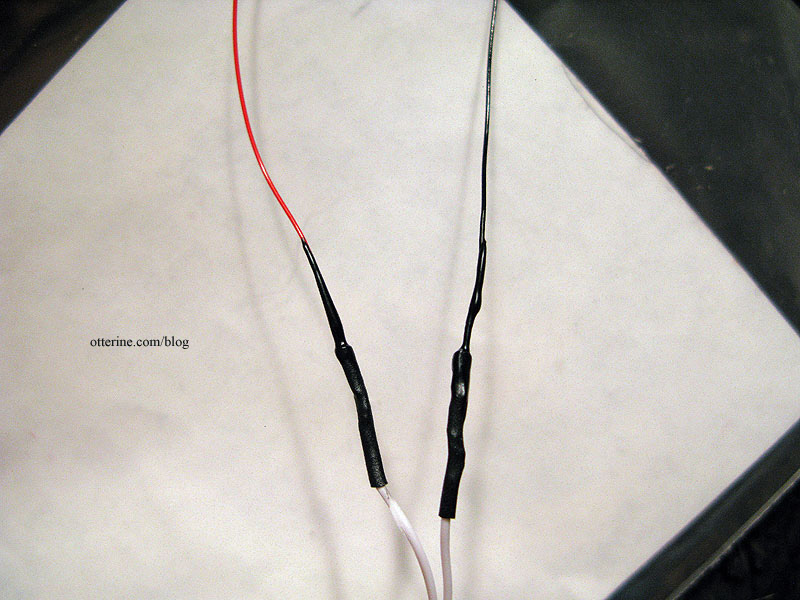
The result is comparable to the clear tubes just slightly thicker. I use a small lighter to shrink the tubing, putting the flame just close enough.
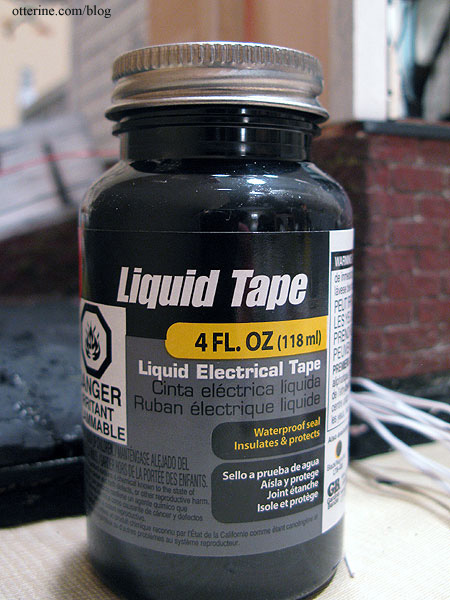
If you get the flame too close, you can use liquid electrical tape. This won’t hold wires together like a shrink tube, but it replaces any lost insulation.
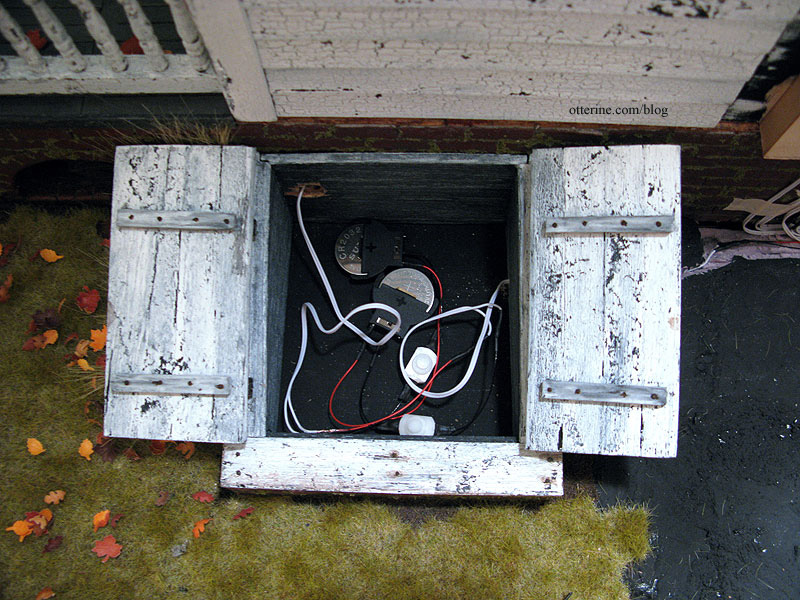
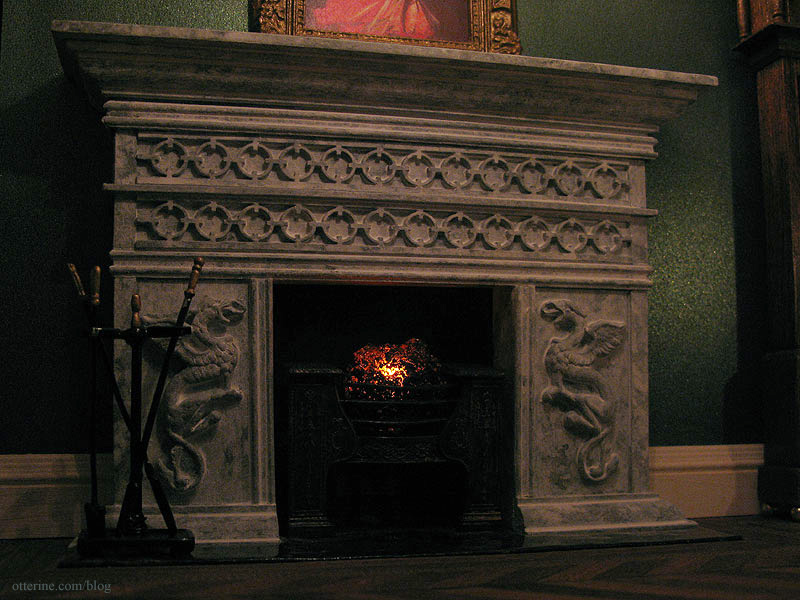
I decided to use a 3V flickering orange LED for the parlor fireplace, the same method used for the jack-o’-lantern on the front porch. I cut a channel in the landscaping foam and then drilled a hole into the cellar doors.
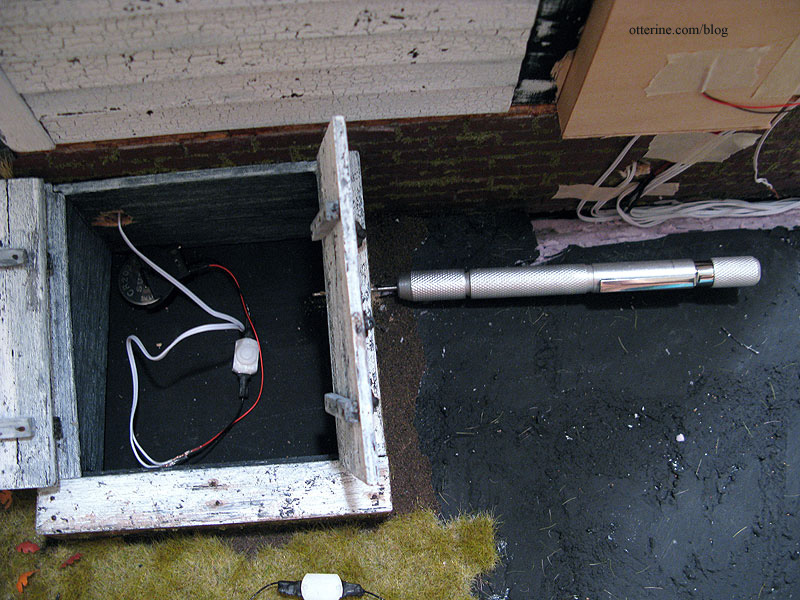
I wired the LED to a 3V battery adapter with a switch.
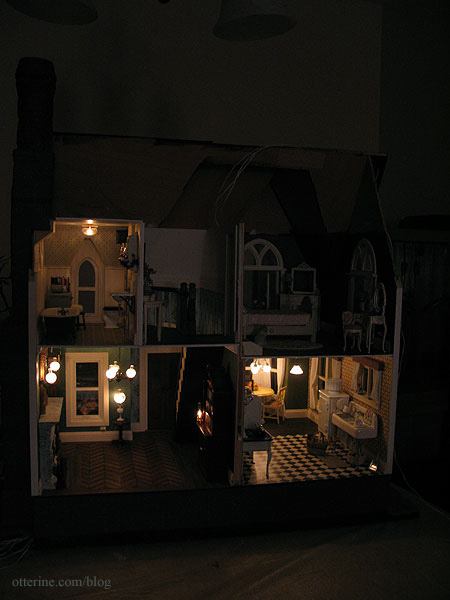
It’s a softer, more realistic light than the static red bulb. I love how spooky the fireplace looks in low light.
I taped the wires in place here and there to keep them tidy. Much better.
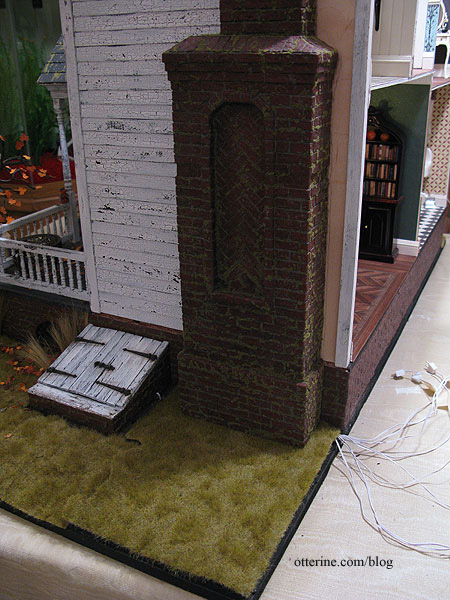
Once the remaining wires are in place, I’ll finish the landscaping and then add the chimney, but you can see the general idea of how it will look in the end. Having the chimney hiding the wires makes the Heritage completion seem like a solid reality.
I even added the plugs at the ends of the wires. I use a 12-switch power strip, and yes, there are more than 12 lights to be plugged in at any given time. My transformer can definitely handle them all on at once, but I am more of a use-them-when-you-need-them type when it comes to lighting anyway. I could certainly add another power strip, but I don’t. And, yes, I know it’s already a bit of an octopus…ah, well, it works for me.
All this work is worth it once you see the soft glow of the light fixtures in place.