Continuing work on the windmill sails. It’s time to figure out the hub and shaft portion for the sails. I’ve developed a hub inspired by the 1:30 scale mill kit by Amati and this windmill build by Penterbak.
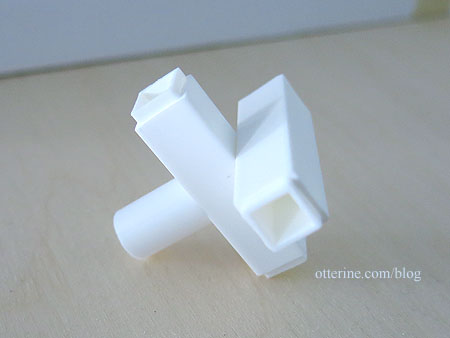
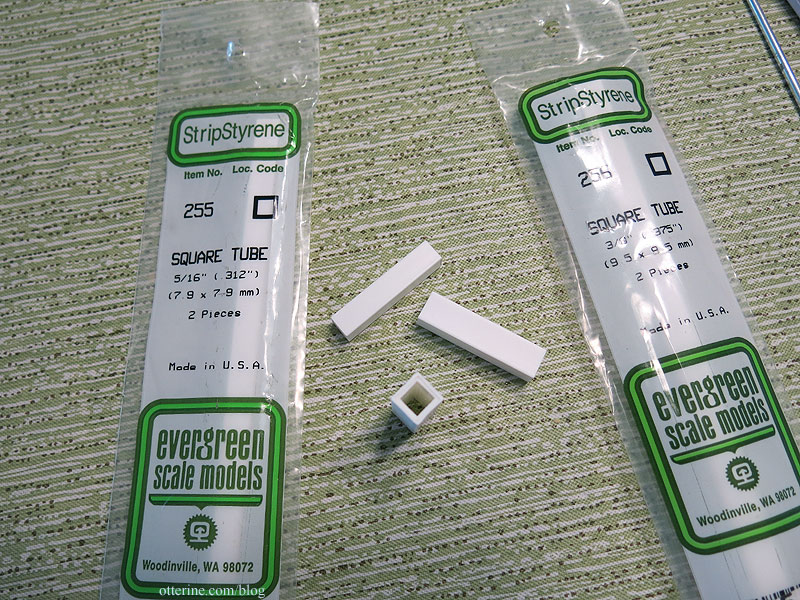
I decided to build my hub from styrene (plastic) instead of wood because I worried about longevity and solidity during operation. I used square tubing from Evergreen, glued in a cross formation using Testors cement.
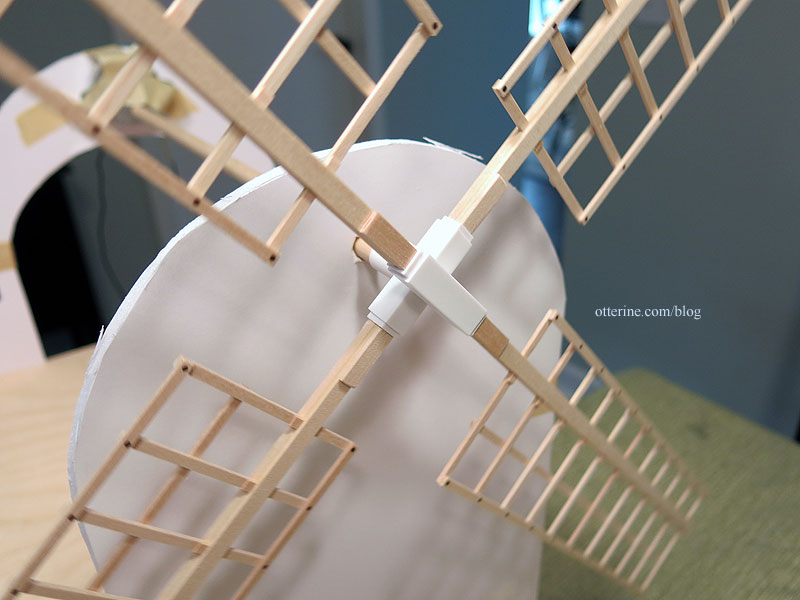
I will likely add further detailing before painting. I’m giving some thought to a few ideas. I cut the excess wood from the ends of the whips. Shims were required to make the whips square where they entered the hub as was sanding to fit, my least favorite phrase in mini making. However, a tight fit in the hub means no glue or pins are required to keep it all in place. If I need to replace anything, just pull it apart at the hub. On the back, I glued a cap cut from round tubing to connect to the shaft. This is the only place it’s a little loose, but I have a couple of ideas for a solution.
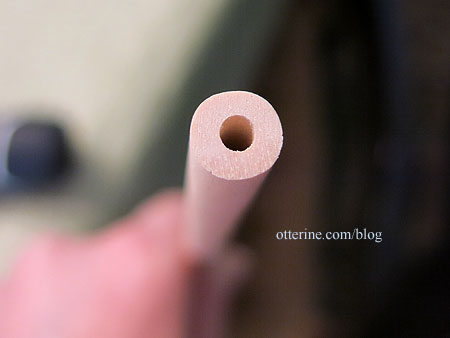
The shaft is a 5/16″ diameter wood dowel with a hole drilled in the center on one end.
The motor has a threaded shaft, so my friend and I went to the hardware store to find a suitable screw to fit.
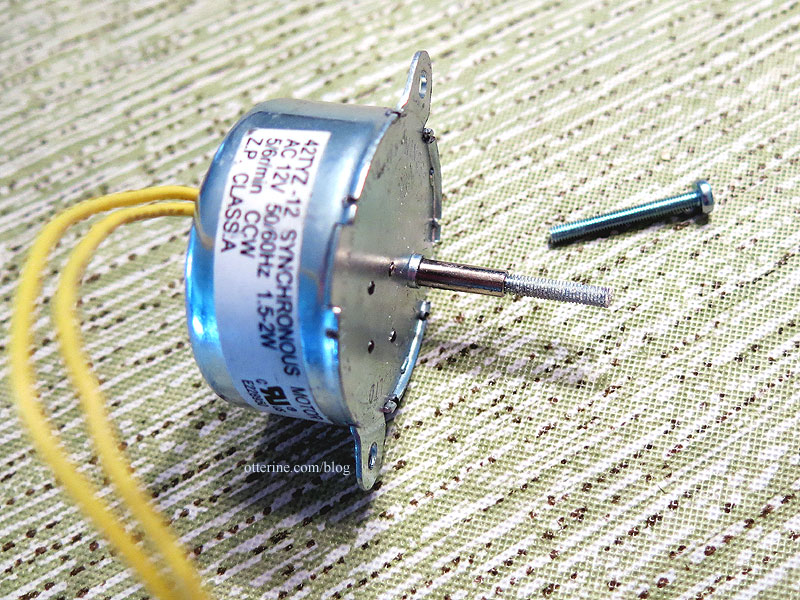
Another friend cut the heads from a few of the screws so I could attach one end to the wood shaft, and now I have a few spares for the future (or for the other motor in my stash).
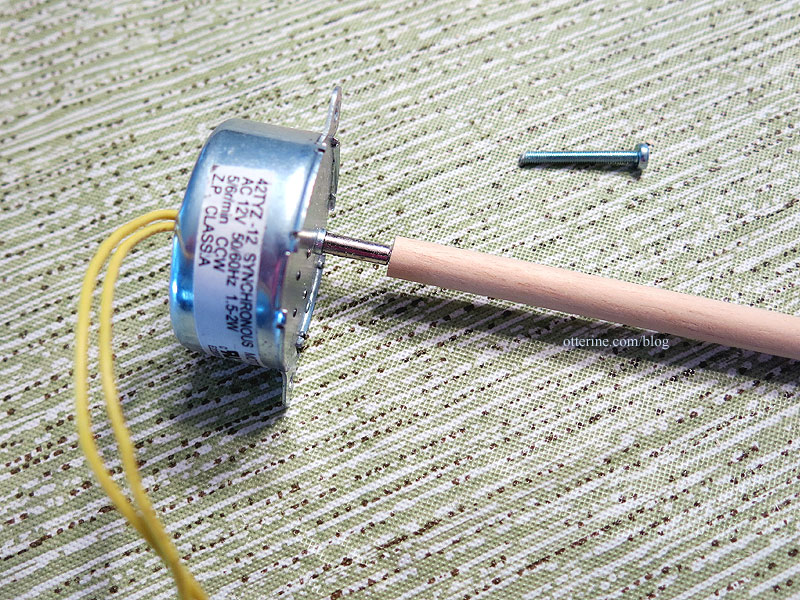
Right now, nothing is glued or taped or pinned, and it works well. I might add a bit of adhesive later as needed, but I do want the parts easy to separate for transport or replacement. Interestingly, the inner portion of the square tubing was angled a bit, so the sails are now tipped slightly. Works in my favor since they are like this in real life. :]


