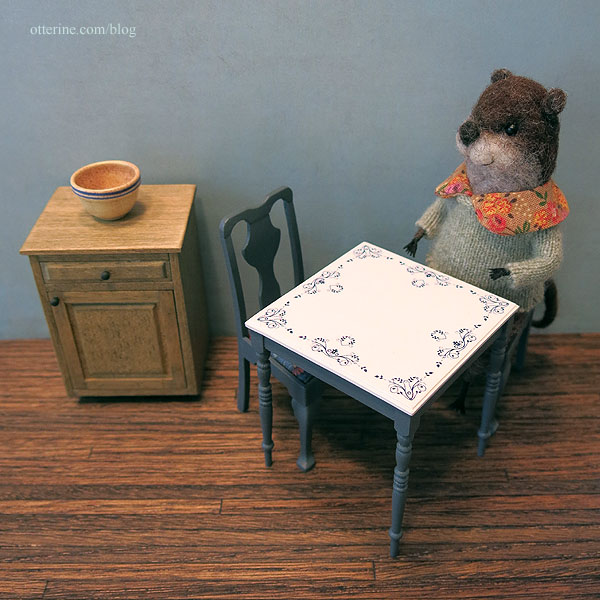
Continuing work on the main room furnishings. Elizabeth suggested measuring the table height with Gustav in the seat, so that’s where I started in determining whether to cut down the table legs. I put the cabinet in the scene as well, since counter height and table height should have a slight difference. With the original legs, the table seems a tad high.
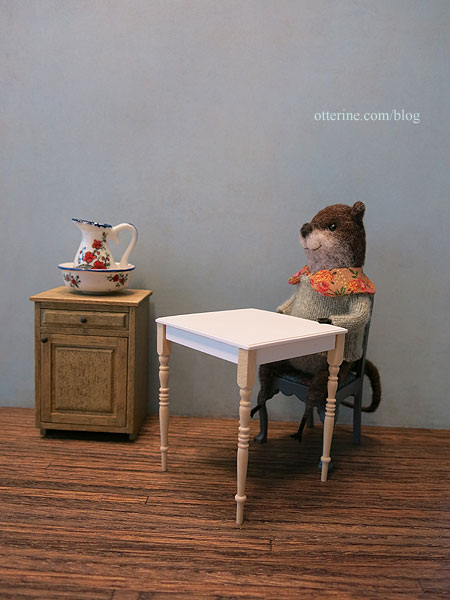
Since you can’t put the wood back on after cutting, I opted to place wood samples under the cabinet and chair to see how a 3/16″ reduction in the table legs would work. It seems a better proportion, and a modest 3/16″ reduction at the top of the legs would mean the table keeps its appealing tall, skinny profile for the most part.
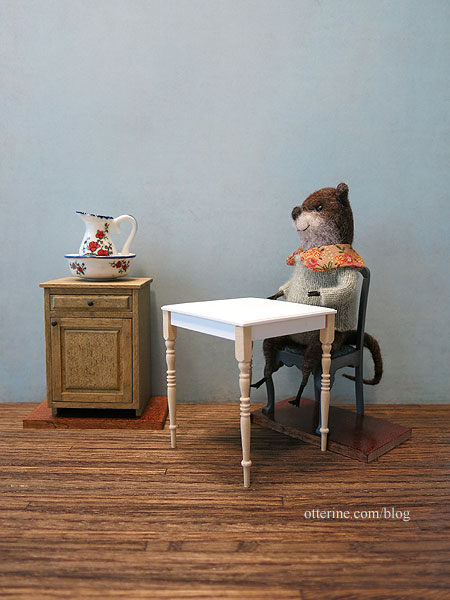
I needed to prep the table for whatever process I ended up using for the enamel tabletop design, which is likely to be delicate once applied. The less I have to handle the table after, the better. I started by wet sanding the top and discovered this is a very porous material, almost like cast plaster. I primed the entire piece with white craft paint and tidied up the glue spots from the manufacturer. The primer showed the flaws and air holes, so I filled and filed before giving it another coat of white.
I masked and painted the apron with Zinc by Americana to coordinate with the chairs. I cut and painted the table legs, too, but left them separate so I could work on the tabletop without fear of breaking the legs.
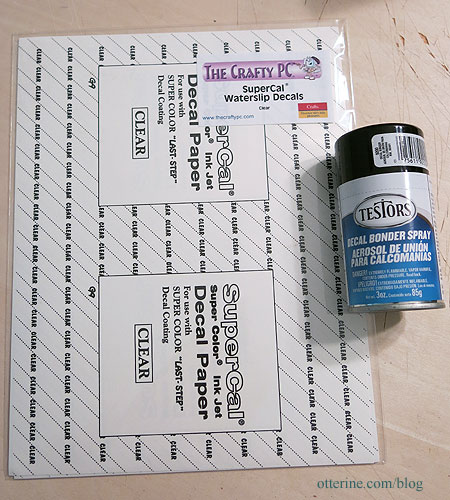
Time for the enamel tabletop. The material I opted for was water slip decal, using Testors Decal Bonding spray since I had that on hand.
Because my design is so small, my intent was to cover the entire table with the film since there would be no way to cut around the tiny details. This should provide a uniform surface without a halo around the border design. It’s not easy to place a large decal. You have to give it a little more time in the bowl to loosen from the backing paper. Here it is on foam core board. It has a lovely gloss sheen on its own, but I wasn’t sure how delicate it would be without sealing. I opted for Testors Gloss Lacquer Overcoat since it had worked so well evening out over the Model T paint. Overall, the test sample was a success.
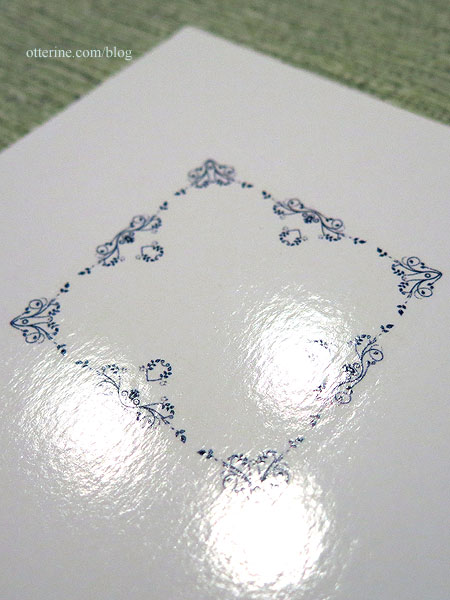
I then moved on to the final table.
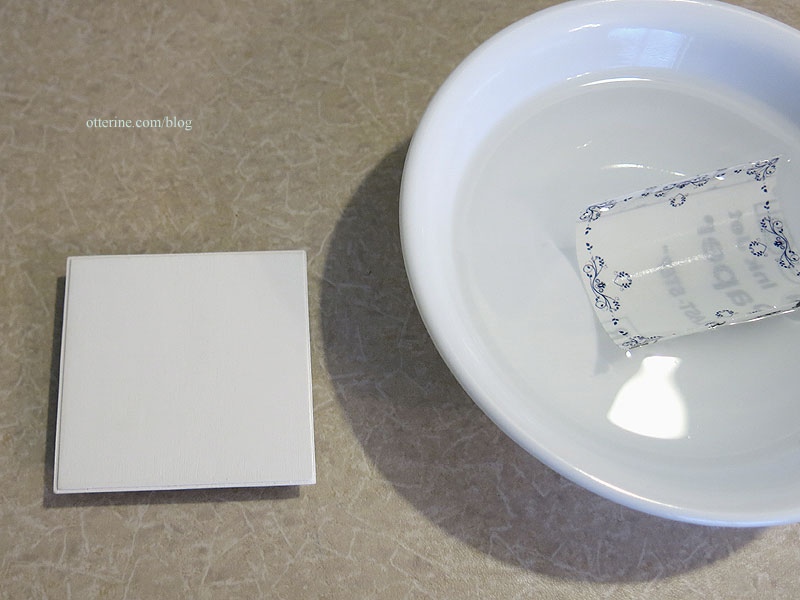
I probably should have sanded the surface more beforehand, but it was too late. Even after the gloss sealer, the cross-hatch painting imperfections showed through. I guess it’s just an old, well-loved tabletop. I always trust the happy accidents, and the surface is not very noticeable in photographs unless you try to capture it.
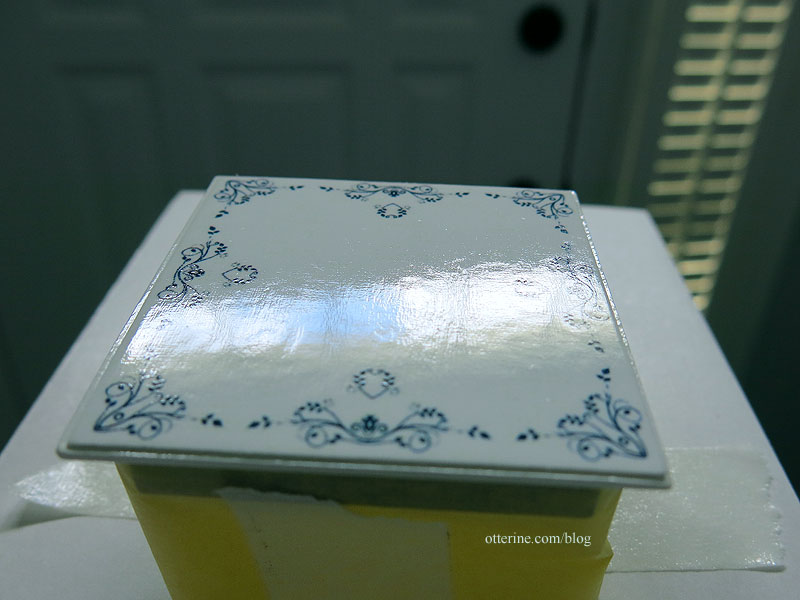
I glued the legs on with white glue supplemented with super glue gel so they would grab fast but remain movable for a few minutes. Once dry, I touched up the paint between the apron and the legs then tried out the final table with the chairs and Gustav. I think we have a winner! :D
