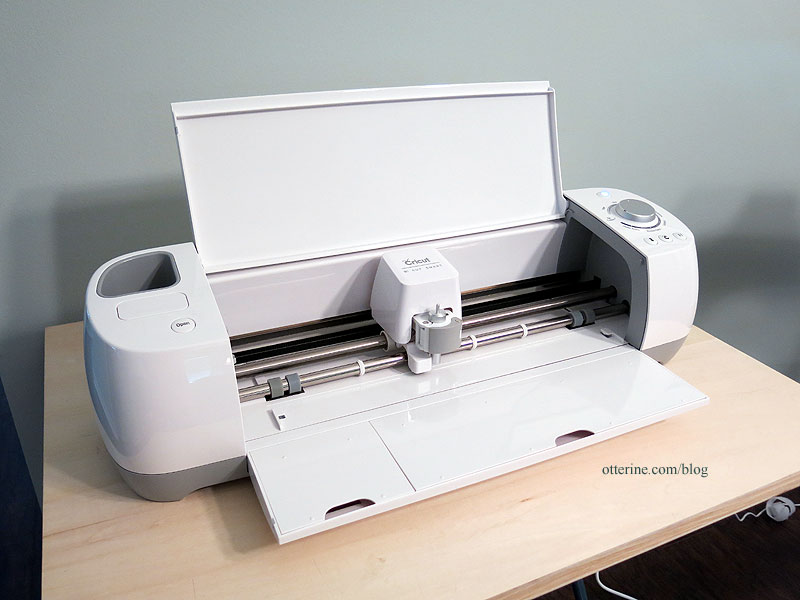
I’ve taken the plunge and purchased a crafting machine. :] I opted for the Cricut Explore One. (I’ve since upgraded to a Cricut Maker.)
I fired it up today to help cut some consistent 5/8″ wide cardboard strips.
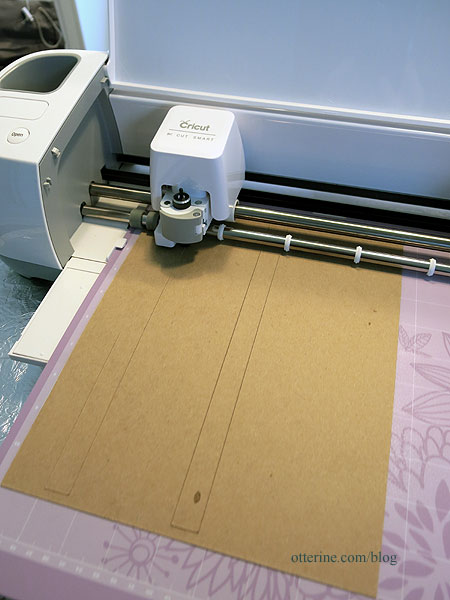
So much faster and easier than measuring and cutting by hand. Plus, no variation in widths. :]

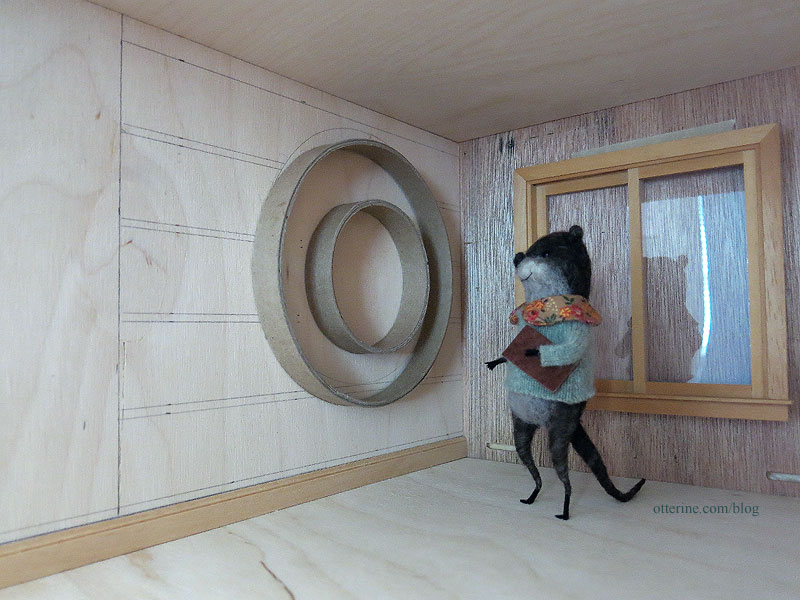
What did I need all these strips of cardboard for? To make the starting base for a circular bookshelf. I moved the circles down and over after my first dry run, so my lines are a little off. I’ve marked tall shelves so I can make large books, which take up more room and will require me to make fewer of them. There will also be room for knickknacks. Gustav seems to approve.
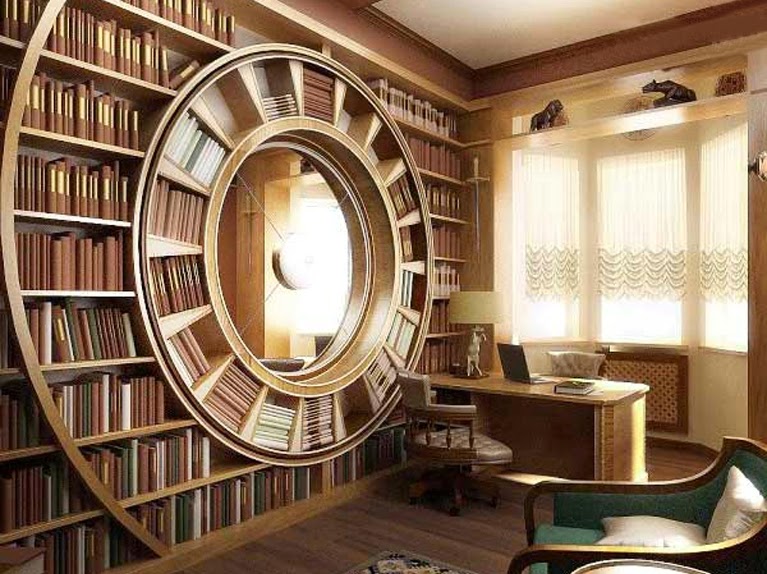
Here’s my inspiration photo (no discernible source, unfortunately). While I can’t put in a bay window due to the rotating sails, I can put in a regular window to let in more light and a spring breeze.
I added more cardboard around the circle supports to increase the depth to 3/4″ since I determined my 5/8″ depth was too narrow for the books I’ve been making. I was able to use the existing supports since they were shallower than the new depth and will be fully enclosed by the new outer strips. I then covered the cardboard with peel and stick wood that I had leftover from the Model T Van build. I used additional adhesive just to make sure the bonds will hold over time.
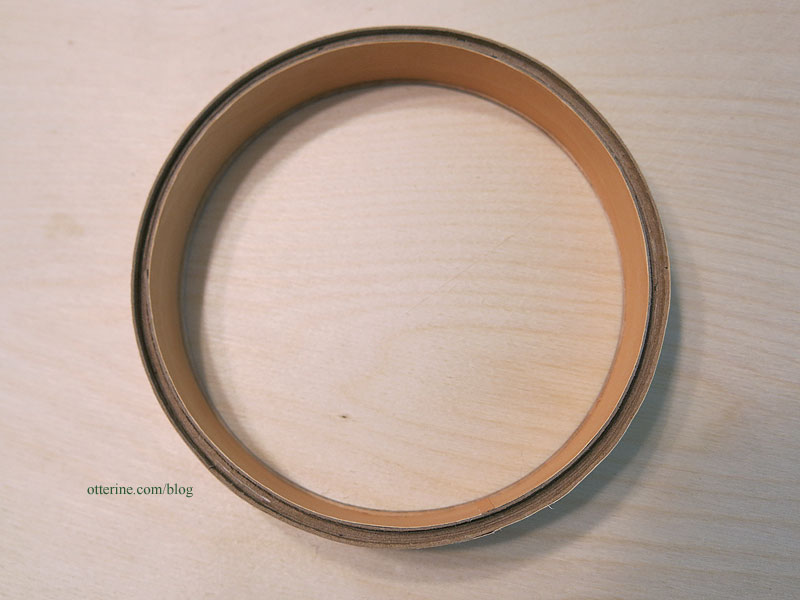
I put the joins at the bottom, covering the upper one that will be seen with a piece of peel and stick wood.
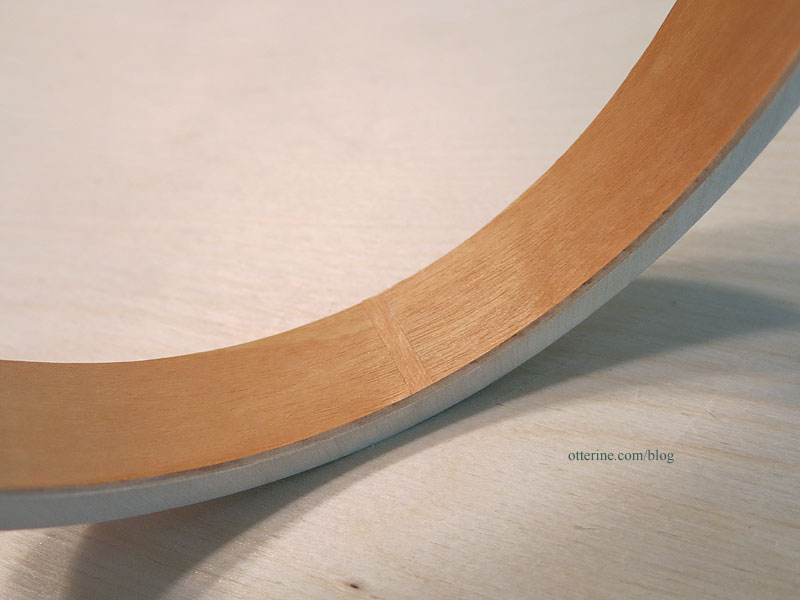
Cyd helped me out by cutting laser cut circles for finishing. I sanded away the charred edges and then glued it to the support structure.
My supports are not uniform circles, so the laser cut trims help disguise any imperfections.
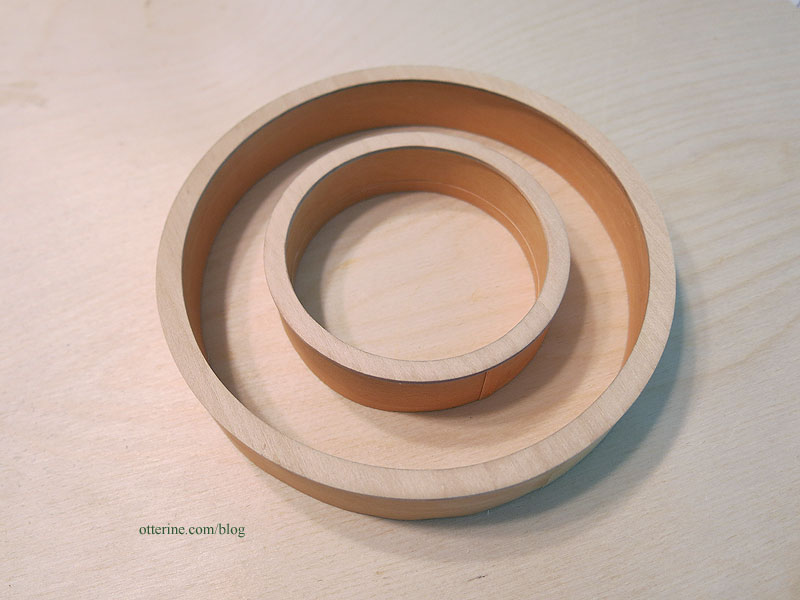
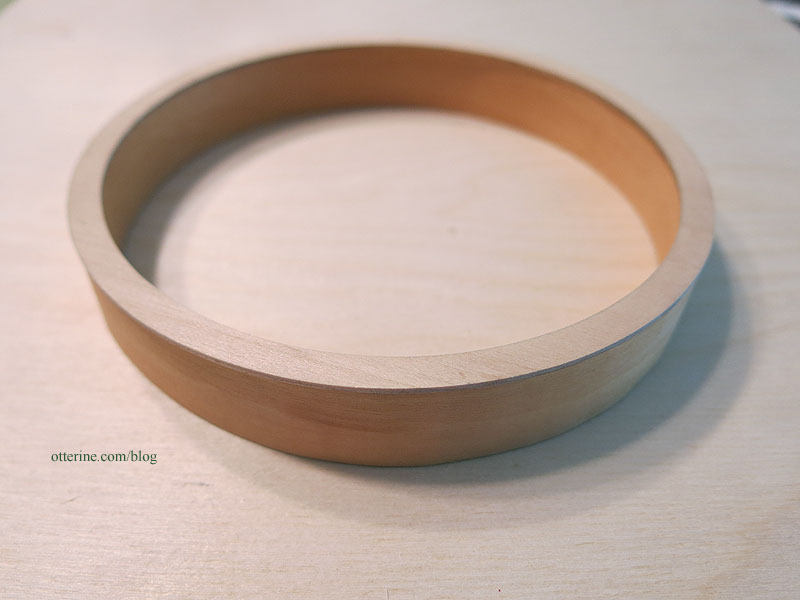
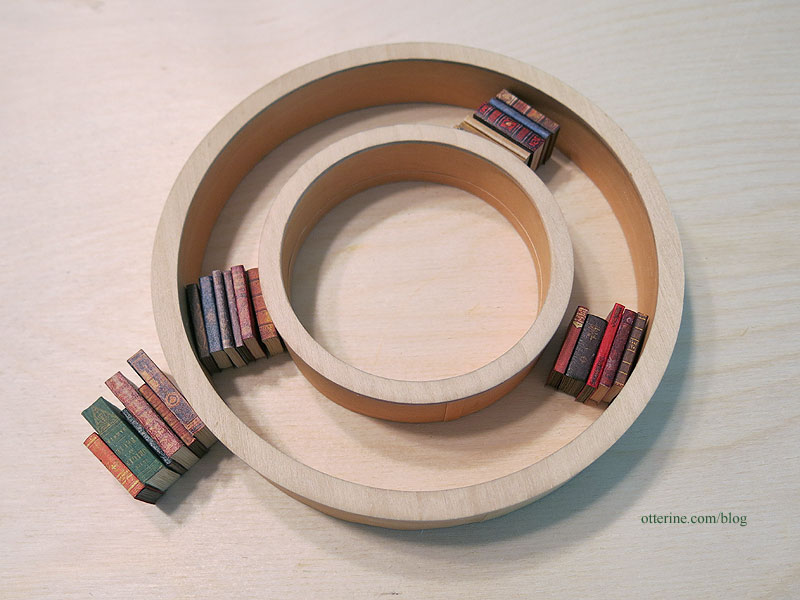
Books will help, too. :]
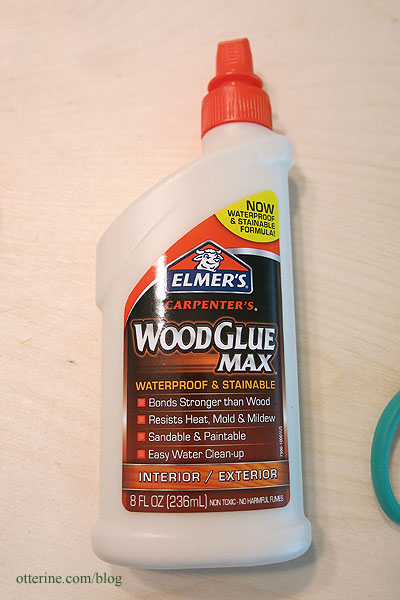
I know I’ve gotten glue on the wood, but I was smarter later and used Elmer’s wood glue that’s supposed to be stainable. We’ll see.