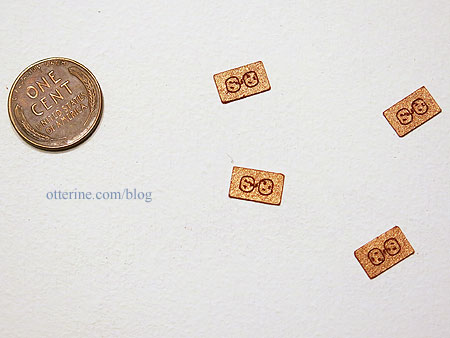
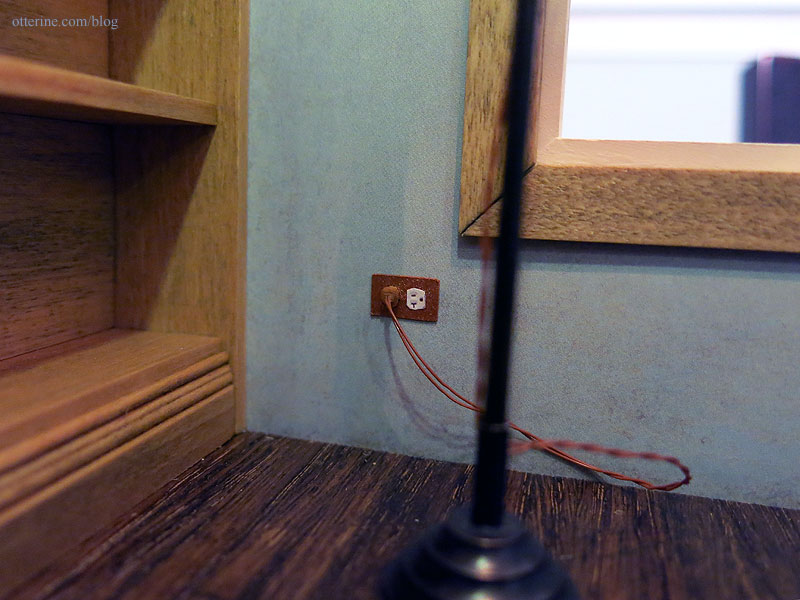
The Ray Storey floor lamp wire runs on the outside, up to the bedroom wall channel. I had made the channels for the wires previously. To install the floor lamp, I made one of my usual faux wall outlets from copper card stock. I have only one more lamp requiring an outlet, but I made four to have matching decorative outlets as well.
I finished the wire with a false plug, added a receptacle cut from stickers, and ran the wire up the outside.
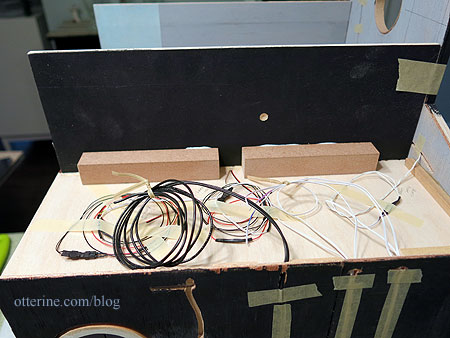
I glued the ceiling board in place. To help with stability, I added strip wood on the upper floor where the wiring space will be.
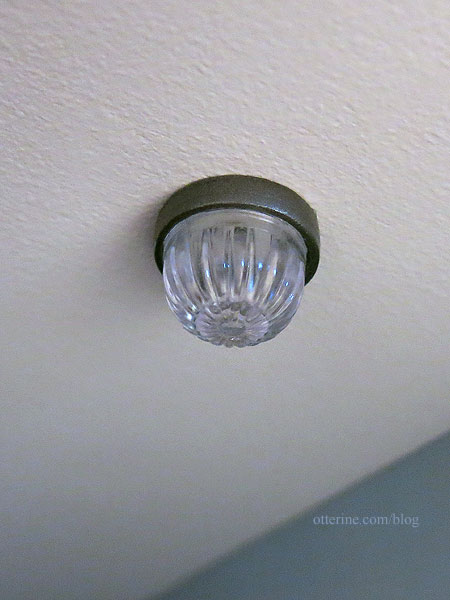
I installed the two ceiling lamps from the first floor and ran the wires into the attic space. These are new old stock ceiling light kits by Illinois Hobbycraft. I spray painted the metal rings Krylon Antique Bronze.
Since I put the wallpaper in prior to putting in the ceiling board, I needed some small crown molding to finish the upper edges. I stained this Minwax Driftwood to coordinate with the other finishes.

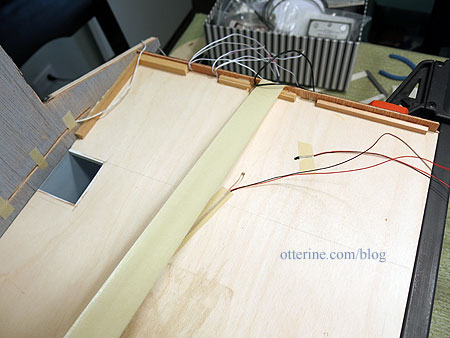
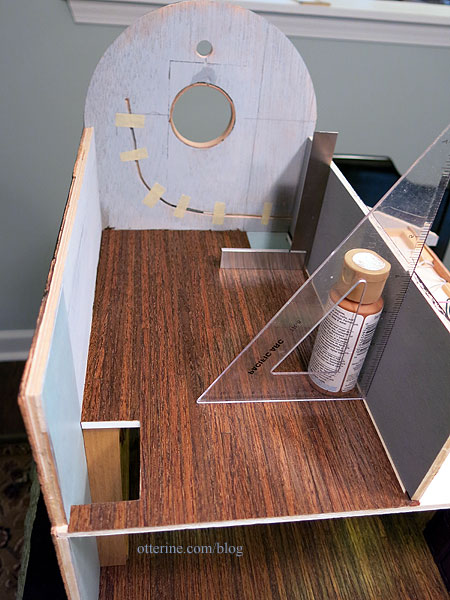
I checked the fit of the upper flooring and cut the holes for the two openings before gluing it in place. I had previously stained the red oak flooring with Minwax Dark Walnut, sealing with two coats of Delta Ceramcoat Matte Varnish. Next up was installing the small side wall to complete the bedroom space.
Here you can see the wiring from the floor lamp running through the bedroom channel. I put a few small pieces of tape over the interior wiring channel to make a pocket for the wires while still allowing for movement. The bedroom sconce wires still need to be added to this channel. A whole strip of tape would stick to the wires too much and make it difficult to pull them through.
I stabilized the wall with pieces of mdf. As you can see, the attic space will provide good access to the wiring.