
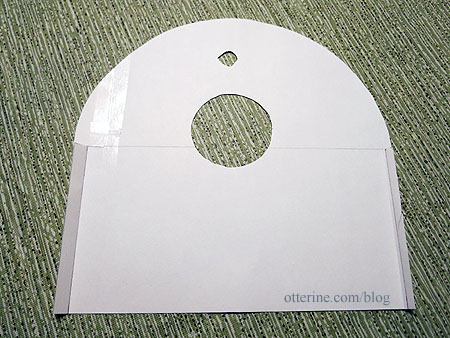
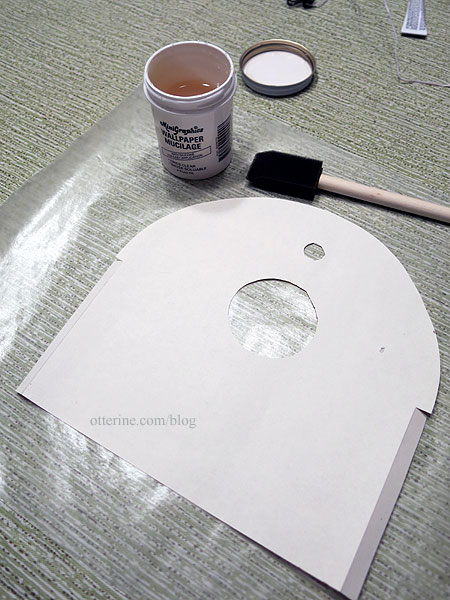
I lucked out with a great find at the recent Wee “c” Miniatures Show 2017 – a vintage paper from Mini Graphics called Gallery Flower. Since it came rolled, I pressed it flat on the table for a couple weeks before using. I had traced the wall outlines before assembly, so these helped me make paper templates to check the fit before cutting the final paper.
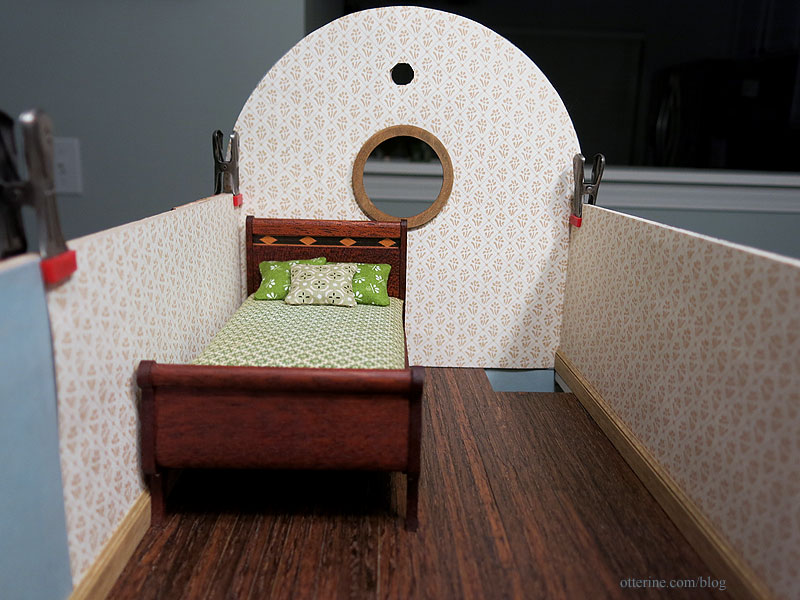
There were only two sheets of the paper in the roll, so I had to be careful with my cuts. I was able to get the three pieces needed to cover the bedroom from one sheet, leaving a couple of small scraps and one full sheet in case of disaster during installation. The light paper color will help keep the room from becoming a dungeon once the roof is on.
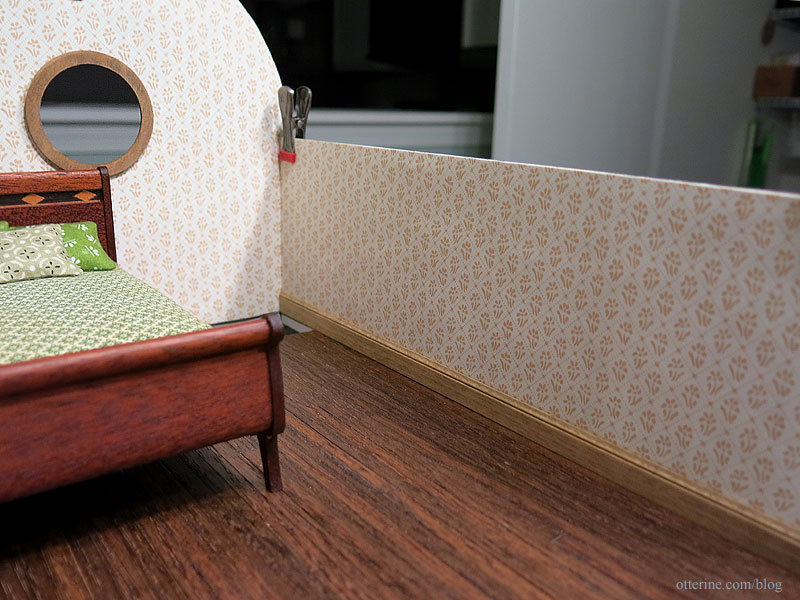
The upper floor will have stained baseboards, so I propped them in place to check the color and fit. They are lighter than the flooring but don’t clash since the paper is light.
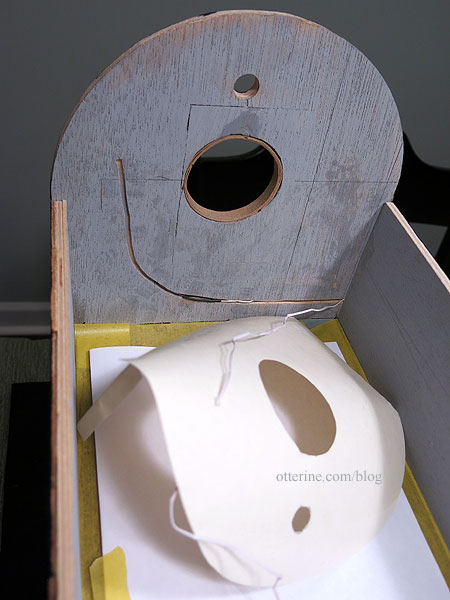
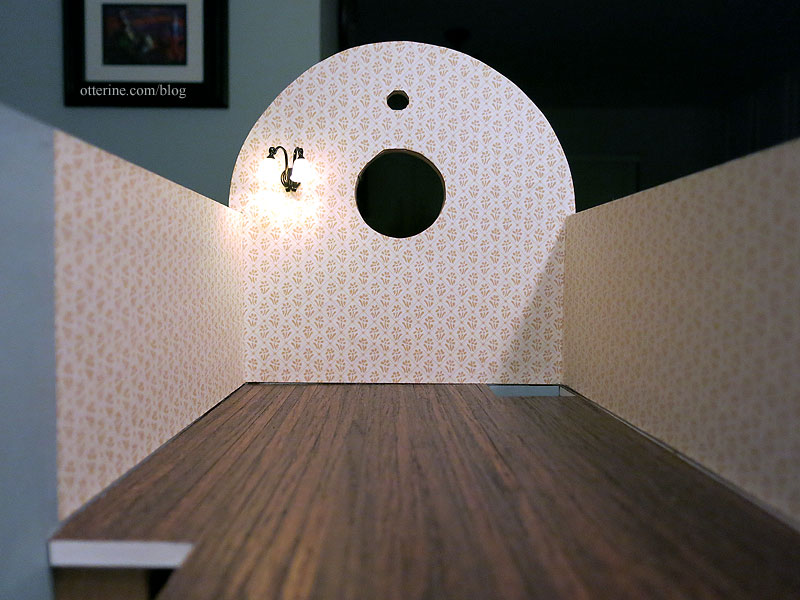
Time to install the wall sconce in the upper bedroom while wallpapering — it will make sense in a minute. I had made the channels for the wires previously. The sconce wires will not be poked through the wall to the exterior but instead will run on the interior wall to the open attic space. The downstairs floor lamp wire runs on the outside, up to the bedroom wall channel. I put a small piece of tape over the interior channel to help hold the wires while still allowing for movement. A whole strip of tape would stick to the wires too much and make it difficult to pull them through. This will matter more for the next step than it did for the floor lamp. I masked the floor prior to working as well to prevent glue mishaps.
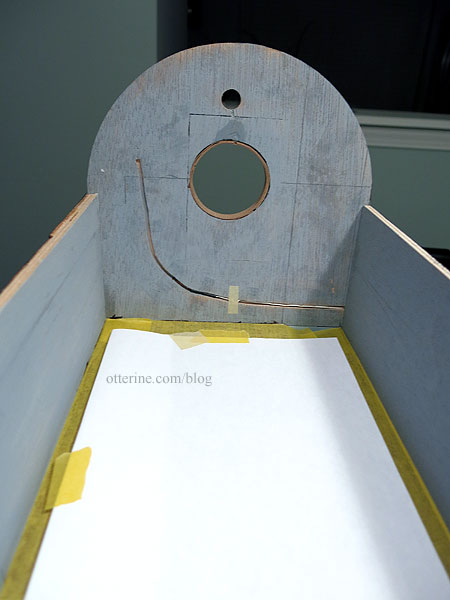
The bedroom sconce wires run through this curved channel, which will be covered by wallpaper. I had to get the sconce attached to the wallpaper, paste the wallpaper in place, and run the wires into the channel all in one step. I marked where the sconce channel began behind the wallpaper. I poked a hole in the wallpaper and fed the wires through, leaving the sconce loose. (My small tape piece isn’t shown here since this was my dry fit trial.)
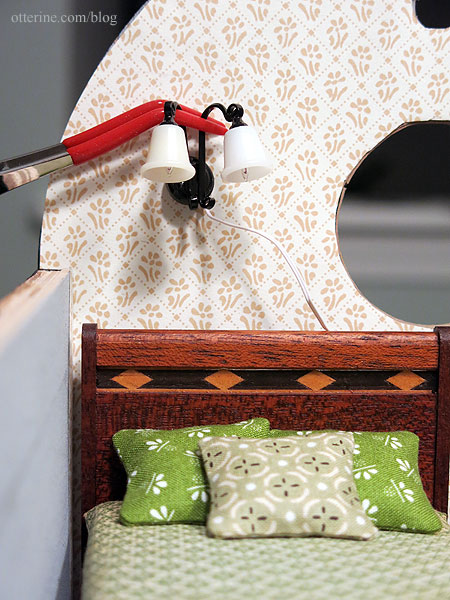
Of course, I first double checked the height. :]
I then applied Wallpaper Mucilage to the paper.
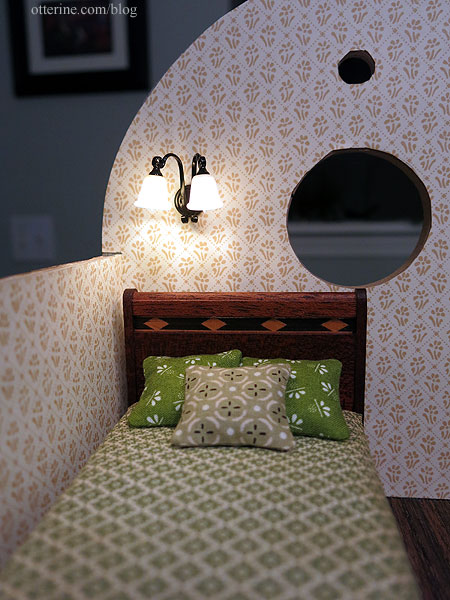
I fed the wires behind the tape and through the channel. Using my third and fourth hands (bahahahaha), I pressed the wallpaper down while pulling the wire through the channel, pausing for a second to apply some glue to the back of the sconce so it would remain in place once the wires were pulled taut. I then smoothed, straightened and stopped swearing. ;D Here you can see the side tabs that soften the joins in the corners.
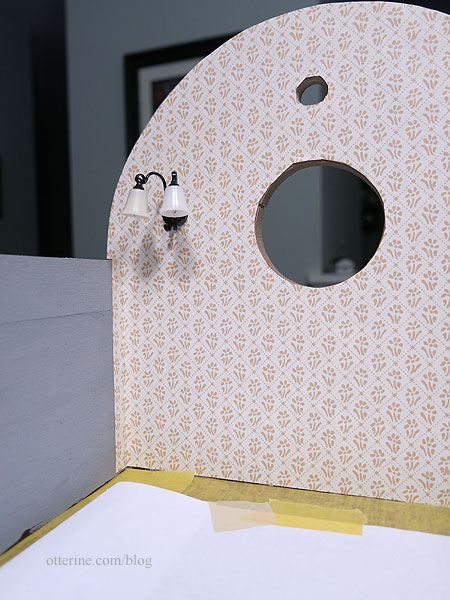
The two side pieces of wallpaper were much easier to install. I applied the paste to the paper and then eased them in place, overlapping the tabs from the front wall. I taped the tail end of the wires in the open attic space then used my color-coded wires to electrify and label the sconce.
The upper room will have baseboard trim and a table lamp, but I need to address the dumbwaiter gate and ladder railings first. So, that’s a wrap for today.
Update: this thin paper ended up buckling, even using the mucilage. I will line the replacement paper with a backing material and redo the application.


