I found these two kits at a local hobby store that was having a moving sale. The fabric seemed a bit rough for scale, though the finished photos on the kits looked wonderful.
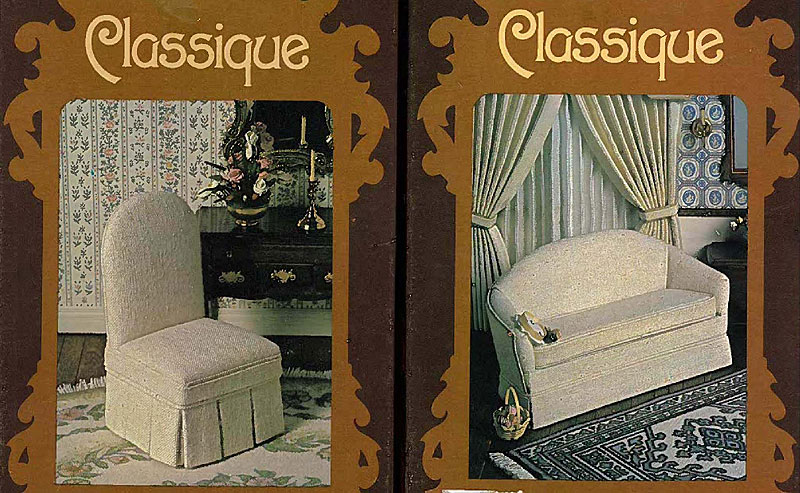
I had some ivory muslin in my fabric stash that seemed softer, but I stuck with the original fabric in the end and was glad I did. :D
My general impression was these kits are very thorough and have excellent detailed instructions, though there were parts that had no illustrations when you could have used some. I chose to make a photocopy of the pattern pieces before cutting them just in case I had to start over with my muslin fabric. I also copied the figure drawings so I didn’t have to keep flipping the paper over between the instructions and the drawings, which happened to be on opposite sides from one another.
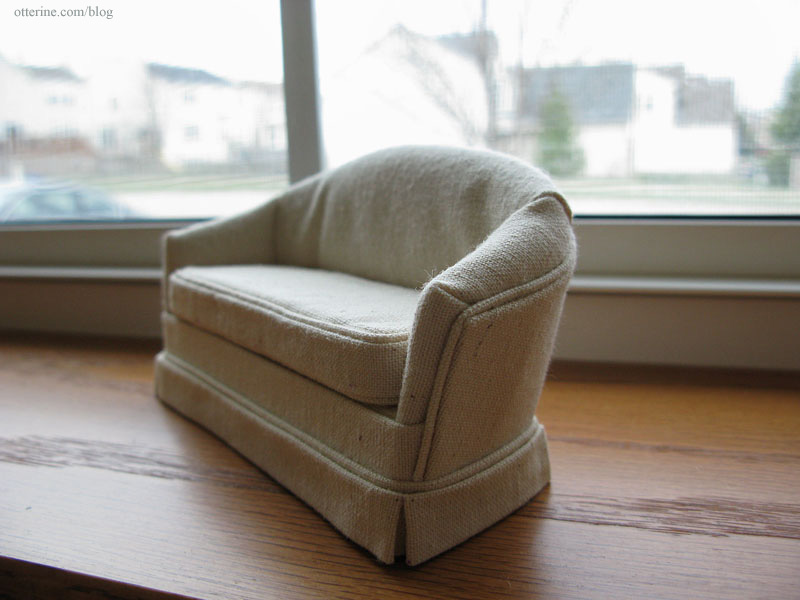
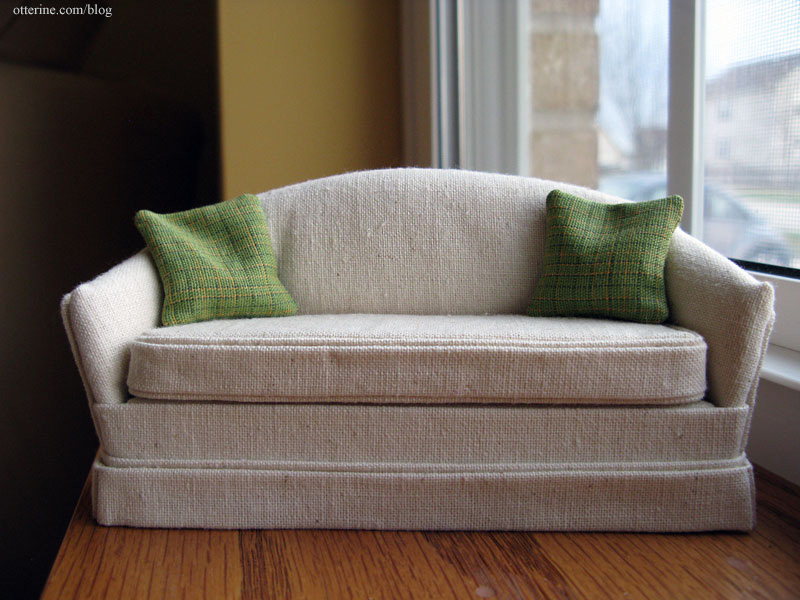
I tackled the couch first, and it went well from the start. Since the kit was old, the foam had yellowed significantly, so I lined the sides and front of the couch with natural muslin before adding the finished fabric. I didn’t want to take the chance that the yellow would show through once the couch was complete.
The most challenging part was creating the welting, or cording, but it’s the one element that really adds to the realism of the piece. Real life sized upholstered furniture has this detailing and it was worth the frustration and effort to get it to work.
All in all, the couch took me the better part of a day to put together, so I haven’t gotten to the chair just yet.
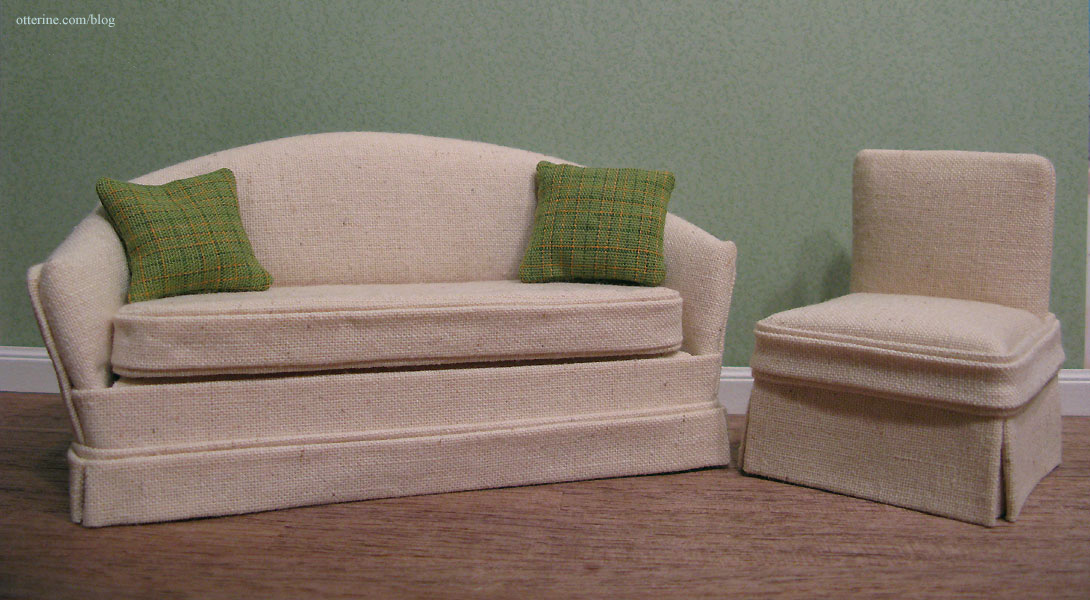
I added some green plaid pillows.
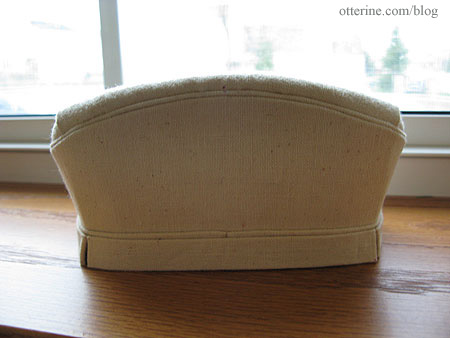
The kit has you build the couch as you would build one in real life size. I learned a lot putting this kit together and will put these skills to use the next time I make an upholstered item.
Ara, who has a blog called Addams Family Mini-Mansion, uses a small wood artist’s model when she builds custom furniture. I thought this was a brilliant idea, so I bought a couple myself from Barnes & Noble to use when either making kits as in this case or for when I get around to scratch-building more furniture. They are 5 3/4″ tall, so they equate to a person about 5’9″, which is perfect for getting the proper scale of things. They don’t articulate all that well, but they do a good job for me since I have no actual dolls to put in my miniature dwellings. :]

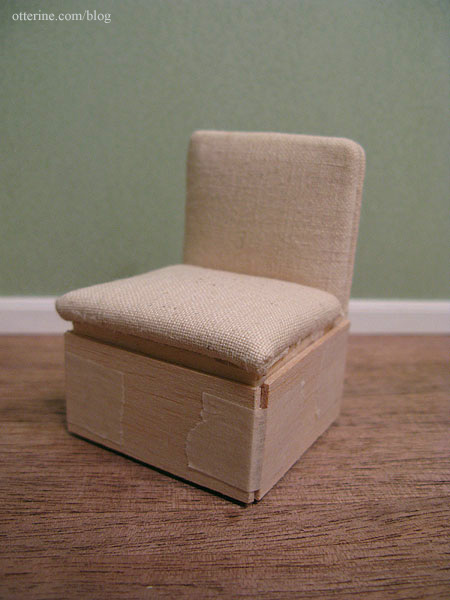
For the chair, I found the instructions to be a little lacking in comparison to the couch, so I was glad I finished the other kit first. It helped me figure out what to do when I wasn’t sure about the directions. The couch didn’t have an exact side chair counterpart, but I thought this would work well as an alternative. But, I didn’t want it to look like a vanity chair so much as a comfortable modern chair.
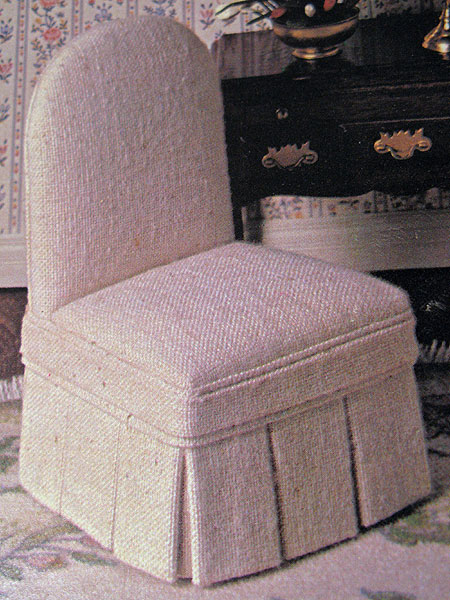
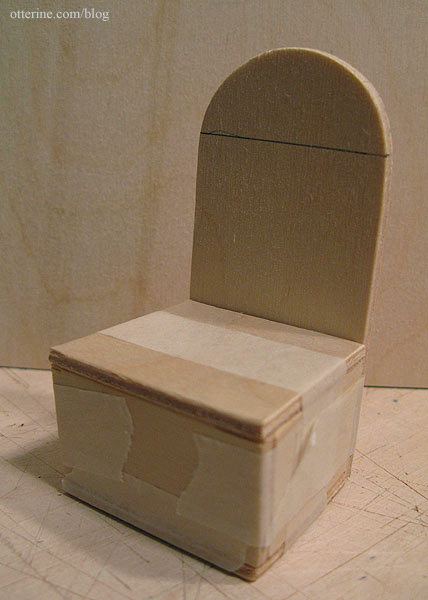
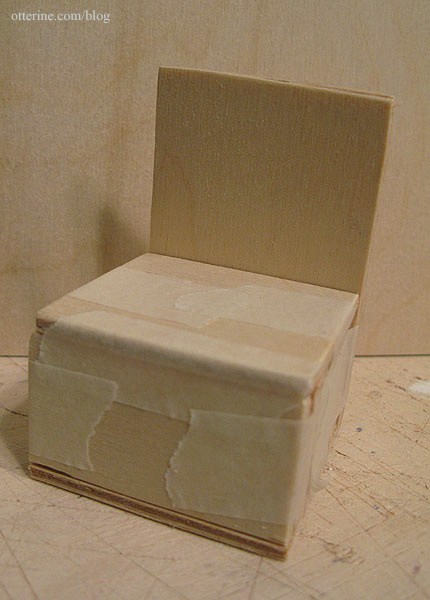
To that end, I cut off the top curve on the back.
Initially, instead of doing the multiple pleats around the chair, I mimicked the skirting I had done for the sofa to tie the two pieces together.
It turned out okay, but I felt it didn’t have the same polish as the couch. The problem was that the original design took all the extra fabric from pleated skirts into consideration and therefore the seat was cut large. I didn’t cut the seat down when that step came around not thinking about this end result…so my skirts ended up looking too thin for the overall lines of the chair. I didn’t care for the bulge in the middle.
My only real option was to remove the outer trim and the skirts and cut new pieces from the spare fabric included in the kit, because removing the seat assembly to cut it down would have meant tearing the whole thing apart. Not at all tempting.
I still didn’t want the multiple pleats, but I had to assemble one to see how thick it was. Once I had that measurement, I was able to figure out how much thickness I needed to add around the base to make up for the lack of the pleats. I added 1/16″ thick balsa wood around the sides and front.
I cut new corner pieces, skirts and the thin finishing trim. I was able to salvage one piece of trim from the first go around, but it was a little short in the back once fully assembled…but we won’t look at the back. I reassembled the skirts and trim and ended up with a much better result.
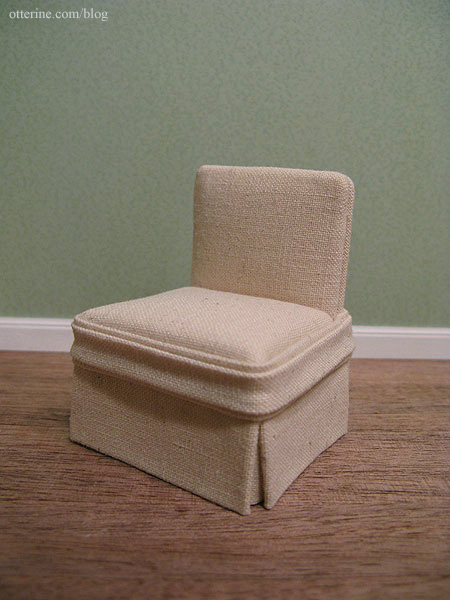
I still like the couch better overall, but the chair fits with the couch nicely enough, I think.