My inspiration is a lovely rug by YLdesign called the Woody Wood Carpet. While theirs is printed, mine will be done in French knots. I like the idea of an organic process for an organic subject matter. And, I can just stop stitching once I reach the diameter I want. I’ll be using four colors of tan and brown — two lighter ones (DMC 422 and DMC 167) for the interior rings and two darker ones (DMC 839 and DMC 938) for the bark edges. I usually keep track of my time when stitching, but I don’t think I’ve ever captured the first stitch of a project. One French knot down….

This was a completely freehand project. I made no pattern or markings on the fabric.

At 13 hours, I reached 1 3/4″ diameter. I planned to reach roughly 5 3/4″ diameter. The progress was deceiving since it took longer to make a full perimeter of French knots each time around.

At 31.25 hours, the diameter was 2 3/4″ and taking on a lovely shape as I would make some areas of the lighter tan wider in areas.

I finished stitching the Tree Ring rug for Otter Cove just in time! I stitched this rug in 77 hours over the course of 61 days. Yeow.
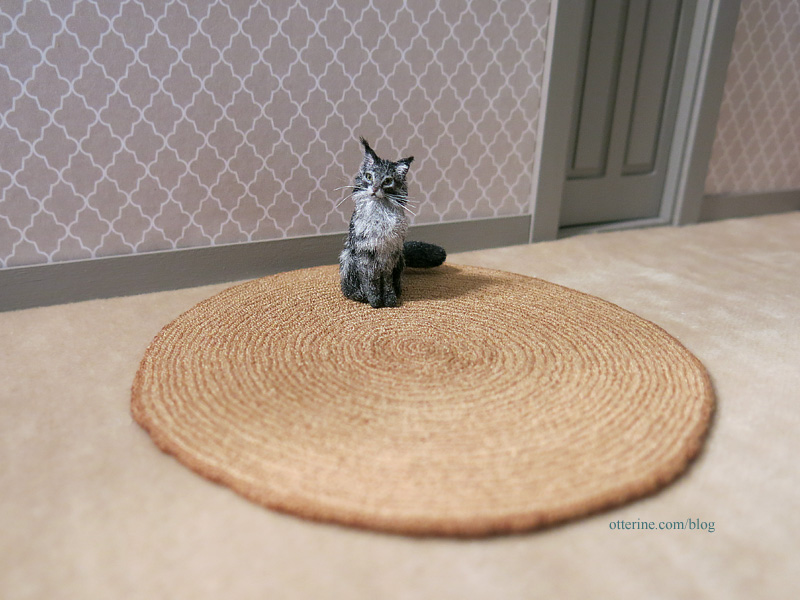
The inner ring portion ended up 4.25″ in diameter, a full inch smaller than I had originally planned. As the rug grew larger, I tested out the sizes and was able to save myself a lot of stitching time. Toward the end, making one full circle of French knots took over an hour and added a mere 1/32″ in diameter. After final finishing, the diameter ended up at roughly 4 5/16″.
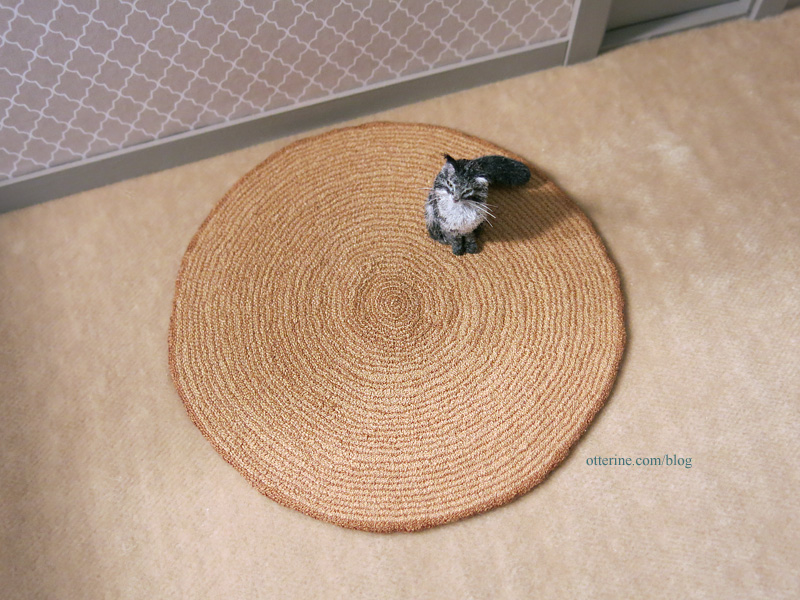
There are 37 rings to the rug, and each of those rings is made from 1-4 rows of light tan (DMC 422) and 1 row of brown (DMC 167). The outer edge bark is the same brown from the ring portion with a border edge in a slightly darker brown (DMC 869). I didn’t make my bark portion as pronounced as the inspiration rug.
To finish the edge, I added a thin line of Fray Check around the perimeter. I then snipped up to the stitching and turned the pieces to the back.
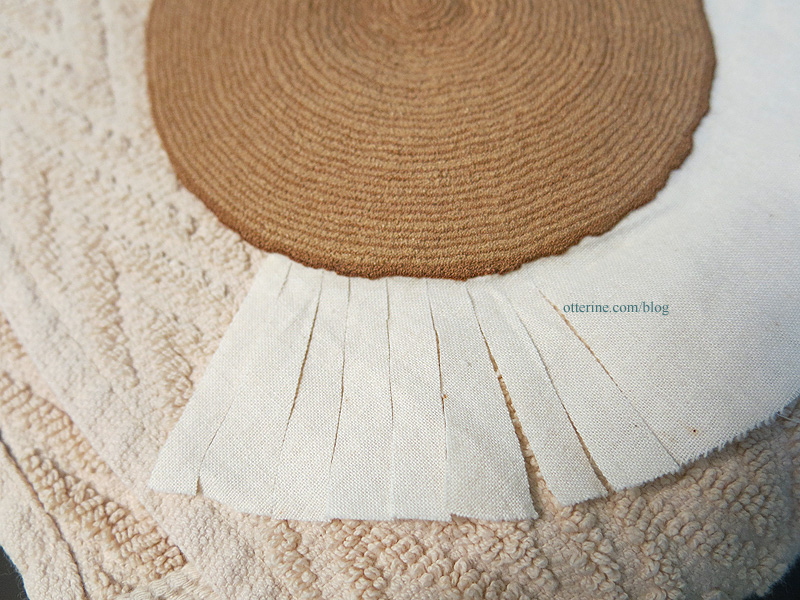
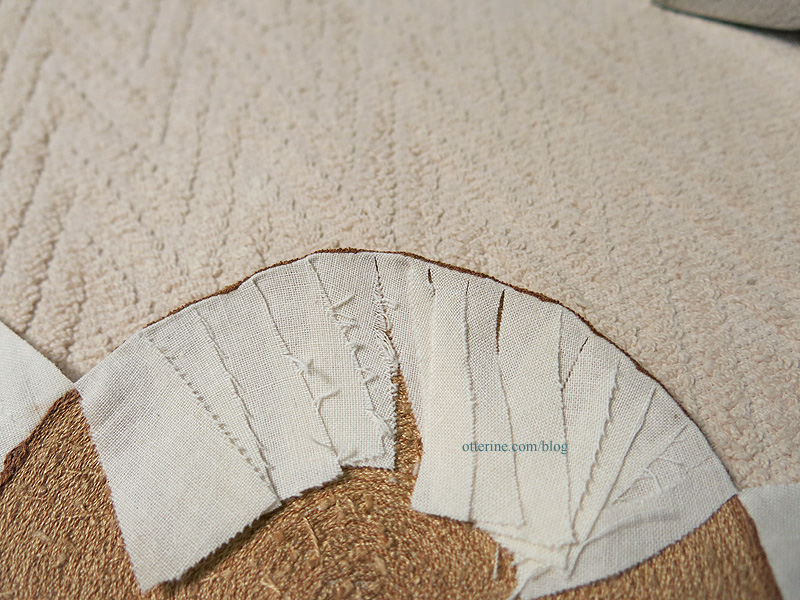
Once done, I trimmed the loose pieces.
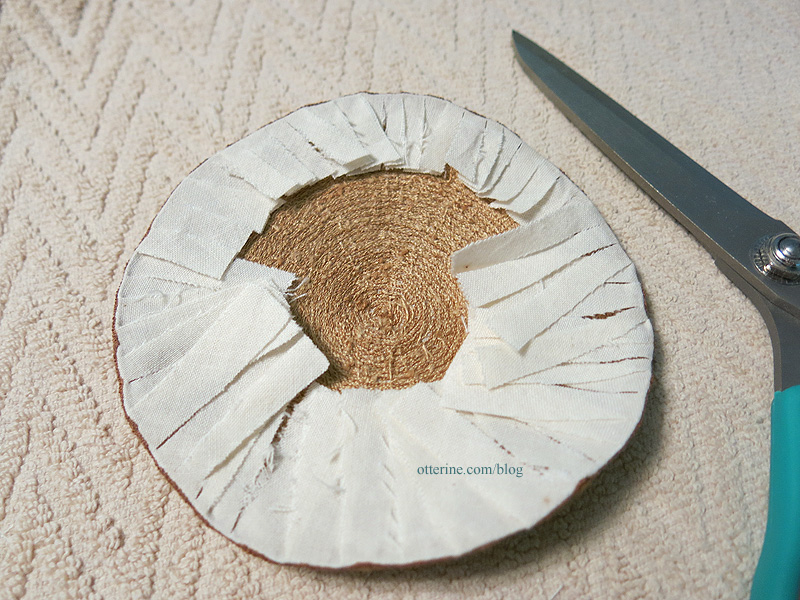
I added a circle of muslin to cover the back using Heat -n Bond (full process here).

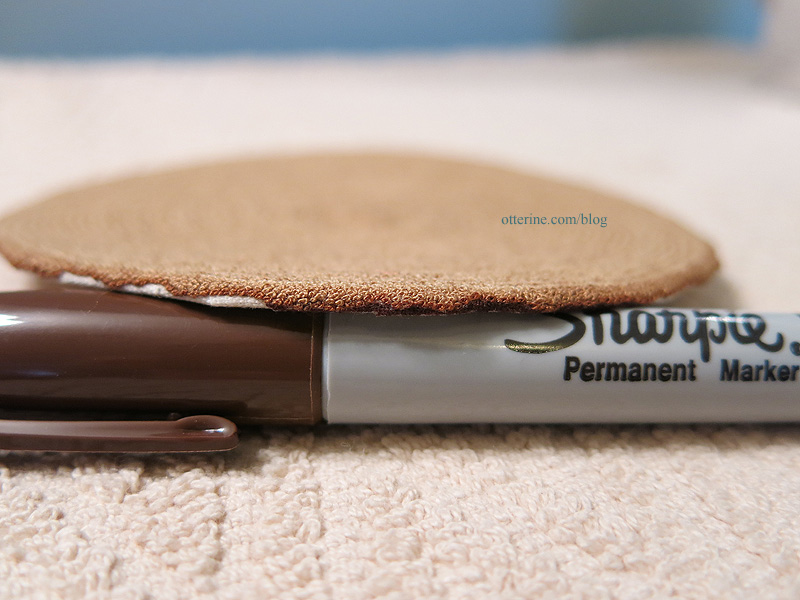
Because of the uneven edge, some of the fabric showed. I used a brown Sharpie to color in the slight underneath edge. You do have to be careful with this method and use a light touch, but it works well.
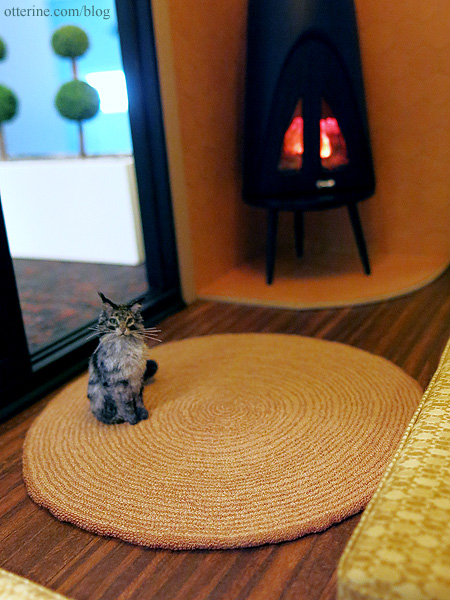
Though mine differs from the original rug by, I think I’ve captured the essence. And, I love the texture.
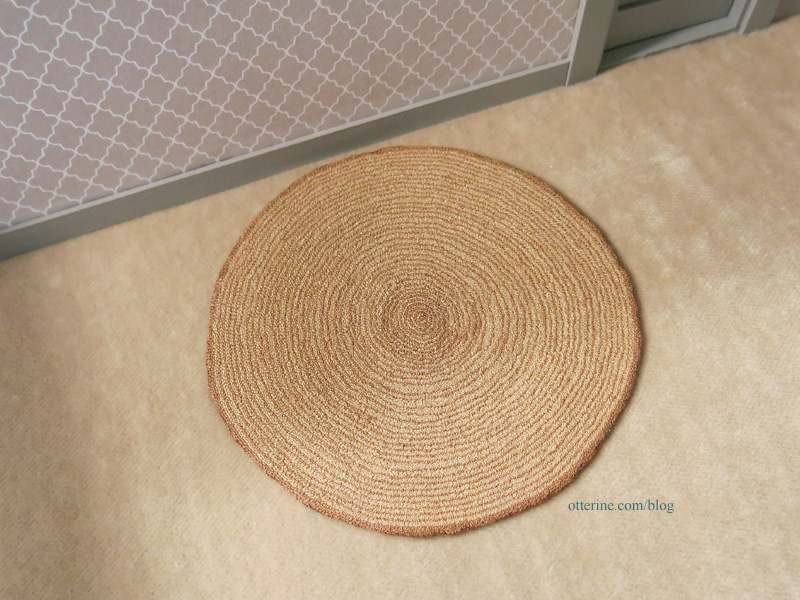
Isabeau approves.
