
Continuing work on the train cabin book nook. Affiliate discount link at the bottom of this post.
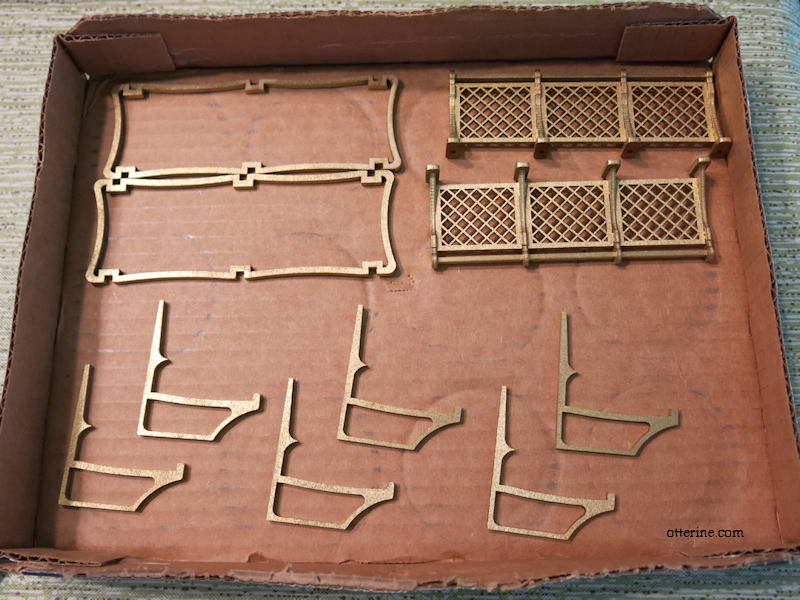
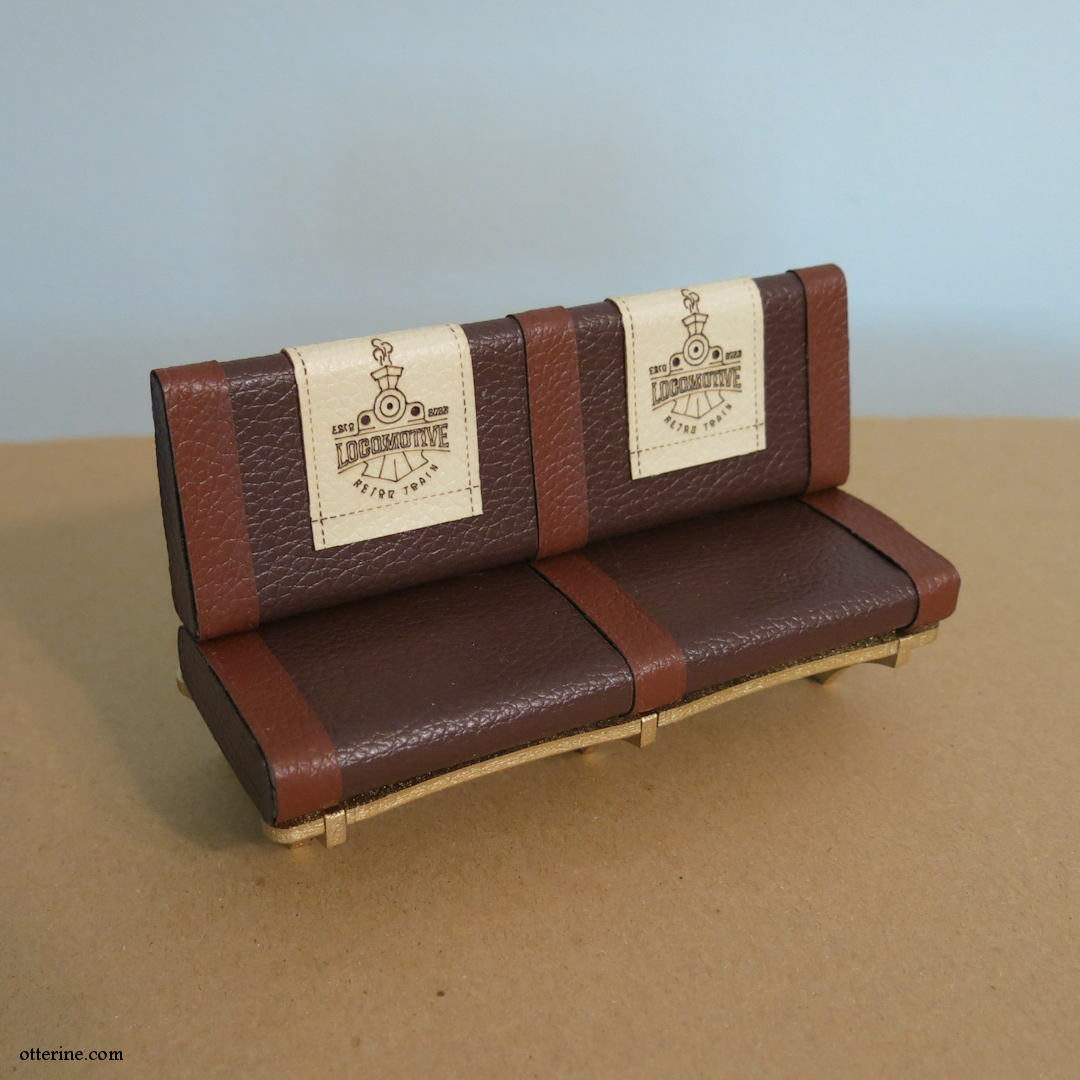
I spray painted the seat supports and the assembled luggage racks in a soft gold. The kit comes with gold colored metal sheets to finish the pieces in shiny brass, but I opted to leave those off during the process. Just a personal preference. I will be using the metal sheet in other places in the kit.
I then added the pre-cut leather to the seats I built previously. The quality is nice, and the pieces are self-adhesive. I did add a little supplemental glue where needed. (One note about the leather, though. Since the kit is laser cut, there will be some soot from the process. Be sure to wash your hands when handling the lighter color leather pieces during assembly.)
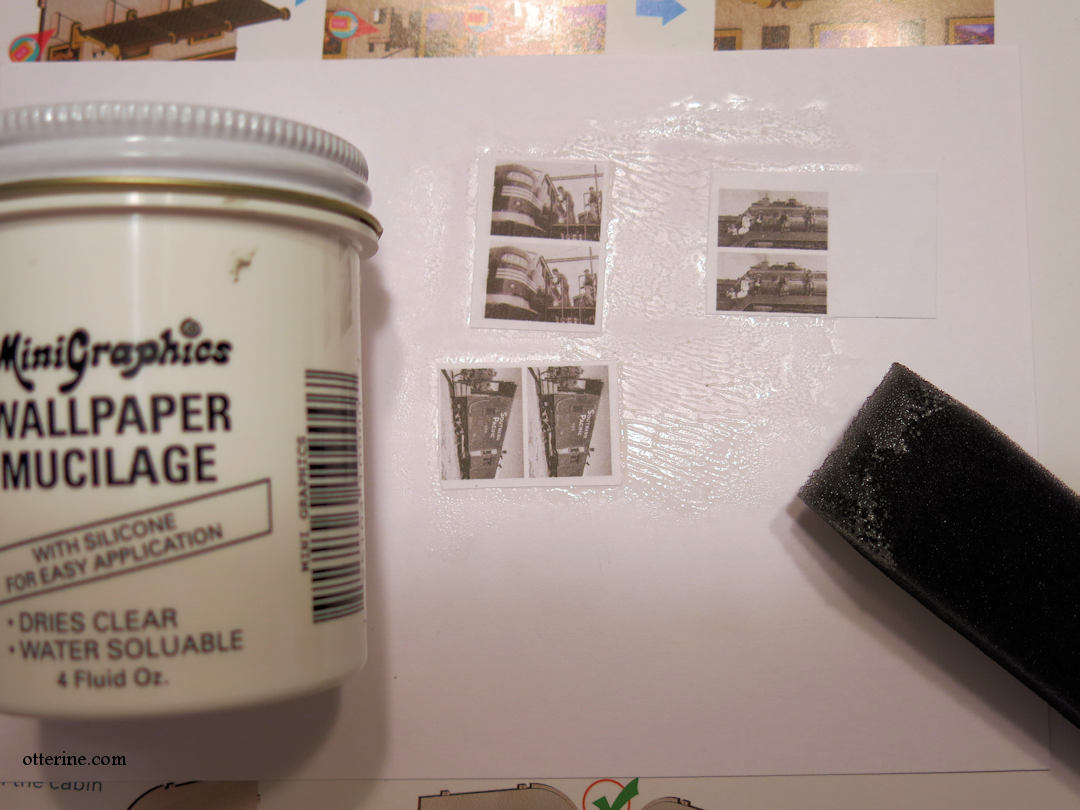
The kit includes artwork on regular printer paper for the wall frames. I used Wallpaper Mucilage to affix the black and white photos to white card stock to make them easier to handle.
After cutting them, I realized there wasn’t a black and white photo for the larger size frame, so I googled suitable images to fill in since I wanted all black and white photos for consistency. I painted the frames dark brown and left off the kit’s gold accents. With the leather installed on the side walls, I started putting it all together.
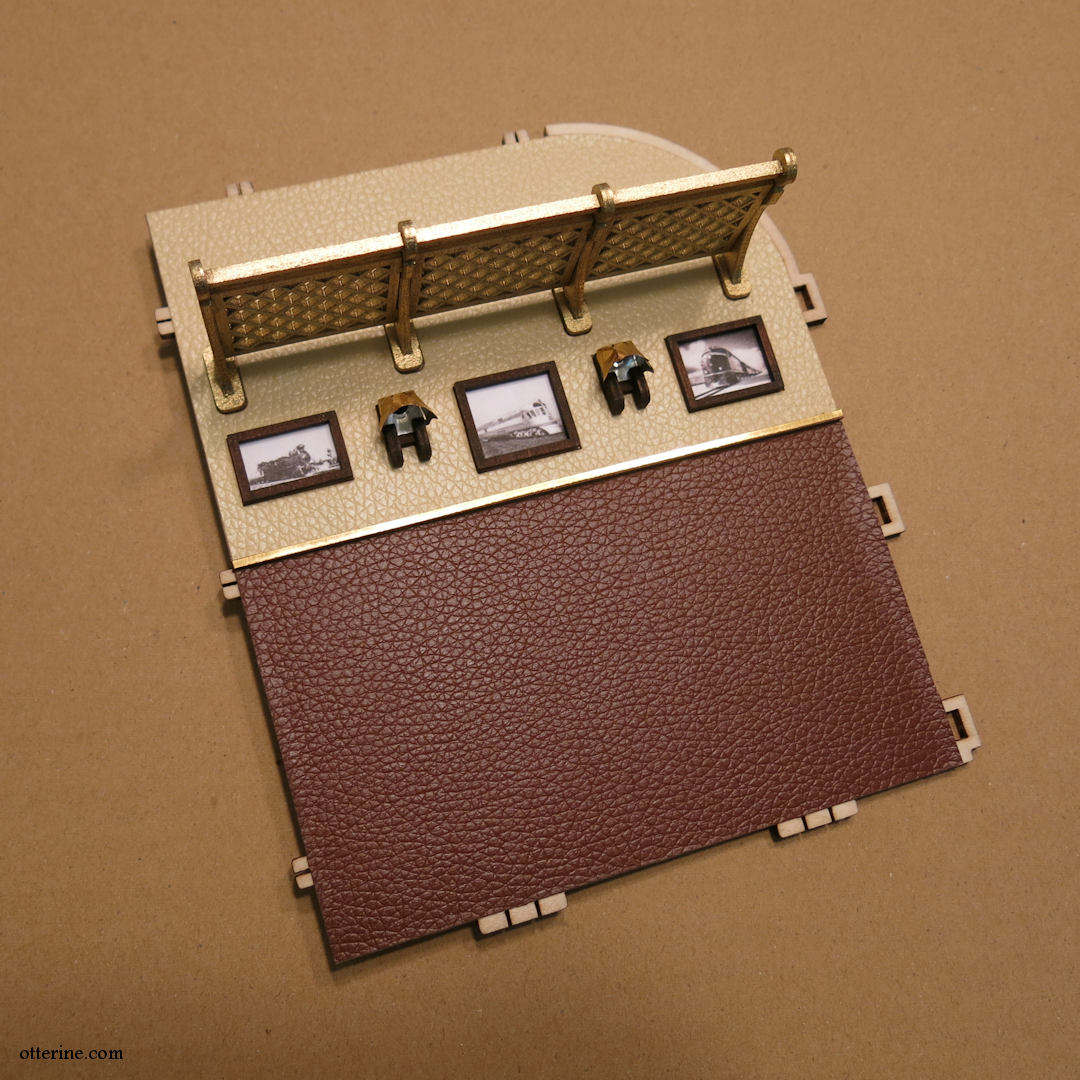
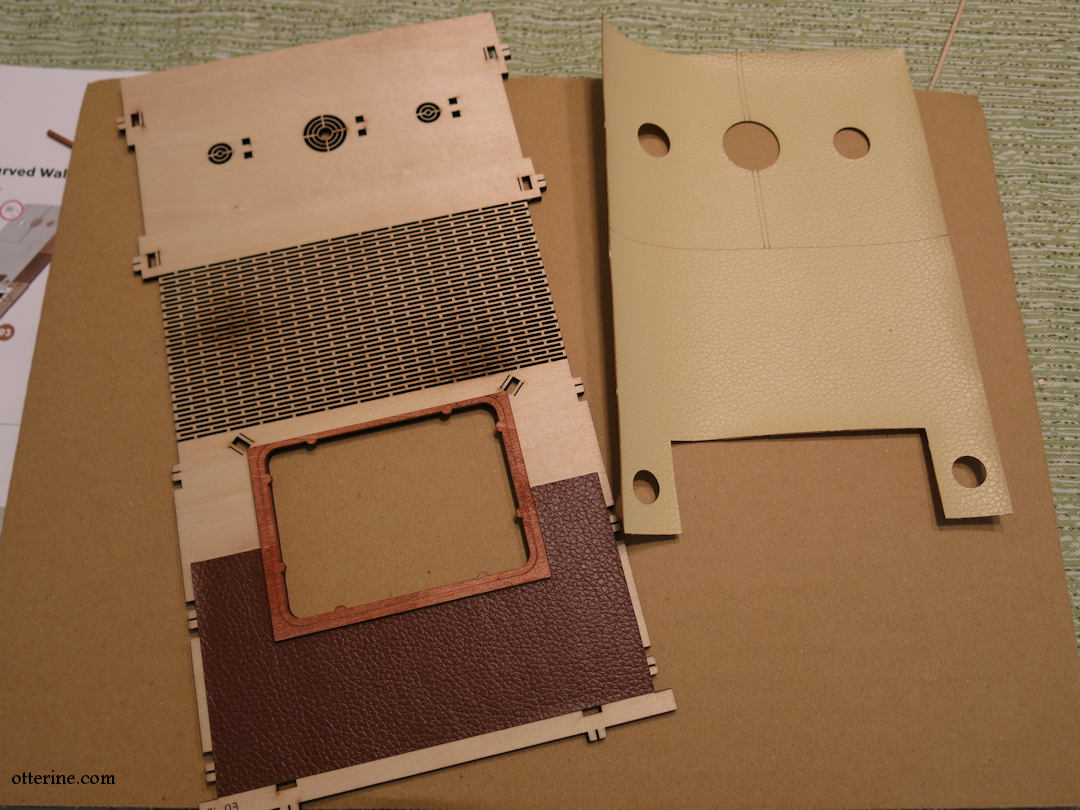
For the curved back wall assembly, I departed from the instructions slightly since I found it easier to glue the window frame piece 98 in place first, then add the leather pieces. This ensured a good fit and proper placement of the leather on the wall/ceiling and around the window.
——-
I have a discount code for 10% off your purchase at Anavrin (I will receive an affiliate commission when you use my link. This link should give you the discount, but the actual code is OTTERINE1224)


Sarah
Impressed by the quality of this kit. I’ve seen it everywhere on social media but am usually weary of them!