Seamus is awaiting your presence (and treat offerings) at The Wishing Fountain.
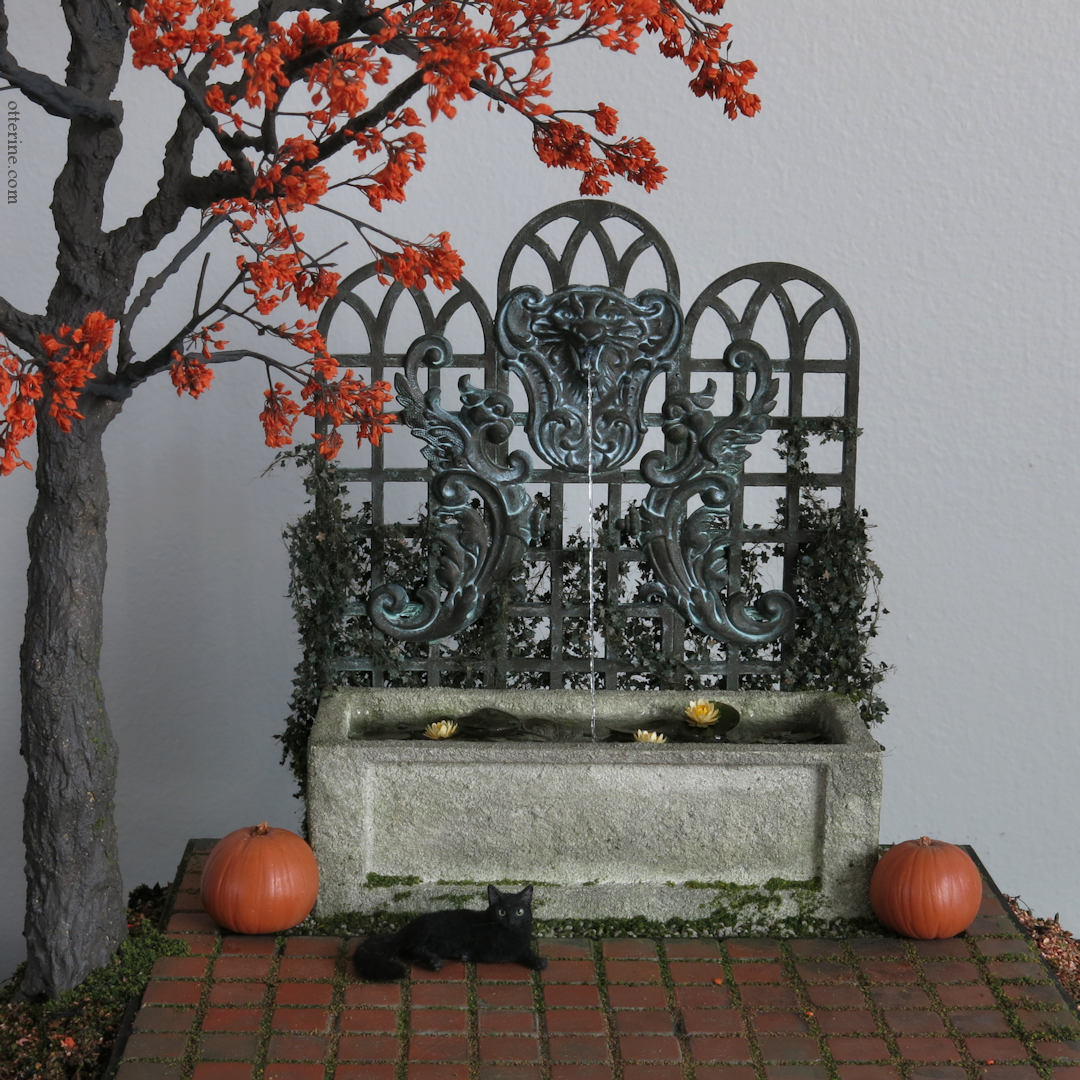
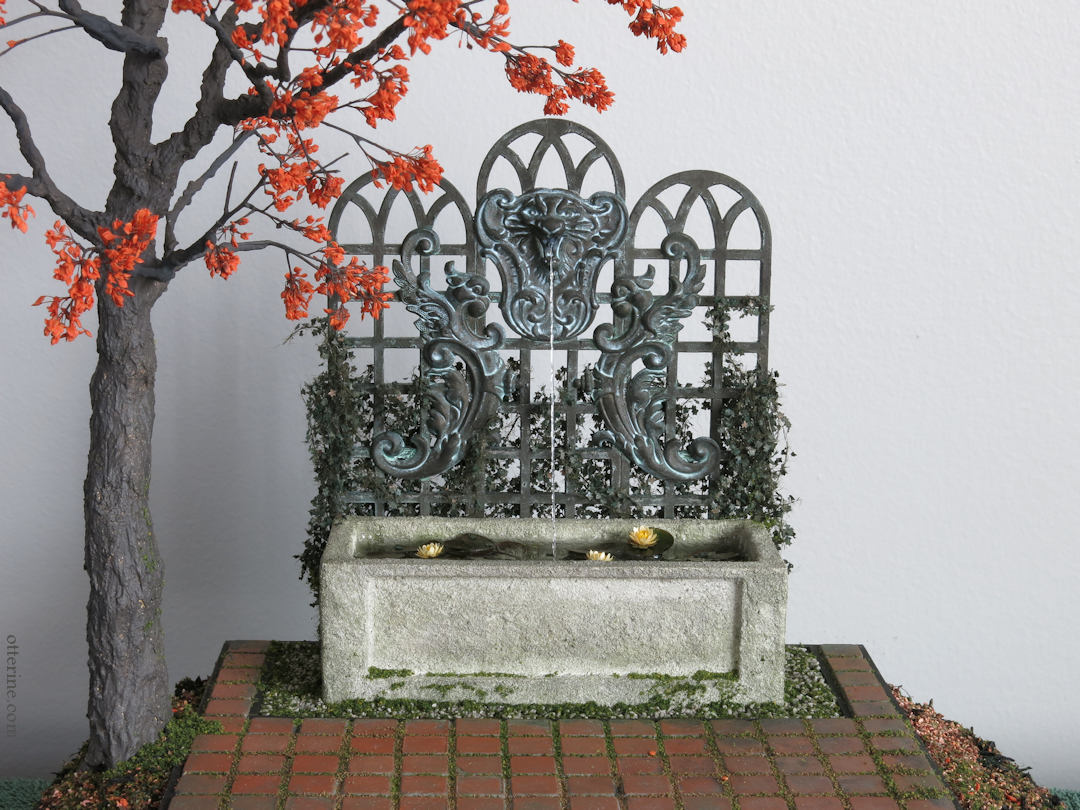
The Wishing Fountain was inspired by my various autumn trips to the East Coast. I’ve visited many historical estates, and these often have lavish gardens with fountains from a bygone era. I envisioned a fountain garden in the middle of a forest, perhaps a remnant of a once vast estate.
I started with the Garden Planter Corner Kit from miniatures.com and used it pretty much to spec.
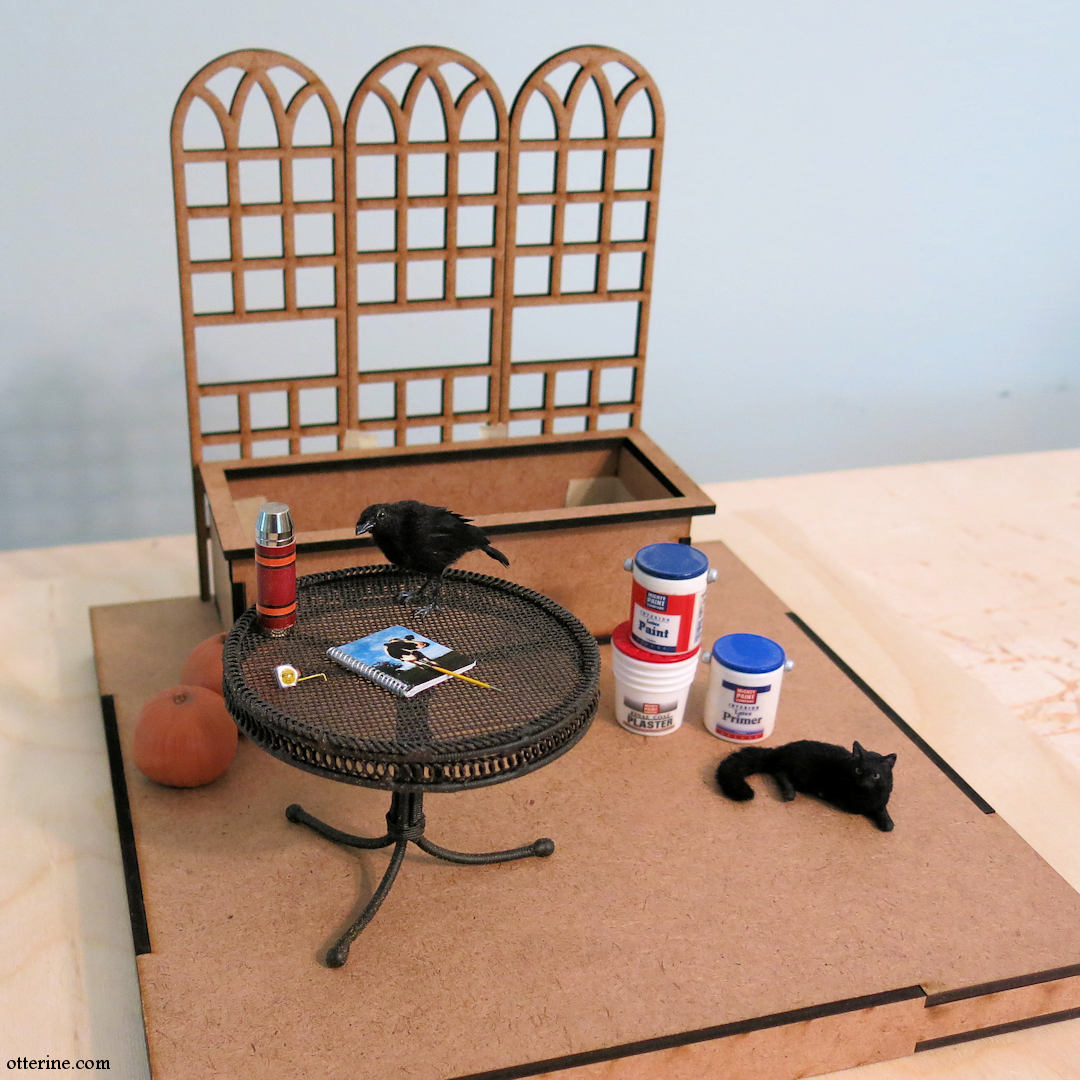
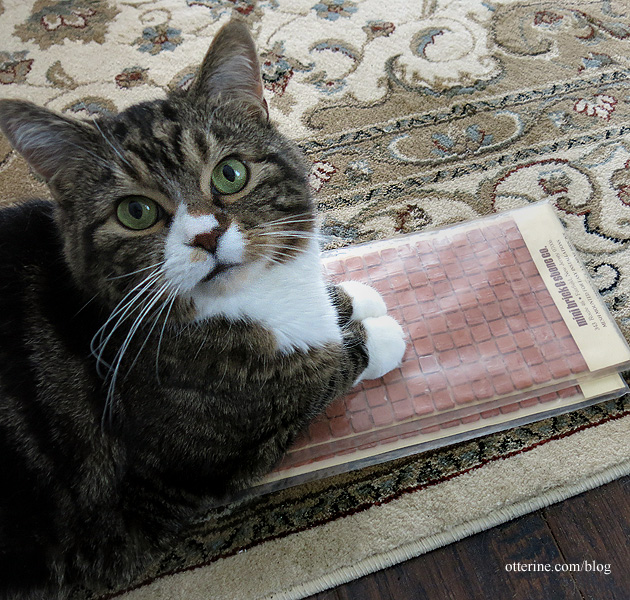
I covered the forward portion and the back sides of the kit base with square patio bricks. These come on mesh backing, so no having to place tiles one at a time; just cut the mesh to size and glue in place. I later added a thin strip wood border around the tiles to finish the edges.
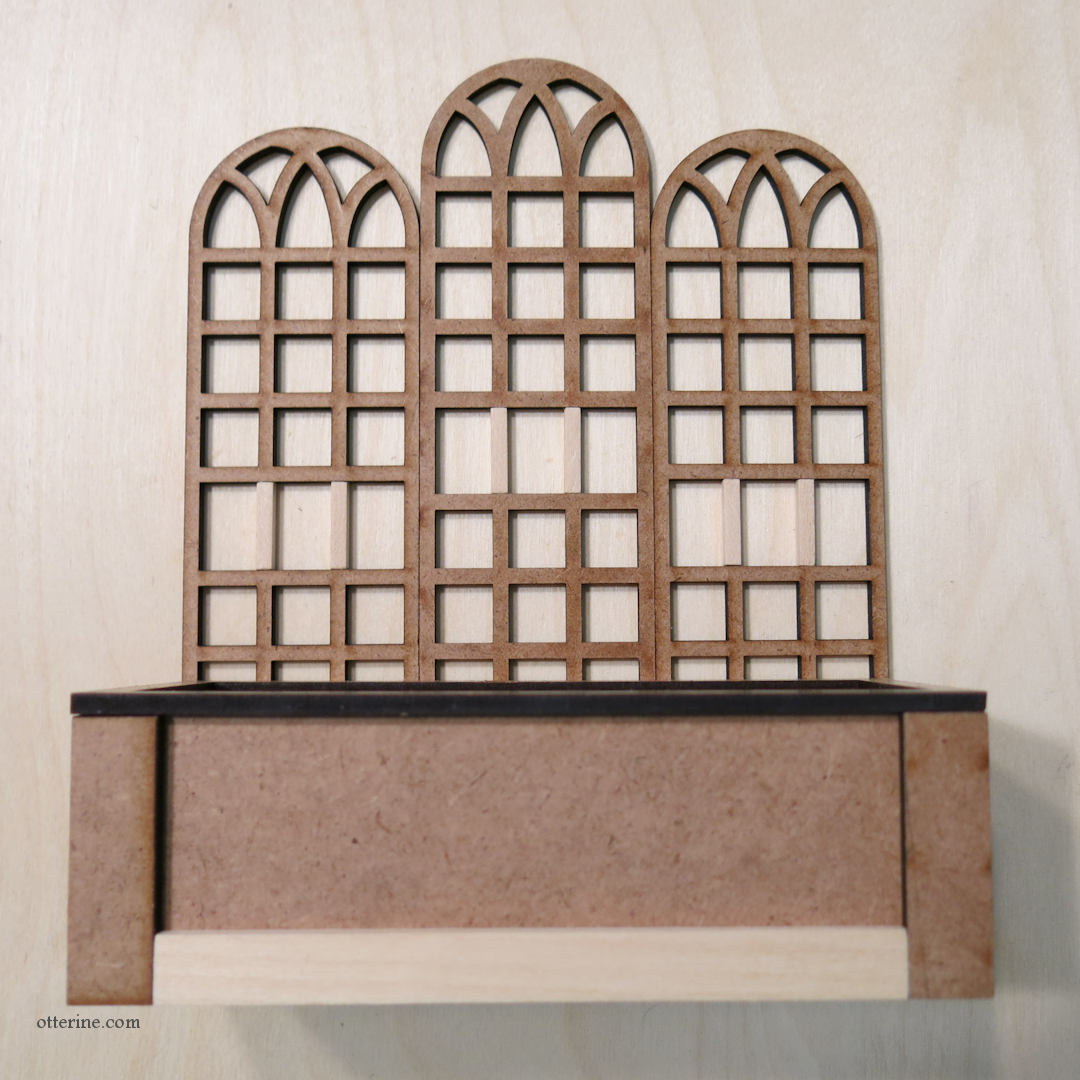
To add visual interest to the trellis, I glued the arches together with the middle section raised slightly. I aligned the grid lines so it would look planned and added strip wood to fill in the “holes” so it would look uniform overall. For the planter, I added additional wood strips around the base to add visual weight to the bottom.
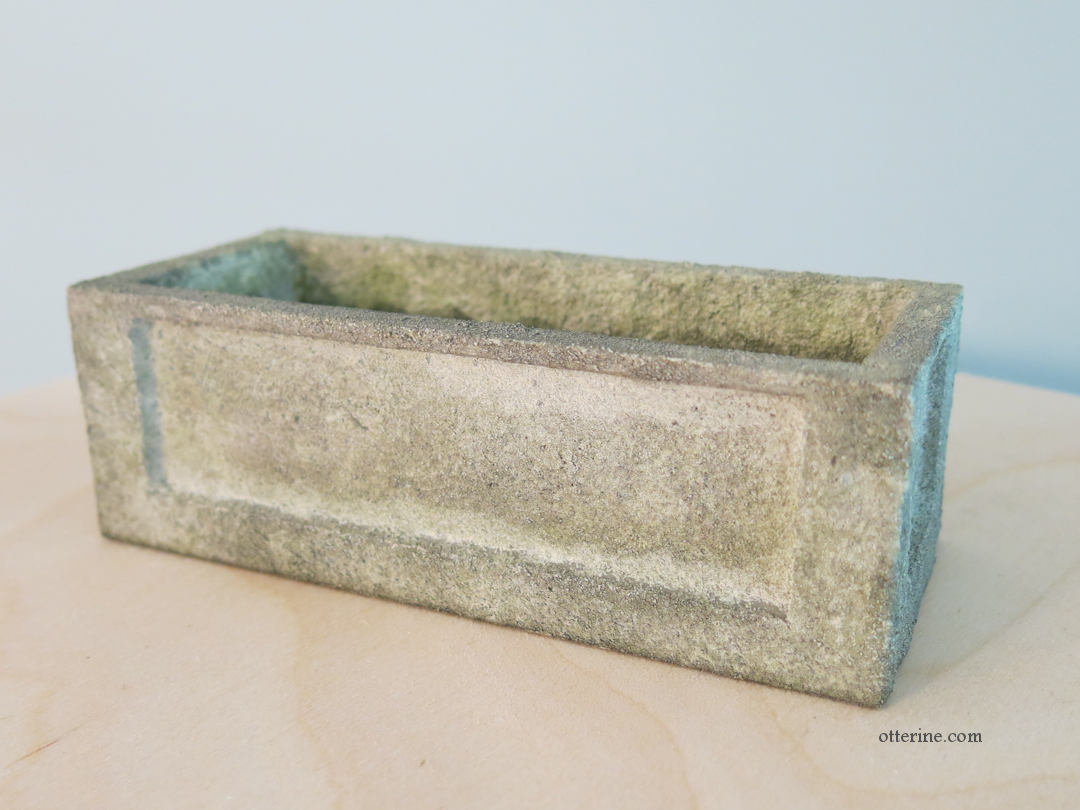
Since I planned to turn the planter into a basin, I covered the inside and outside with stucco patch. I left the back uncovered and just painted it to match the coloration of the front and inside. I needed the back flat to glue securely to the trellis. I glued aquarium gravel at the bottom since many real life examples I found had this detailing.
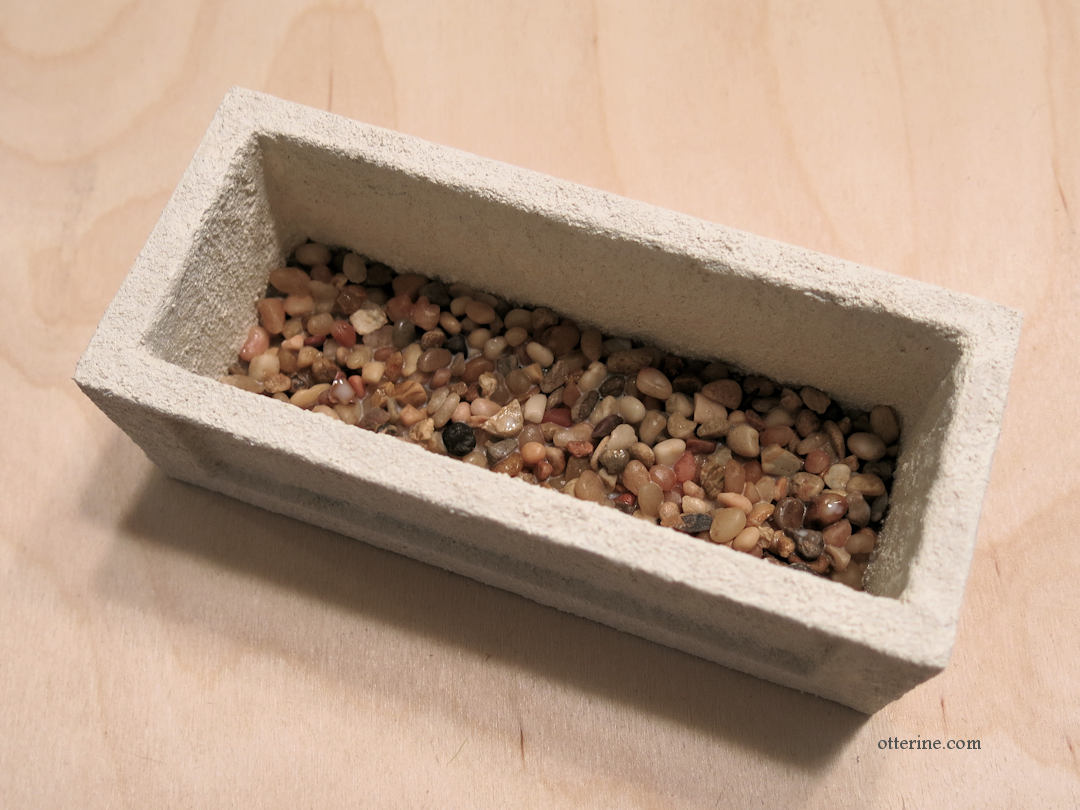
I applied several paint washes in brown and green to create the look of algae, then sealed the interior with a thin layer of white glue once the paint was dry.
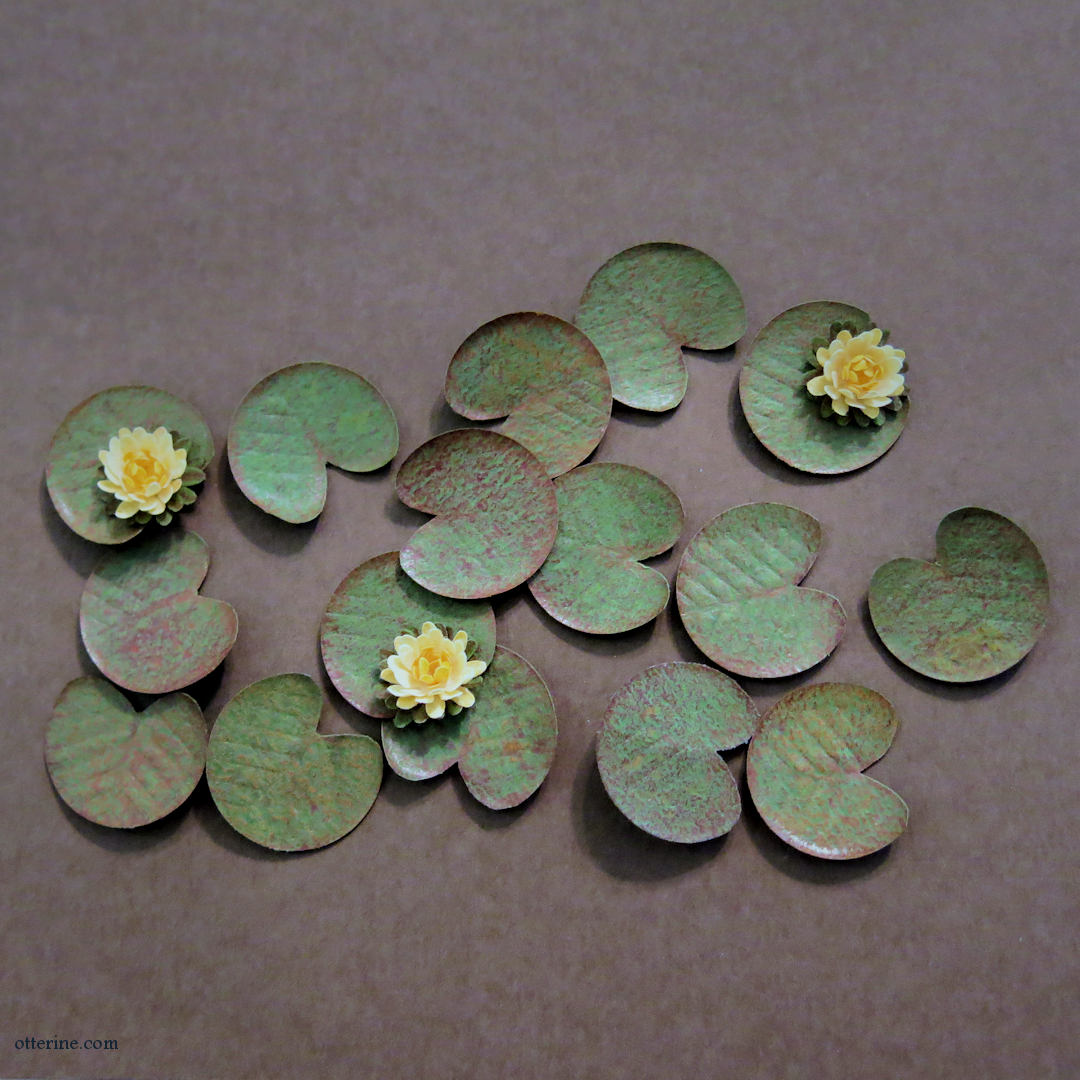
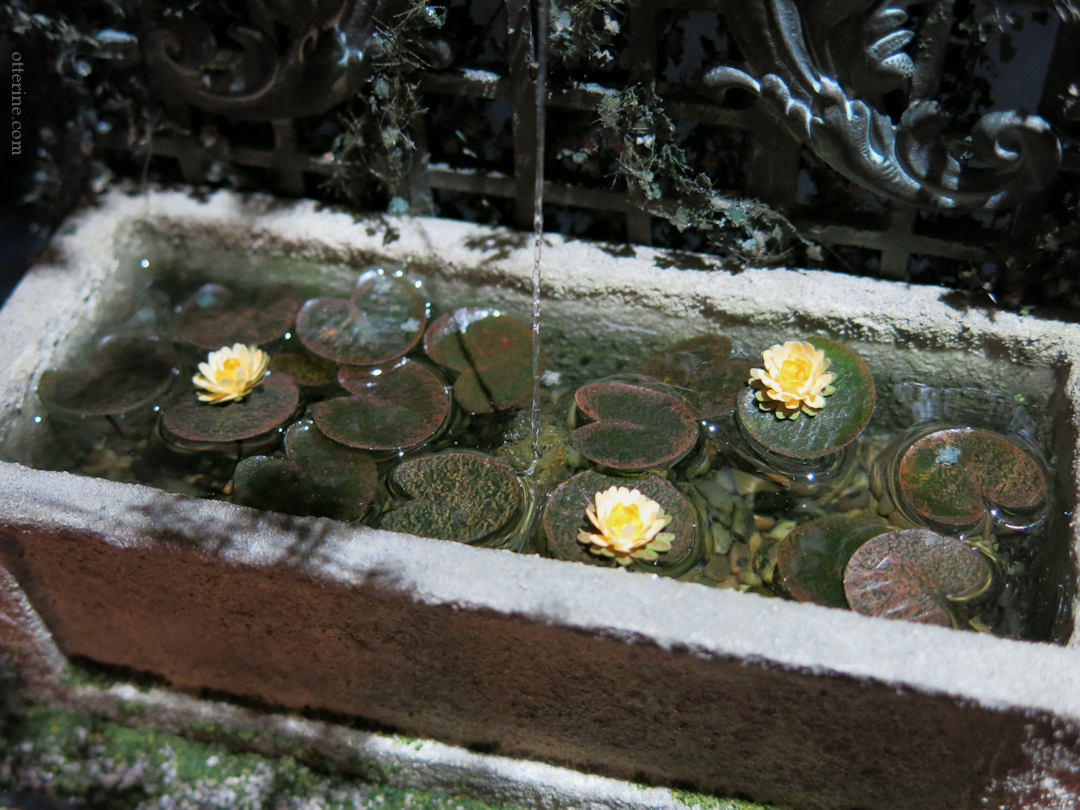
The waterlilies were made from origami paper, paper punches, and colored pencils.
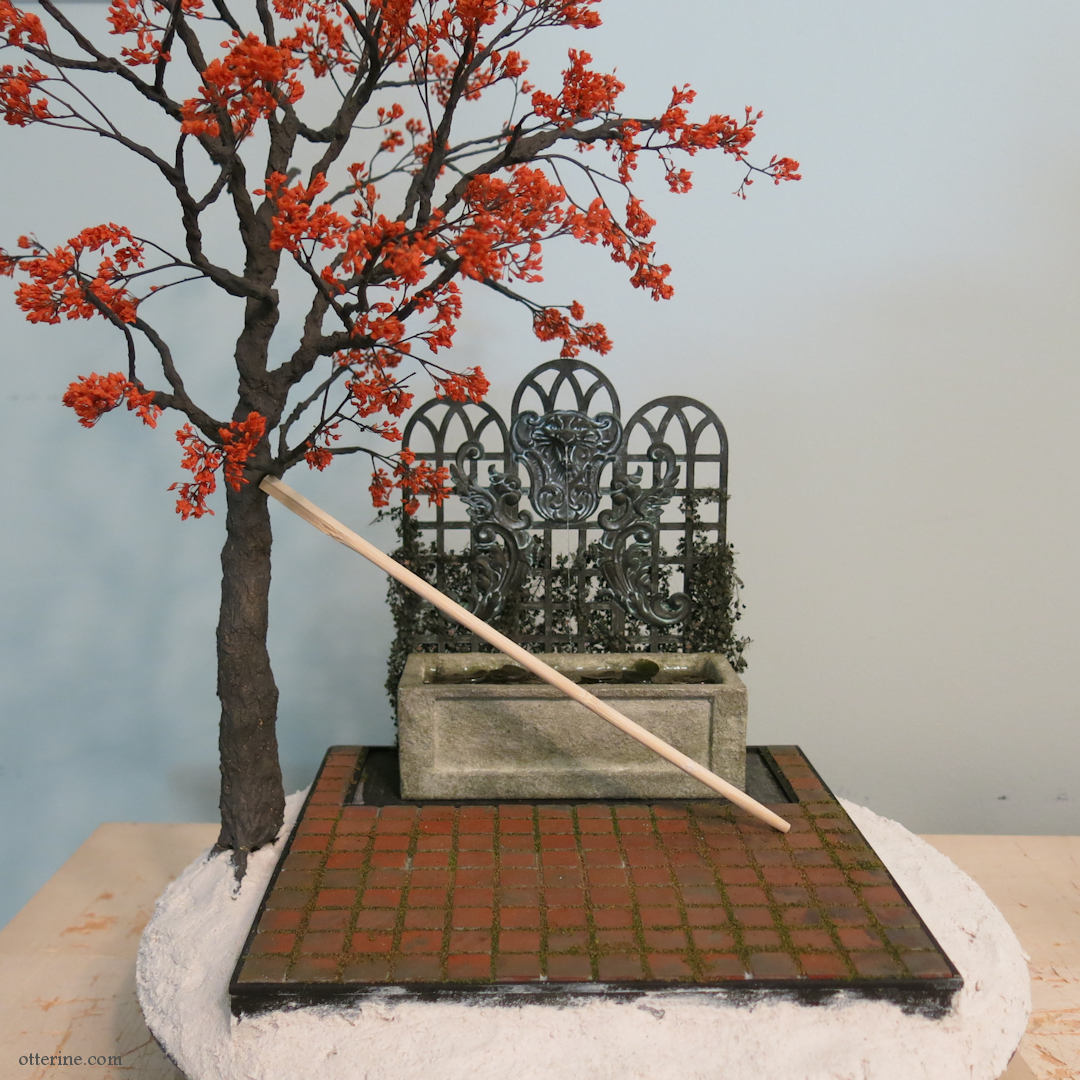
Autumn trees are great on a tight deadline since they take fewer branches to get the point across. I used my standard method of floral wire, Durham’s Water Putty, and candytuft. The tree was planted in stucco patch that I used to build up an uneven surface to serve as the surrounding landscape, and I propped it up with a chopstick while the stucco set. The landscape base is a round wood plaque. Its routed edge surrounded a circular top that was a perfect fit for the square kit base.
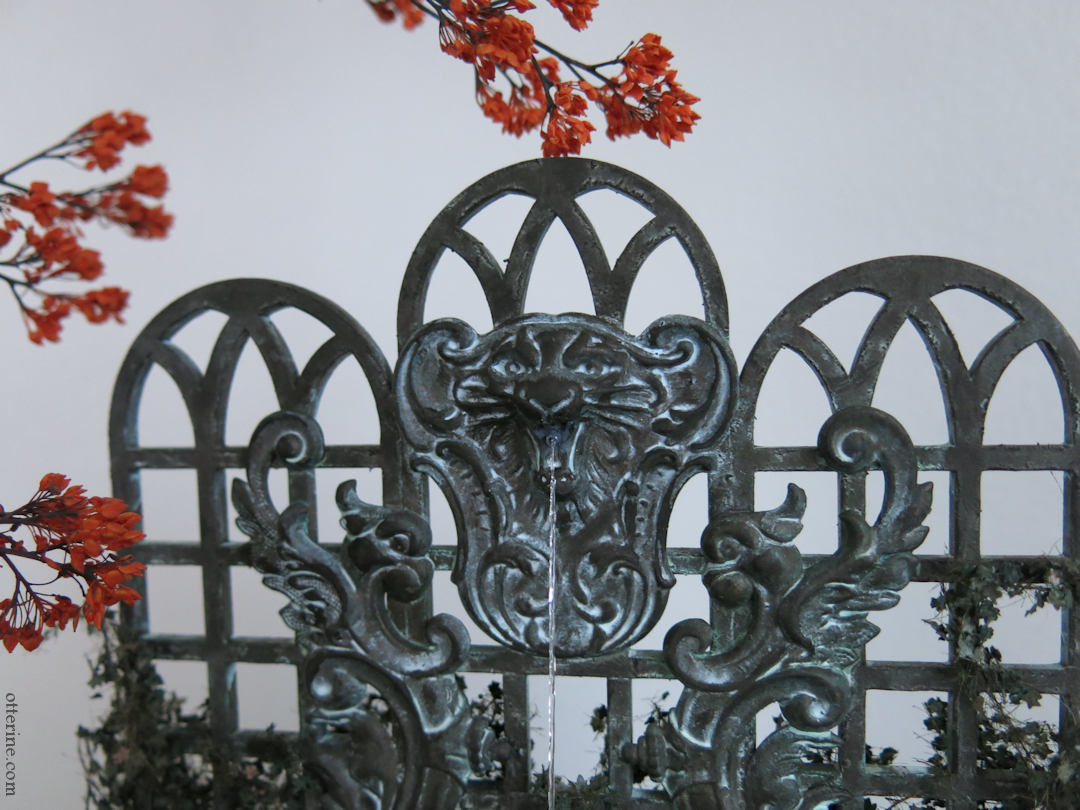
The fountain detail was made from brass findings from Birdy’s Design Gallery — a spooky cat and two flourishes — glued to the trellis using epoxy. The assembly was spray painted dark copper then aged with acrylics to achieve a subtle patina.
I used Woodland Scenics Deep Pour Water to fill the basin. You can pour up to half an inch in depth, so I needed to do this in two layers. You can add pigments, but the acrylic paint washes I had applied were enough.
Once the first layer cured “enough” at four hours, I planted the waterlily leaves. I probably should have done this a bit sooner than the four hours because it was not easy to pierce the thick resin with a pin to plant the stems. Too soon, and the stems would have fallen over. It’s something to watch more closely next time.
At this point, I also glued a thin transparent thread to serve as the base for the water stream from the cat face to the basin. This was a trial and error process, and I would do things differently next time. More on that below.
Once the leaves were planted, I poured the upper layer of Deep Pour Water. The resin transformed the paper into dark, translucent leaves. As much as I loved the green paper with the subtle aging, this reaction with the resin made them more like the real deal. I then let the resin cure overnight. (The below photo was taken after the water stream was completed.)
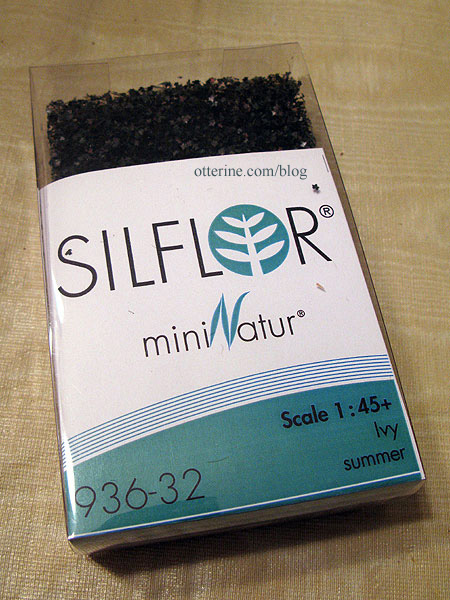
Before finishing the water stream, I added ivy to the back of the trellis. This is O-Scale (1:45) English Ivy from Scenic Express (Silflor Summer Ivy by Mininatur), but it works well in 1:12 scale.
I didn’t want to completely obscure the cat face or flourishes, but it does add a finishing touch. I wrapped some of the strands around the sides and slipped a few through the trellis onto the front surface.
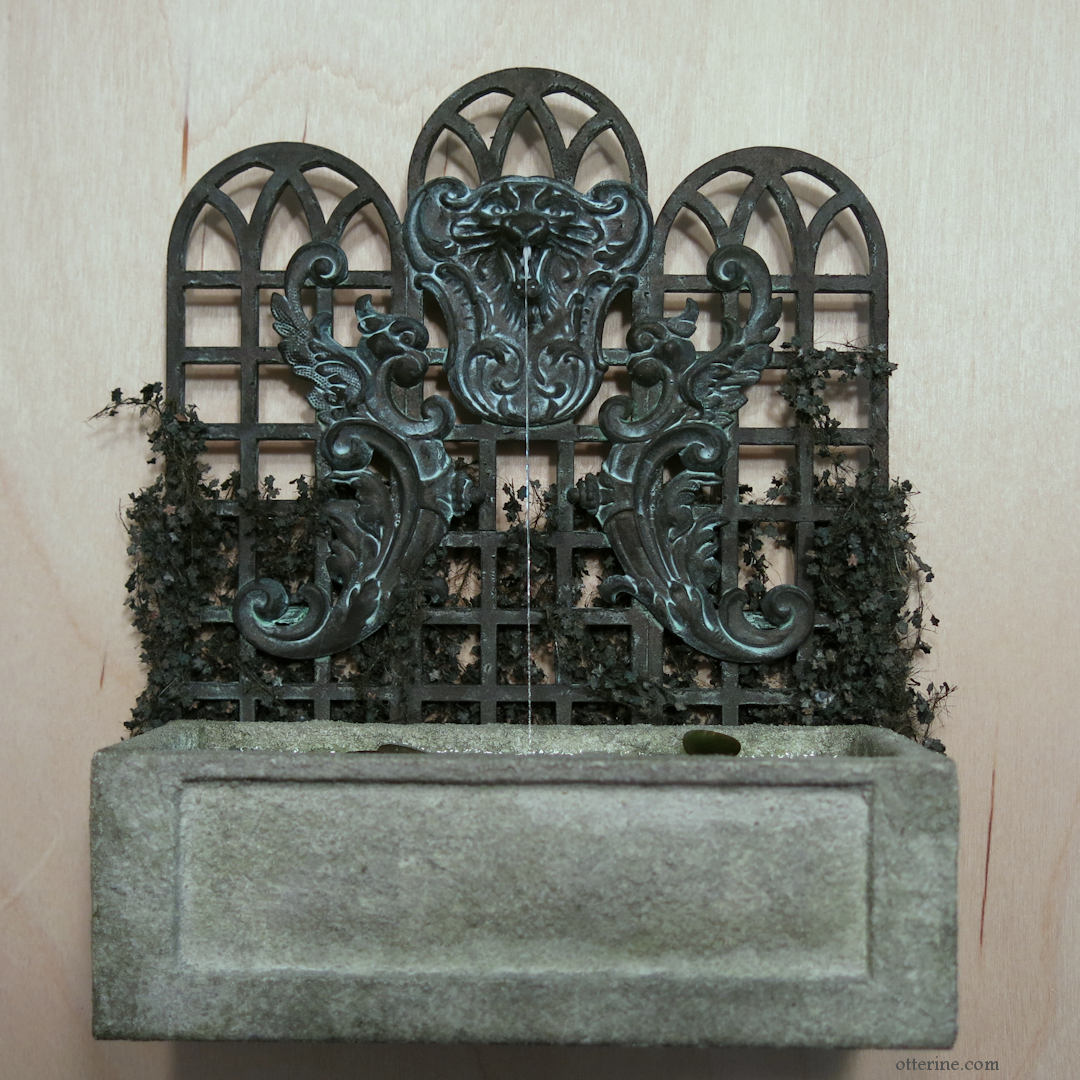
The water stream wasn’t easy, and it’s not terribly durable as it stands. As long as I watch my fingers when handling the build, it should stay intact.
How I did it:
I started with transparent thread (this is way too thin). I originally glued one end to the cat mouth with super glue gel and then glued the other end to the top of the first resin water layer. The super glue clouded the resin surface, though it didn’t mater in the end since it was covered by the upper layer of resin (and the waterlilies blocked the view a bit in the end).
Once I added the Woodland Scenics Water Ripples, the thread began to sag. Since the Water Ripples material stays flexible, it didn’t help with the sag, so I disconnected the thread from the cat mouth to fix the issue. I drilled a hole in the mouth, fitted a bit of aluminum tubing, then glued the thread into the aluminum tube. Once secure, I inserted the tube into the mouth and adjusted the thread for proper tension. No more sag.
I painted the aluminum to match the cat face patina and added more Water Ripples to finish the water stream. It’s as good as it gets from here, and I think it’s pretty convincing.
How I would do it from the start:
Instead of transparent thread, I would use 50lb fishing line. It’s more substantial and easier to control. I would also drill the hole and use tubing from the start, leaving the final adjustments and gluing in place to the end as I did in my fix above. All else would remain the same — gluing it into the basin, pouring the Deep Pour Water to bury the bottom of the fishing line and adding Water Ripples to make the stream.
Once the fountain assembly was complete, I glued it to the kit base and added the waterlily flowers. Since the resin was cured, the flowers stayed intact and bright. I filled the ground area around the basin with Woodland Scenics gravel sprinkled with Woodland Scenics foliage. I painted the landscape black brown and then added various Woodland Scenics loose ground cover to mimic a forest floor. All landscaping materials were secured with Scenic Cement.
My entry in the miniatures.com Halloween Challenge features a whimsical ghost dog with a bone from M for Miniatures. I painted the bone instead of leaving it white. The pumpkins were made from polymer clay and borrowed from The Haunted Heritage.
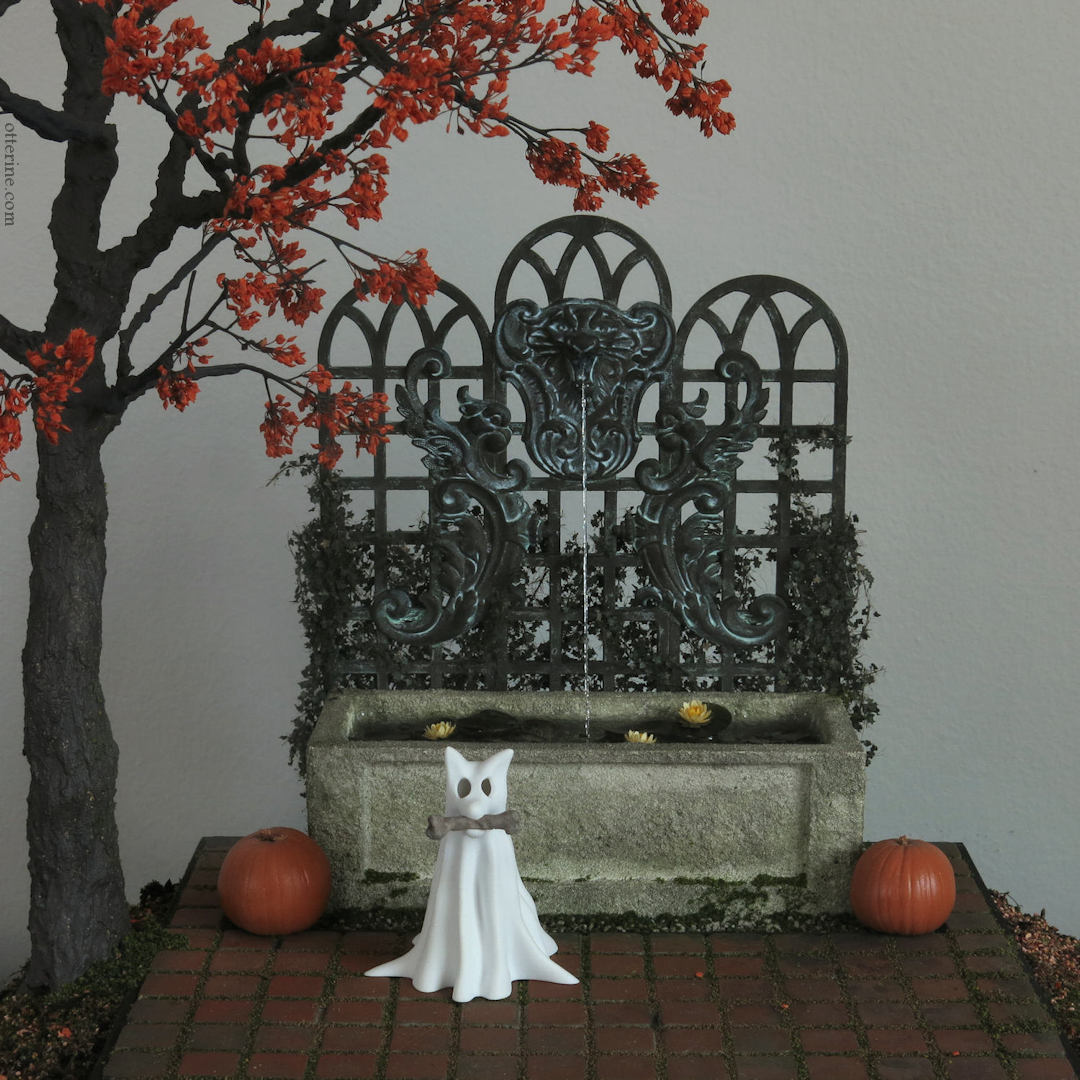
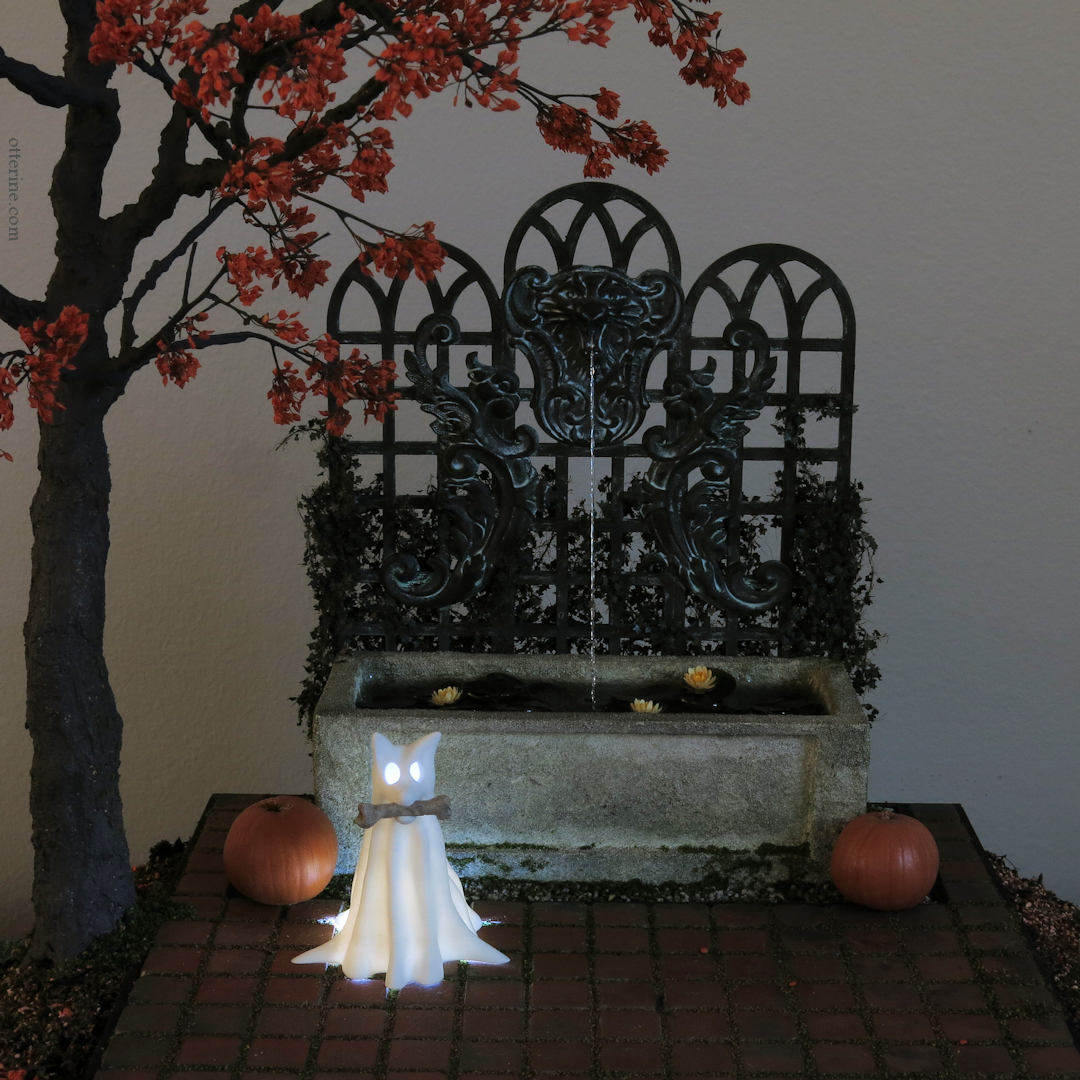
The ghost dog comes with a light, but I rather like it without.
There’s also a cat ghost. :D
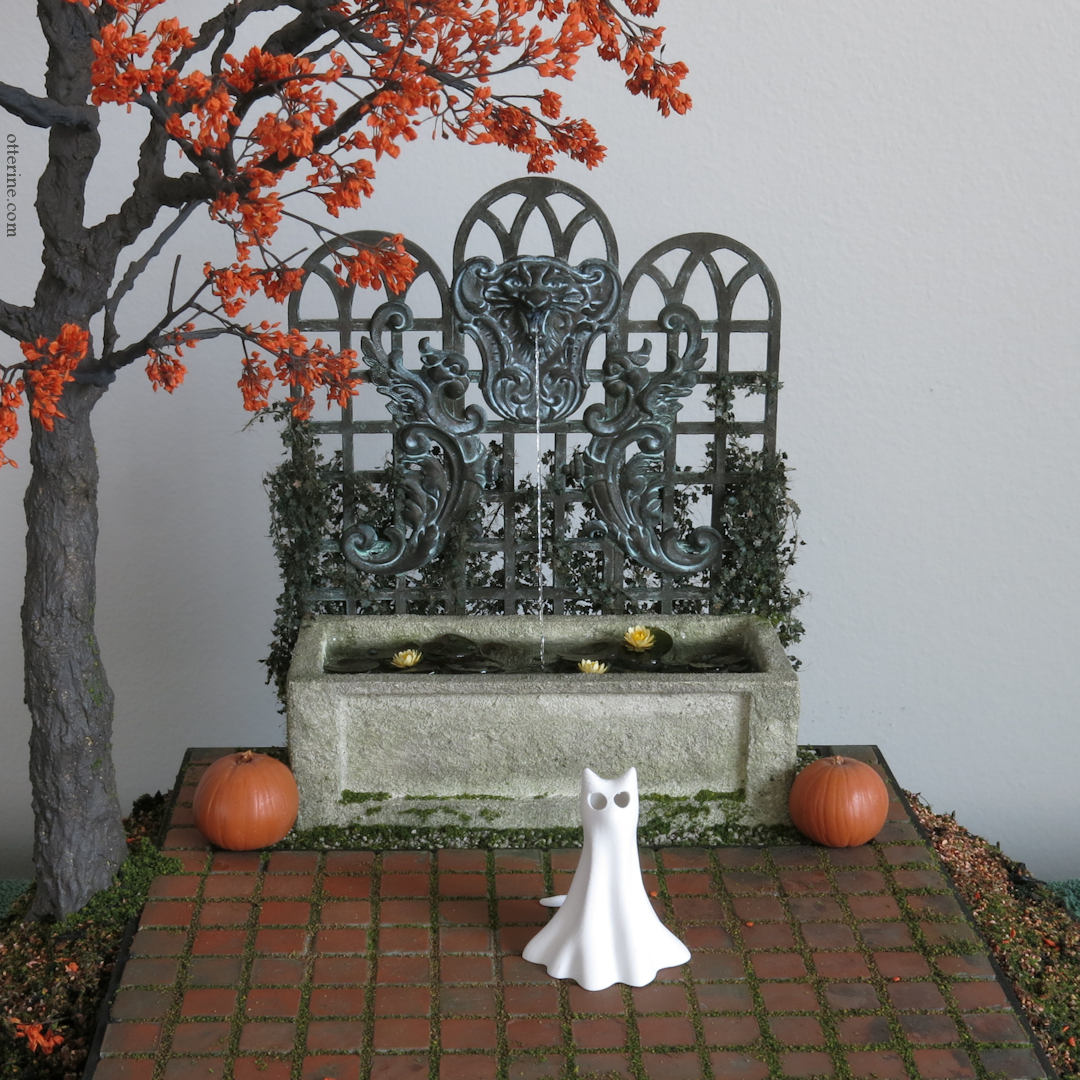
Wishing you all a Happy Halloween!
———-
Note: As an Amazon Associate, I earn from qualifying purchases from the Amazon product links in this post.


Jeanne
The water stream looks wonderful!
azteclady
Oh this is lovely!
I want to imagine that it sits somewhere in the estate surrounding the Heritage ;-)
brae
Thank you so much! :D
I can definitely see it behind the Heritage…or in the woods near Hocus Crocus, the witchy cottage.