Quite awhile back, I saw a vintage needlepoint rug on eBay from an estate sale. It was miniature, though done on a lower count of 18 or 22 and therefore a large rug for 1:12 scale. I loved the pattern but knew nothing about it. There was some discussion on the PetitPointers group I belong to, and one of the members Frances said it was from an old purse kit by Patons. She had made up a miniature rug for herself on higher count silk gauze from the pattern.
After some sleuthing, I found some further information. This was the C201 Persian Needlepoint Tapestry chart made in Patons Beehive Tapestry Wool. It was a kit that made a clutch purse. I’ve seen partially finished kits on eBay along with another miniature rug rendition in slightly different colors.
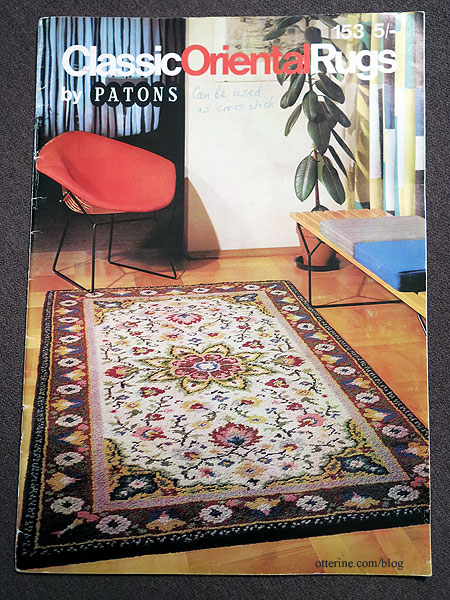
Luckily, this pattern is also found in the latch hook patterns booklet Classic Oriental Rugs By Patons No. 153 (it’s pattern 2001 in the booklet and featured on the cover). I picked up an inexpensive copy and now can get to work on my own version. I will be changing the colors slightly, though I do think the original is lovely.
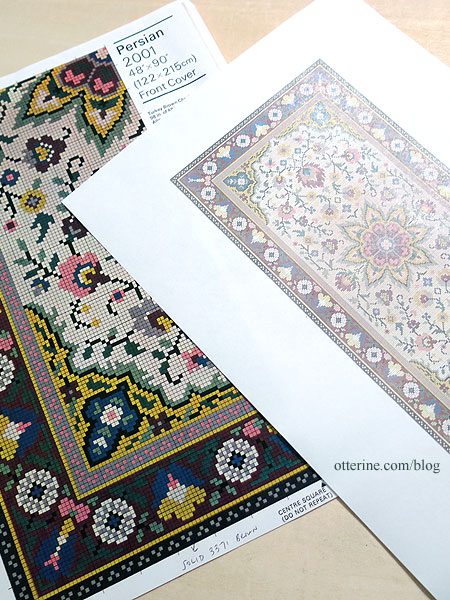
There are nine colors listed on the original Persian chart, but I have added a few additional colors to bring my total to sixteen. I opted to print the existing pattern directly on fabric. I scanned the pattern from the book on a high DPI setting and then copied the quadrant in PhotoShop to make a whole chart image. I edited the image for contrast, brightness, hue and saturation to make a very pale version. After resizing in Word, I printed a facsimile of the rug measuring approximately 8″ x 4 3/8″ on regular paper. This seemed a bit tight to me considering the fine details of the chart versus knot size, so I printed a second version at 8.5″ x 5 3/8″ on regular paper. Using this method, you can make the rug a custom size without being limited by thread count of your fabric. This will be a large rug, but lovely.
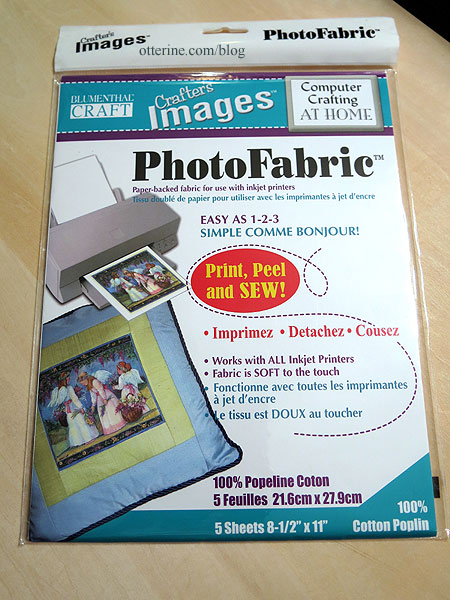
I’ve printed on fabric in the past with mixed results. In this instance, it doesn’t much matter if the color is true or vibrant since my threads will provide the final color and texture. I recently helped a family friend with a fabric printing project, and she gave me the leftovers. This is the particular brand of printable fabric I will use for this project.
After printing on the finest settings, I let it dry completely. Here it is before removing the paper backing.
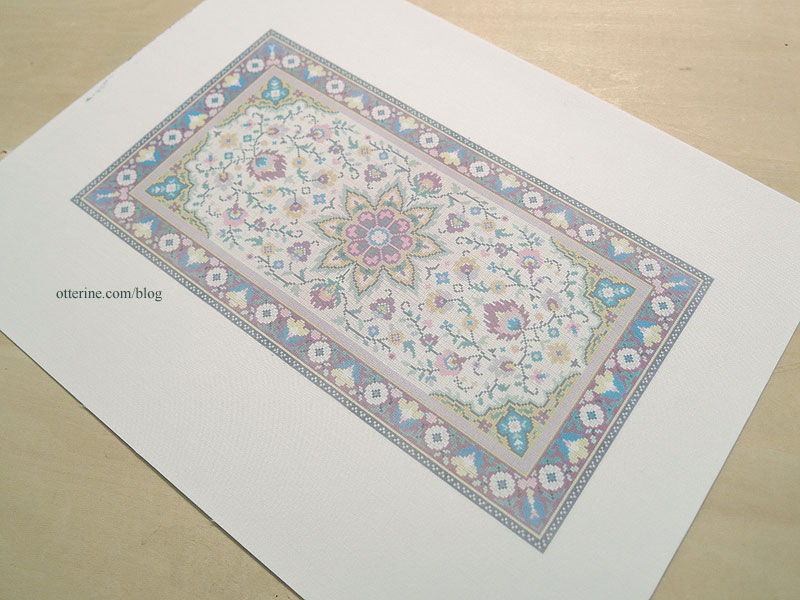
Per the instructions, I ran the fabric under water. Ink residue discoloring my stitching over time would be bad, bad, bad. I sped up the drying process with a hairdryer. There’s a hint of the grid in the whiter areas and even the color areas are boxy from the chart image.
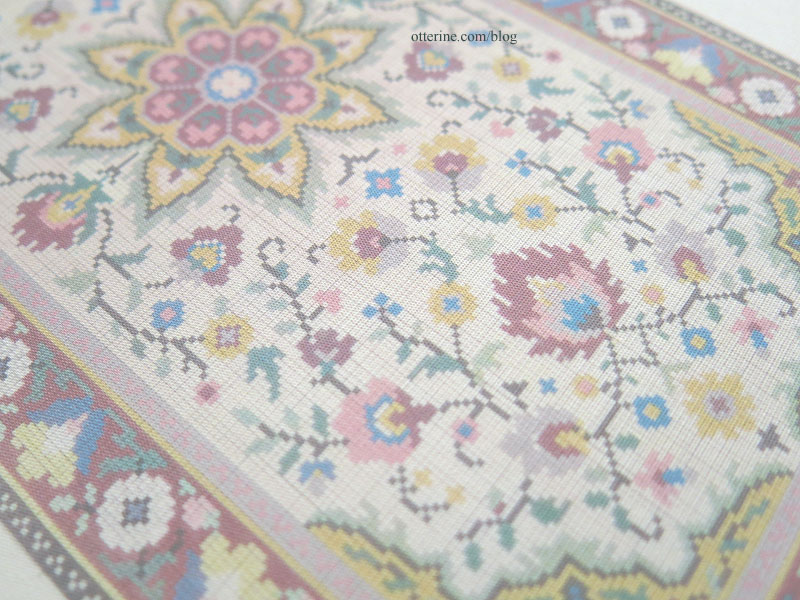
It’s a faint pattern but good enough to follow. The advantages are the precise replication of the original design and the fact that the colors are printed in place, so I can keep better track of which colors to use where. I’m not following the exact grid here, but it will help with knot placement overall.
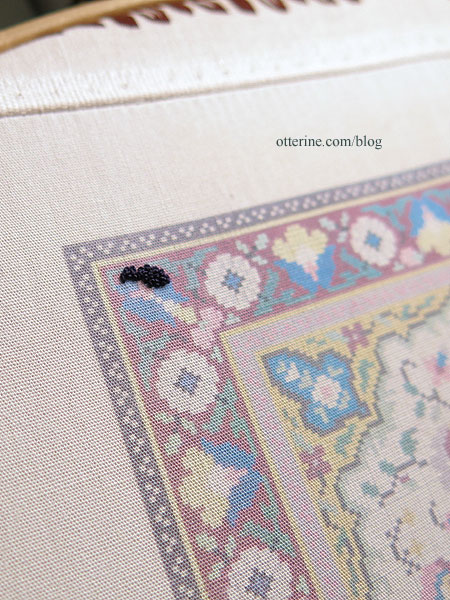
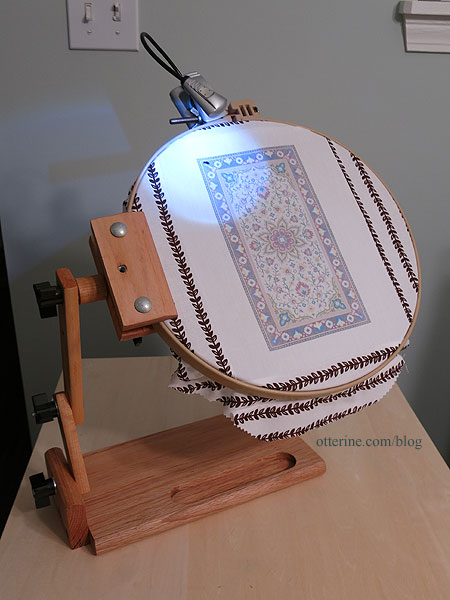
Since the printer fabric measures 8.5 x 11″, I sewed on scrap fabric to mount the print in the Morgan 12″ No-Slip Hoop (as an Amazon Associate, I earn from qualifying purchases). It has a groove in the middle that keeps the hoop from coming apart until you loosen the wingnut. (My review here.) I use this hoop with the Baby Z Lap Frame. I have a clip-on LED and can use my magnifying readers for needlework. :]
