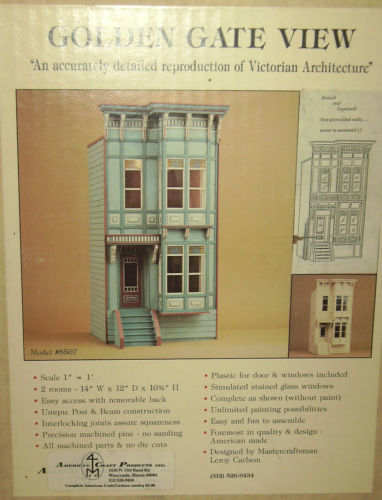
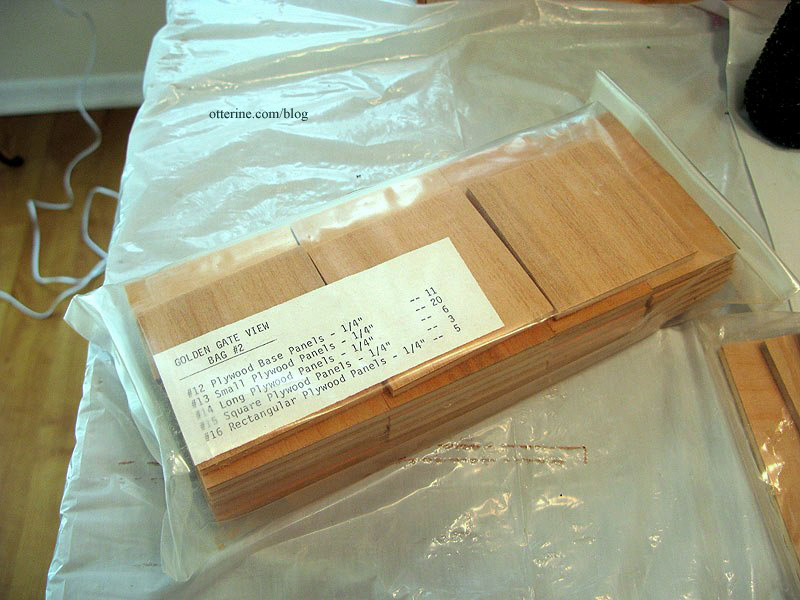
Back in January, I took some photos of the kit pieces since there was some buzz about the Golden Gate View dollhouse kit on the Greenleaf forum.
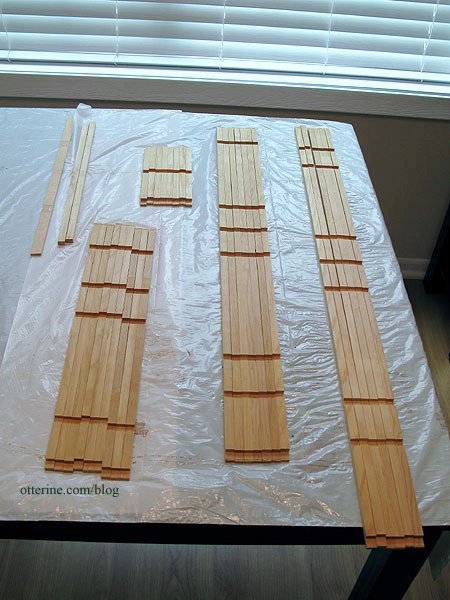
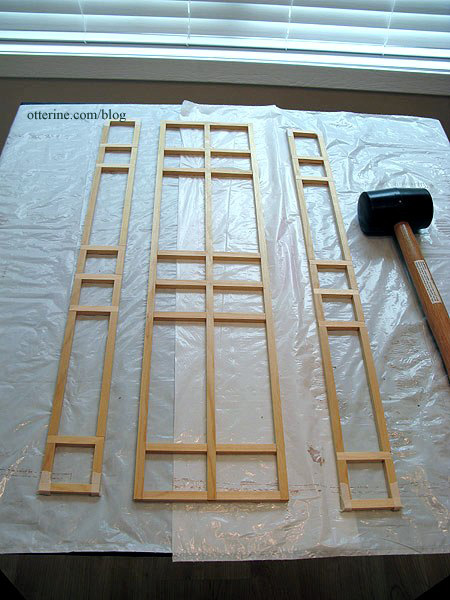
I put it back in the closet, but today I took it back out to take some more detailed measurements. The front wall is made from notched trim pieces with the inserts for windows and walls assembled separately.
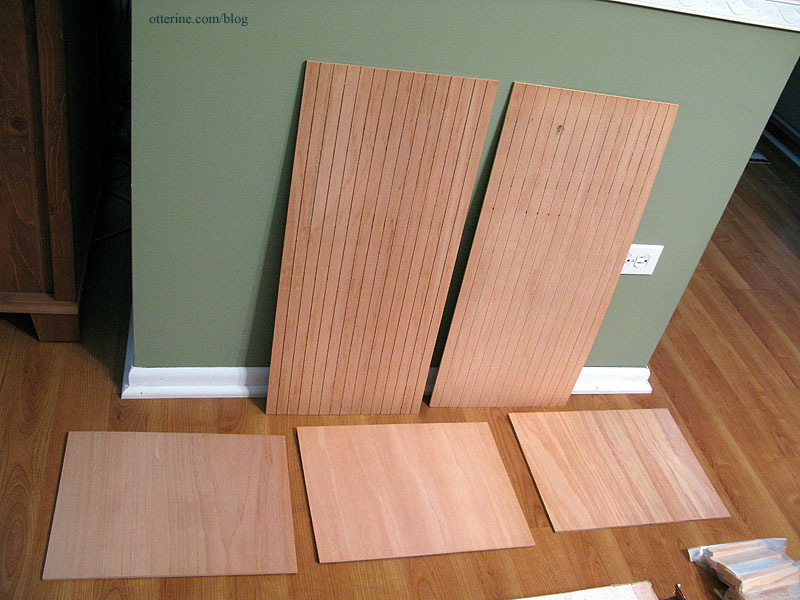
The side walls are detailed with vertical siding lines. As you can see, it’s a relatively straightforward kit as far as basic structure goes. It seems some Golden Gate View kits were made differently with studs in the walls, but mine is just plywood.
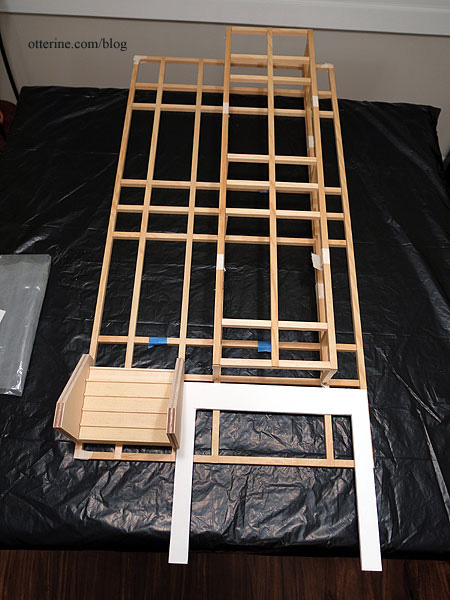
After studying the instructions, I taped together the front wall trim pieces to get a feel for the kit.
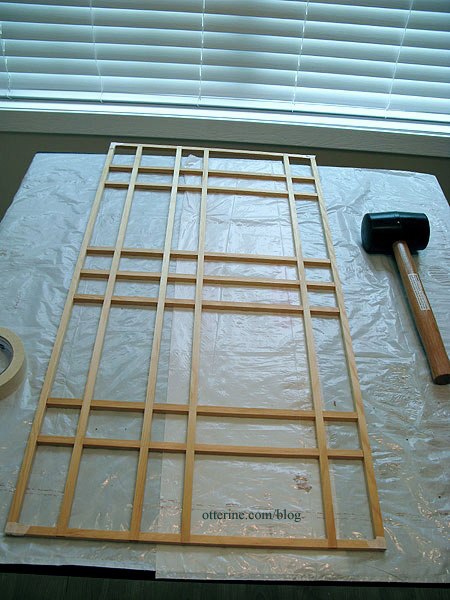
And then the bay window structure.
The blue marked pieces are to be cut away during assembly.
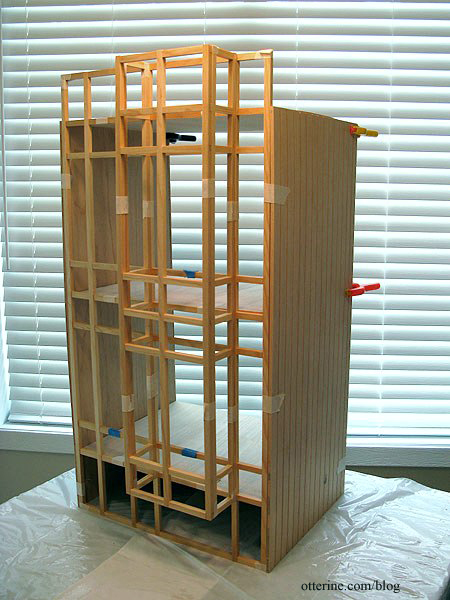
Also, the pieces didn’t fit the way the instructions indicated. The instructions show the side walls fitting behind the front assembly, but the floor boards don’t fit properly when you do that. In order for the kit pieces to fit, you have to have the side walls on the outside edges of the front wall. Then the floor boards fit precisely and cleanly. It throws off the design of the front, though. So, I can either cut new floor boards or mask the outer corners with trim.
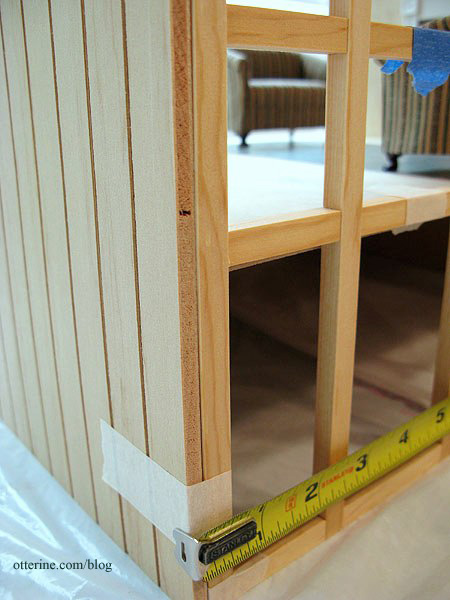
The kit box has incorrect measurements in general and based on the above error. The building in my dry fit is 14″ deep from the outer plane of the front bay window to the back of the building, 15 3/8″ wide with the side walls attached to the outside of the front wall instead of behind it, 29 1/4″ tall at the highest point in front, and 26 3/8″ tall on the side walls.
There are inserts to complete the wall structure. I would think it prudent to use these as spacers when assembling the front wall and bay window to make sure it all fits precisely, but the instructions don’t have you do this. I will likely do it, though and number the pieces as I go along. The instructions also have you add these inserts later after you’ve built the structure, but I think it makes more sense to have a flat surface behind them. So, in essence, I’m pretty much tossing the instructions at this point. Haaa!
The first floor room is roughly 4 1/2″ off the ground. There is no support for it whatsoever…just glued in place on the front and side walls. I will be adding beam structure for sure. The room measures just under 15″ across, just over 10 5/8″ high and 11 1/4″ deep, not including the bay window extension.
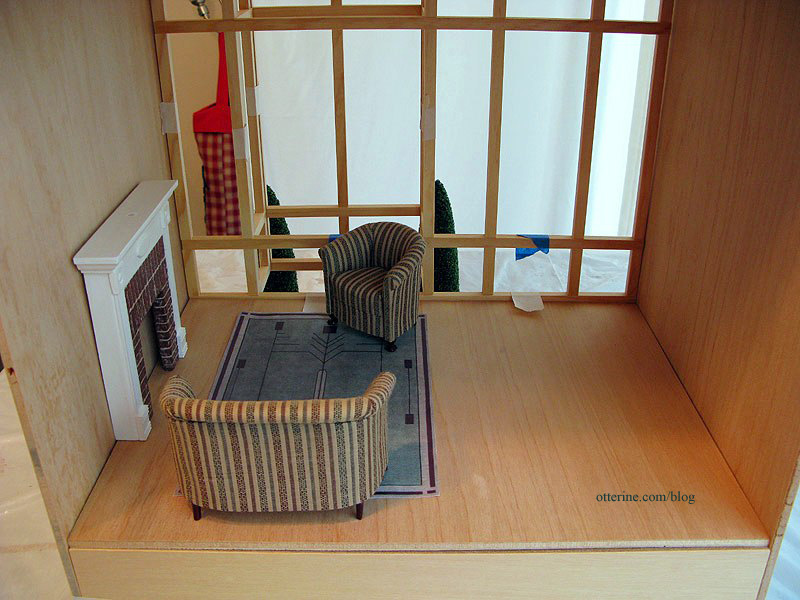
The second floor room has the same measurements. Both nice large rooms
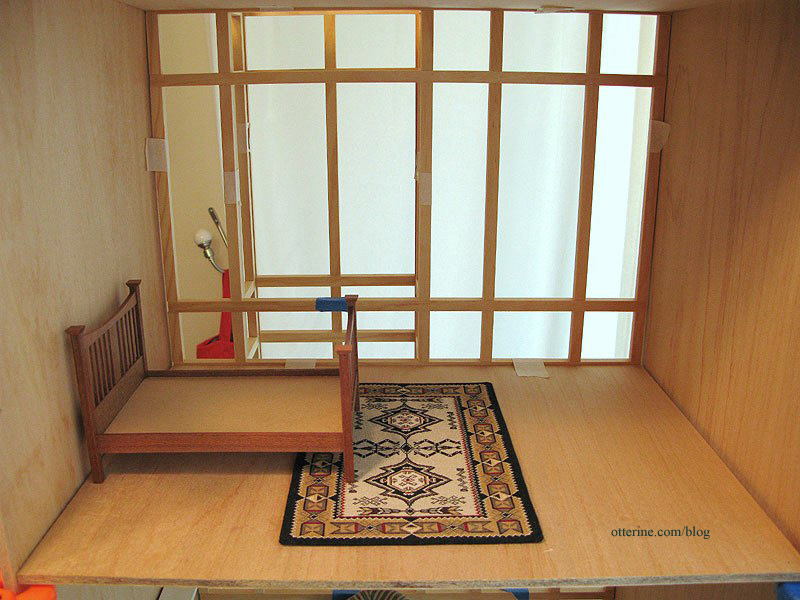
But, two rooms is really not going to work for a realistic brownstone home. At a minimum, I would want a foyer with full staircase, parlor with fireplace, kitchen, bedroom, and bathroom. I would love to add a powder room and/or mudroom.
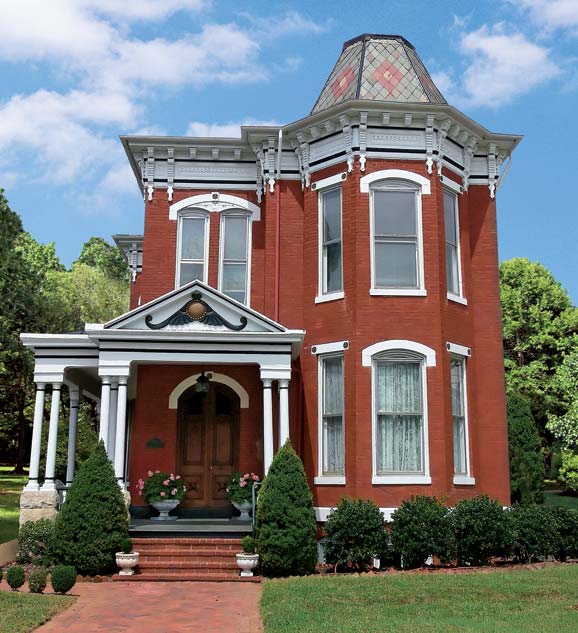
Option 1 is to build a side addition toward the back to allow more room on the inside, like in this example below. You can barely see the left addition from the front, so it doesn’t ruin the lines of the facade but adds room inside.
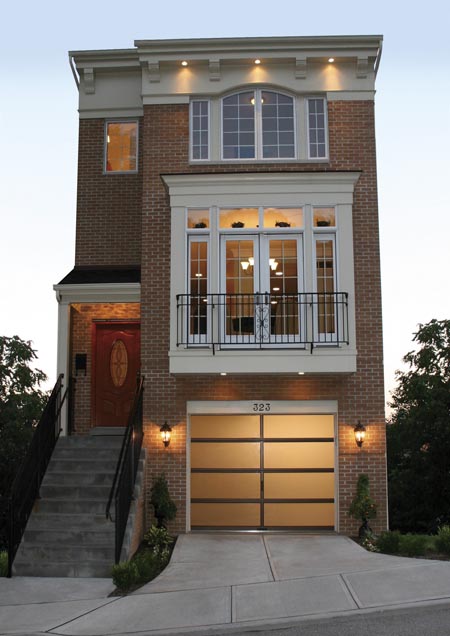
Option 2 is to add a garage underneath since there is already roughly 4 inches of dead space under the first floor already and adding another 4-5 inches in height would be straightforward.
Option 3 is to make this a side opening dollhouse to get more depth like a real life row house. That’s where I stalled. I’m just not falling in love with the idea of a side opening house. Apparently I’m a traditionalist when it comes to dollhouses. I like the idea of the garage and need the extra space inside, so I am almost decided on adding to the width with a side extension and adding height for the garage.
I made a mockup for the garage door kit to test the fit for the 1950 Beetle in a previous post.
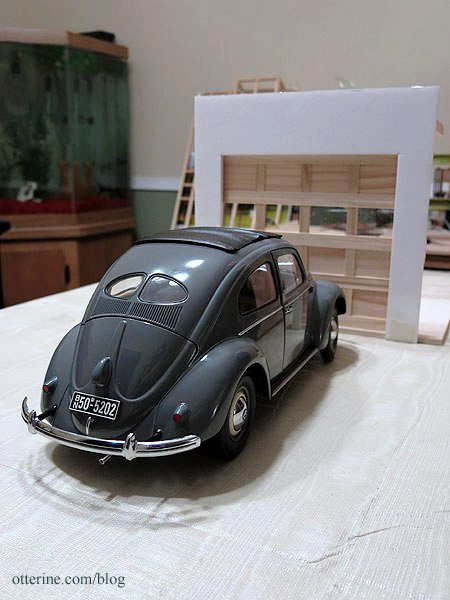
The garage facade and opening required to fit the garage door worked well under the bay window portion, but this did not take the front stairs into consideration. Now, I know I will have to make a new set of stairs since the original kit pieces will be too short with the added height to accommodate the garage, but I will keep them roughly the same width. I would have to move them over to fit the garage door, and this throws off the line of the front door.
I popped off the bay window section and moved it over. I will have to add to the right of the bay window section, mimicking the construction of the original pieces (I added some strip wood below to show that addition). Now, the garage door is centered under the bay window and there is enough room to center the stairs and front door.
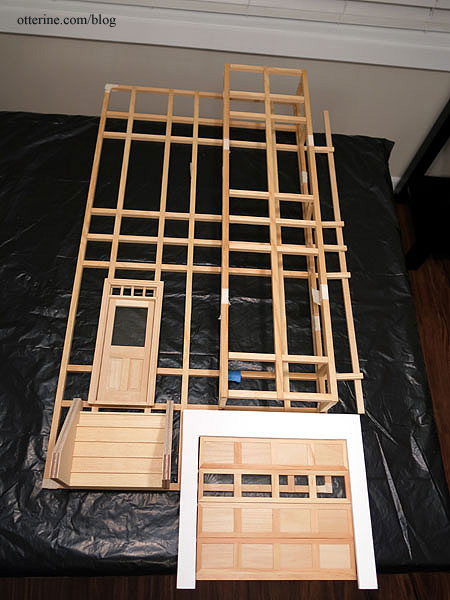
I think I’m on to something here.


