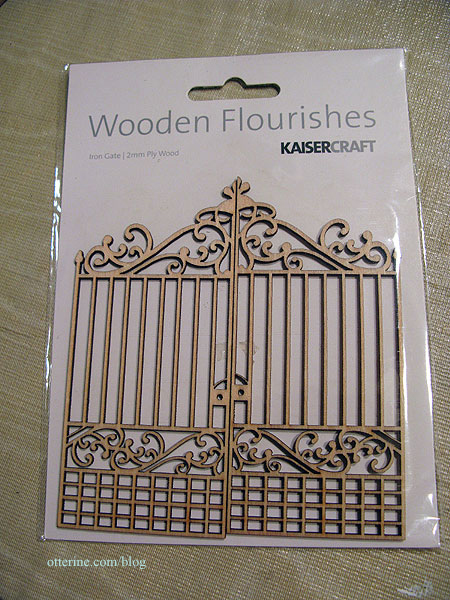
Before I could put the front steps together, I needed to address security for the lower level entrance. Wrought iron gates seem to be the norm, but my metalworking in miniature skill set isn’t quite there yet. Maybe someday. I started with a gate that Keli sent me a long time ago.

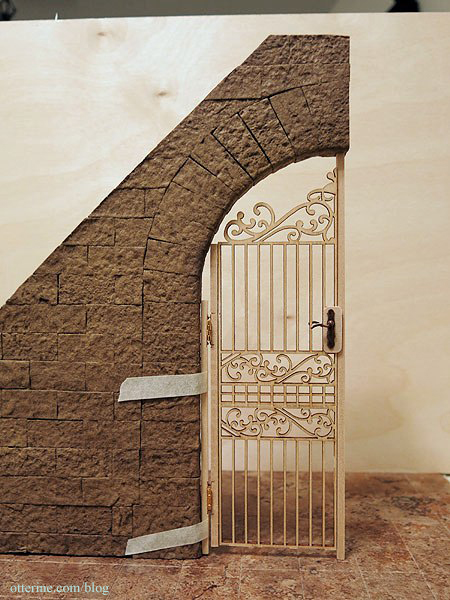
Using a carpenter’s square as a guide for the wall and ground, I set one of the gate pieces so there was very little space left uncovered at the top. I carefully removed bits from the other gate to create a complete iron door. I glued the pieces together using wood glue.

Now, to get it to function. I cut three lengths of 1/8″ x 1/8″ strip wood: two on the left and one on the right.

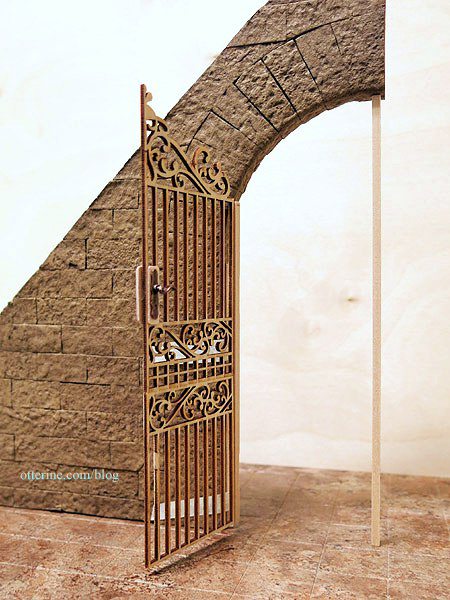
I installed hinges between the two left posts. I carved recesses for the hinges, drilled pilot holes with a mini drill, added a thin layer of super glue gel to help secure the hinges and then pushed the tiny nails into the pilot holes.

Once I had the hinges functioning smoothly, I glued the gate to the right hand post. I covered the existing lock detail with wood veneer to mimic a lock box. The back piece is flush with the gate, but the front piece hangs over a little to catch the adjacent post.

I added a pair of French door handles from Mary’s Miniatures.

Check the fit. Looking good! :D

It’s 39° outside…let’s go spray paint! :D Okay, maybe not…it’s also dark outside. I don’t need to have this finished and installed to move forward. I just needed to figure out the basic fit.


