Before cutting the final holes for doorways and windows in the main floor, I worked on the staircase to make sure I didn’t need to adjust the ceiling height on the main floor. I’m making the main floor staircase from an Architect’s Choice kit purchased from All About Miniatures at the 3 Blind Mice Show.
The instructions could use a few additional drawings, but I managed to figure out what they meant. These are made for a 9 3/4″ floor to floor measurement. Since I don’t have a building to fit them into, it’s hard to visualize what that means. I think it means from the surface of the lower floor to the top surface of the upper floor. Either way, that won’t work for me since my main floor ceiling height is 10 1/2″ from the floor surface to the ceiling surface.
I have two of these kits, and the lower level will have a shorter ceiling height. So, I took an extra step from the other kit and added it to the main floor staircase. I assembled it following the kit instructions otherwise. I will still need to make adjustments once the structure is built, but my existing plans don’t need to be altered.
I love the look of white stairs with stained treads, so that is the look I’m going with here. I did this style in the Newport.
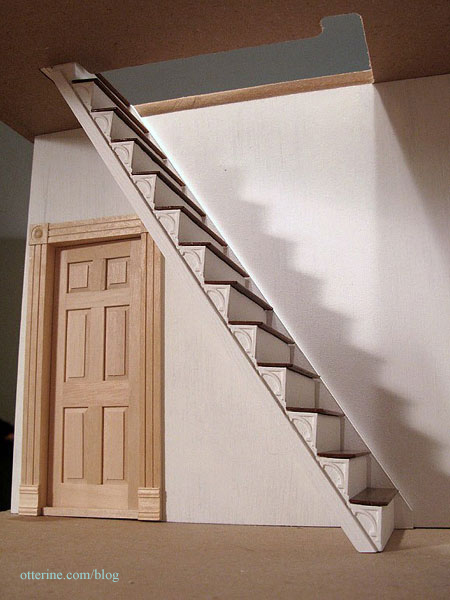
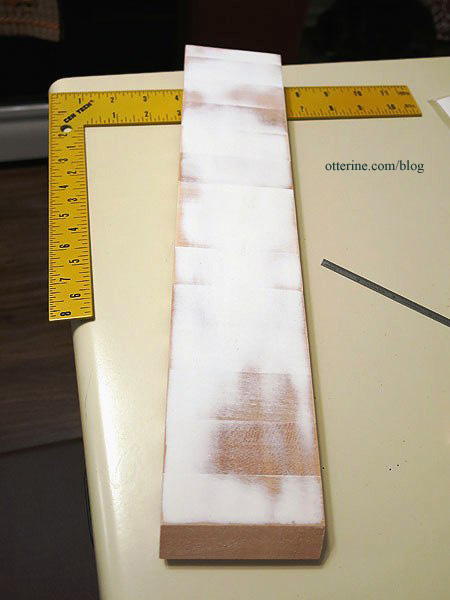
I spackled the back of the assembly and sanded it smooth.
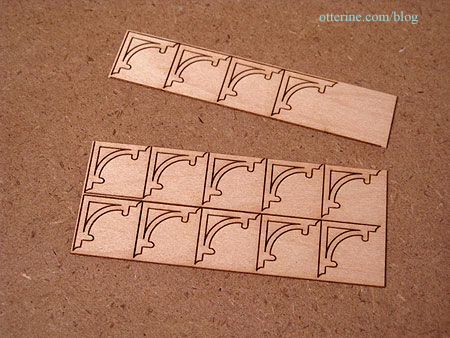
I added Laser Tech corners on 12 of the steps, just as I had done for the Newport.
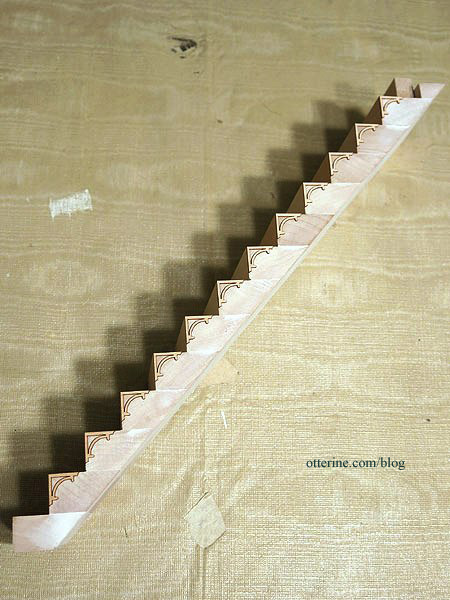
These are simple in design but add just enough interest.
I painted the assembly white. Once dry, I’ll sand it smooth and put on a final coat of paint.
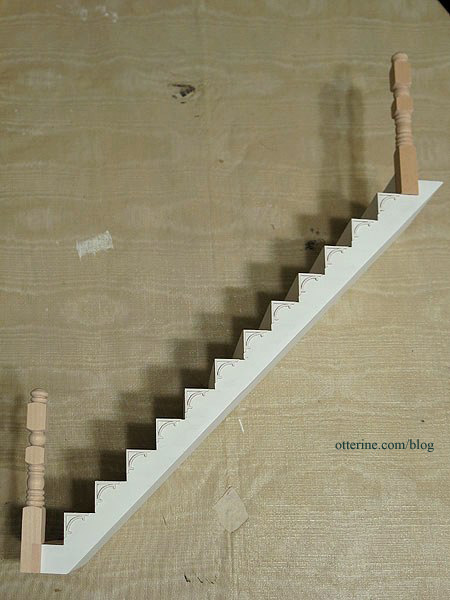
The newel posts really are spectacular in this kit. :]
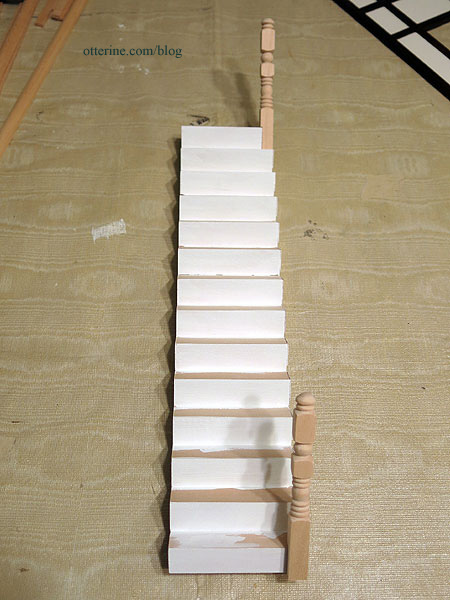
Next up, shaping the treads and staining the accent pieces.


