Completed work on the front door. I cut two new sides from 1/4″ plywood to fit the kit top piece to form the recess. This mimics the kit construction with taller side boards.

I dabbed on matte gel medium using a foam brush onto the exterior surfaces of the recess after masking the gluing surfaces. I set these aside to dry.

Next up was addressing the interior trim. I used door and window casing that coordinates with the 5-panel doors I will use throughout. The trim will surround both the door and the transom window. I held it in place with mini hold wax for measuring purposes.

With the previously textured pieces now dry, I added three coats of White Birch satin paint by Americana. This will be one of the main exterior house colors. I again dabbed the paint on with a foam brush. This texture has the appearance of fine plaster without the added weight, thickness or mess of stucco.

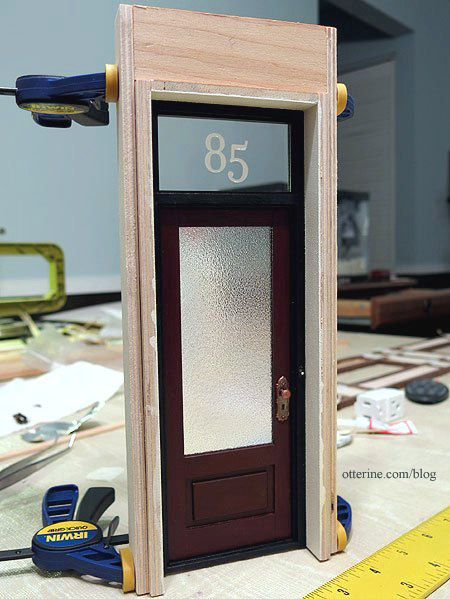
The doorknobs are bronze, which I think works rather well with the color scheme. I painted a metal doorbell from my stash for the door frame.

I like to go that extra mile and drill holes for the lock mechanism. Just some dabs of black and bronze paint, and it gives the illusion of a lock plate at first glance.

With the paint dry on the recess pieces, I glued them to the door frame.

I used the new boards to mark the cut opening on the front backer board.

The height of my first floor ceiling will be 10 1/2″ so I cut another two side boards from 1/4″ plywood measuring 10 1/2″ long and glued them to the door frame. I also cut two boards to fill in the dead space above the front door recess.

Looks like a fine recessed door to me. :D