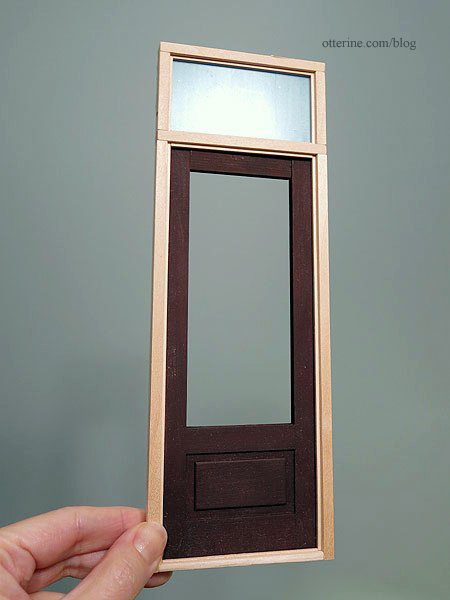
Continuing work on the front door. Now that the frame has been constructed, it’s time to add the 1/16″ x 1/16″ trim to keep drafts out. This also serves as the door stop to keep the door from swinging freely in and out. No more drafty door!
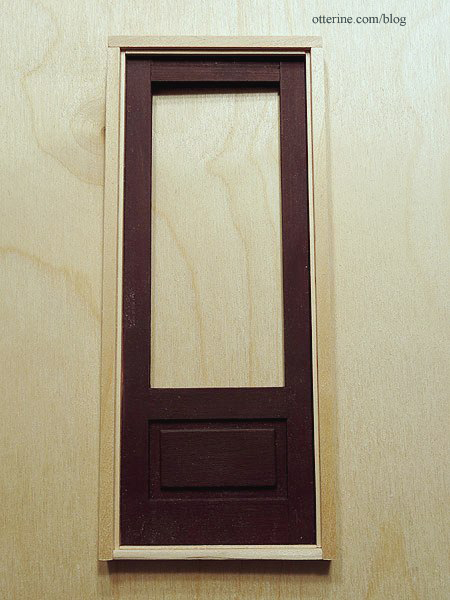
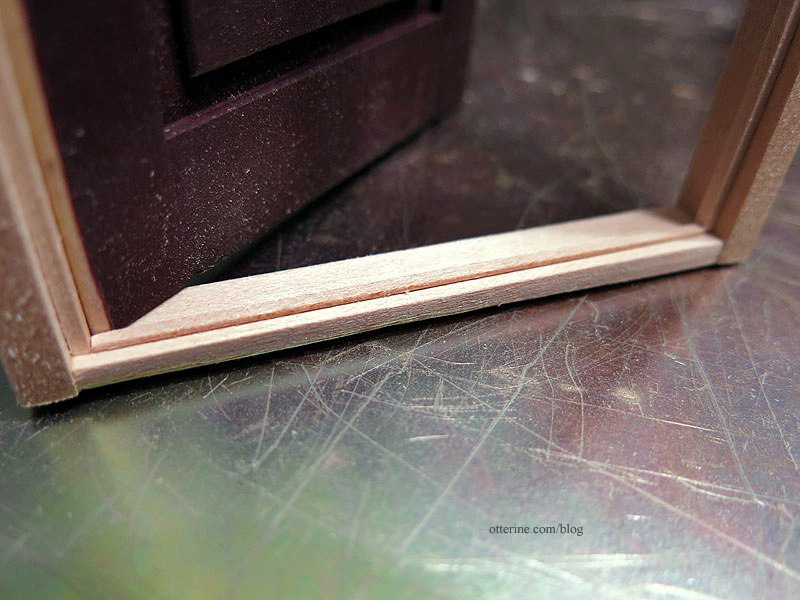
The threshold trim is 1/32″ x 1/16″ for added realism in proportion.
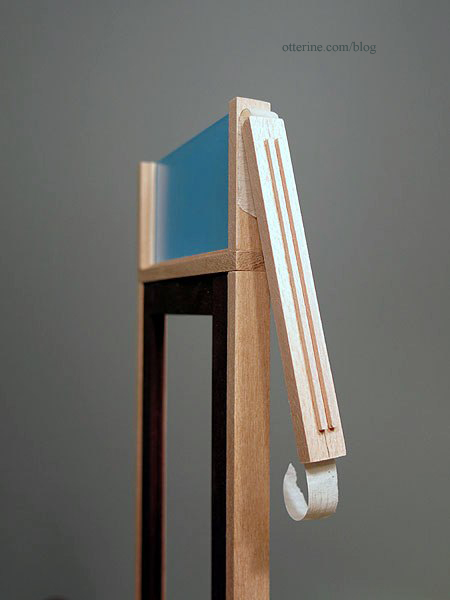
Next up was the transom window. I used more 3/16″ x 3/8″ trim to make the sides and top. I glued only the sides in place. I made a channel from the same trim used on the door frame.

This will hold the acrylic window in place. Here you can see I’m using the acrylic sheet during the gluing process to ensure a secure fit.
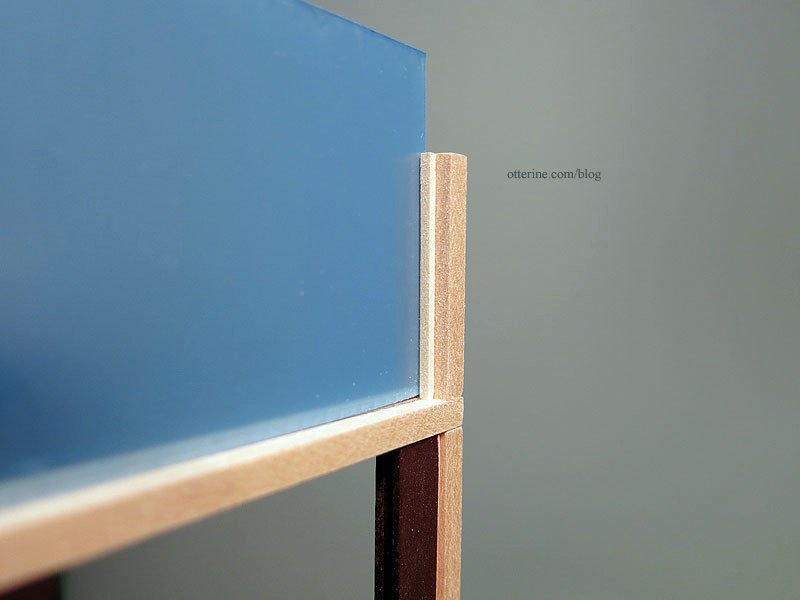
I taped the top to the sides and fashioned the remaining channel. The top piece will remain removable until I get the whole thing painted.
Ok…time to do some painting and staining before I can move forward. :D