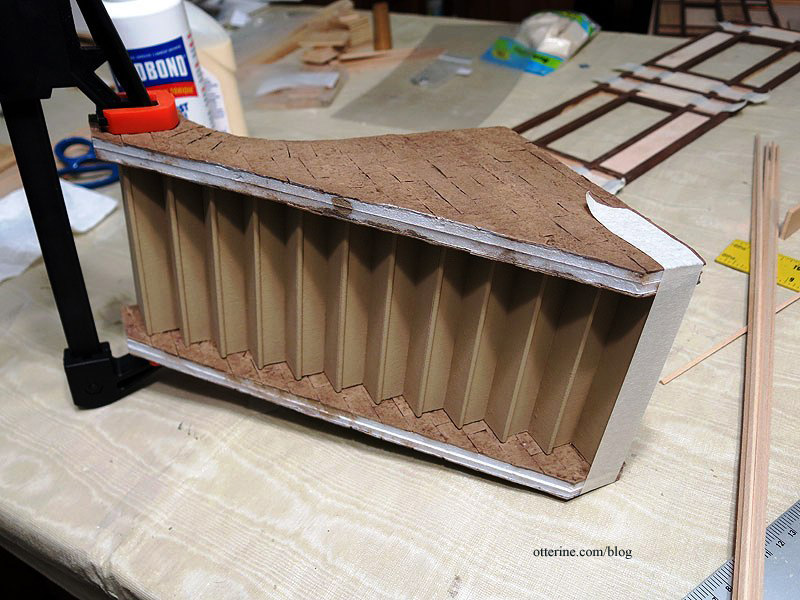
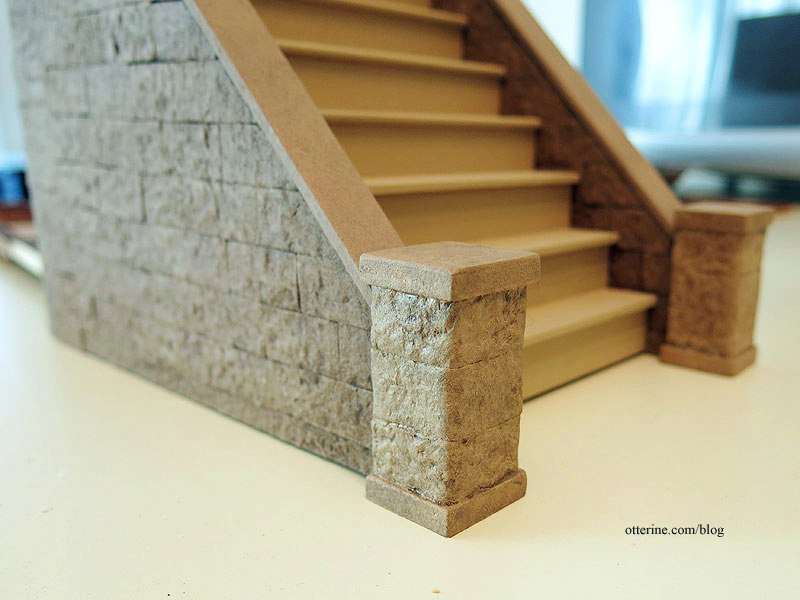
Continuing work on the entrance and front steps. With the gate built and set aside for spray-painting weather, I was able to glue the side walls to the stairs. I used Weldbond and super glue gel, then a large clamp and some masking tape to hold the piece together while the glue dried. The minor gaps will be addressed later.
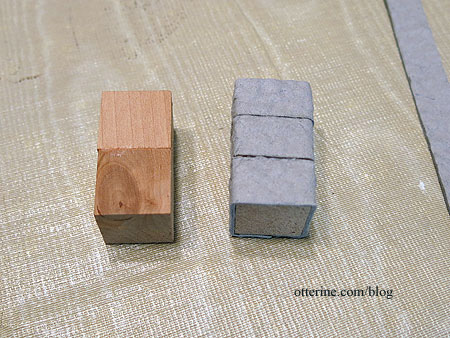
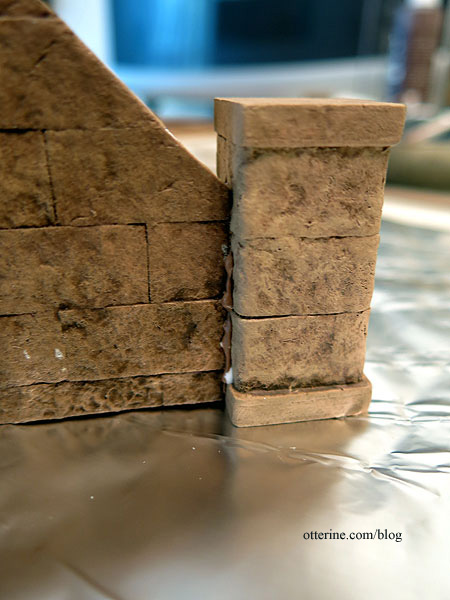
I glued two 3/4″ wood blocks together to make each pedestal to finish the front edges of the stone walls, adding long strips of 1/2″ wide egg carton material around them.
I cut plywood bases and toppers.
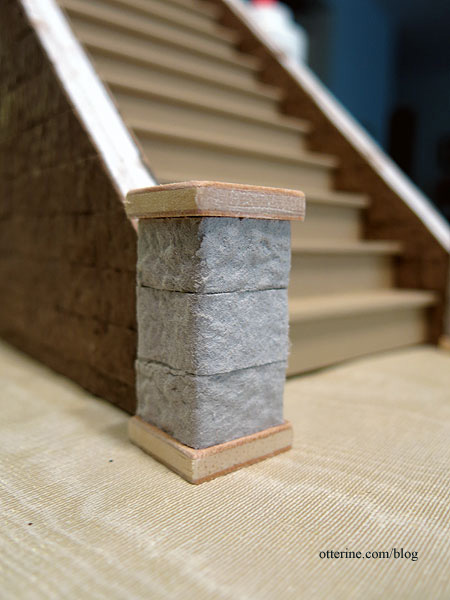
I painted the new pieces to match the previous finishes.
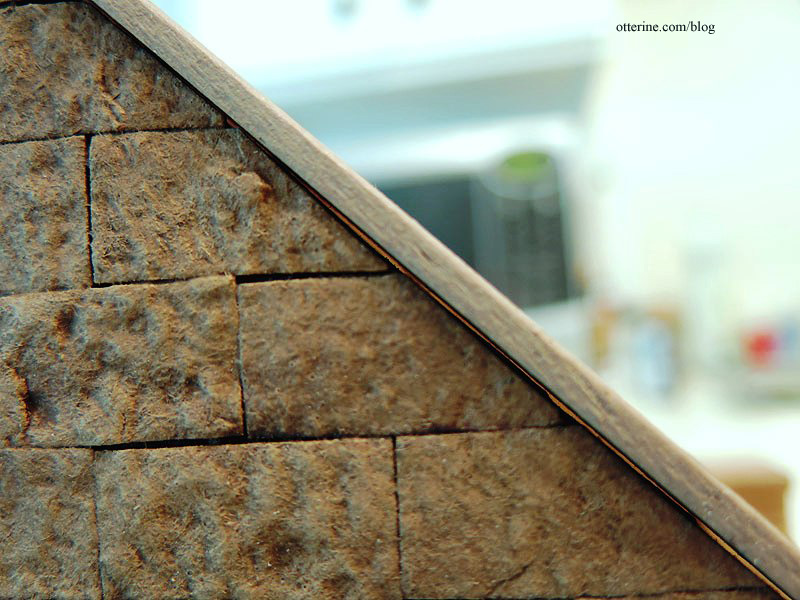
Since the top surfaces of the side walls aren’t perfectly uniform, there would be gaps if I glued the toppers on as is.
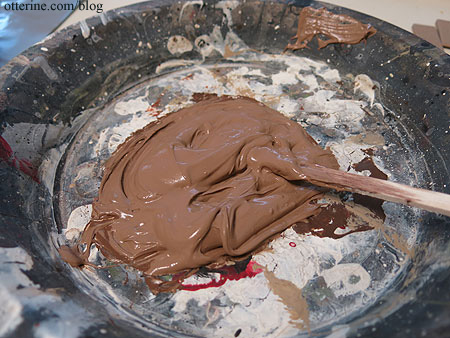
I made a mixture of spackling, Weldbond glue and brown paint. Yum, pudding! :D
I slathered this onto the side walls and then pressed the pedestals in place.
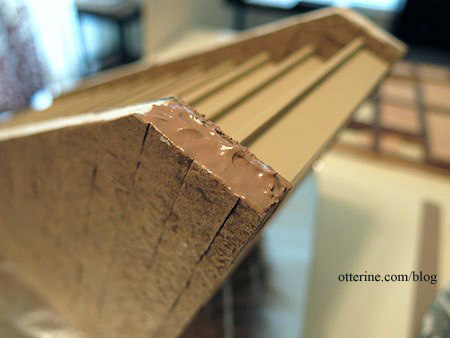
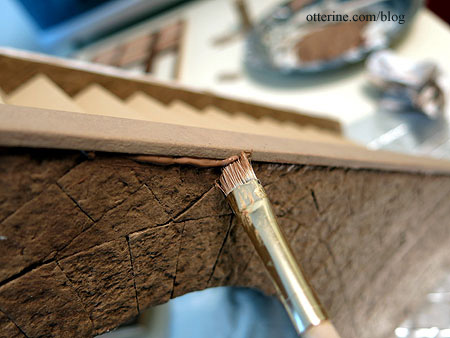
I did the same for the toppers and wiped away any excess with a brush followed by a damp cloth.
I put some of the mixture into my glue syringe.
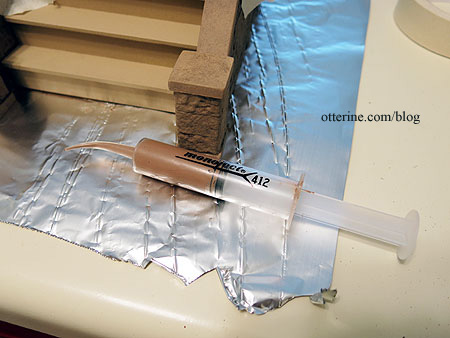
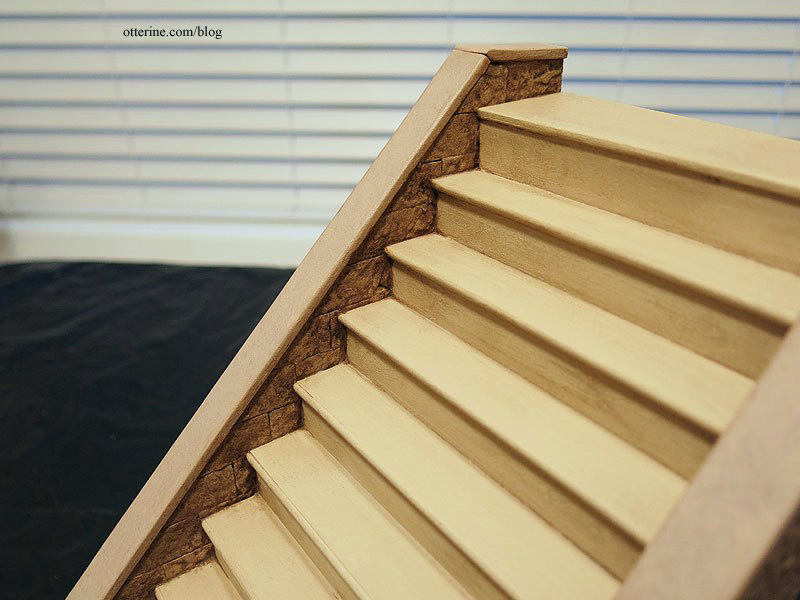
There were gaps along the sides of the steps, so I squeezed the mixture into the gaps.
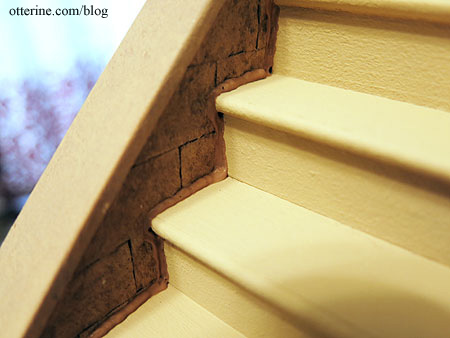
I then smoothed the material and added final paint washes to finish the steps.
I’m still thinking about the railing, so I’ll leave this as is for now.
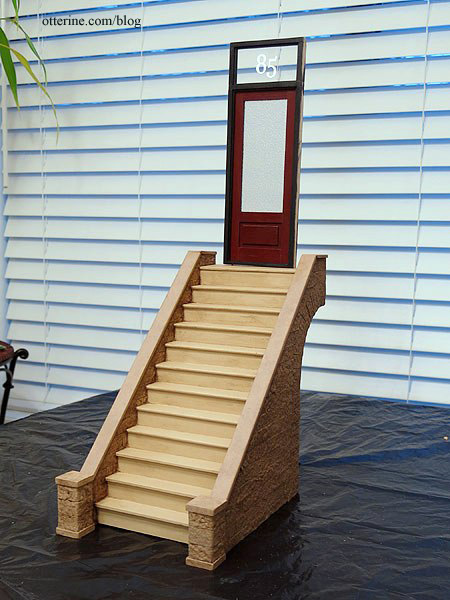
I like the way the plain sealed wood looks on the back, so it will stay as is.