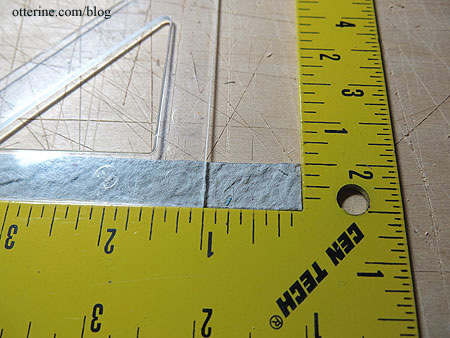
Continuing work on the entrance and front steps. My stones are 1″ x 1/2″ for ease of measuring. This time, I did not clip the four corners, as I normally do for bricks. But, an extra step I did need to do was make sure my stones were square. Made the cutting go a little slower.
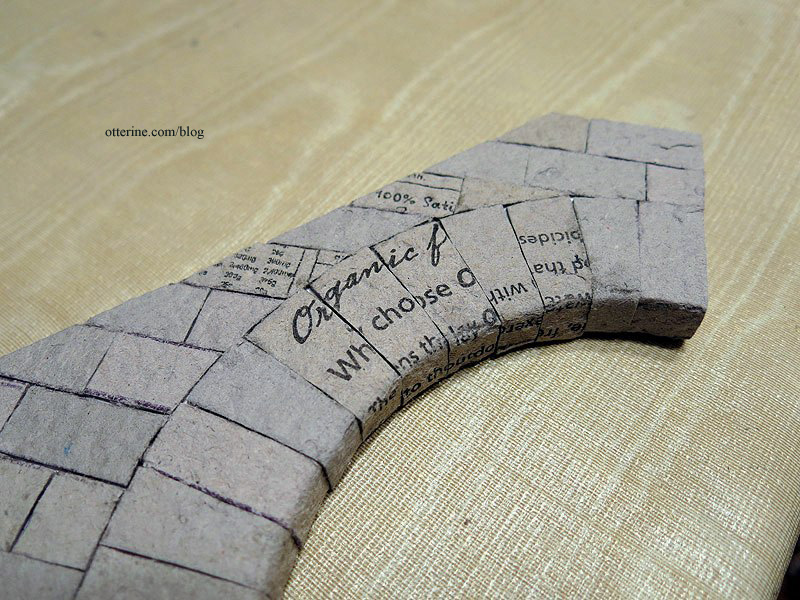
The arch needed to be addressed first, so cut longer 1/2″ wide pieces to wrap around the foam core base. I folded one end to make a 1″ stone. I held that in place and folded the long end around the foam core board base. I marked 1″ on the other side, cut off the excess and glued it in place. I used Weldbond glue this time around; it grabs fast and holds tight.
For the stones around the curve, I repeated the process, but I had to taper each piece to fit. Little bow ties. :D
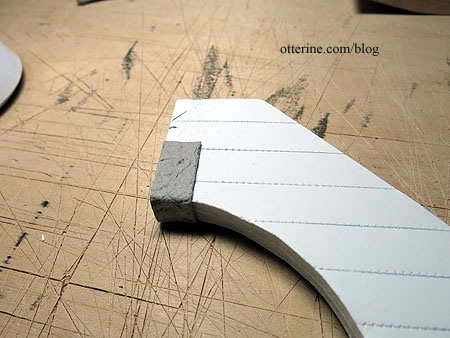
I didn’t take a lot of photos during the process since I applied and removed stones many times as I figured things out. The second wall should be much easier, and faster! Here’s the arch after completion showing the tapered stones and tight fit.
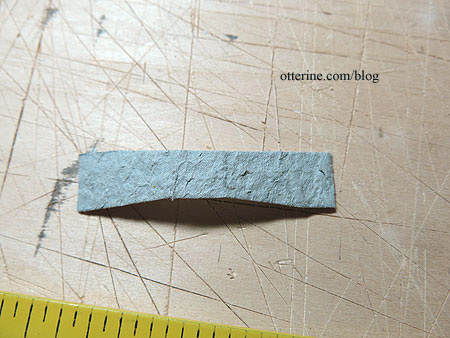
Since there was an uneven amount of space left at the bottom of the arch, I added a large block instead of having a small stone at the bottom. This is also egg carton material and follows the same process as the other wraparound pieces.
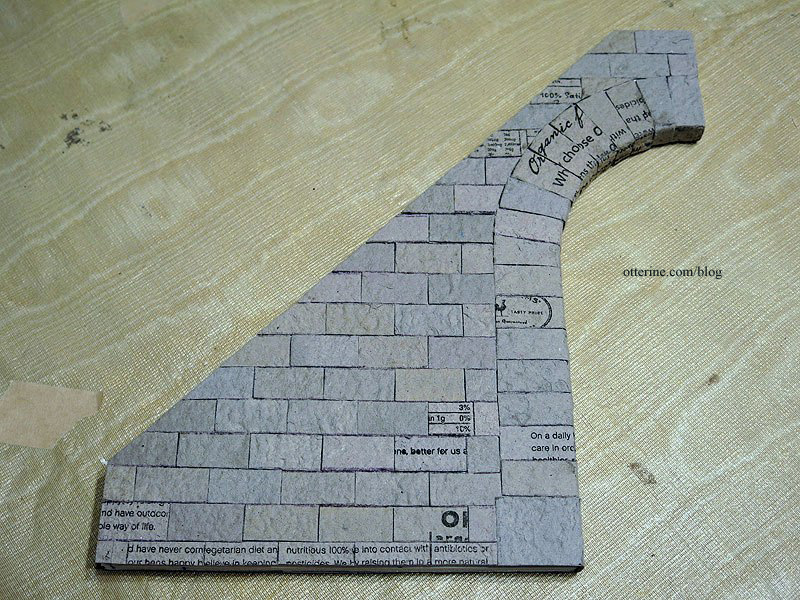
Once these were in place, I started applying the straight rows from the top down. Partial stones can be more easily disguised at the bottom with landscaping and accessories. I will finish the tops with basswood painted to resemble concrete, so I cut the stones flush with the angled top. I also pressed the stones close together since I don’t plan to grout other than adding filler where needed.
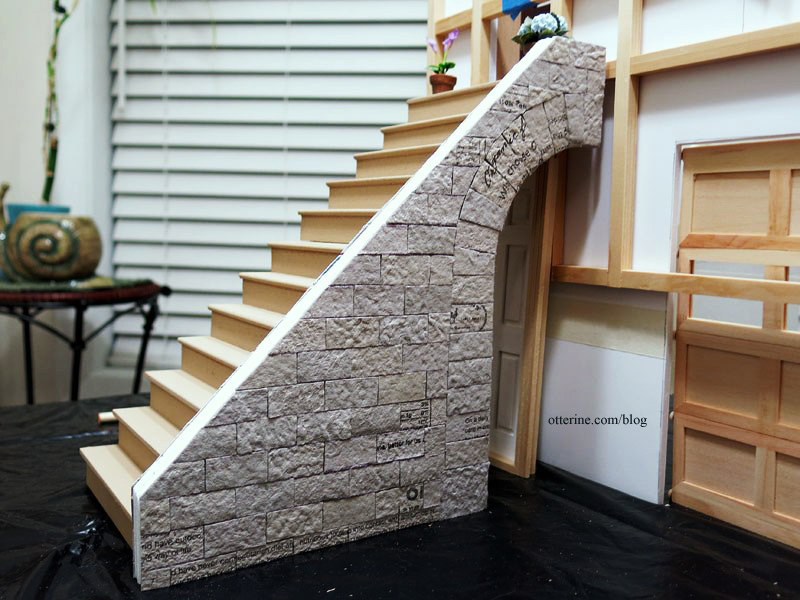
Since you will be able to see most of the other side, I repeated the stone application to match.
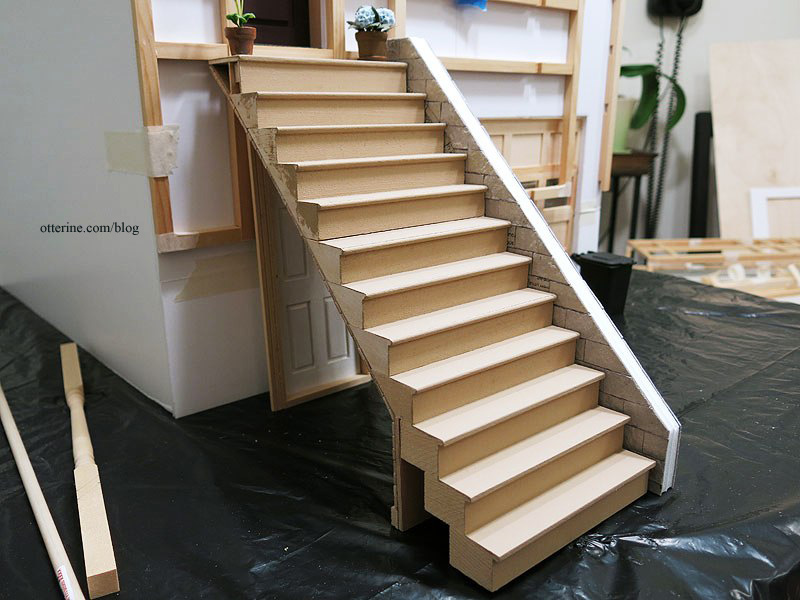
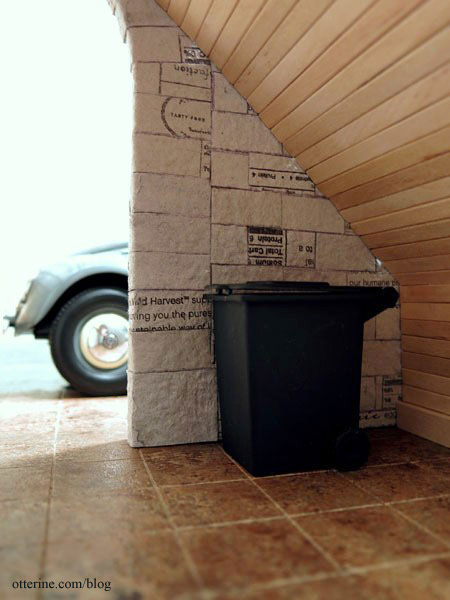
With the skinny sticks and stone finish, I think the trash bin nook will be fabulous! :D