
Continuing work on the bay window section. The glass is to be placed on top of the wood pieces and an identical set is glued in place over the glass to keep it secure, but I need to create the stained glass inserts first.
As a reminder, this beautiful Meyda Tiffany Bed of Roses stained glass panel at Wayfair is the image I’m going to use for the stained glass. Since the side bay windows are smaller, I had to alter the image in PhotoShop so the smaller panels would coordinate. In the original kit, stained glass decals were applied to the front windows only. Here’s my test print.
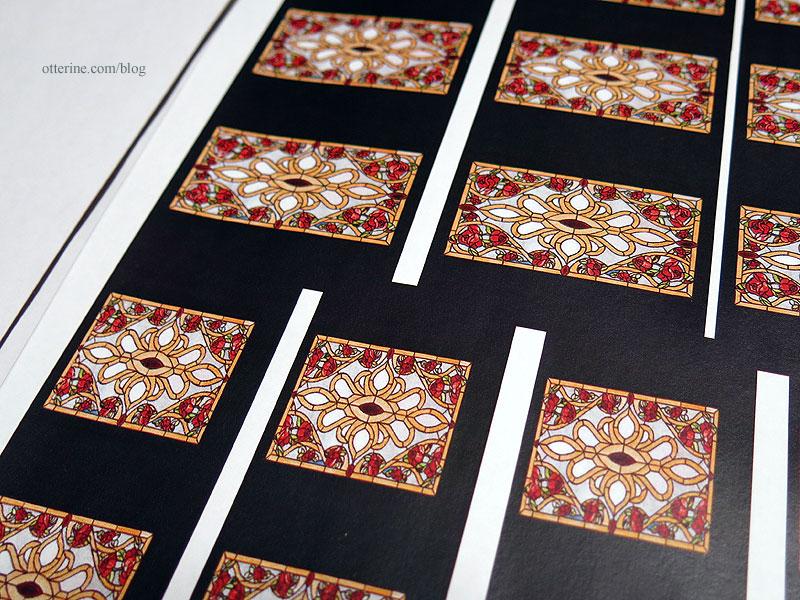
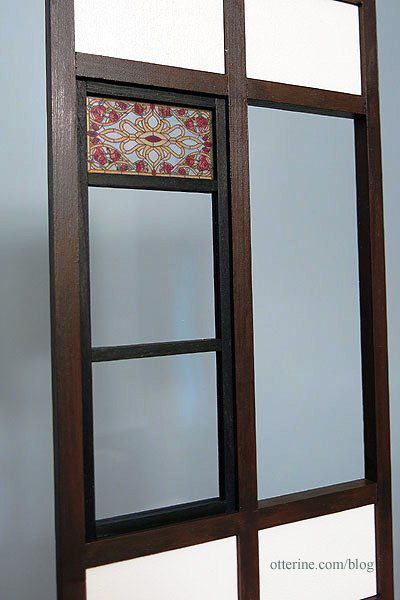
And, these are the finals printed on transparency film.

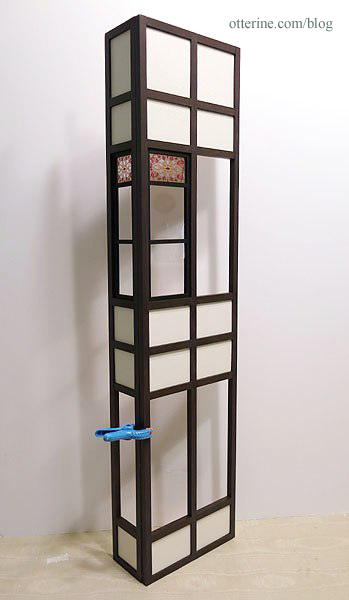
Since the stained pieces aren’t 100% dry, I dry fit one window frame into place. The instructions indicate the placement of the interior frames while you can keep the front grid on a flat surface since the frames need to be flush on the interior. I stained both sides of the framing pieces. This eliminates any bare wood showing from either viewing direction. I’m keeping the imperfect side facing the yet to be installed acrylic insert.
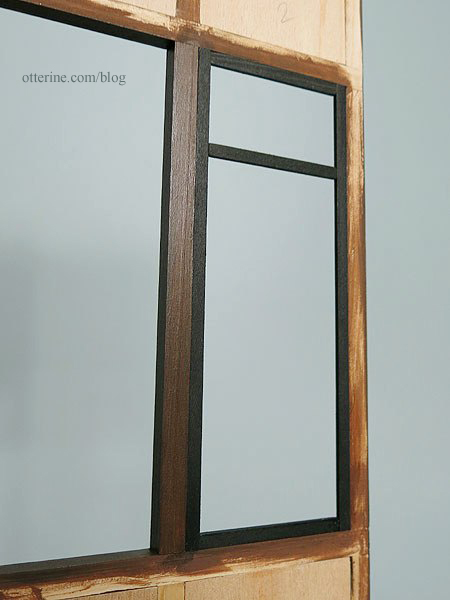
I used my test print to determine the placement of the lower horizontal for the stained glass portion.
I measured to find the center in the remaining space and fit the middle horizontal in place.
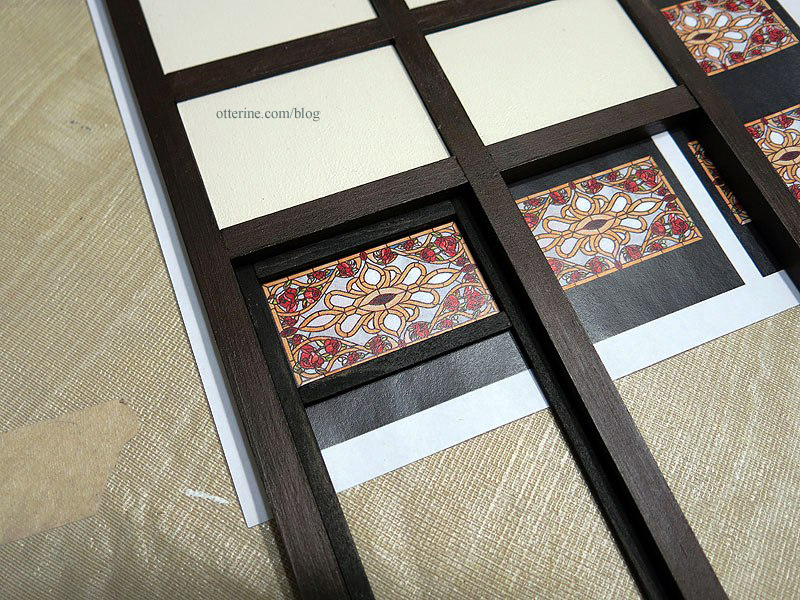
I cut one transparency and tested the fit, placing one of the kit acrylic inserts into the opening underneath it. The top surface of the transparency is shiny, but the back is not. Having the acrylic behind the transparency will disguise the dull back.
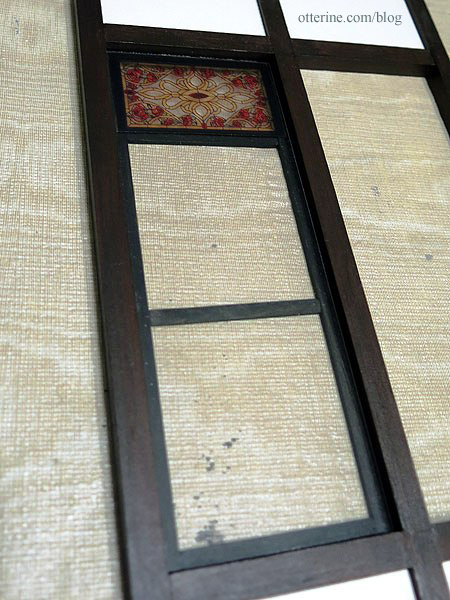
The transparency floats so I can adjust or replace. :]

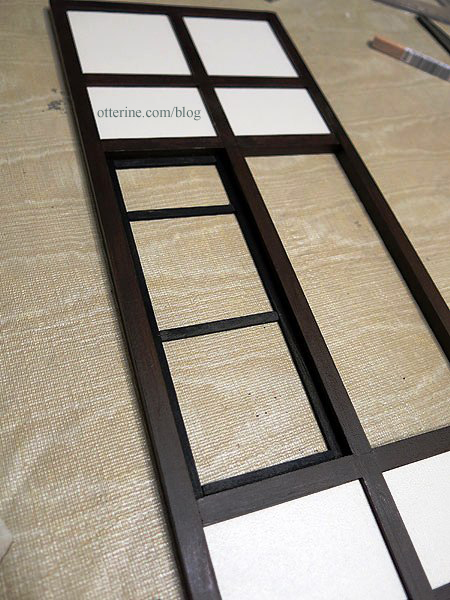
I then dry fit the exterior frame and cross pieces. The instructions indicate adding the acrylic inserts and final framing later in the build, and I like that idea for keeping the windows clean and unharmed during decorating. I like it! :D
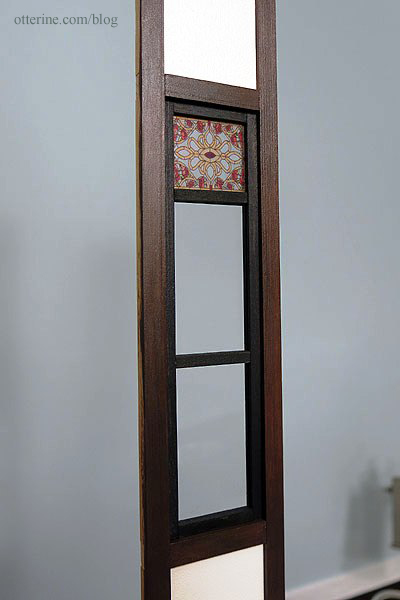
I did the same for the side bay window opening to make sure my measurements worked for both configurations.
I put the bay back into dry fit.
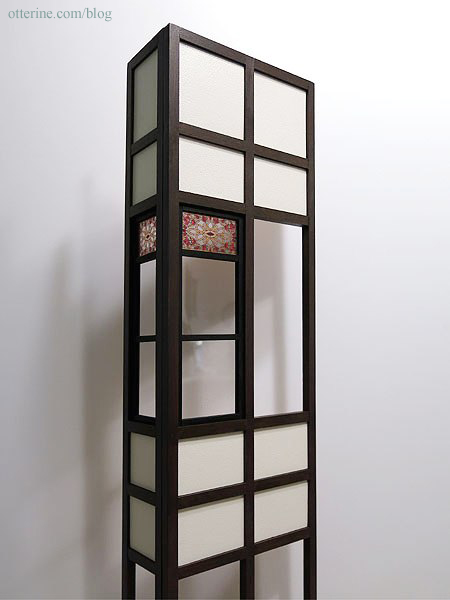
All good! :D
Next up – gluing the interior framing for all window openings, cutting new pieces as needed.


