
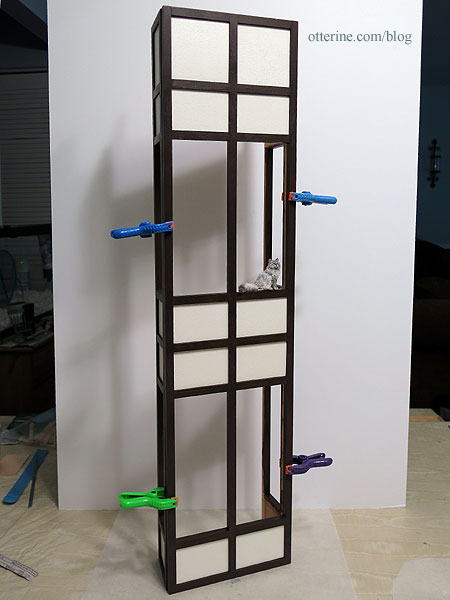
Here’s the bay window section. I have the timbers and filler pieces painted and glued together, but the three sections will remain separate until I complete work on the windows. These are nice large window openings, as you can see from our lovely model Ophelia.
Inside, the grid creates an uneven surface that will need to be addressed after the windows are in place. I’m thinking 1/32″ thick veneer for a smooth wallpapering surface. There will also be trim work to finish the interior windows. All of my ideas are still floating around.
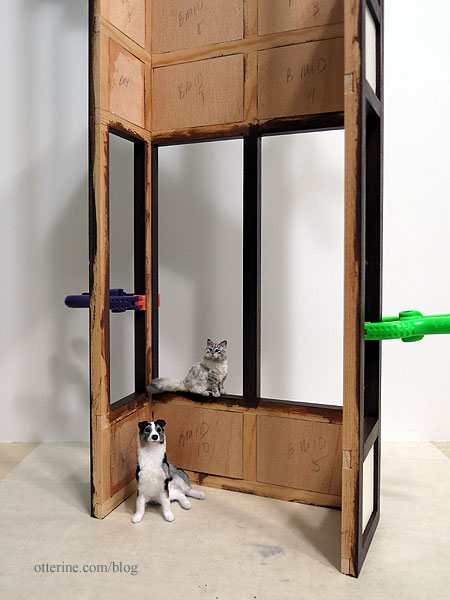
It’s a good interior space, as shown by Sherwood and Ophelia.
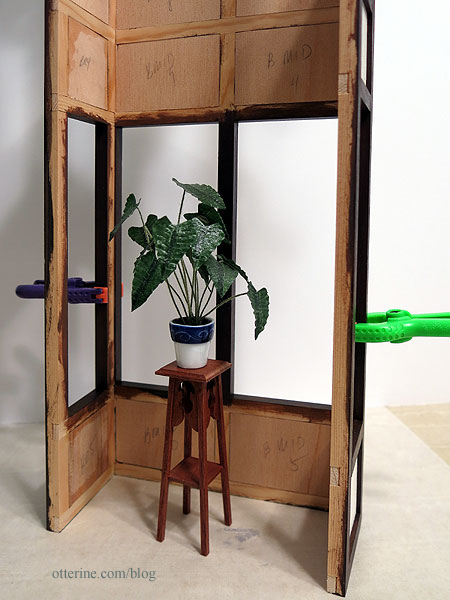
I’m thinking plants for the main level (maybe a settee or window seat in the bedroom above).
The original kit has non-working windows and for the ease of assembly, I am using those. I do love working windows but not enough to overhaul the entire assembly process.
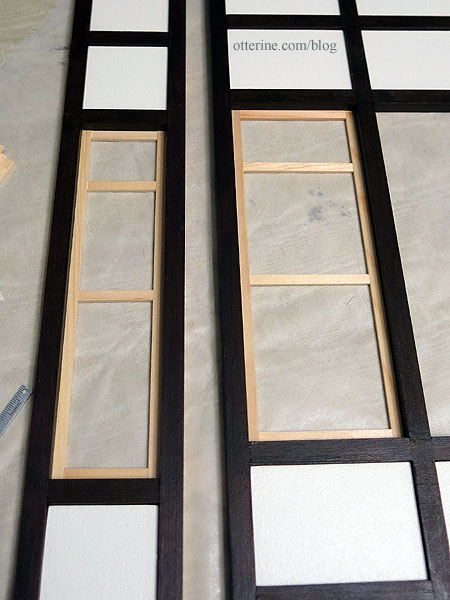
The kit comes with pre-cut pieces to make the window frames. Some fit perfectly and some will require my least favorite phrase “sand to fit.” The pieces are to be glued in, but they hold well on tension alone.
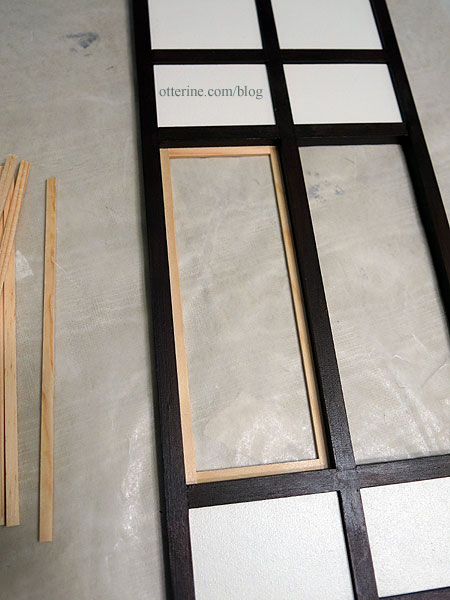
The top divider for the stained glass detail and the middle divider are added after the frame. I’ll actually measure when I do the final installation.

The side bay windows are slightly thinner than the front bay windows but created the same way.
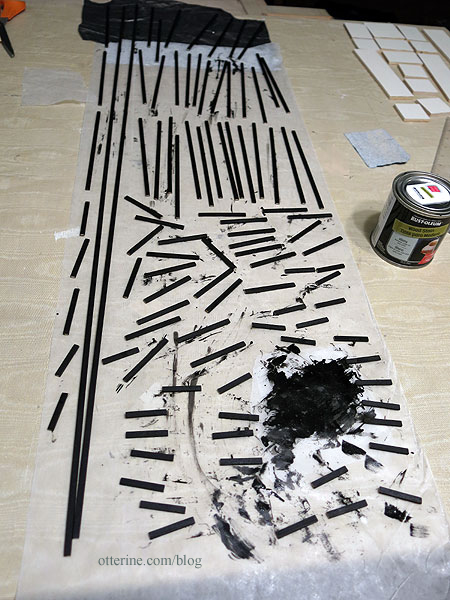
Since I added windows to the side addition and the kit also has the wrong amount of pre-cut pieces for the existing windows (the amount listed in the instructions is incorrect for the amount needed), I bought some additional lengths of wood from National Balsa when I placed my large order. I stained all the pre-cut pieces and two of the additional lengths I bought using Rust-Oleum Ebony.
Next up – preparing the stained glass inserts and gluing the pieces in place.


