
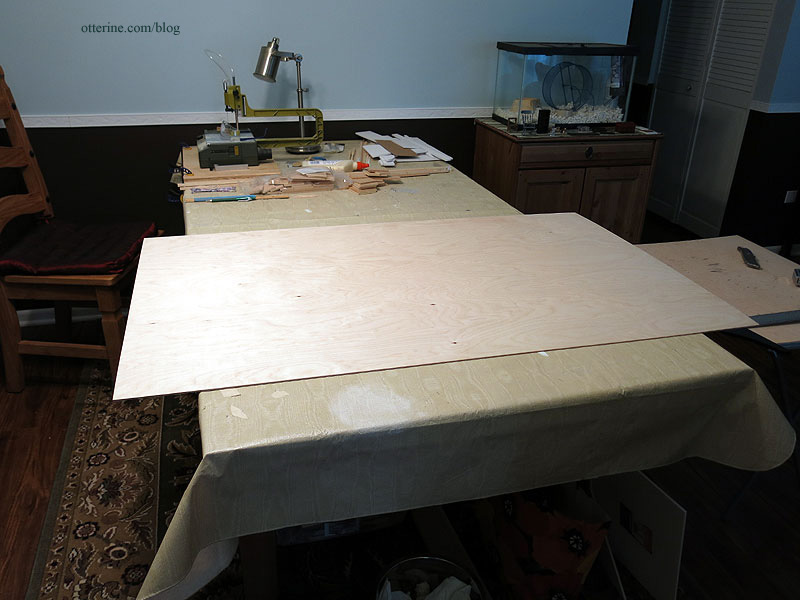
Now that I have my final timber layouts for the main facade and side addition front, and have had some time to consider the overall construction, I’m ready to cut my grid backer boards. I bought a 30″ x 48″ sheet of 1/8″ thick plywood from the local Woodcraft store. This thickness is not easy to find in large sheets, at least not locally. They had only this one in stock.
That’s a big board on my big work table! :O
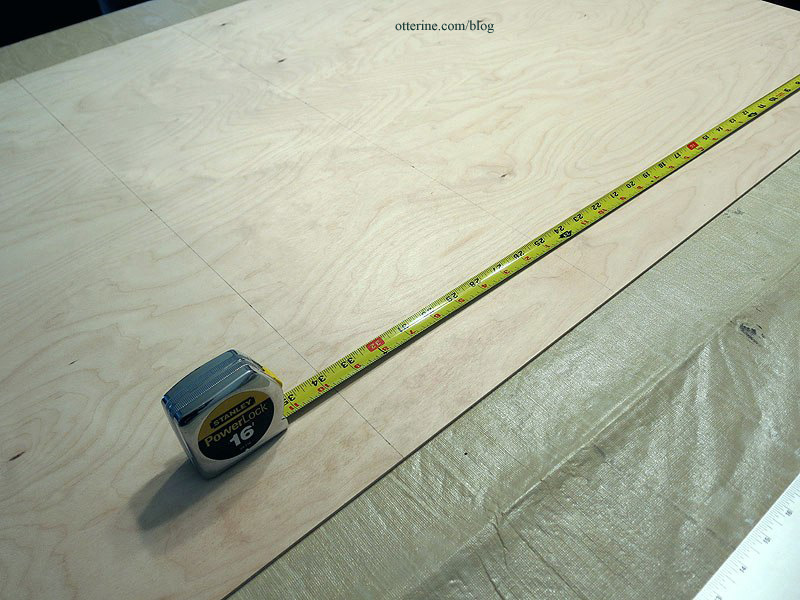
I added 1/4″ to the height of the facade and the front assembled grid ended up being 1/16″ wider than planned, making the final facade measurement 17 5/16″ wide by 33 3/4″ tall. But, I will be doing a grid treatment on either side of the facade and need to take into consideration where the side boards will abut the front board as well as the depth of the grid. The math is as follows: 1/8 + 1/4 = 3/8 * 2 = 3/4″. Did I lose some of you there? :D
So, my interior board needs to be 16 9/16″ wide, so the two 1/4″ thick side walls with their 1/8″ thick treatments will be flush with the 17 5/16″ wide front grid when glued together. Right? Yes.
I measured out a box 16 9/16″ wide by 33 3/4″ tall, marking the 8 3/4″ dividing line between the grid and the lower stone finish. I had one shot at this, so I sat on the couch, emailed my friends, confused them with math, and measured three times. All good!
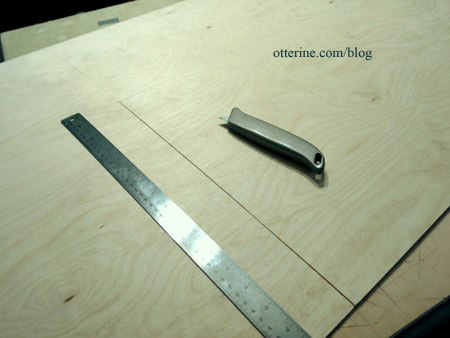
I slid my cutting board under the plywood on my work table. I used a utility blade for this part mainly because 1/8″ thick plywood doesn’t take that much effort to cut by hand.
The math worked! There is 3/8″ on either side of the grid to accommodate the finished side walls.
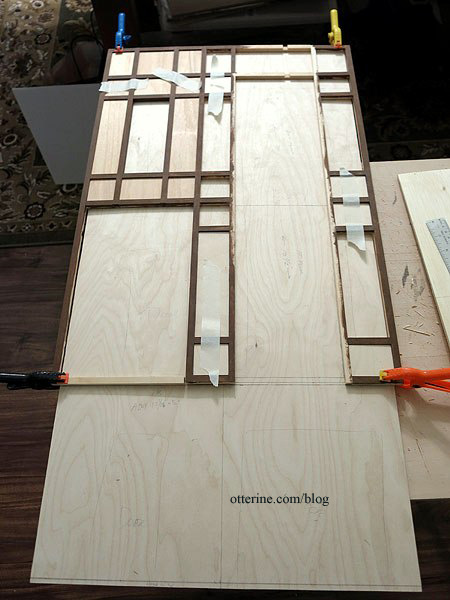
The wood of the grid is warped in places, but the filler pieces should take care of that.

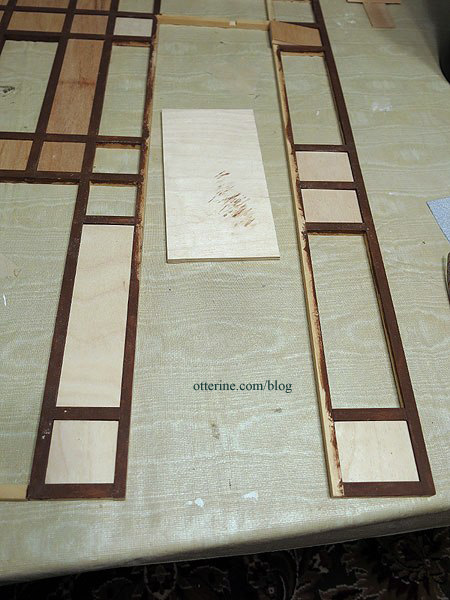
The side backer board measures 5 5/8″ wide by 33 3/4″ tall for a 6″ wide grid. I needed to indent the 3/8″ on only one side since the other side will abut the main building directly. I won’t mark the openings until after the grid fillers are in place, but I wanted to get this large sheet of plywood cut into pieces and out of my way.
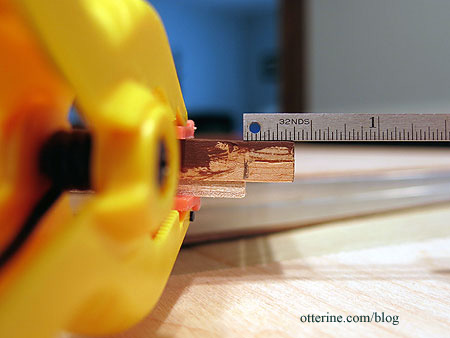
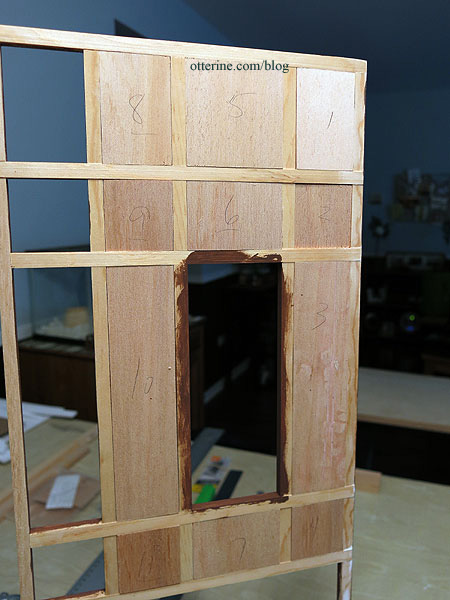
I took the original kit filler pieces and played jigsaw puzzle. Some pieces fit perfectly, so I popped those in place. From the leftovers, I sanded them to fit or cut them if more wood needed to be removed than sandpaper would efficiently do.
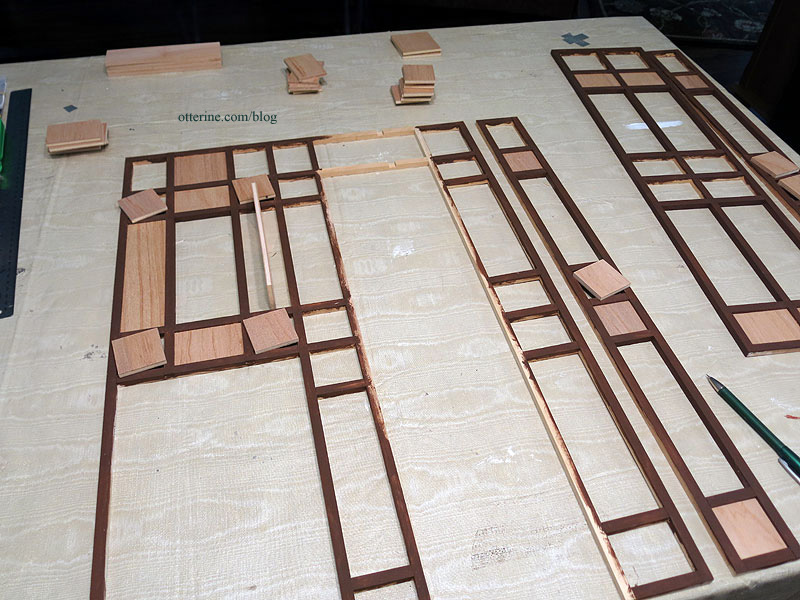
I numbered them on the back to keep track.
Since I had new and altered sections, I cut new filler pieces from 1/4″ thick plywood scraps from my stash for those openings.
I’m not using the original kit side walls since they were too small after my alterations to the interior layout and one was severely warped. The original kit floors are going to someone whose kit was missing those pieces so they won’t go to waste. So, very little of the original kit will go unused. Besides, the leftovers from kits always come in handy later for other builds.
Since I have limited space for power tools and needed a lot of boards cut, I went to Home Depot. Their 1/4″ plywood is actually 3/16″ plywood, but it all worked out in the end. The saw at Home Depot will not get you precise, square cuts, but it will get you close. Bringing in the boards….
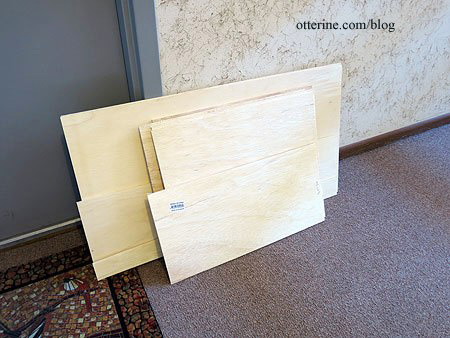
I spent part of the day cleaning up the cuts to make the boards work. I also had the scrap leftover from the 4′ x 8′ sheet to use as needed. But, I’m not ready to start building just yet. There’s more planning and prep work to be done. I just wanted to get the boards cut and ready to build as I need them. It won’t be that much longer.
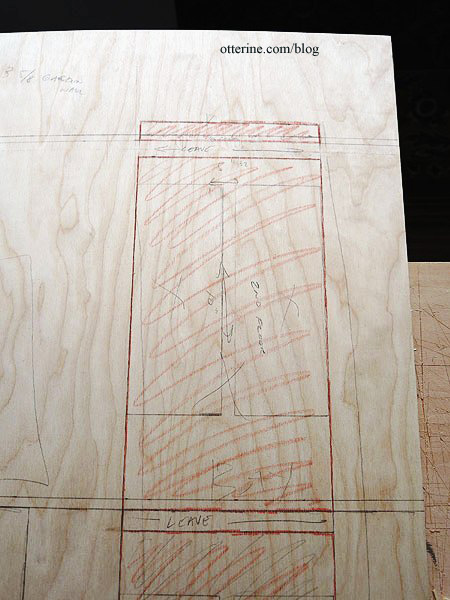
By far, the front board was the most complicated. I mapped out where the inner floors would hit as well as the openings for the bay windows, upper window, front door, lower level door and garage door. I still have to work on the front door recess before I can mark that final opening.
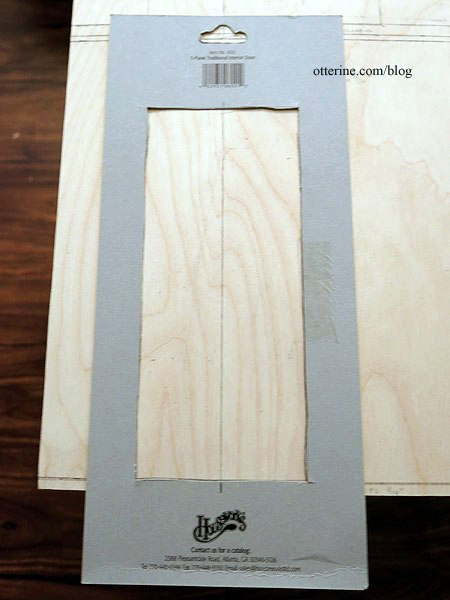
Houseworks doors come with a template on the package. To center the lower door under the main door, I marked the center line on the board and the template. I lined up the marks and traced the outline.
I marked the cutaway areas with a colored pencil since there were lines all over the place.
I centered the garage door under the bay window, which I hadn’t done in my original foam core board mockup.
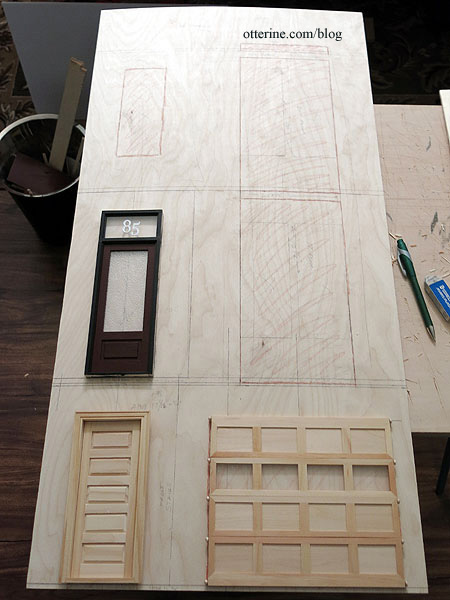
This layout will give me ceiling heights of 8 5/8″ in the garage, 10 1/2″ on the first floor (stately) and 10″ on the top floor (spacious). Did I mention I’m planning a rooftop garden? This layout will also give me a 3 5/8″ wall around the rooftop space before any added trim.


