I finished up the wood stove, and I am ecstatic about how it turned out! :D When I last wrote about it, I had cut the stove pipe and primed the pieces.
I sanded the pieces once the primer was dry and sprayed them Krylon Satin Almond. I sanded once between the final color coats as well. I didn’t go with high gloss since that often looks unrealistic in mini.
I cut a piece of acrylic sheet to fit the front opening.

This fits using only tension, but I didn’t want to risk it coming loose. I cut a larger piece of acrylic to fit behind this piece.

It is held in place with two pieces of black mat board glued inside.

I then glued the door in place, added a round head pin for the bottom tray latch and fashioned a knob from a jewelry finding and flat head pin. While I was painting, the delicate parts of the door grille broke. I cut part of the design away to salvage the piece. It still looks like a planned design. Crisis averted! The stove pipe has a pin in the bottom that holds it in place on the stove.

It’s a little crooked here since there’s nothing to hold it straight.

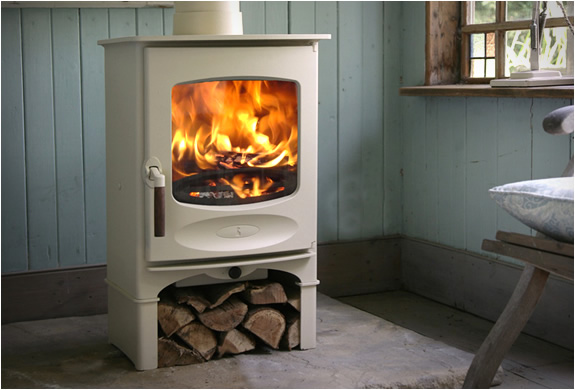
As a reminder, here is my inspiration piece from Charnwood.

Inside the Studio, I glued in the brick hearth and trimmed it with 1/16″ x 1/16″ bass wood. I was able to add in the surrounding baseboards as well.

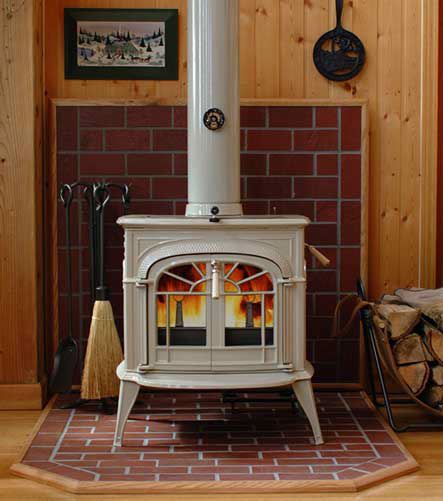
Here is my inspiration from hearth.com showing a partial brick wall.

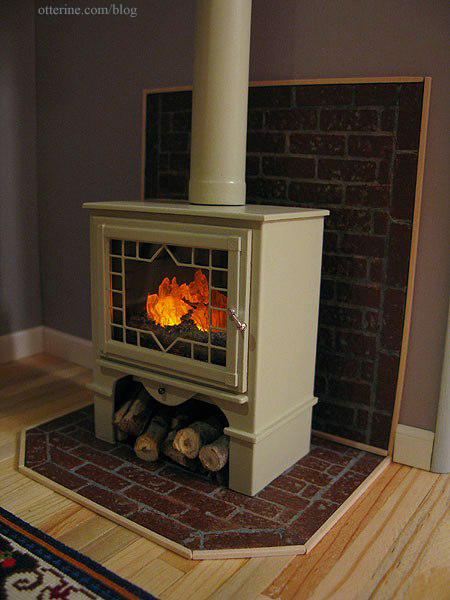
I fed the flickering LEDs into the stove and then into the resin fire. I put on the lid and set the stove in place. The stove pipe fits against the ceiling and holds the stove in place with tension alone. This is good in case I ever need to take it back out. :]
And, here it is! Love! As much as I adore red stoves, I’m so glad I went with the almond.

The firewood under the stove is one of my favorite details.

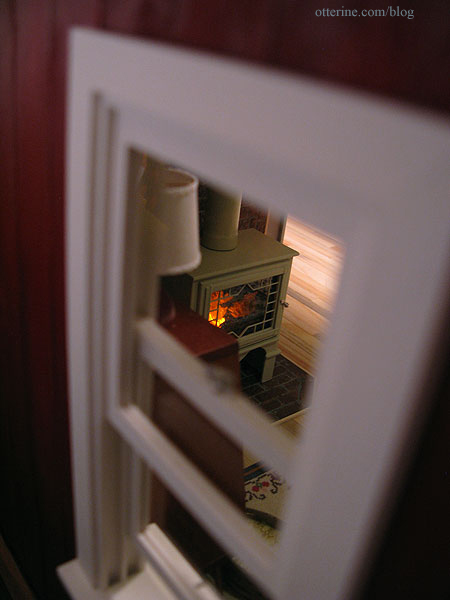
Looks cozy inside. :D


